How To Run Your Own Name Server With ISPConfig And providerdomain.de (Schlund)
Version 1.0
Author: Falko Timme
This tutorial shows how you can run your own name server for domains that you register with providerdomain.de (Schlund Technologies). Of course, this works with every other registrar as well, although the procedure might differ a little bit. We will use the ISPConfig server as the primary name server and one of Schlund's name servers (ns10.schlundtech.de) as the secondary name server.
To do this, you need one server with ISPConfig installed, and of course a providerdomain.de account.
This tutorial is sponsored by our member berli. He gave me access to his ISPConfig server as well as to his providerdomain.de account so that I could write this howto.
1 Current Situation
Our current situation is as follows: we have
- an ISPConfig server: IP address 217.20.127.44; this one will be our primary name server.
- a providerdomain.de account with the already registered domains hits4all.de and java-experience.com. Both are currently using Schlund's name servers (ns9.schlundtech.de and ns10.schlundtech.de).
Our primary name server (ISPConfig server) will be called ns1.hits4all.de; it will replace ns9.schlundtech.de. The domains hits4all.de and java-experience.com will use ns1.hits4all.de and ns10.schlundtech.de as their authoritative name servers. Because ns1.hits4all.de will host the DNS records of its own domain, hits4all.de, we will have to create a glue record to avoid the hen <-> egg problem. This wouldn't be necessary if we used a different domain for our name server, like in this tutorial: https://www.howtoforge.com/ispconfig_dns_godaddy
2 Create The Zone hits4all.de In ISPConfig
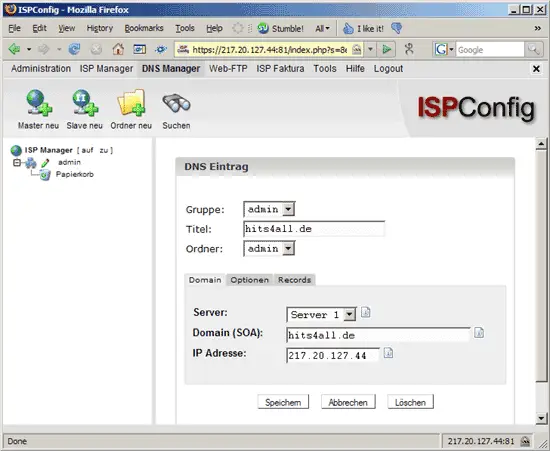
First we log in to ISPConfig and go to the DNS Manager to create the zone hits4all.de with all desired records (including ns1.hits4all.de). We click on New Master (Master neu) and fill in the form as follows:
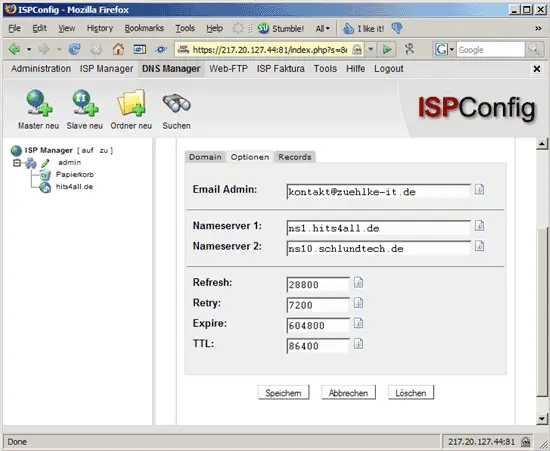
Then we go to the Options (Optionen) tab and fill in the administrative email address for this zone as well as the two authoritative name servers. We plan to use ns1.hits4all.de and ns10.schlundtech.de:
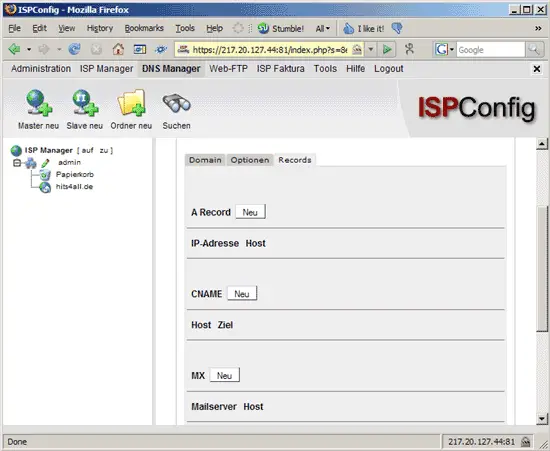
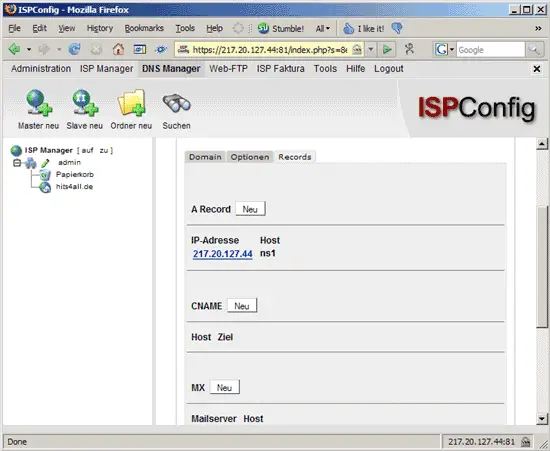
Then we go to the Records tab and click on the New (Neu) button next to A Record to create our first A record: ns1.hits4all.de.
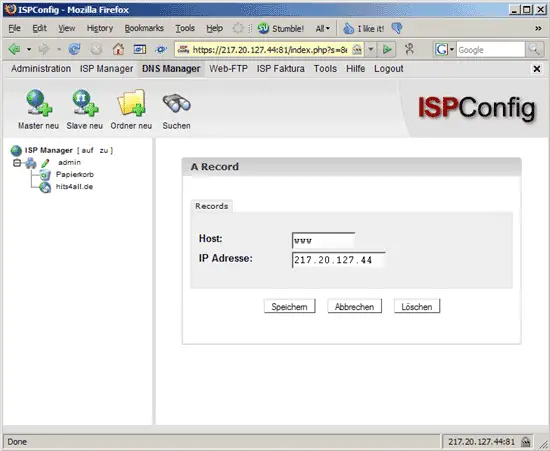
In the form that comes up we fill in ns1 (nothing more!) as Host and 217.20.127.44 as the IP address:

Afterwards, we can find our new record on the Records tab:
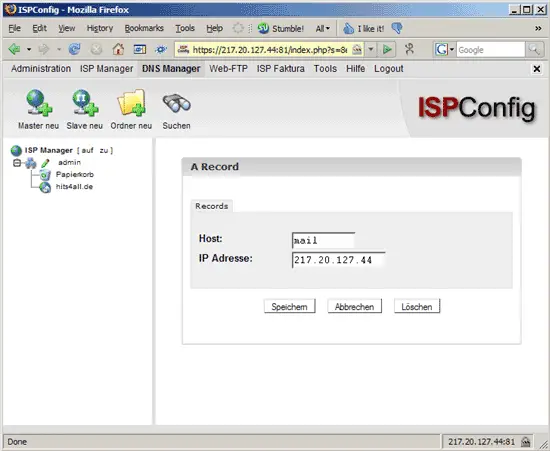
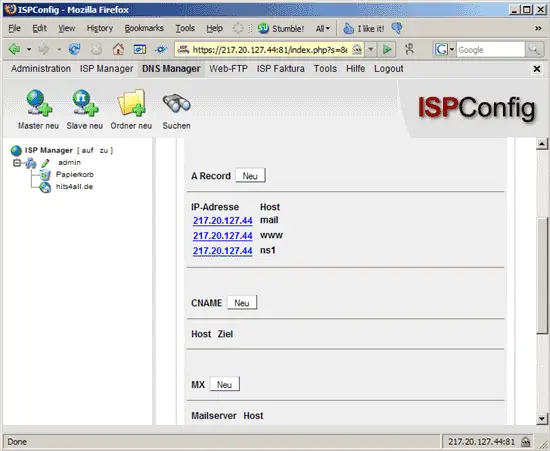
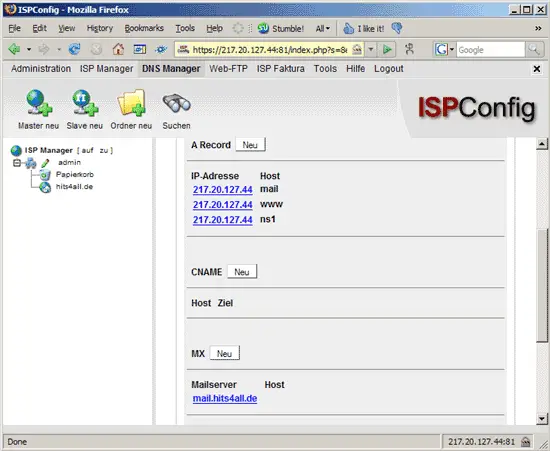
Next we create further A records like www.hits4all.de and mail.hits4all.de:
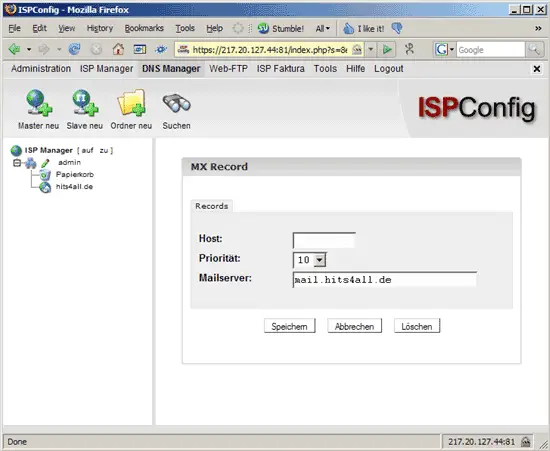
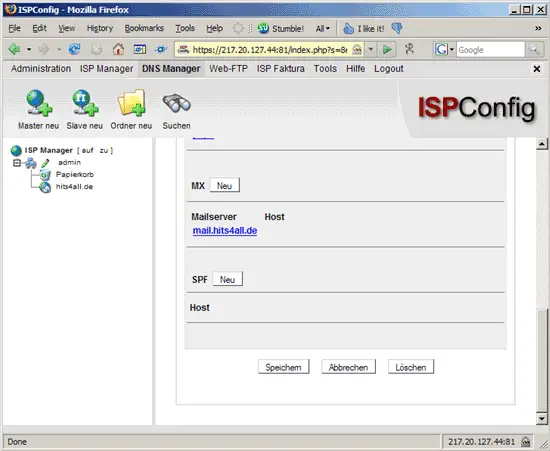
Now it's time to create an MX record for hits4all.de. We click on the New (Neu) button next to MX:
We want mails for hits4all.de to go to mail.hits4all.de (for which we've just created an A record). Because hits4all.de has no host name, we leave the Host field empty, select a priority and fill in mail.hits4all.de in the Mailserver field:
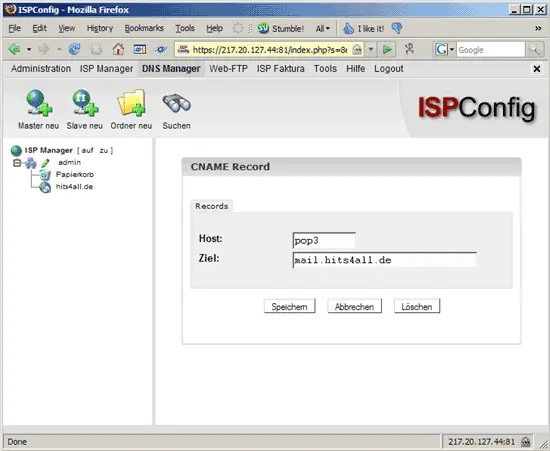
We also want to create some CNAME records, for example pop3.hits4all.de should point to mail.hits4all.de. Therefore we click on the New (Neu) button next to CNAME:
We fill in pop3 (nothing more!) as Host and mail.hits4all.de as Target (Ziel):
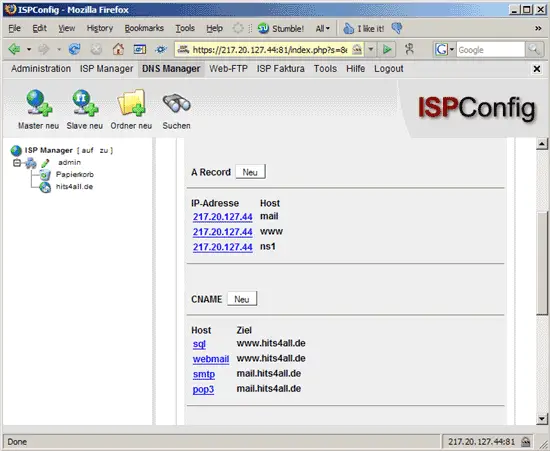
Afterwards we create some more CNAME records, such as
- smtp.hits4all.de -> mail.hits4all.de
- sql.hits4all.de -> www.hits4all.de
- webmail.hits4all.de -> www.hits4all.de
(but of course it's up to you if you need these records or not).
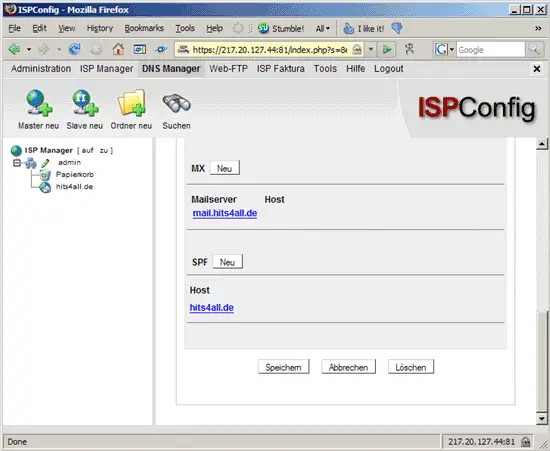
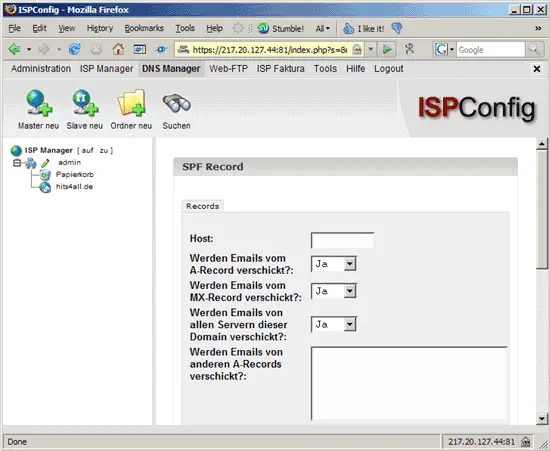
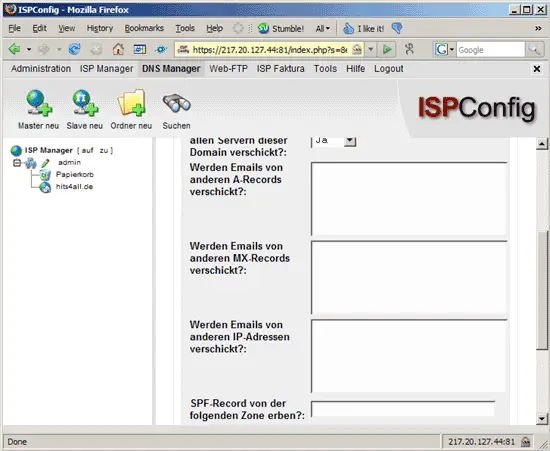
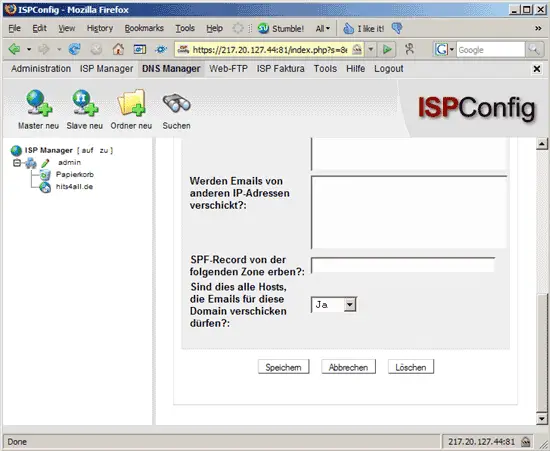
Finally we create an SPF record. SPF is an open standard specifying a technical method to prevent sender address forgery (see http://www.openspf.org/Introduction). Click on the New (Neu) button next to SPF (still on the Records tab):
ISPConfig's form for setting up SPF records is very similar to this wizard from the openspf.org web site, so take a look at the wizard, and you should be able to fill in the SPF form in ISPConfig. We leave the Host field empty because we want to send emails from hits4all.de, not from somesubdomain.hits4all.de:
That's it for the hits4all.de zone. We can now find all our records on the Records tab: