How To Install And Use MyDLP
Introduction
This document can be used as a guide to installation of MyDLP Appliance. It also describes the basic usage.
MyDLP is an easy, simple and open DLP (data loss prevention) solution, licensed under GPLv3. MyDLP 1.0 is released on 10 November 2010. MyDLP Appliance is a distribution based on Ubuntu Server. The distribution comes as a easy to deploy key solution. Protecting customer records, securing confidential files, data flow enforcements... they are all achievable within 30 minutes. Visit their site (http://www.mydlp.org) for further information.
Requirements
Installing MyDLP Appliance with MyDLP Appliance Auto-Install CD requires:
- http://www.mydlp.org/downloads/
- A network which has proper internet connection and DHCP Server.
- An Adobe Flash installed computer in order to connect MyDLP Web UI and finalize installation.
Watch MyDLP Installation on Vmware Workstation
http://www.youtube.com/watch?v=GDEK9c6LY0A
Watch how to use MyDLP
http://www.youtube.com/watch?v=e7znQn5vu5s
Installation
1. Download appliance image for your architecture from MyDLP Downloads Site (http://www.mydlp.org/download).
2. Burn ISO image to a CD and create your own MyDLP Appliance Auto-Install CD.
3. Insert MyDLP Appliance CD in CD-ROM of target computer and boot it from CD-ROM.
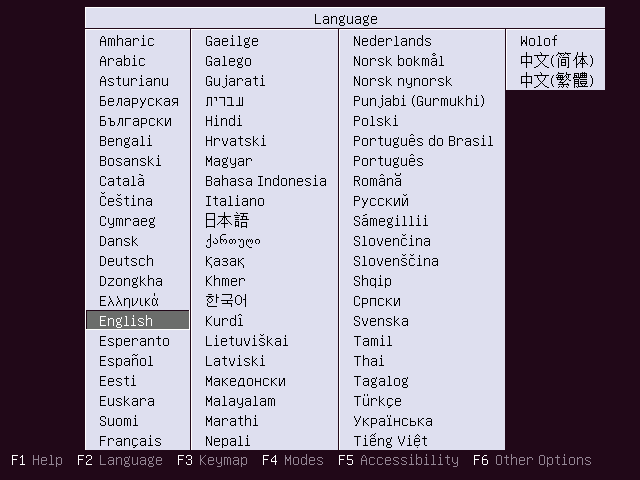
4. First select your language for installation interface.
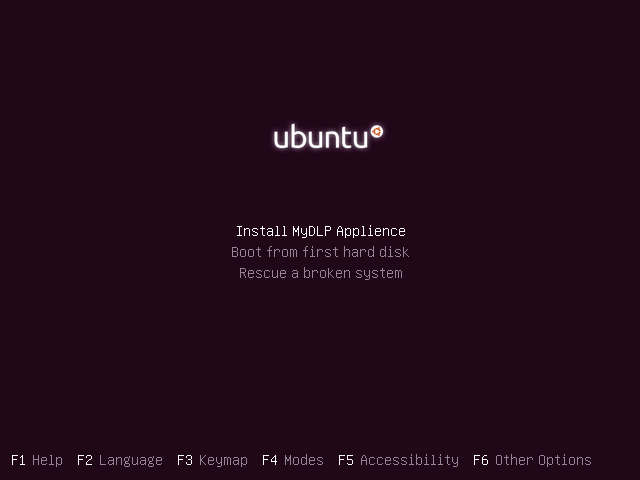
5. Select Install MyDLP Appliance.
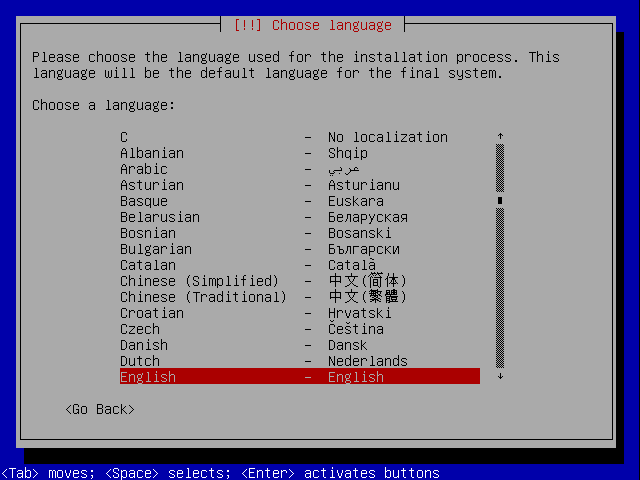
6. Select language for new Ubuntu system.
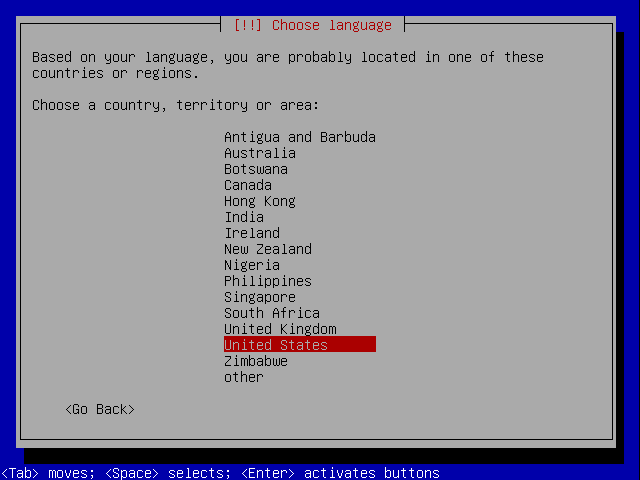
7. Choose your location:
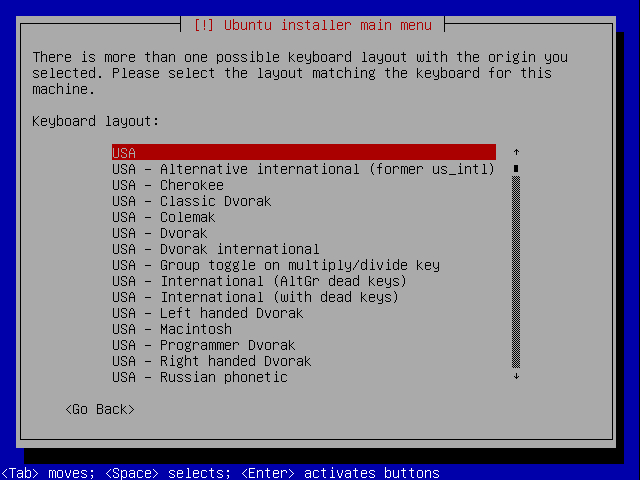
8. Select your keyboard.
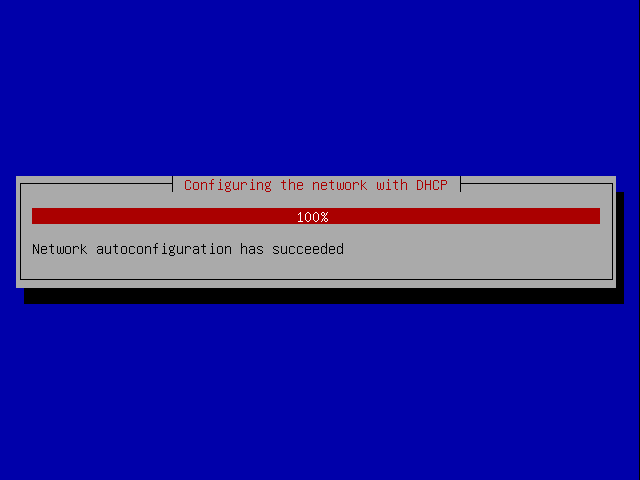
9. Then installer will start to configure system automatically. Default network configuration of MyDLP is DHCP for first ethernet card (eth0). You can change these after installation is completed. But, in order to complete MyDLP Appliance Installation an internet connection should exists and be properly distributed via DHCP.
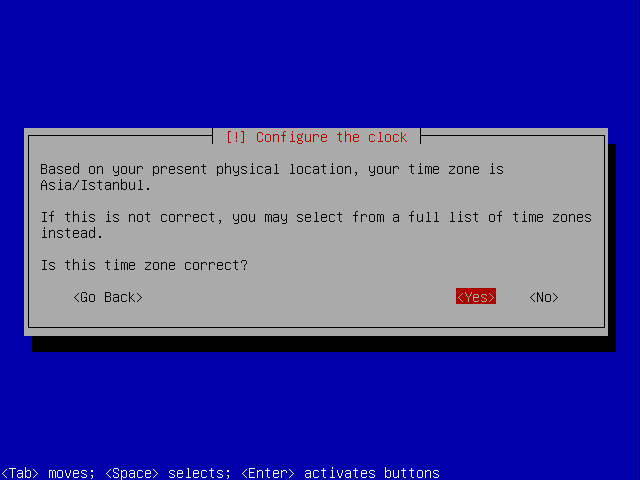
10. Select your time zone.