Converting All Your MS Outlook PST Files To Maildir Format
One of the challenges you may face when converting an office from Microsoft Windows to Linux is that many people archive their e-mail in PST files. There are PST tools available, but most of them are commercial, since the PST file format is closed and protected by Microsoft. There are several non-commercial methods to achieve roughly the same goal, and in this tutorial we use IMAP (more specifically, courier-imap) to convert all our e-mails from PST to the Maildir format. The advantage of this approach is that you also lay the foundation for a new mail system, with all your old e-mails already imported the day you switch over.
Before you start...
There are several assumptions that this tutorial is based on:
- You are currently using MS Outlook and you know how to archive your e-mails in PST files (more information is available here...)
- You are using a GNU/Debian based operating system (including Ubuntu, which is the operating system used in this tutorial)
- You are familiar with Debian package management
- You are familiar with the command line and tools like editors (vim, emacs etc.)
The basic steps in this tutorial are as follows:
- Install and configure courier-imap
- Connecting MS Outlook to your new IMAP server
- Moving mail from your PST files to your IMAP folders
- Configuring your new mail Linux mail client (KMail) to access your IMAP folders
Step 1 - Install and configure courier-imap
First you need to install courier-imap:
$ sudo apt-get install courier-imap
Several other packages may be installed, based on dependencies. You could also install the courier-doc package if you need the documentation package.
During the package installation you will get the following prompt:

In this tutorial we do not use web interfaces, so it is safe to select "No" here.
Now you need to choose a directory where your mail will live:
$ sudo mkdir -p /opt/imap-mail
Now we need to define our users in the courier-imap user database. There are several ways to do this, including mass conversion of all your users in /etc/passwd using the pw2userdb tool as mentioned in the courier FAQ. Here is what we do to create a single user:
$ sudo touch /etc/courier/userdb
$ sudo chmod 600 /etc/courier/userdb
$ sudo userdb peanut set uid=1000 gid=1000 shell=/bin/bash home=/opt/imap-mail/peanut
In this file, you will have something like the following:
peanut uid=1000|shell=/bin/bash|home=/opt/imap-mail/peanut|gid=1000
Now you need to set the users password and create the directory that will store all our e-mail:
$ sudo userdbpw -md5 | sudo userdb peanut set systempw
$ sudo mkdir -p /opt/imap-mail/peanut
$ sudo maildirmake /opt/imap-mail/peanut/Maildir
$ sudo chown -R 1000:1000 /opt/imap-mail/peanut
Your /etc/courier/userdb file should now look like this:
peanut systempw=$1$JdvxSL9/$2TOrNidtALpODg1HZR4Aj1|uid=1000|shell=/bin/bash|home=/opt/imap-mail/peanut|gid=1000
Note : The password field might look different.
In the /etc/courier/authdaemonrc file, make sure you set the following value:
authmodulelist="authuserdb"
Note that you may need to replace the existing authmodulelist value. Now prepare the user DB and restart the entire system:
$ sudo makeuserdb
$ sudo /etc/init.d/courier-authdaemon stop
$ sudo /etc/init.d/courier-imap stop
$ sudo /etc/init.d/courier-authdaemon start
$ sudo /etc/init.d/courier-imap start
The IMAP system is now ready. Next we need to connect MS Outlook to our new IMAP system.
Connect MS Outlook to the IMAP Server
The following process is relatively easy using the MS Outlook client.
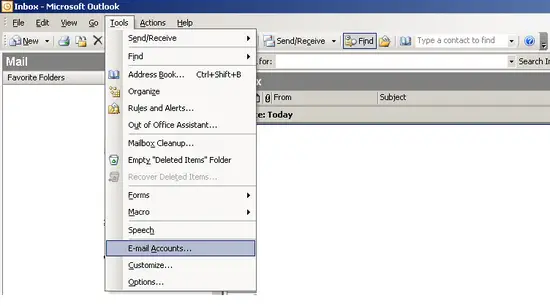
Make sure MS Outlook is running, and then click on the "Tools" menu option and select "E-mail accounts":
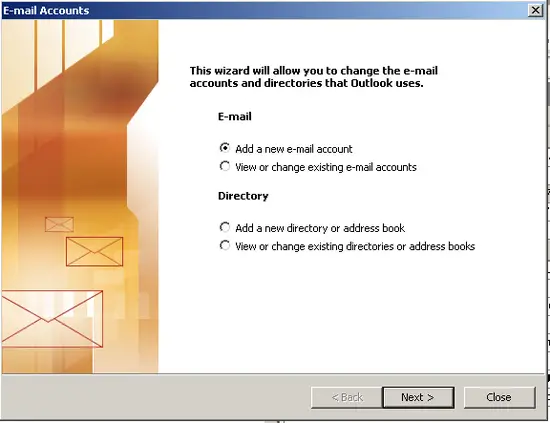
Make sure the following option is selected: "Add a new e-mail account"
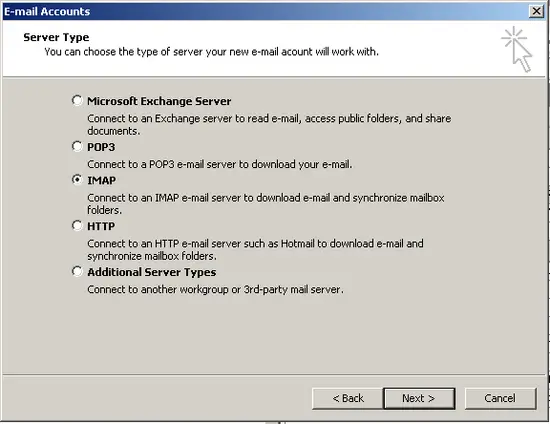
On the next screen select the IMAP option:
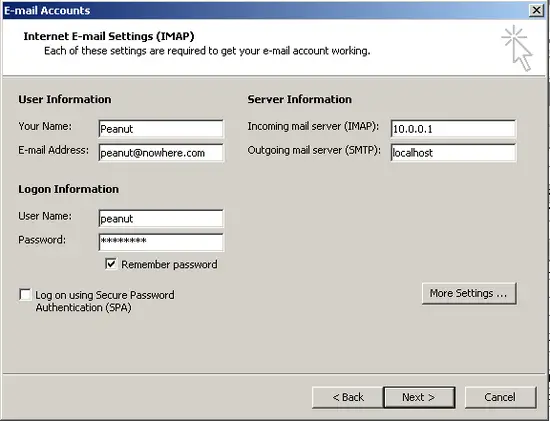
Make sure you complete the relevant details on the next screen:
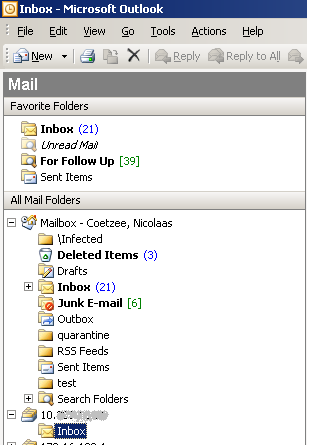
When you finish, you can access your new mail box. It should be empty: