Network Management And Monitoring With Hyperic HQ On Fedora 8
Version 1.0
Author: Oliver Meyer <o [dot] meyer [at] projektfarm [dot] de>
This document describes how to set up Hyperic HQ on Fedora 8. The resulting system provides an awesome, web-based "System ManagementSoftware". It's the next stage of classical monitoring and able to manage all kinds of operating systems, web servers, application servers and database servers.
I can't list all the features in here, so please take a look at http://www.hyperic.com/products/hq_oss.html. Hyperic HQ is licensed under the GPL.
This howto is a practical guide without any warranty - it doesn't cover the theoretical backgrounds. There are many ways to set up such a system - this is the way I chose.
1 Preliminary Note
I used a standard Fedora 8 installation for this howto. It's also possible to use a Fedora 8 server setup (minimal installation without gui etc).
Note: If you want to set up a virtual machine with VMware-Server you should install the VMware Tools - otherwise the VM's system time will run too fast and the HQ server might get problems with the collection of data from the HQ agents.
2 Preparation
2.1 Up To Date
I recommend to install a few plugins for yum to speed it up a bit and prevent problems with packages.
- yum-fastestmirror
- yum-skip-broken
- yum-fedorakmod
- yum-kernel-module
Use your preferred yum frontend or a terminal:
su -
%rootpassword%
yum -y install yum-fastestmirror yum-skip-broken yum-fedorakmod yum-kernel-module
exit
Now you should update your system (if not already done). Use your preferred yum frontend or a terminal:
su -
%rootpassword%
yum -y update
exit
2.2 NTP
It's highly recommended that you synchronize the system time on the HQ server and all HQ agents via NTP (Network Time Protocol). Otherwise the HQ server will get problems with the collection of metrics from the HQ agents.
2.2.1 Standard Setup With Gui
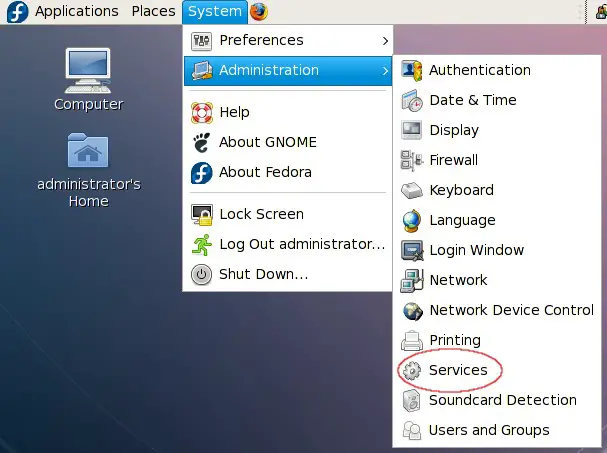
The NTP-settings are available in the gnome-system menu.
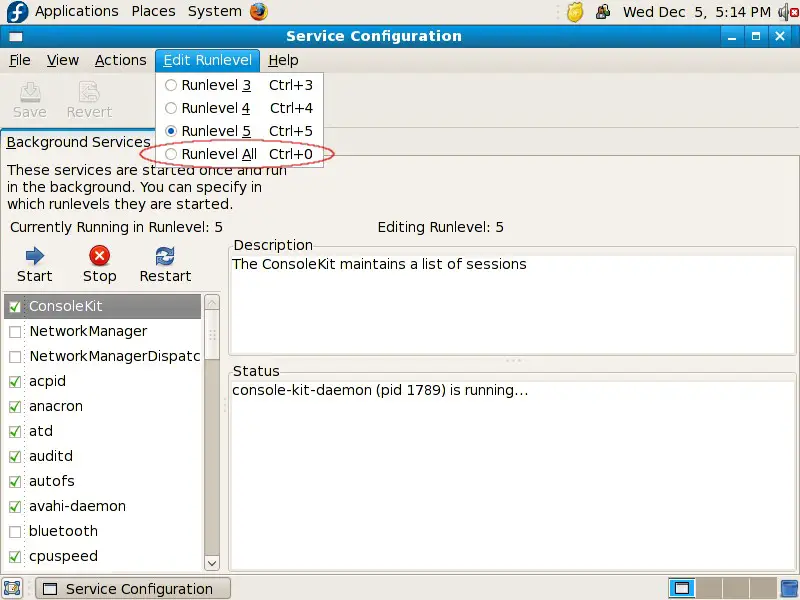
Enter the root password.

Select "Runlevel All" in the menu.
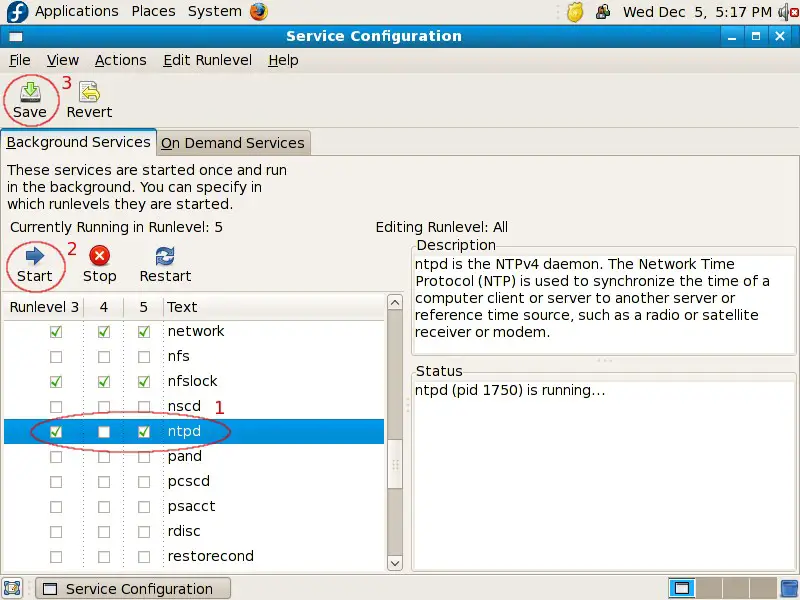
The service "ntpd" should be activated in runlevels 3 and 5. If not, mark the corresponding checkboxes, start the service and save the settings.
2.2.2 Server Setup Without Gui
First switch to the rootaccount ...
su -
%rootpassword%
... and check if NTP is activated for runlevel 3.
chkconfig --list ntpd
If it is deactivated, activate it in runlevel 3 and start it.
chkconfig --level 3 ntpd on
/etc/init.d/ntpd start
exit
2.3 Hosts
If you haven't set up a DNS-server for your network it would be a good idea to edit the hosts file on the HQ server's host and all workstations from which you want to access the HQ server's webinterface. So let's edit the settings:
su -
%rootpassword%
vi /etc/hosts
It should look like this. Replace the hostname and the IP with the settings you chose.
# Do not remove the following line, or various programs
# that require network functionality will fail.
127.0.0.1               localhost.localdomain localhost
192.168.0.100           server1.example.com server1
::1             localhost6.localdomain6 localhost6
Afterwards switch back to your useraccount.
exit
On Windows workstations you'll find the hosts-file in C:\Windows\System32\drivers\etc\.
2.4 SELinux
SELinux should be disabled. If you're not sure if it is, enter:
cat /etc/selinux/config | grep ^SELINUX=
If it is not disabled edit the config file:
vi /etc/selinux/config
Change:
SELINUX=enforcing
To:
SELINUX=disabled
After that you have to reboot the system.
reboot

