The Perfect Xen 3.1.0 Setup For Debian Etch (i386) - Page 2
On this page
4 Installing The Binary Package
Run the following commands:
apt-get remove exim4 exim4-base lpr nfs-common portmap pidentd pcmcia-cs pppoe pppoeconf ppp pppconfig
apt-get install screen ssh debootstrap python python-twisted iproute bridge-utils libcurl3-dev libssl0.9.7
4.1 Install Xen
Then download xen-3.1.0-install-x86_32.tgz from http://www.xensource.com/download/dl_31tarballs.html, unpack it, and run the install script:
cd /usr/src
wget http://bits.xensource.com/oss-xen/release/3.1.0/bin.tgz/xen-3.1.0-install-x86_32.tgz
tar xvzf xen-3.1.0-install-x86_32.tgz
cd dist/
./install.sh
mv /lib/tls /lib/tls.disabled
Now Xen is installed. In order to start the Xen services at boot time, do the following:
update-rc.d xend defaults 20 21
update-rc.d xendomains defaults 21 20
We need a ramdisk for our new Xen kernel, therefore we do the following:
depmod 2.6.18-xen
apt-get install yaird
To create the ramdisk, we run
mkinitrd.yaird -o /boot/initrd.img-2.6.18-xen 2.6.18-xen
The last command creates the ramdisk /boot/initrd.img-2.6.18-xen.
Next we add our new kernel to Grub, our bootloader. We can do this with one simple command:
update-grub
Now reboot the system:
shutdown -r now
At the boot prompt, Grub should now list Xen 3.1.0 / Debian GNU/Linux, kernel 2.6.18-xen as the first kernel and boot it automatically:
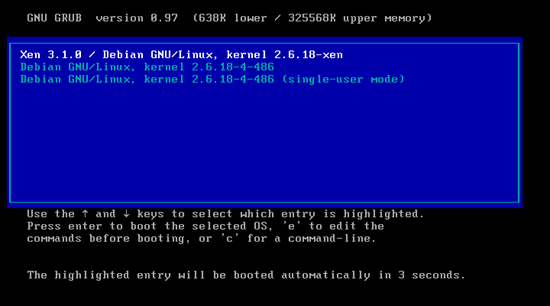
If your system comes up without problems, then everything is fine!
Run
uname -a
and your new Xen kernel should show up:
server1:~# uname -a
Linux server1.example.com 2.6.18-xen #1 SMP Fri May 18 16:11:33 BST 2007 i686 GNU/Linux

