What is IAM and How does IAM Work in AWS?
IAM (Identity and Access Management) falls under “Security, Identity, & Compliance” service in AWS (Amazon Web Services). It lets us manage access to AWS services and resources securely. Using IAM we can create and manage AWS users, groups, roles and use permissions to allow or deny their access to AWS resources.
IAM comes with "no additional charge" and we are charged only for other AWS services used by us.
AWS IAM helps us to:
- Manage users and their access:
We can create users in IAM, assign them individual security credentials. We can manage permissions to control which operations a user can perform and which not. - Manage roles and their permissions:
We can create roles in IAM and manage permissions to control which operations can be performed by the entity, or AWS service, that assumes the role. - Manage federated users and their permissions:
We can enable identity federation to allow existing users, groups, and roles in our enterprise to access the AWS Management
To understand IAM service more in detail you can refer AWS official documentation.
In this article, we will see how to create an IAM user, group, IAM role, assign permission and create custom policy.
Note: IAM does not belong to a particular region and spans across the complete AWS Account.
Pre-requisites
- AWS Account (Create if you don’t have one).
What we will do
- Login to AWS.
- Create an IAM User.
- Create an IAM Group and add user to it.
- Create an IAM Role.
- Create an IAM policy.
Login to AWS
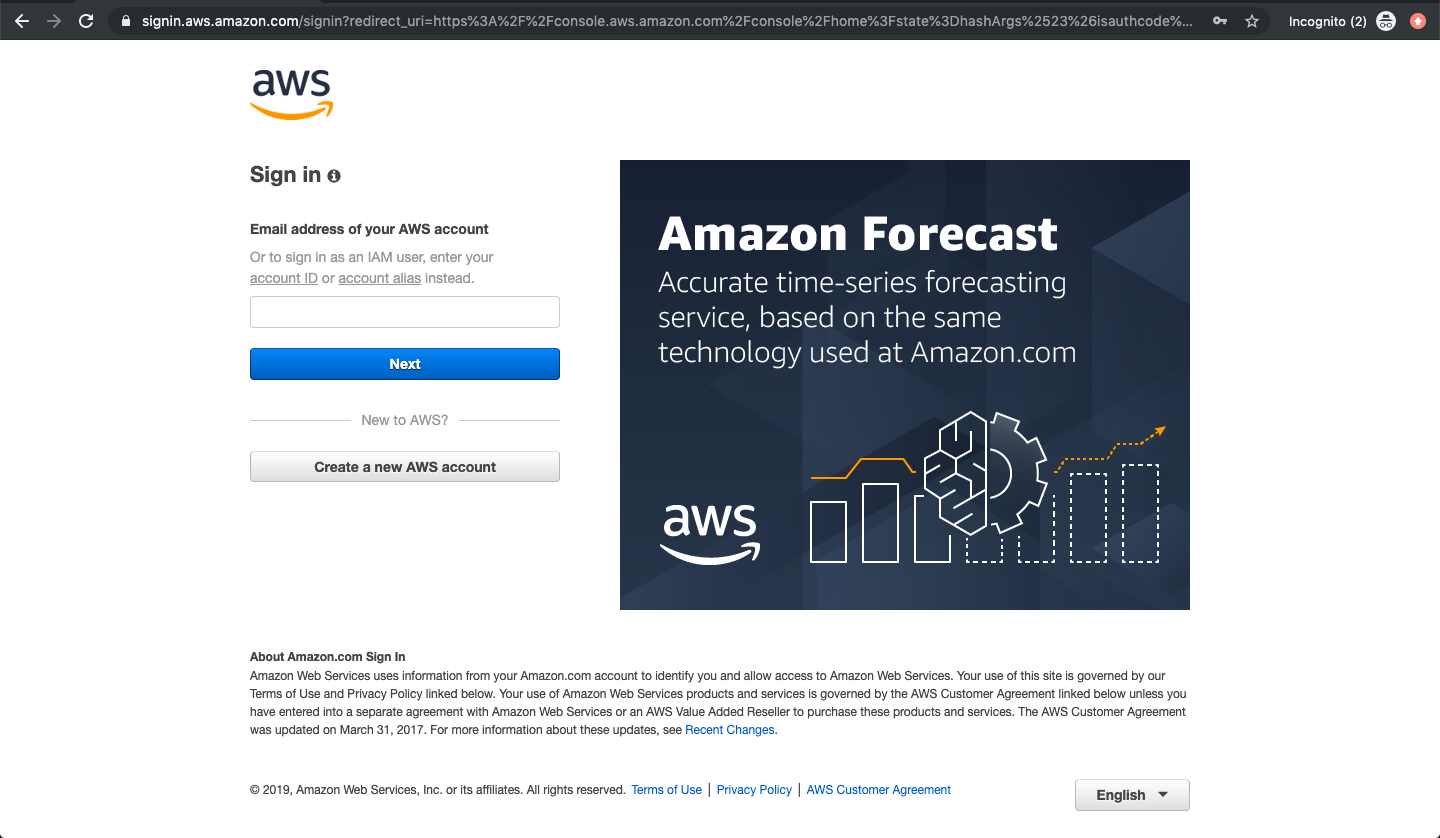
- Click here to go to AWS Login Page.
When we hit the above link, we will see a web page as follows where we are required to login using our login details.
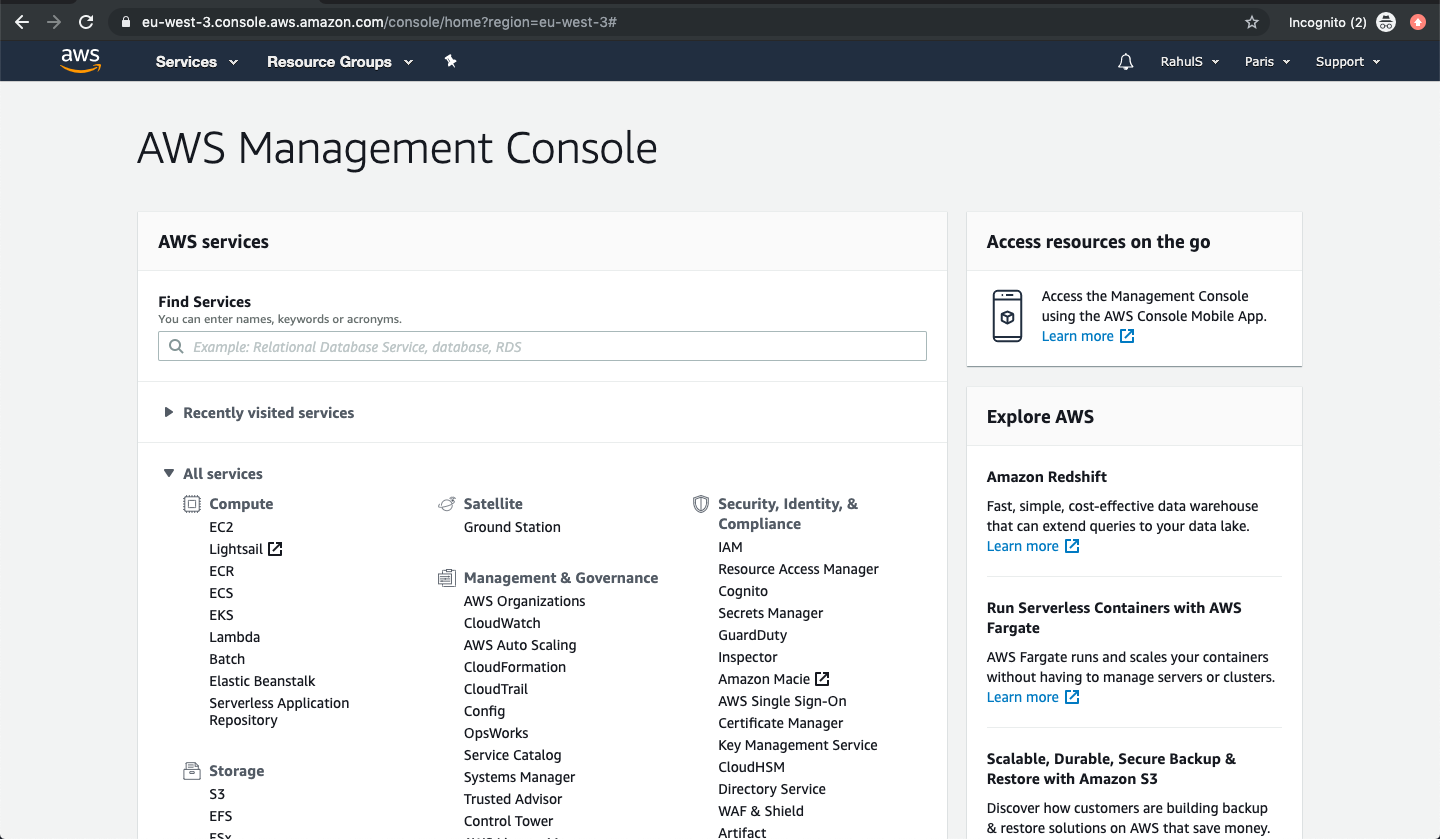
Once we login into AWS successfully, we will see the main console with all the services listed as follows.
Create an IAM User
An (IAM) user is an entity that we create on AWS to represent the person or application that uses it to interact with AWS. A user in AWS consists of a name and credentials.
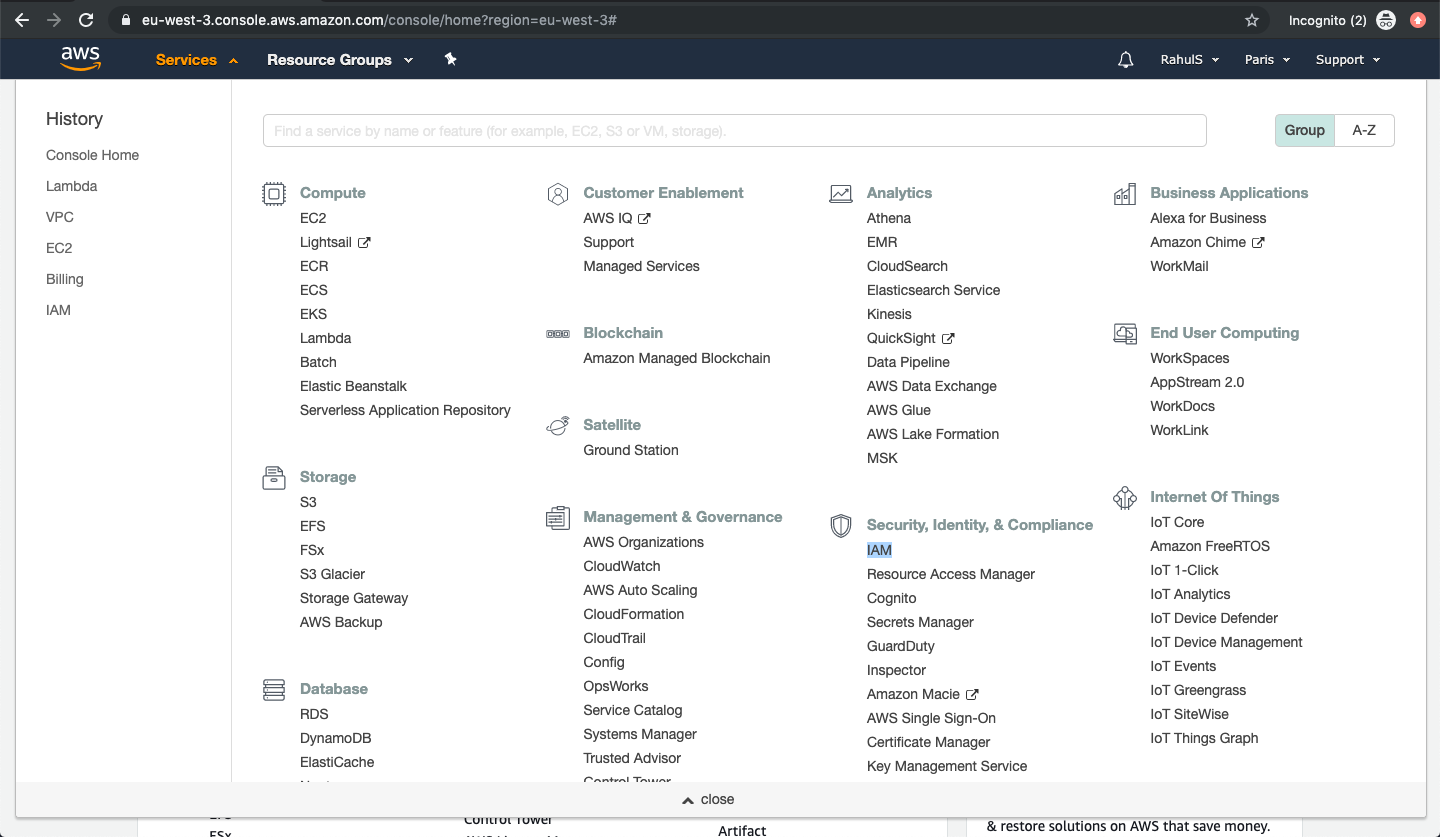
Click on “Services” at the top left corner and you will see a screen will all the service. Spot “IAM” under “Security, Identity, & Compliance” and click on “IAM”
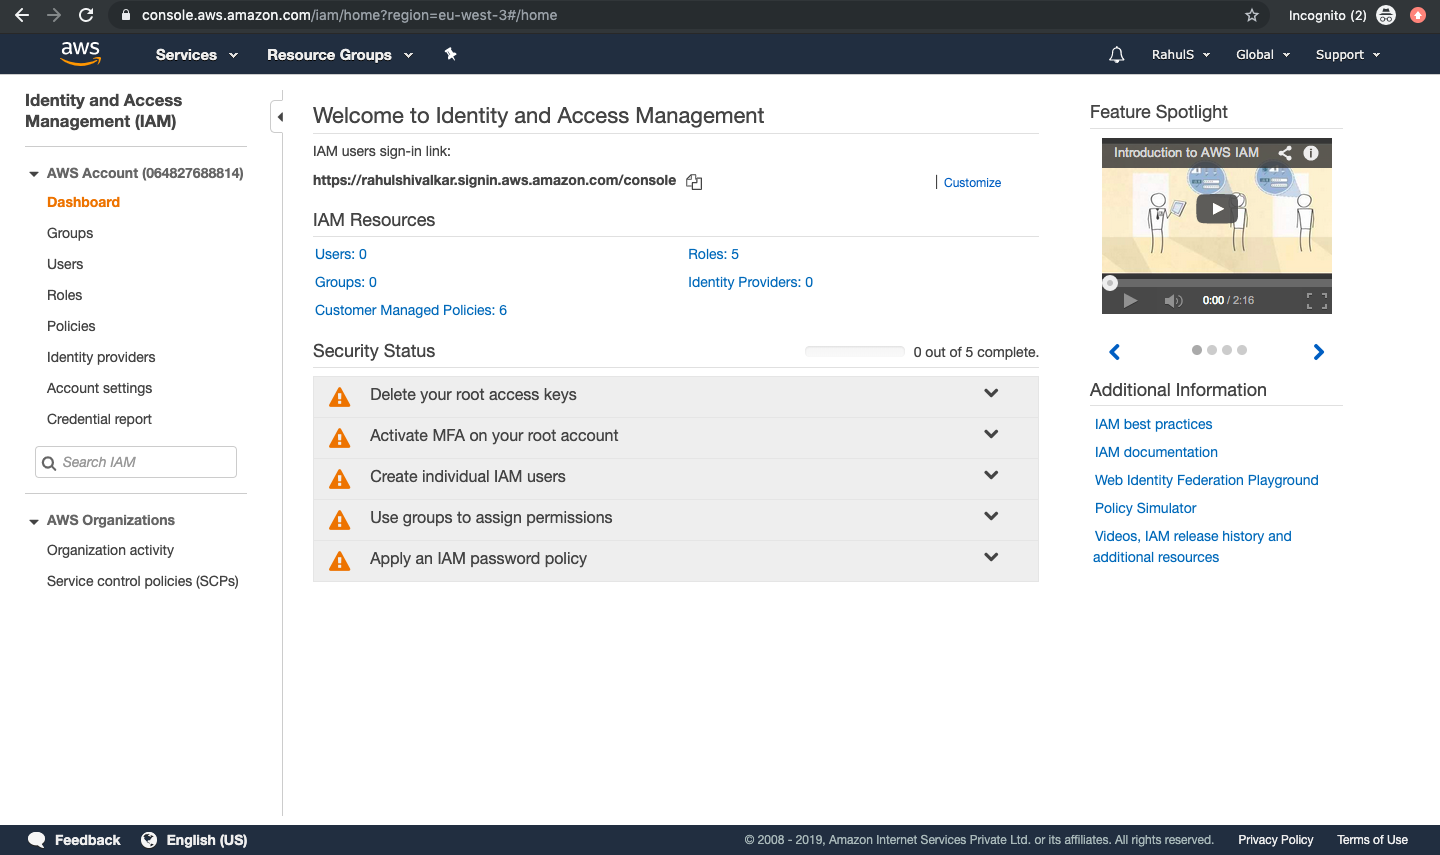
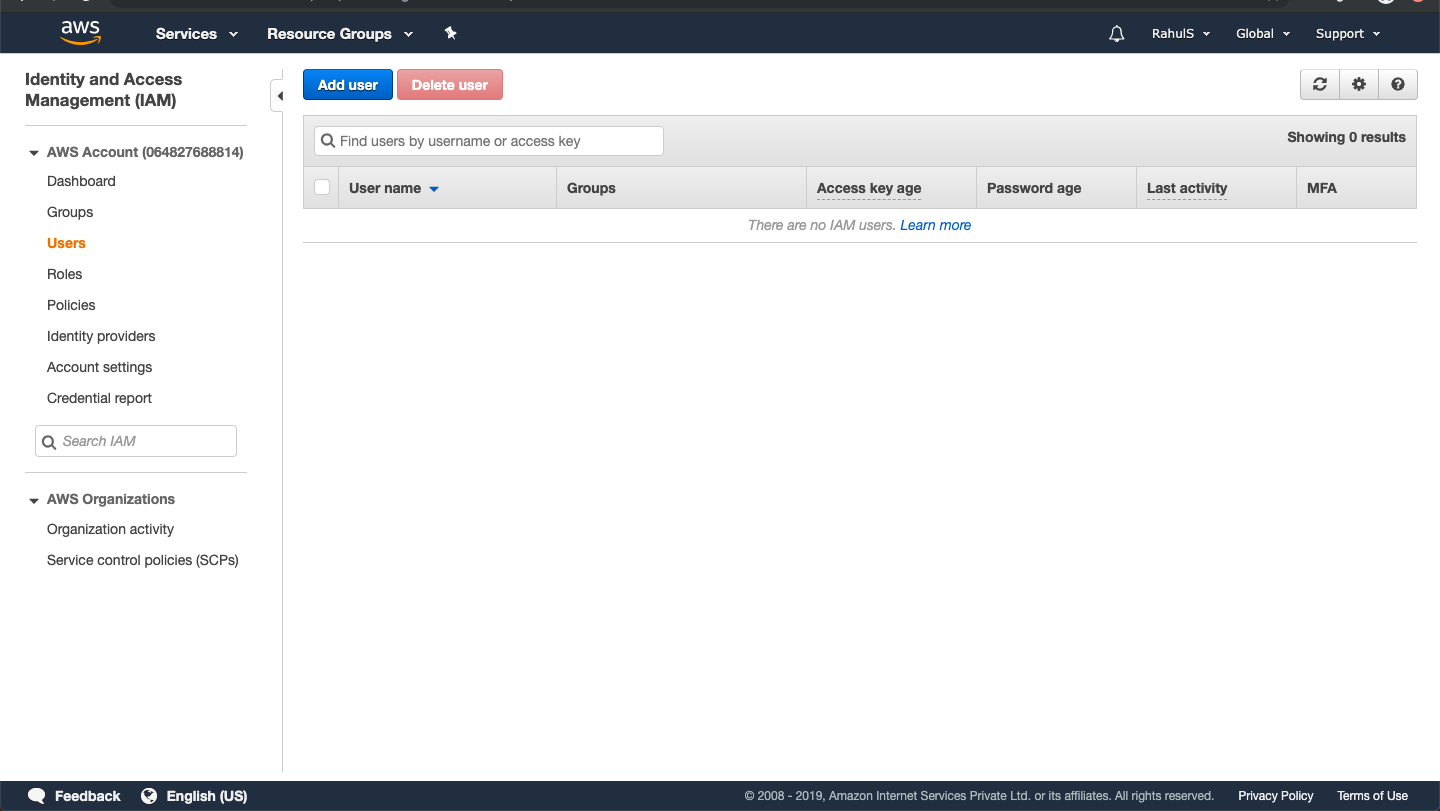
You will see a Dashboard. This is the home page for IAM. Click on “Users” from the left panel.
Click on “Add user” to create a new user.
Here, give a name to the user to be created. We can create a user with two different access type.
- Programmatic access:
We can perform the operation on AWS account from AWS API, CLI, SDK, and other development tools using this access type. - AWS Management Console access:
This access type allows a used to sign-in to the AWS Management Console.
In this article, we will create a user having “AWS Management Console access”.
Once you click on “AWS Management Console access” you will get a field to assign a password for the user.
We can either have “Autogenerated password” or “Custom password”. Here, we will select “Custom password” and assign a password to the user. Depending on the requirement we can force a user to change the password on its next login. Here, keep it as it is. Click on “Next: Permission” to proceed further and assign the permissions.

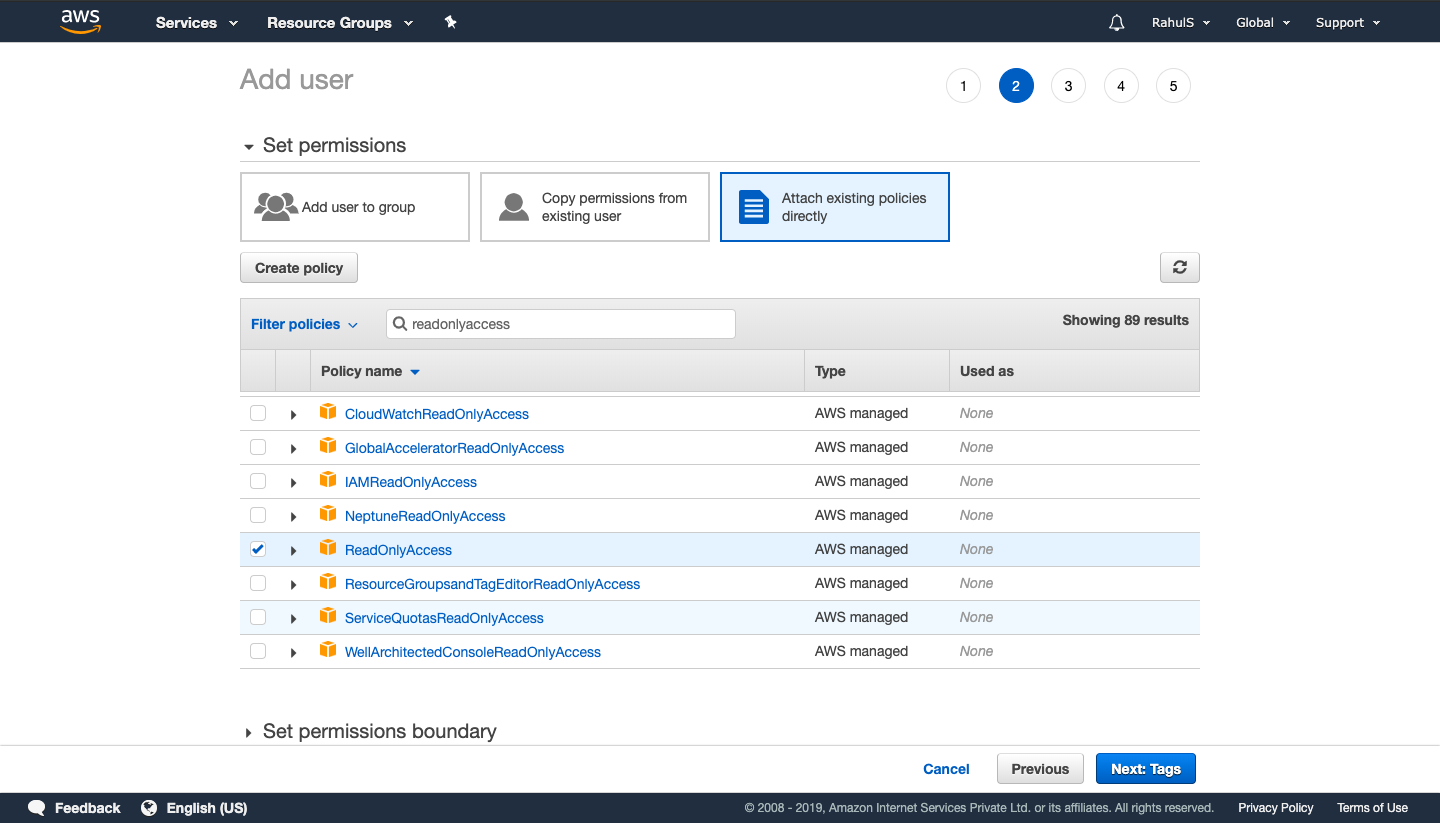
On the next screen, click on “Attach existing policies directly” and search for “readonlyaccess” and select the check-box as shown in the following screen. Giving “ReadOnlyAccess”, the user will not be able to create any of the AWS resources. You can go through the list of permissions to understand them. Click on “Next: Tag” to proceed further.
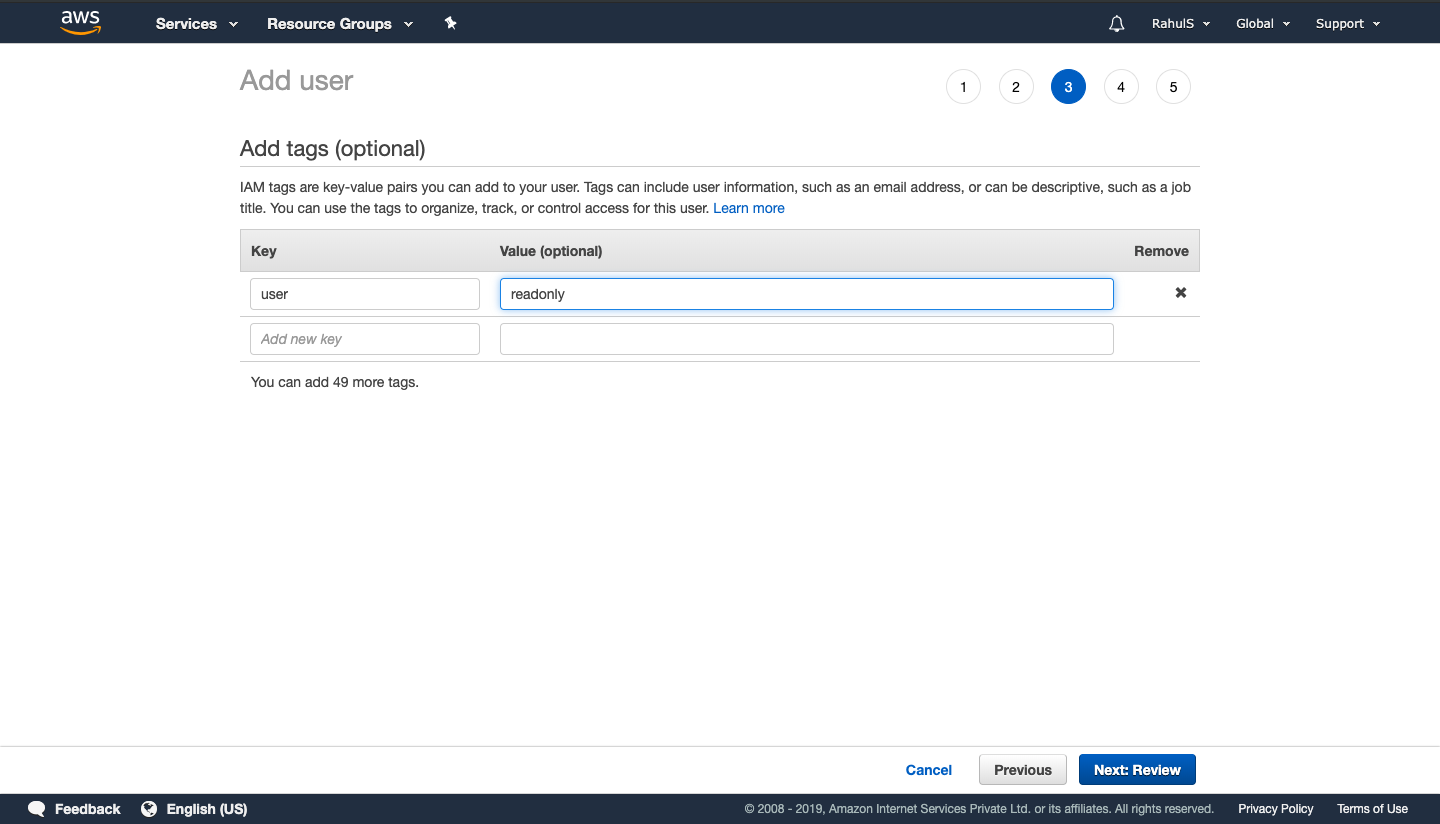
Assigning tags is optional but helps to organize, track, or control access for this user. Click on “Next: Review” to proceed further and create a user.
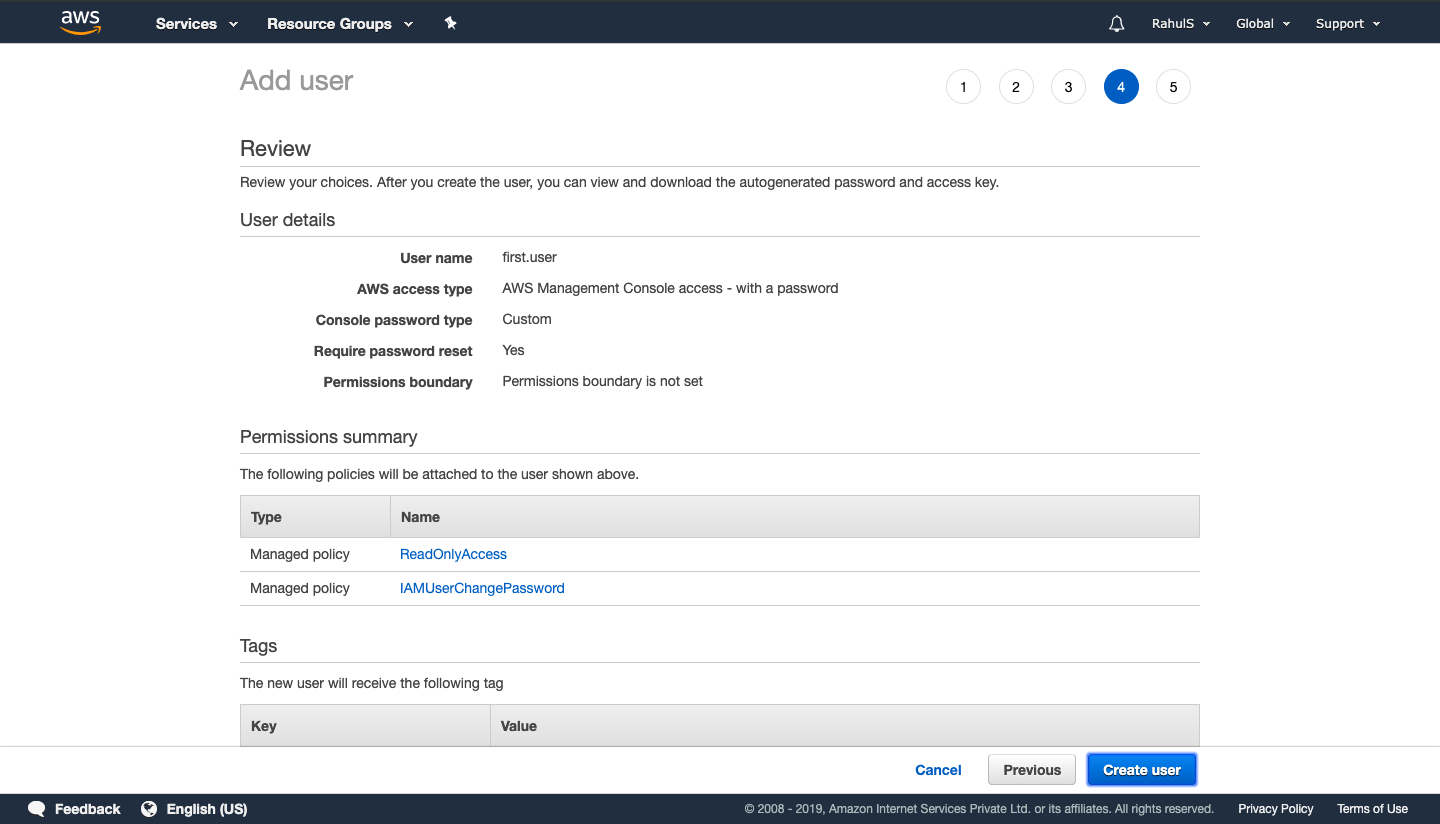
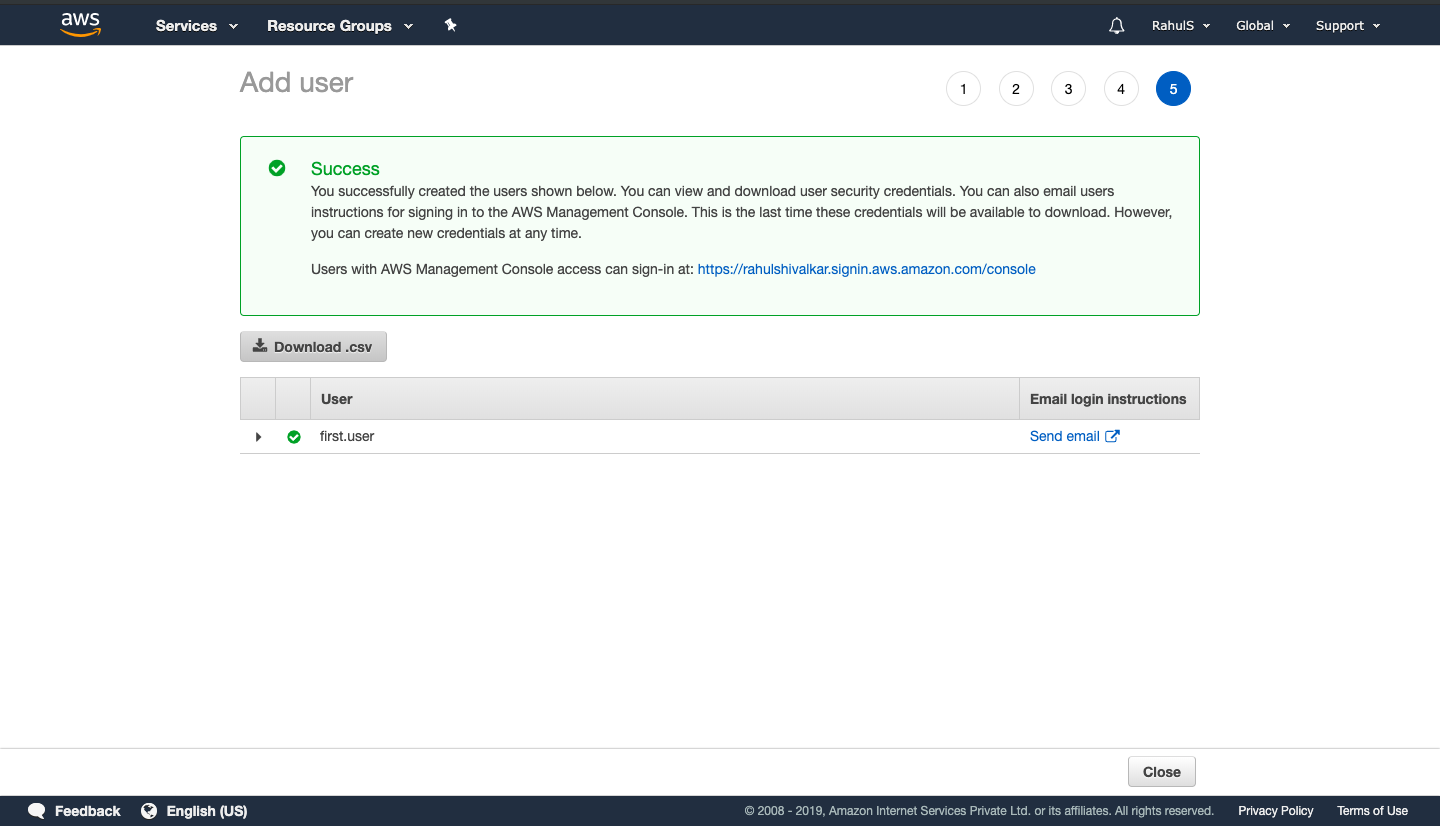
Review the configuration and click on “Create user” to create a user.
Click on “Download .csv” which contains “Console login link”. In case of creating a user with “Programmatic access” this file is very important as it would contain “Access key ID” and “Secret access key” required to get access. Now, you can click on “Close” as we have created our first user.
Create an IAM Role
An IAM role is an IAM identity that we can create in our AWS account that has specific permissions. It is similar to an IAM user with permission policies that determine what the identity can and cannot do in AWS. IAM Role allows AWS services to perform actions on our behalf.
On the IAM home page, click on “Roles” in the left panel. Click on “Create role”.
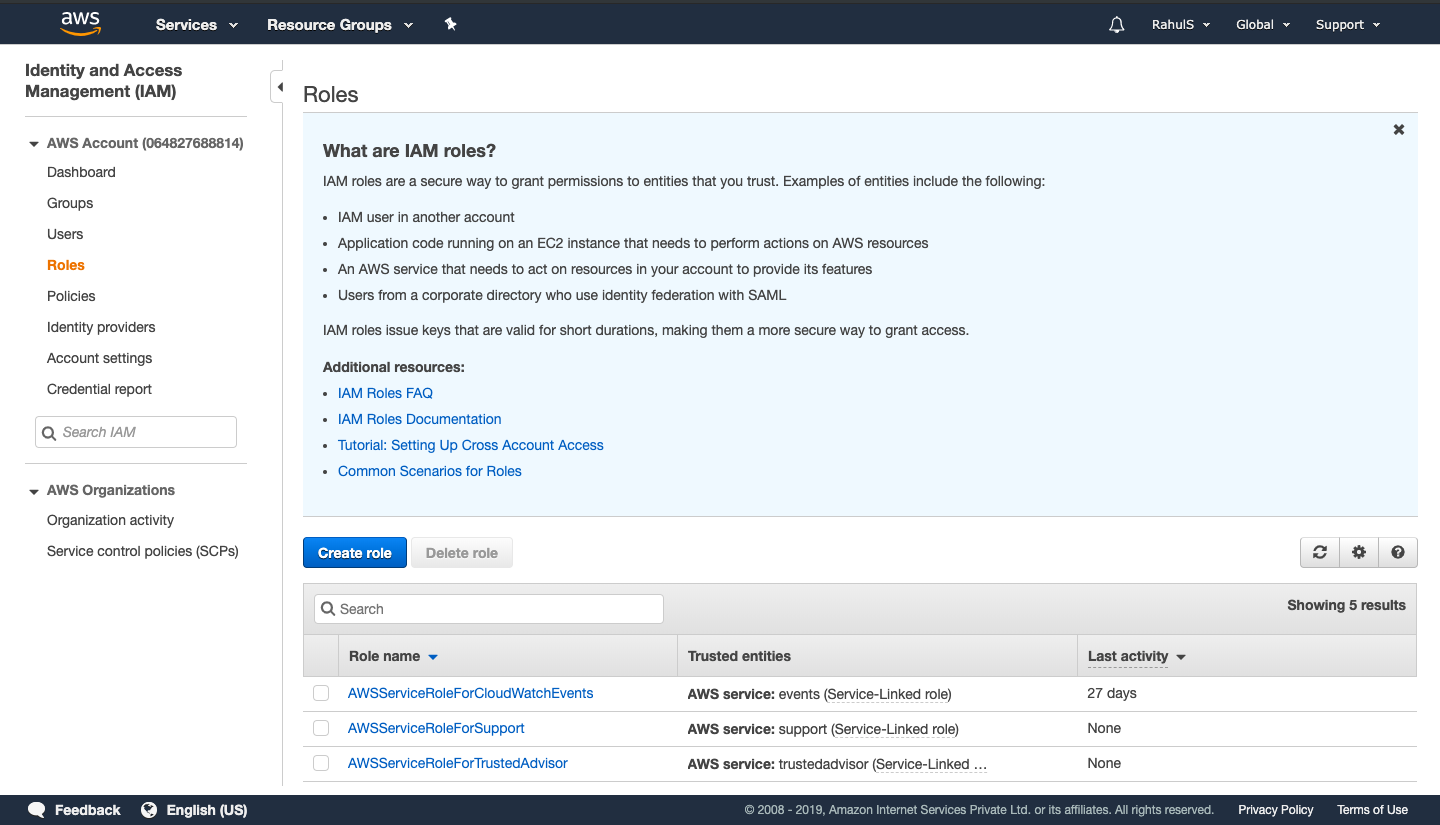
In this article, we will create a Role for Lambda Service. Click on “Lambda” and click on “Next: Permissions”.

In the search box, search for “ec2readonlyaccess” and tick on the check-box for the policy “AmazonEC2ReadyOnlyAccess”. This will give “readonly” access to Lambda function on EC2 Service. Click on “Next: Tags”.

Adding tags is optional but can be used to organize, track, or control access for this role. Click on “Next: Review” to proceed further.

Give a name to the role, add a description and click on “Create role”. This will create a Role which will Allows Lambda functions to call AWS services on your behalf with “ReadOnlyAccess” on “EC2” service.

Create an IAM Group
An IAM group is a collection of IAM users. We can specify permissions for multiple users using role, which can make it easier to manage the permissions for those users.
On the IAM home page, click on “Groups” in the left panel. Click on “Create New Group”.
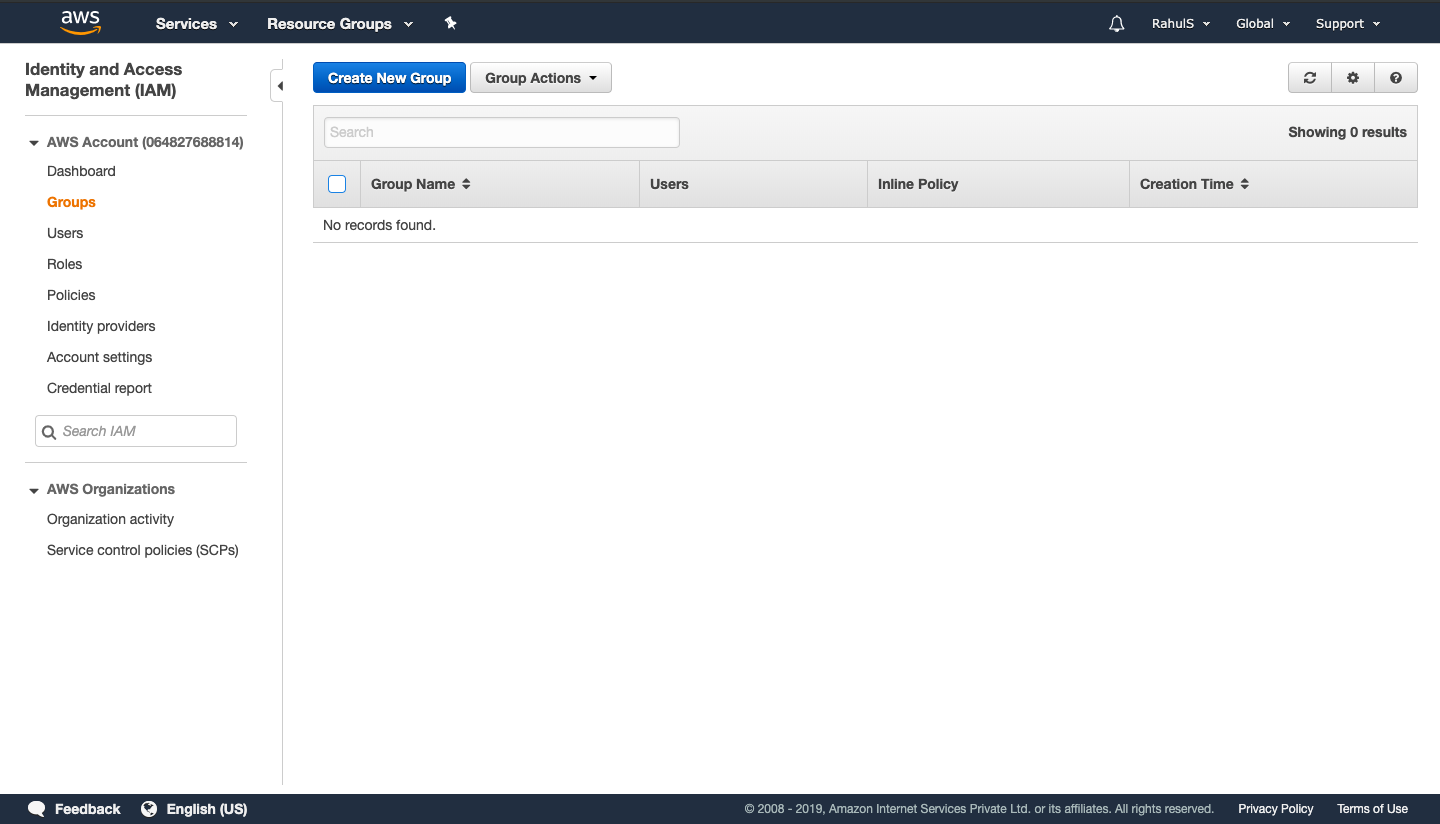
Specify a name and click on “Next Step”.

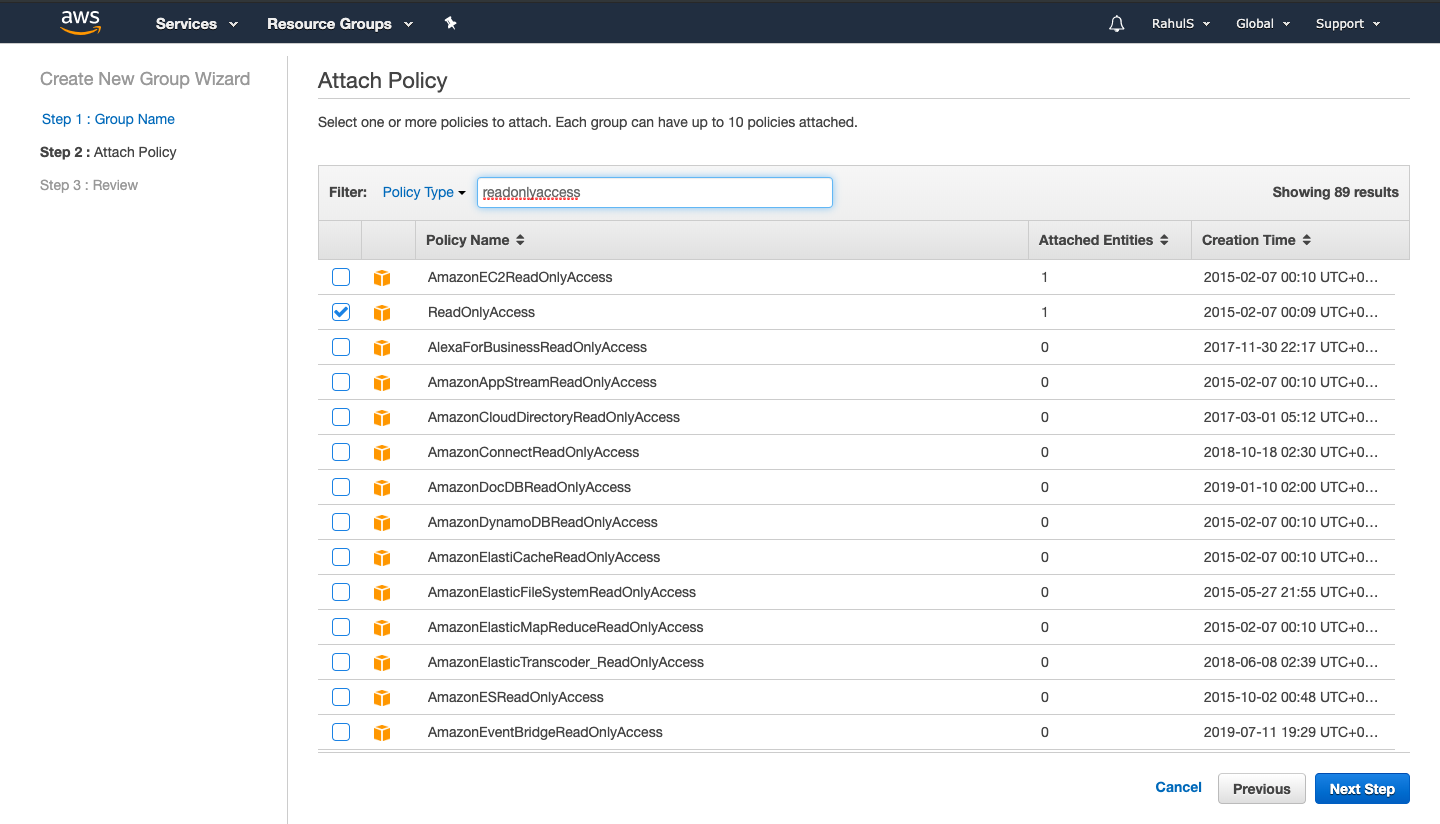
Search for “readonlyaccess”, scroll to the bottom and check the check-box. Click on “Next Step”.
Review the configuration and click on “Create Group”.
Now, we have a group with “ReadOnlyAccess”, which means users belonging to this group will have only “Read-Only” access on AWS Resources/Services.

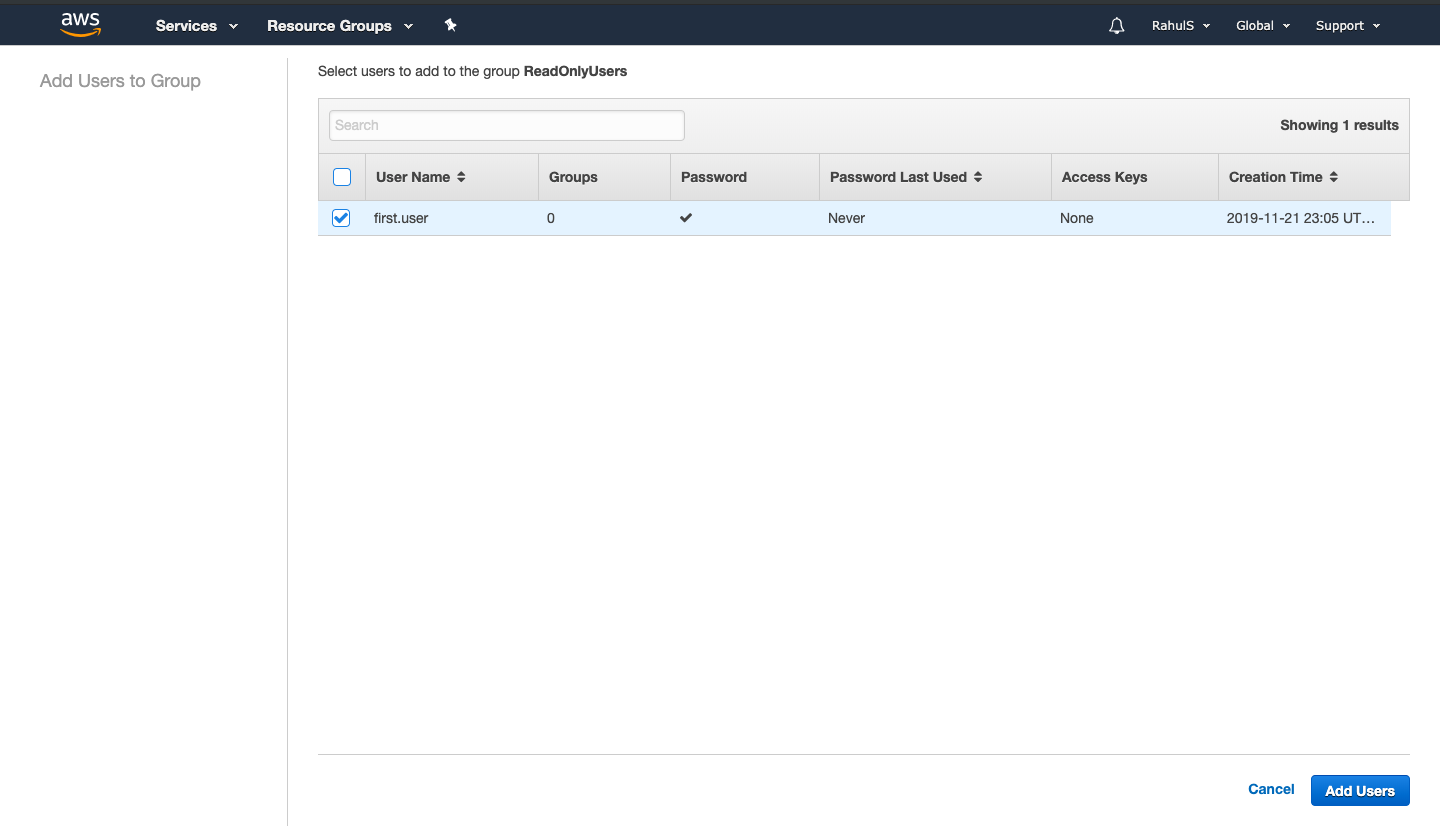
Go back to the IAM Homepage and select the group that we just created. Click on “Add Users to Group” to add our user to this group.

Select the user that we created in the previous step and click on “Add Users”. This will add our user to the group we created having “ReadOnlyAccess”.
Create an IAM Policy
An IAM policy is an entity that is attached to an identity or resource to define their permissions.
On the IAM home page, click on “Policies” in the left panel. Click on “Create Policy“.
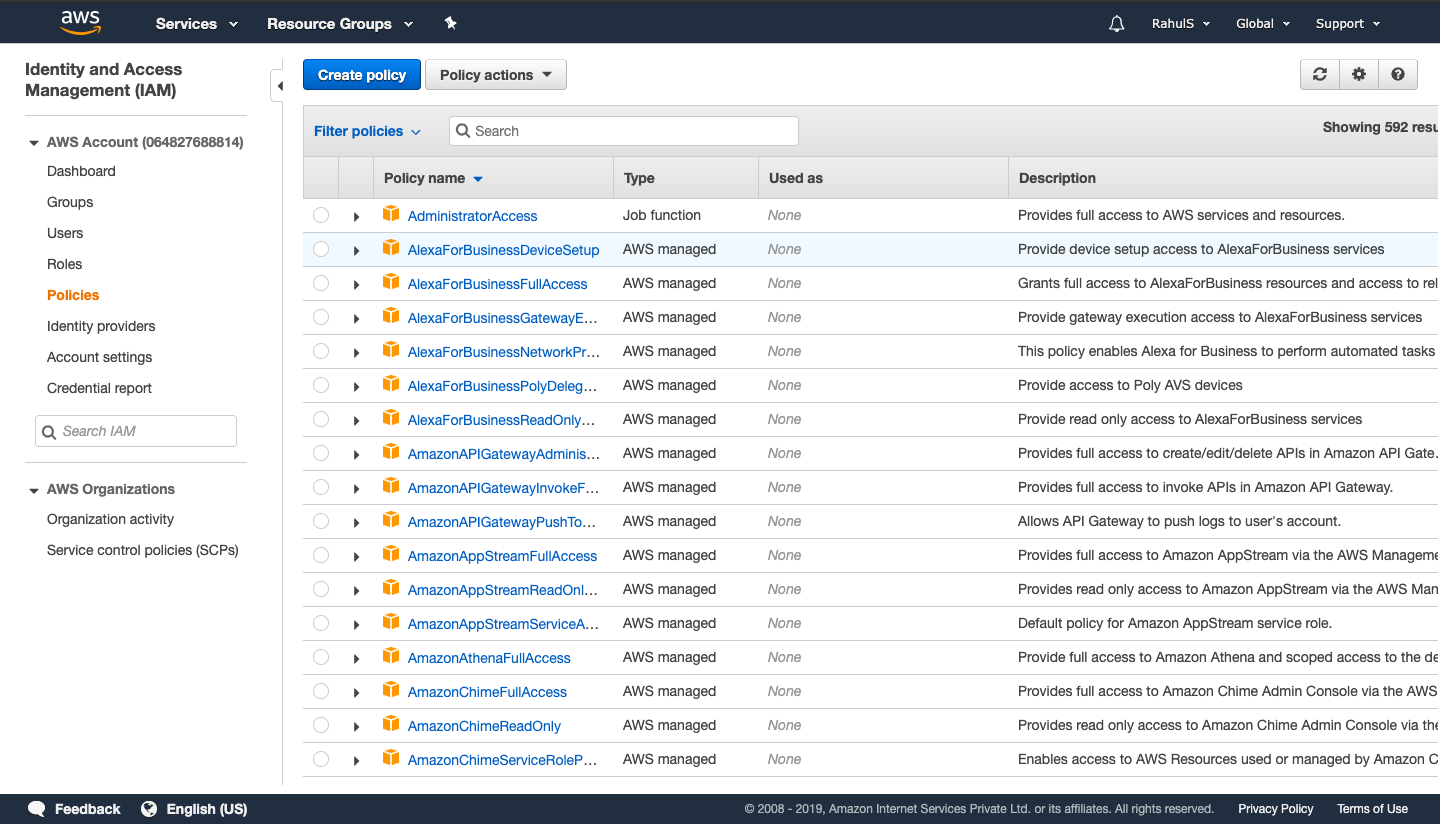
Click on “Service” to select a service for which policy needs to be created. Search for a service in the search box and select the service.

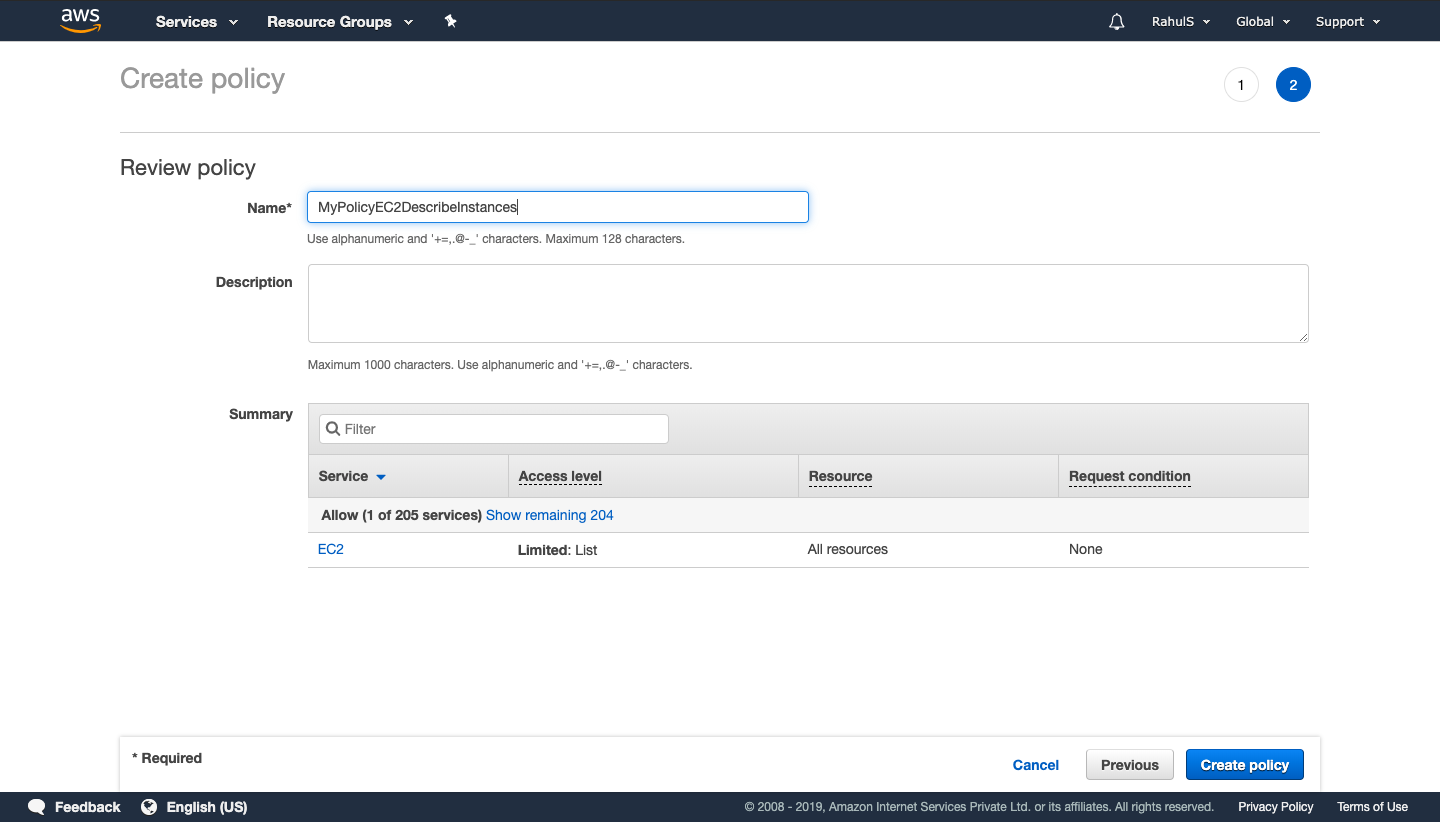
You will get a list of permissions that can be assigned, here select "List". Click on “Review Policy”.

Give a name to the policy and click on “Create policy”. This policy now can be attached to a user to give only “List” permissions on EC2 Service. We can follow the same steps we followed to attach a policy while creating a user to attach this policy.
Conclusion:
In this article, we created a user, a role and attached a policy to them, created a group and added a user to it, created a custom policy which can be added to the user.

