How to Install Jenkins on Ubuntu 22.04
This tutorial exists for these OS versions
- Ubuntu 22.04 (Jammy Jellyfish)
- Ubuntu 20.04 (Focal Fossa)
- Ubuntu 18.04 (Bionic Beaver)
- Ubuntu 16.04 (Xenial Xerus)
On this page
Jenkins is an open-source automation tool for Continuous Integration/Continuous Delivery (CI/CD). is entirely written in Java with the support of more than 1000 plugins for building, deploying, and automating your project. Jenkins become one of the leading automation tools that accelerate your development process through automation. Jenkins integrates development life-cycle processes such as build, document, test, package, stage, deploy, static analysis, and many more.
Jenkins supports multiple version control tools such as Git, Subversion, Mercurial, CVS, Perforce, and RTC. Also, it can execute Apache Ant, Apache Maven, shell scripts, and Windows batch commands. Jenkins has strong community supports with extensive documentation and a wiki, which makes Jenkins one of the most used automation CI/CD tool. Also, it offers many different tools, languages, and automation tasks to automate your development and deployment process.
In this tutorial, you will learn how to install Jenkins on the latest Ubuntu 22.04. this tutorial also covers how to set up Apache2 as a reverse proxy for Jenkins with an SSL connection enabled on top of it. In the end, you will also learn how to create the first Jenkins build project for executing shell scripts or commands.
Prerequisite
- An Ubuntu 20.04 server
- A non-root user with root administrator privileges.
Installing Java
In this first step, you will be installing the Java OpenJDK and JRE on your ubuntu system. The latest version of Jenkins required the Java v11, and now you will be installing it on your system.
Before start installing any packages, run the apt command below to update and refresh your Ubuntu repository.
sudo apt update
Now install the Java OpenJDK 11 using the following command.
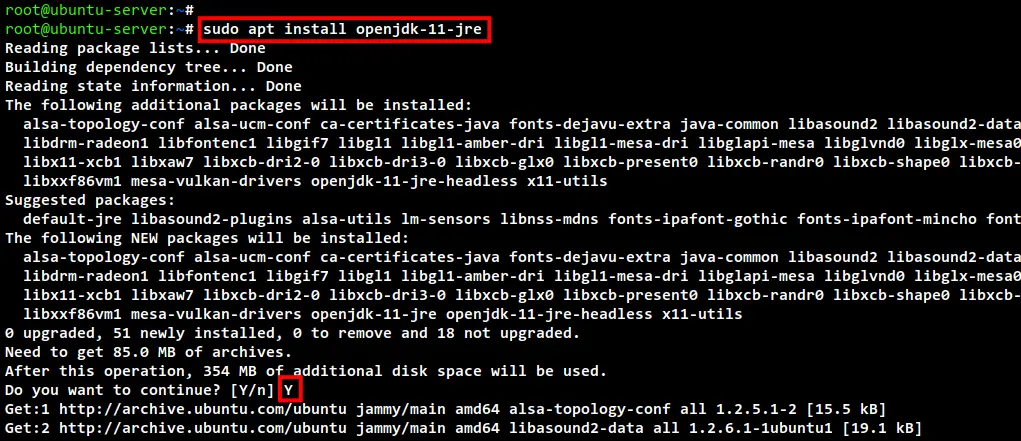
sudo apt install openjdk-11-jre
Input Y to confirm and press ENTER to start the installation. Now the Java OpenJDK installation will be starting.
After installation is completed, run the java command below to check and verify the java version.
java --version
In the following screenshot, you can see that Java OpenJDK 11 is installed on Ubuntu 22.04 machine.

Installing Jenkins
You have now installed the java on your Ubuntu system, now you will start installing Jenkins to the Ubuntu 22.04 machine.
There are multiple ways for installing Jenkins, the easiest way is by using the pre-built Jenkins package provides by the official Jenkins repository. And to do that, you will need to add the Jenkins repository to your Ubuntu system.
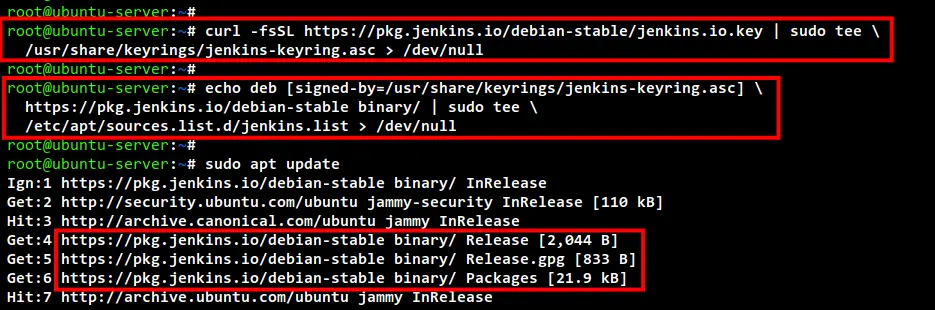
Run the below command to add the GPG key for the jenkins repository.
curl -fsSL https://pkg.jenkins.io/debian-stable/jenkins.io.key | sudo tee \
  /usr/share/keyrings/jenkins-keyring.asc > /dev/null
After that, add the Jenkins repository to your system using the command below.
echo deb [signed-by=/usr/share/keyrings/jenkins-keyring.asc] \
  https://pkg.jenkins.io/debian-stable binary/ | sudo tee \
  /etc/apt/sources.list.d/jenkins.list > /dev/null
Now run the apt command below to update and refresh all your system repositories.
sudo apt update
In the below screenshot you can see the Jenkins repository is added.
Next, you can install Jenkins using the apt command below.
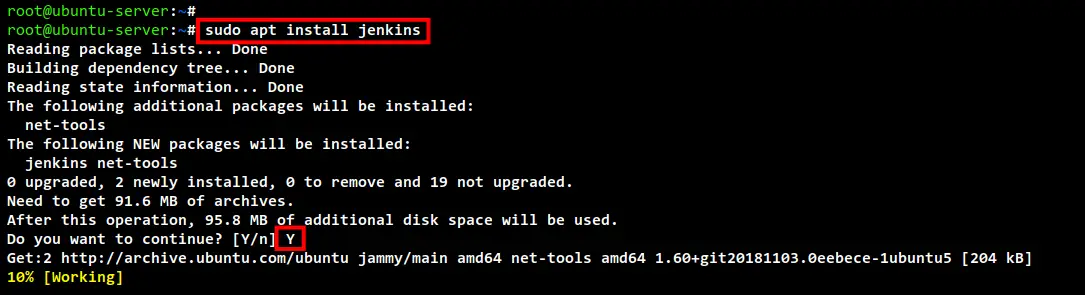
sudo apt install jenkins
Input Y to confirm the installation and press ENTER to continue. The Jenkins installation is now will begin.
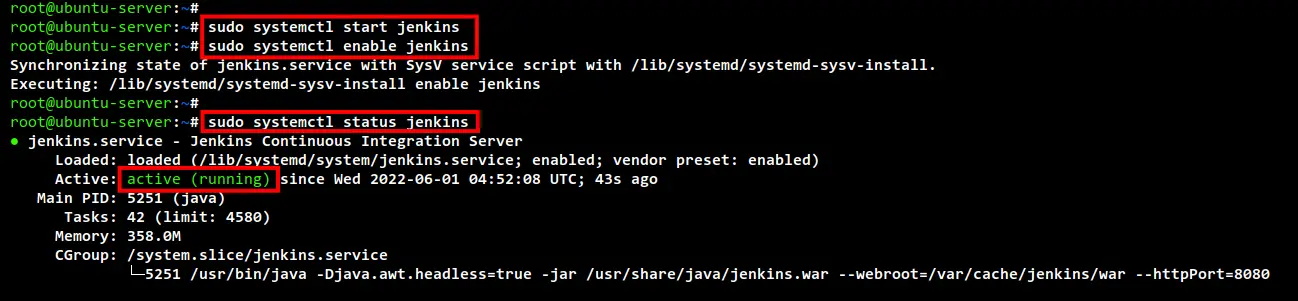
After installation is completed, run the following command to start and enable the Jenkins service.
sudo systemctl start jenkins
sudo systemctl enable jenkins
Now verify the Jenkins service using the below command.
sudo systemctl status jenkins
In the following screenshot, the Jenkins service is active and running. It's running on localhost with default port 8080. Also, the Jenkins is now enabled, which means it will be run automatically at system startup.
Setting Up Apache2 as a Reverse Proxy
At this point, the Jenkins is up and running on the default address localhost with the port 8080. Now, you will be installing and configuring the Apache2 web server as a reverse proxy for jenkins.
The Apache2 web server will be running in front of the Jenkins service and open the standard HTTP and HTTPS ports for client access.
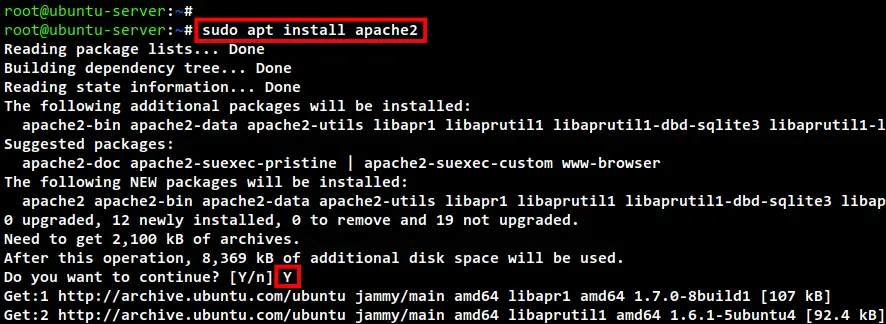
Run the apt command below to install the apache2 package to your system.
sudo apt install apache2
Input Y to confirm the installation and press ENTER to continue.
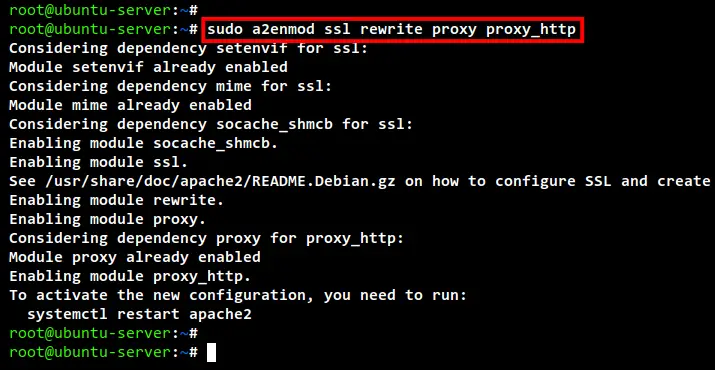
Now after installation is completed, run the below command to enable some apache2 modules that are needed for reverse proxy configuration.
sudo a2enmod ssl rewrite headers proxy proxy_http
Now you will see the output like the following screenshot.
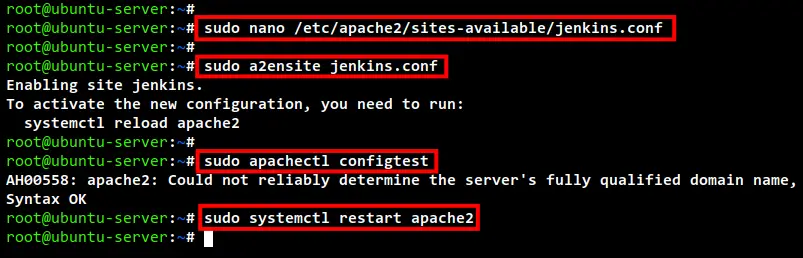
Next, create a new virtual host configuration /etc/apache2/sites-available/jenkins.conf using nano editor.
sudo nano /etc/apache2/sites-available/jenkins.conf
Add the following configuration to the file. And make sure to change the domain name and path of SSL certificates.
<VirtualHost *:80>
    ServerAdmin  webmaster@localhost
    Redirect permanent / https://jenkins.howtoforge.local/
</VirtualHost>

<VirtualHost *:443>
    SSLEngine On
    SSLCertificateFile /etc/letsencrypt/live/jenkins.howtoforge.local/fullchain.pem
    SSLCertificateKeyFile /etc/letsencrypt/live/jenkins.howtoforge.local/privkey.pem
    ServerAdmin  webmaster@localhost
    ProxyRequests     Off
    ProxyPreserveHost On
    AllowEncodedSlashes NoDecode
    <Proxy *>
        Order deny,allow
        Allow from all
    </Proxy>
    ProxyPass         /  http://localhost:8080/ nocanon
    ProxyPassReverse  /  http://localhost:8080/
    ProxyPassReverse  /  http://jenkins.howtoforge.local/
    RequestHeader set X-Forwarded-Proto "https"
    RequestHeader set X-Forwarded-Port "443"
</VirtualHost>
Save and close the file when you are done.
Next, run the following command to activate the virtual host configuration jenkins.conf.
sudo a2ensite jenkins.conf
After that, check and verify all of your Apache2 configurations using the below command.
sudo apachectl configtest
Be sure you get the output message such as "Syntax OK", which means all of your Apache2 configurations is correct.
Lastly, run the below command to restart the Apache2 service and apply new changes to your Apache2 configuration.
sudo systemctl restart apache2
Now the Apache2 web server is up and running with the reverse proxy configuration for Jenkins.
Start Jenkins Installation
At this point, you are ready to start the Jenkins installation and configuration from your web browser. But before you start configuring Jenkins, you will need to obtain and get the password initialization for Jenkins.
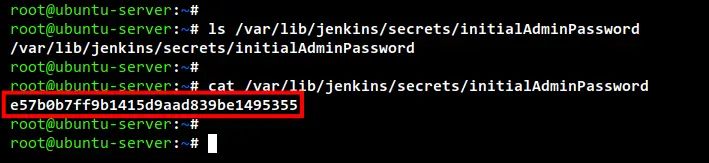
The password initialization for Jenkins is available at the file /var/lib/jenkins/secrets/initialAdminPassword. This file contains the generated secret password for initializing your Jenkins installation.
Run the below command to check and get the jenkins initial password.
ls /var/lib/jenkins/secrets/initialAdminPassword
cat /var/lib/jenkins/secrets/initialAdminPassword
In the below screenshot you can see a random string generated by Jenkins. You may have a different random secret.
Copy the initial secret password to your note, this will be used later to set up Jenkins.
Open your web browser and visit the URL installation for your Jenkins installation (e.g https://jenkins.howtoforge.local).
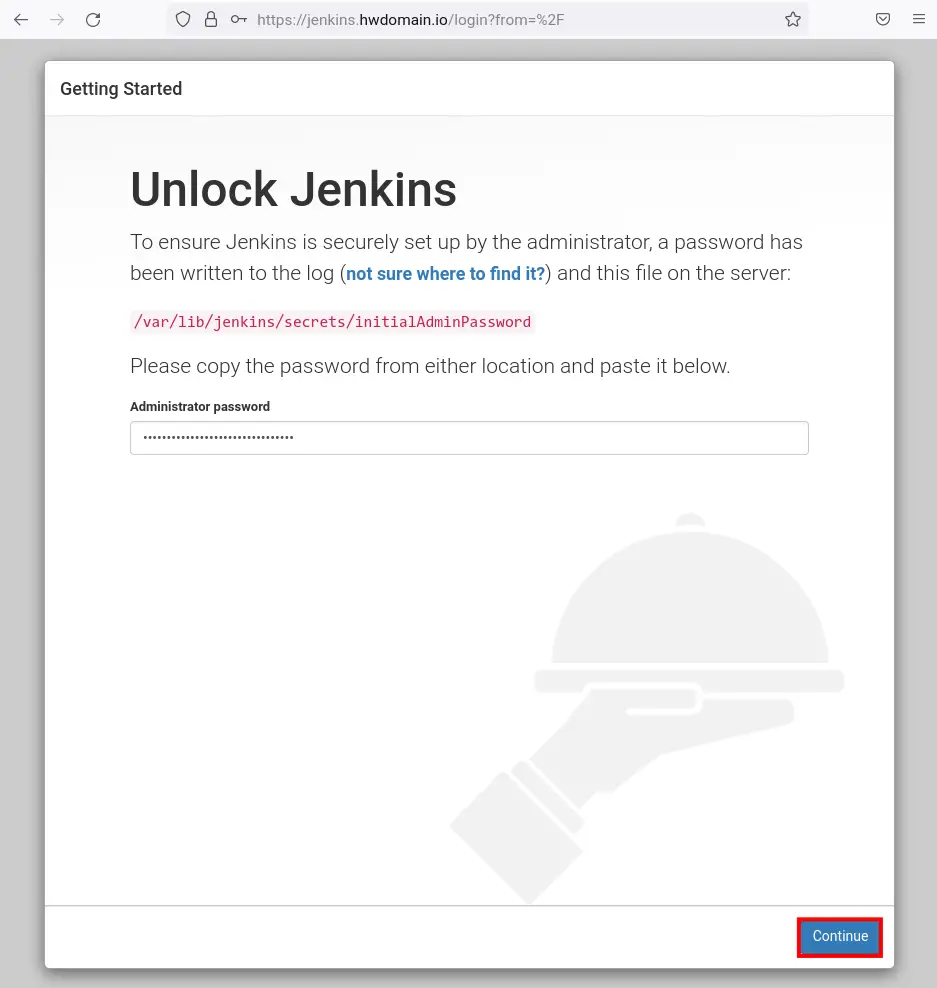
On the first page, you will be asked to input the password initialization for Jenkins. Paste your secret password to initialize Jenkins installation and configuration then click Continue.
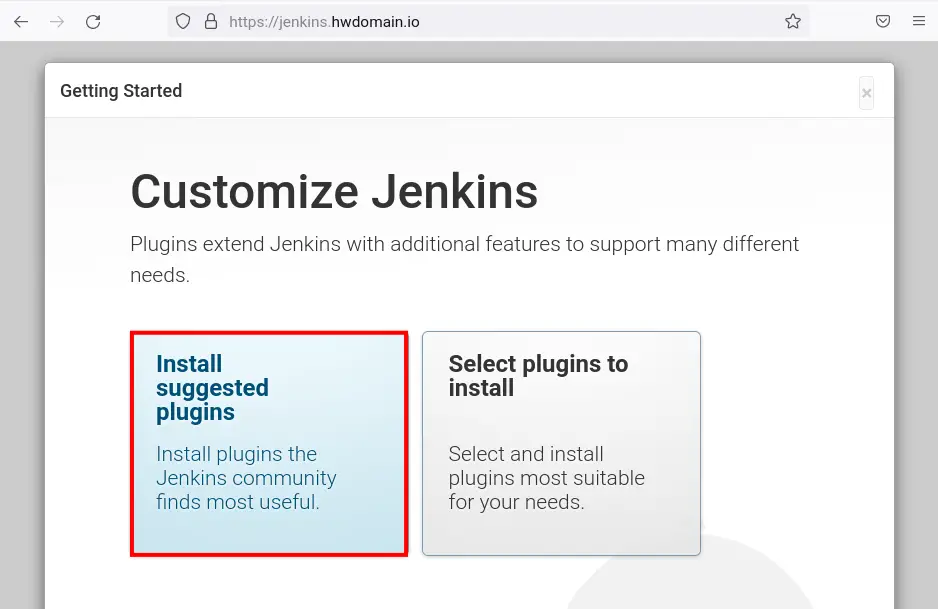
Now click the button "Install suggested plugins" to start the Jenkins configuration with additional plugins. This option is good for the beginner, this will automatically install some Jenkins plugins that may be needed for your project.
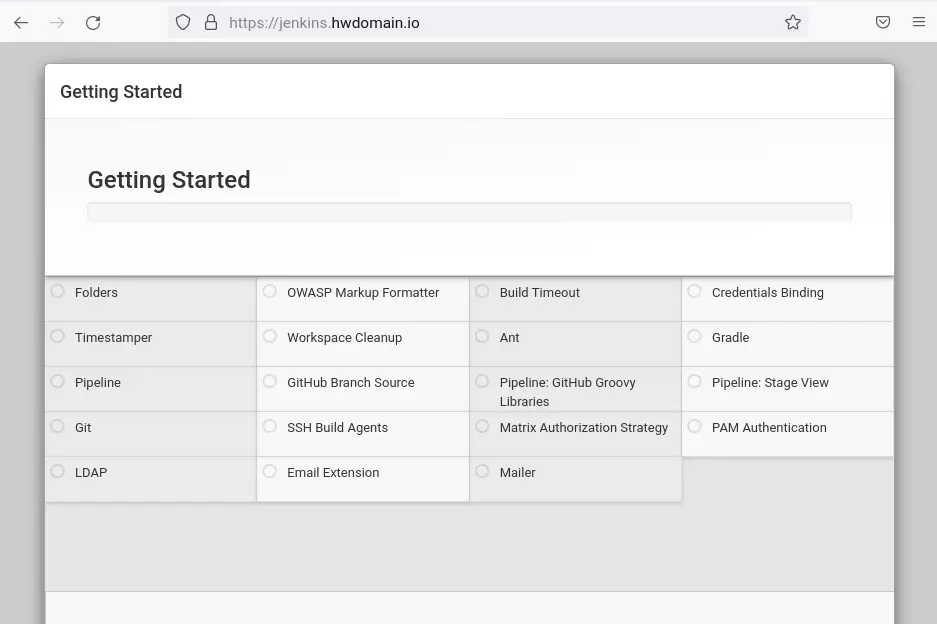
Now Jenkins plugin installation will begin and start.
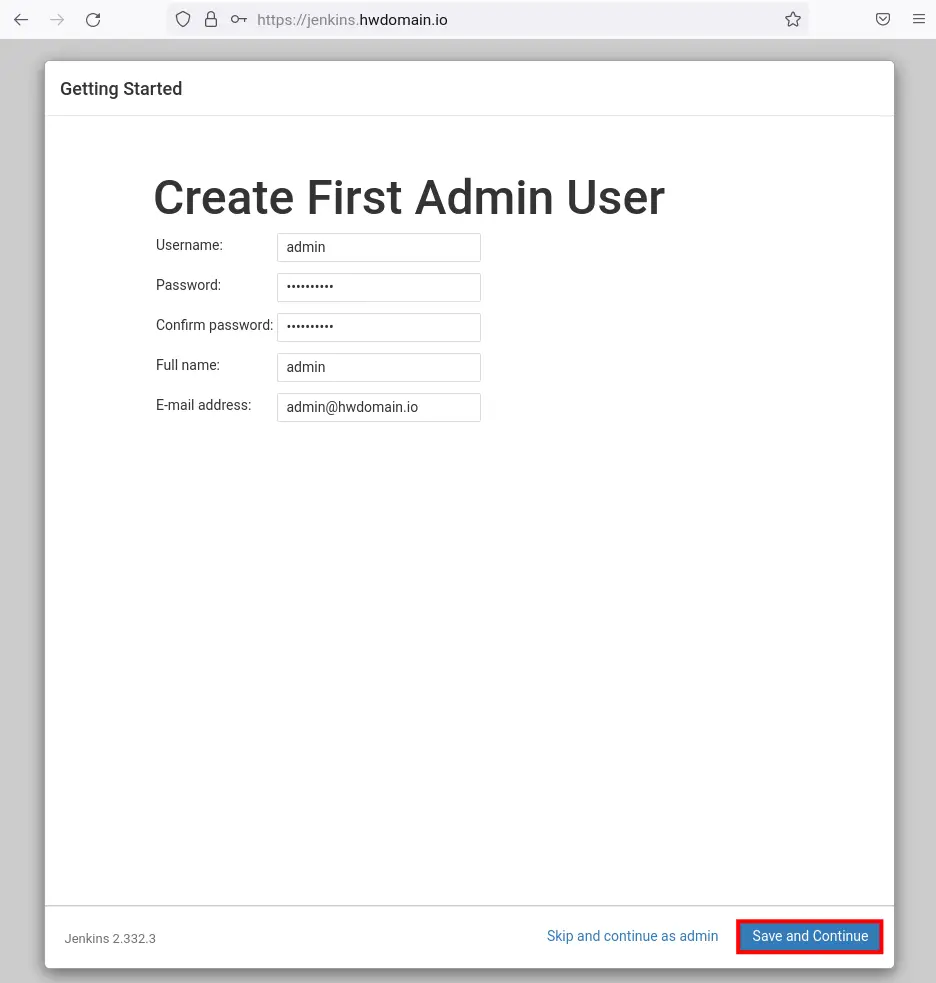
After the installation process is completed, you will now be asked to create a new admin user for Jenkins.
Input the new admin user, password, email address, and the full name for your Jenkins installation and click the button Save and Continue.
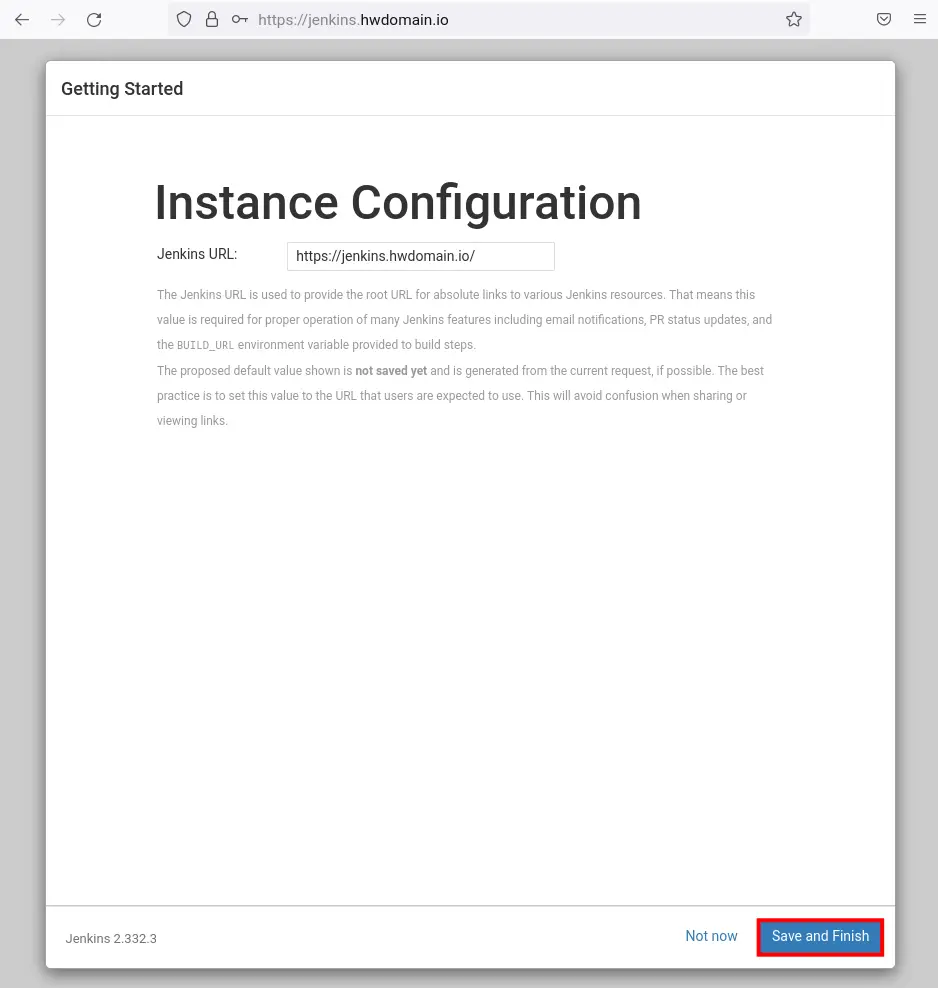
For the Jenkins installation URL, input your Jenkins domain and click Save and Finish.
And now you will get the following page. Click the Restart button to restart the Jenkins service and apply new configurations.

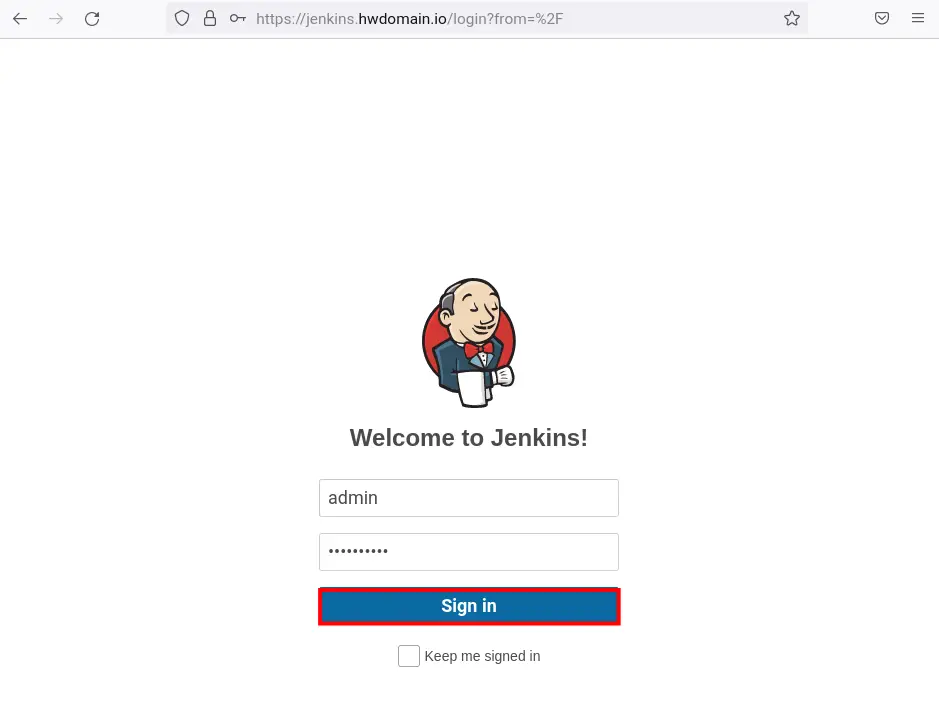
Once Jenkins is restarted, visit again the domain name of your Jenkins installation URL and now you will get the login page of Jenkins.
Input your admin user and password for Jenkins and click Sign in.
Once you have logged in, you will get the following Jenkins dashboard.
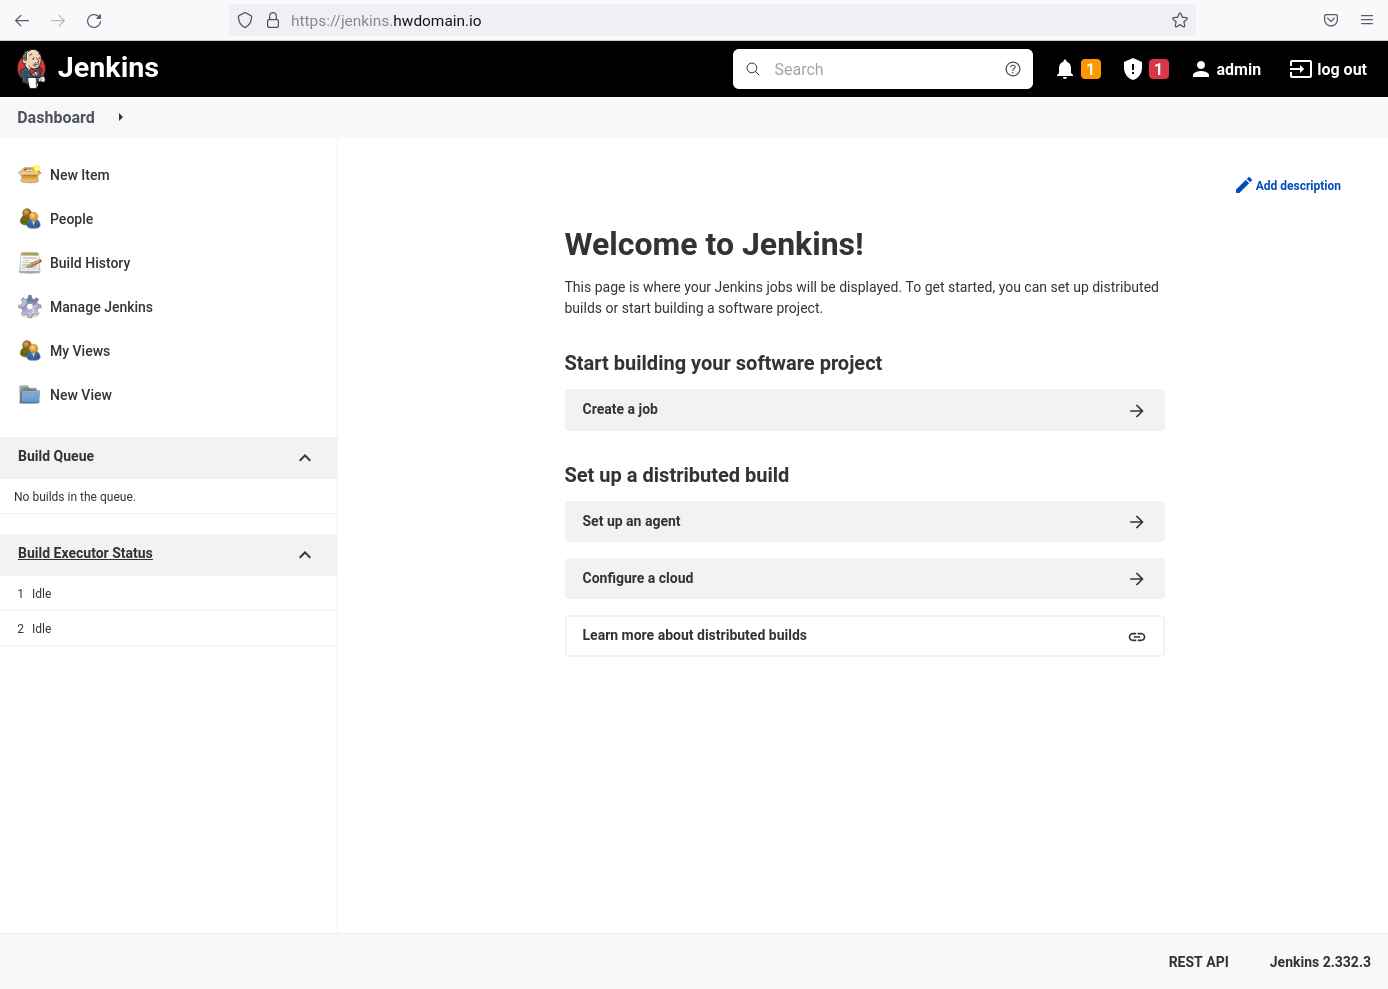
You have now successfully installed and configured Jenkins on the latest Ubuntu 22.04 with Apache2 as a reverse proxy for your deployment.
Creating First Jenkins Build
After you have successfully installed and configured Jenkins, now you will be creating a new first Jenkins build from the Jenkins dashboard.
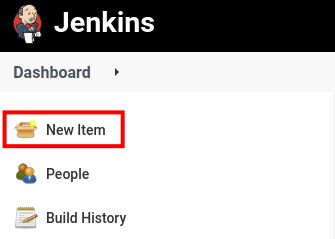
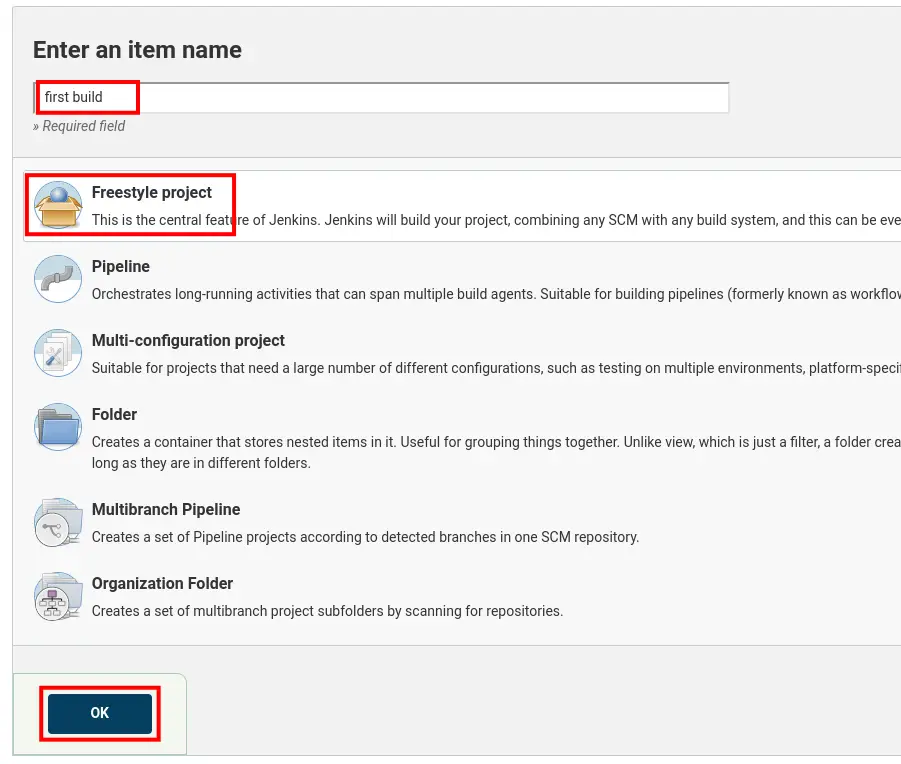
On the Jenkins dashboard, click the menu New Item to create a new Jenkins build project.
Enter the name of the project and select the type of the project, then click OK. In this demo, the name of the project is "first build" with the type of project "Freestyle project".
In the "general section", input the description of your build.
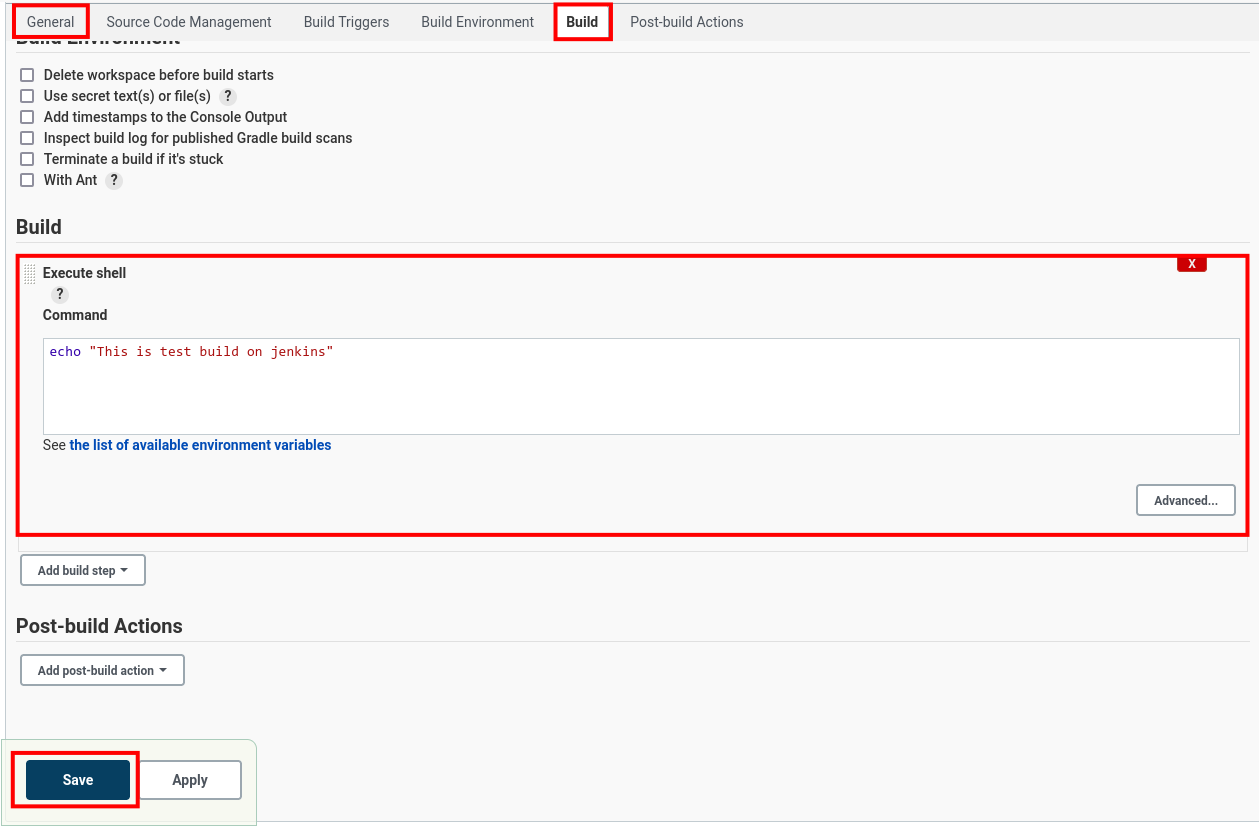
Now move to the "Build" tab and choose the build as "Execute shell" and input the following command as the build command.
echo "This is test build on jenkins"
This project will only prompt a message "This is a test build on jenkins" in the Jenkins build output.
Now click Save button.
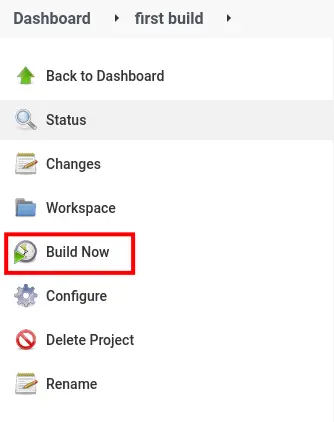
Now on the details "first build" project, click the menu "Build Now" to start and run the Jenkins build.
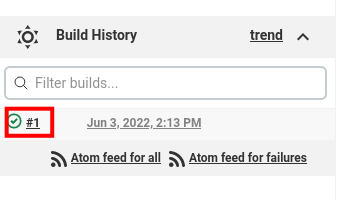
After the process is completed, you can see the build history section on the bottom menu as the following screenshot.
Click the build number to get details of the build operation that has been completed.
Now click the "Console Output" menu and you will get the output of your first Jenkins to build, which is the message "This is a test build on jenkins". And the Jenkins build is a success.

Conclusion
Congratulation! You have now successfully installed Jenkins on the latest Ubuntu 22.04 server with Apache2 as a reverse proxy with HTTPS secure connection enabled. Also, you have learned the basic initialization and setup of Jenkins, and also created the first simple build project using Jenkins.

