How to install Tomcat on CentOS
In this tutorial, I will show you how to install Tomcat on CentOS. Before going into the details of the installation process, we should know what Tomcat is. Tomcat is a Java application server developed by the Apache foundation. It helps server administrators and developers to develop and serve applications build on Java Servlet and JavaServer Pages technologies. Tomcat has many prerequisites, we will check first that Java is installed and that it has the right version. We are running Centos 7 on our server and it's preferred to use Centos 7 for this tutorial as there can be some changes from previous versions. There are many new features of Tomcats newest version and High availability is one of the notable function, therefore I will install Tomcat from source to get the latest release.
1. Check the installed Java version
java -version

Now execute the following command to install Java on your server for tomcat to get started. You can install any version of Java on your server, but it's preferred to install 1.7 or 1.8 as these are the latest versions.
2. Install Java 1.7
We will use 1.7 and you can see the procedure as follows:
yum install java-1.7.0-openjdk.x86_64
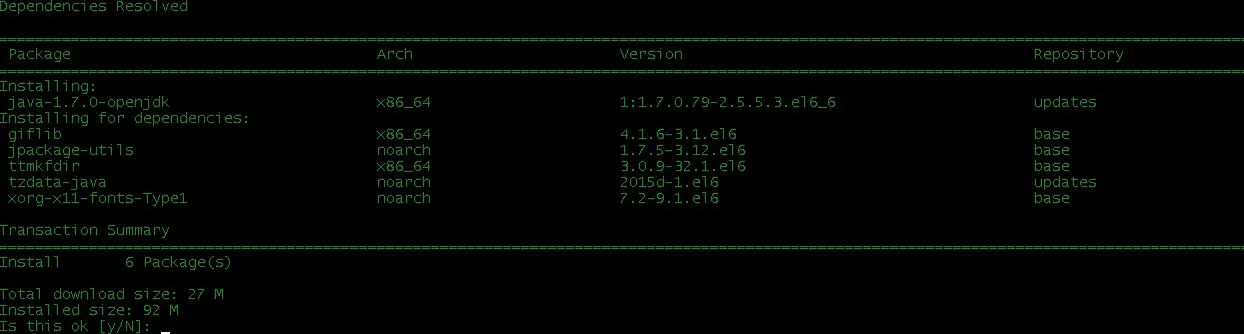
Now you have successfully installed Java on your server and you can confirm it by running the following command:
java -version

You will get the following results.
3. Download and Install Tomcat
The next task is to install Tomcat on you server and you can install it by downloading it from the official website of Tomcat. Use the following commands to download Tomcat. Download the latest version from website as there are many changes in the new version and its always best to download the latest version to avoid support issues:
wget http://supergsego.com/apache/tomcat/tomcat-7/v7.0.62/bin/apache-tomcat-7.0.62.tar.gz
Now extract the package with the tar command:
tar xvf apache-tomcat-7.0.62.tar.gz
mv apache-tomcat-7.0.62 tomcat
Use the following command to start Tomcat on your server and in result you will get the following results mentioned in the following screenshot:
./bin/startup.sh

Now open your browser and access the URL of Tomcat in your browser where it will successfully show that you have installed Tomcat on your server and now you are ready to work on java applications.
To access Tomcat main page, you have to go to your browser and access this link http://IP_address_of_your_server:8080.
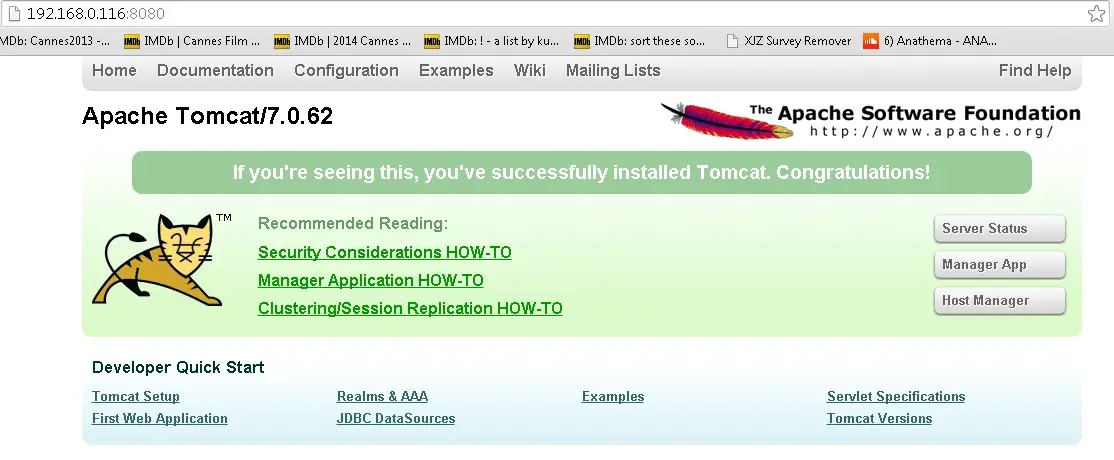
Congratulations you have successfully installed Tomcat.
You can stop Tomcat server by using the following command.
./bin/shutdown.sh

