How to Install Nginx with PHP and MySQL (LEMP Stack) on Ubuntu 20.04 LTS
This tutorial exists for these OS versions
- Ubuntu 24.04 (Noble Numbat)
- Ubuntu 22.04 (Jammy Jellyfish)
- Ubuntu 20.04 (Focal Fossa)
- Ubuntu 20.04 (Focal Fossa)
- Ubuntu 18.04 (Bionic Beaver)
- Ubuntu 16.04 (Xenial Xerus)
On this page
Nginx (pronounced "engine x") is a free, open-source, high-performance HTTP server. Nginx is known for its high speed, stability, rich feature set, simple configuration, and low resource consumption. This tutorial shows how you can install Nginx on an Ubuntu 20.04 LTS server with PHP 7.4 support (through PHP-FPM) and MySQL support (LEMP = Linux + Nginx (pronounced "engine x") + MySQL + PHP).
Prerequisites
- Ubuntu 20.04 LTS Server
- Root privileges
What we will do?
- Install Nginx
- Install MySQL
- Install PHP-FPM
- Configure Nginx and PHP-FPM
- Install PhpMyAdmin
- Configure PhpMyAdmin
- Testing
Step 1 - Install Nginx
Nginx or engine x is a high-performance HTTP and proxy server with low memory consumption. Most large-scale websites like Netflix, Pinterest, CloudFlare, GitHub are using Nginx.
In this step, we will install the Nginx web server from the Ubuntu repository.
Update all repositories on the Ubuntu system and install Nginx packages using the apt command below.
sudo apt update
sudo apt install nginx
After the installation is completed, start the Nginx service and enable it to launch every time at system boot.
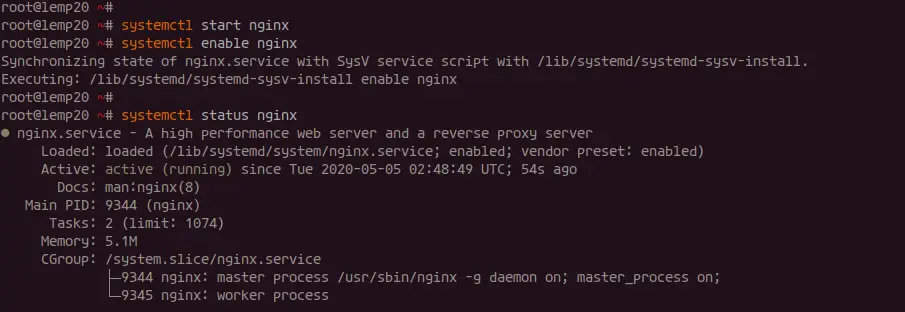
systemctl start nginx
systemctl enable nginx
Now the installation of the Nginx Webserver is completed, check the Nginx service using the following command.
systemctl status nginx
Below is the result you will get.
Also, check the HTTP port on the Ubuntu system and make sure it's used by Nginx service.
ss -plt4
Below is the result you will get.

As a result, the HTTP protocol is used by the Nginx service.
Next, we will secure our Nginx installation using the UFW firewall.
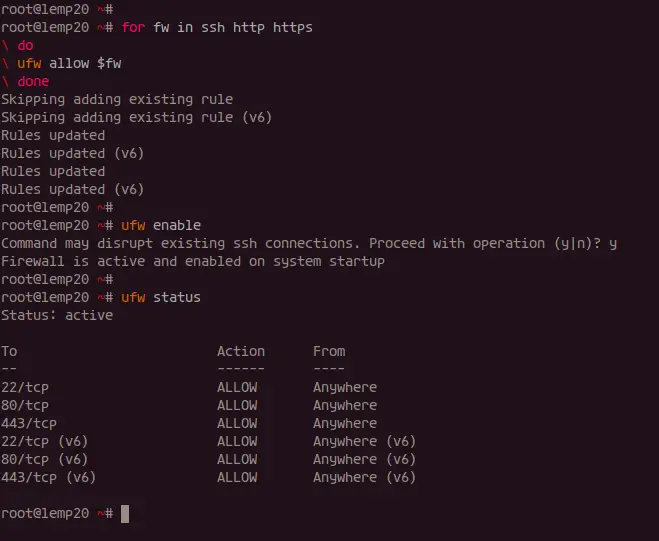
Add the HTTP and HTTPS protocol to the UFW firewall configuration using the following command.
for fw in ssh http https
do
ufw allow $fw
done
Now enable the UFW firewall and check it's status.
ufw enable
ufw status numbered
And the HTTP and HTTPS protocol has been added to the UFW firewall configuration.
Step 2 - Install MySQL
MySQL is the most popular open-source Relational Database Management System (RDBMS) created by Oracle Corporation. It's a central component of the LEMP Stack, and we will install the latest MySQL version from the Ubuntu repository.
Install MySQL using the apt command below.
sudo apt install mysql-server mysql-client
After the MySQL installation is complete, start the MySQL service and enable it to launch every time at system boot.
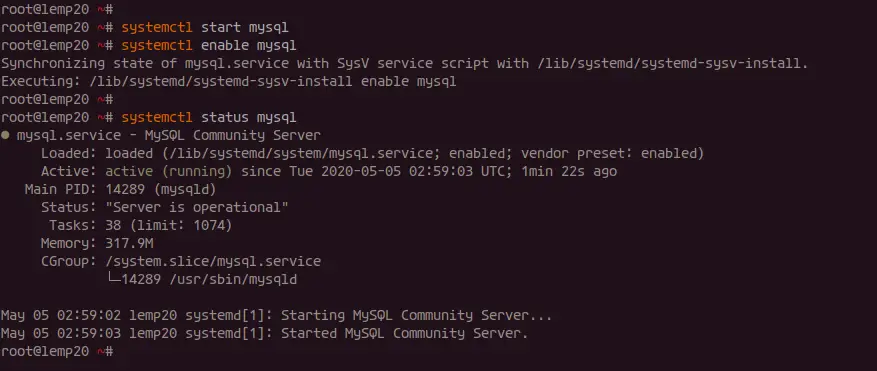
systemctl start mysql
systemctl enable mysql
Now check the MySQL service using the command below.
systemctl status mysql
The MySQL service is up and running.
Next, we will set up the root password for the MySQL server.
Run the 'mysql_secure_installation' command below.
mysql_secure_installation
Now you will be asked as the following configuration, and make sure to type your strong password for the MySQL root user.
Press y|Y for Yes, any other key for No: Press Enter

New password:
Re-enter new password:

Remove anonymous users? (Press y|Y for Yes, any other key for No) : Y
Disallow root login remotely? (Press y|Y for Yes, any other key for No) : Y
Remove test database and access to it? (Press y|Y for Yes, any other key for No) : Y
Reload privilege tables now? (Press y|Y for Yes, any other key for No) : Y
And the MySQL root password has been configured.
As a result, the installation and configuration of the MySQL Database on Ubuntu 20.04 has been completed.
Step 3 - Install and Configure PHP-FPM
PHP-FPM or FastCGI Process Manager is an alternative for the older PHP FastCGI which provides additional features and speed improvements. It suits well for small to large sites based on the PHP programming language.
In this step, we will install the default PHP7.4-FPM with some additional extensions required by PHPMyAdmin.
Install PHP-FPM using the command below.
sudo apt install php-fpm php-cli php-curl php-mysql php-curl php-gd php-mbstring php-pear -y
After the PHP-FPM installation is complete, go to the '/etc/php/7.4/fpm' directory and edit the php.ini configuration using vim editor.
cd /etc/php/7.4/fpm/
vim php.ini
Uncomment the following configuration and change the value to '0'.
cgi.fix_pathinfo = 0
Save and close.
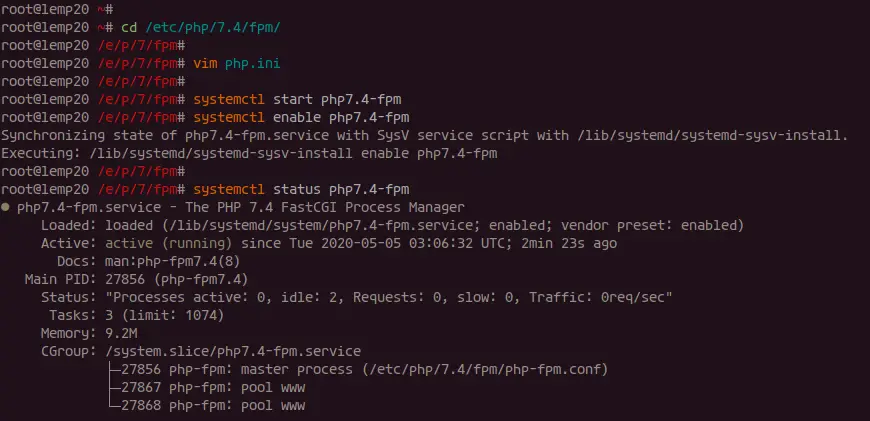
Now start the PHP7.4-FPM service and enable it to launch every time at system boot
systemctl start php7.4-fpm
systemctl enable php7.4-fpm
The PHP-FPM service is up and running, check it using the following command.
systemctl status php7.4-fpm
Below is the result you will get.
By default, the PHP-FPM is running under the sock file, check using the ss command below.
ss -pl | grep php
Below is the response you will get.
u_str LISTEN 0 511 /run/php/php7.4-fpm.sock 67702 * 0
And the installation of PHP-FPM 7.4 on Ubuntu 20.04 has been completed.
Step 4 - Configure Nginx and PHP-FPM
In this step, we will configure the Nginx web server and PHP-FPM.
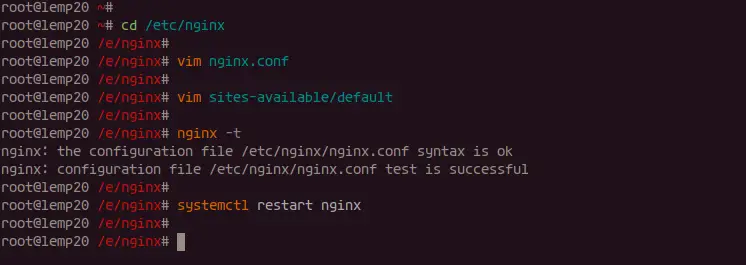
Go to the '/etc/nginx' configuration directory, and edit the 'nginx.conf' file using vim or nano.
cd /etc/nginx/
vim nginx.conf
Uncomment the following line to hide the Nginx version.
server_tokens off;
Save and close.
Next, edit the 'default' virtualhost configuration on the 'sites-available' directory.
vim sites-available/default
Uncomment the PHP line shown below and change the sock file line.
        location ~ \.php$ {
                include snippets/fastcgi-php.conf;
        #
        # # With php-fpm (or other unix sockets):
                fastcgi_pass unix:/run/php/php7.4-fpm.sock;
        # # With php-cgi (or other tcp sockets):
        # fastcgi_pass 127.2.0.1:9000;
        }
Save and close.
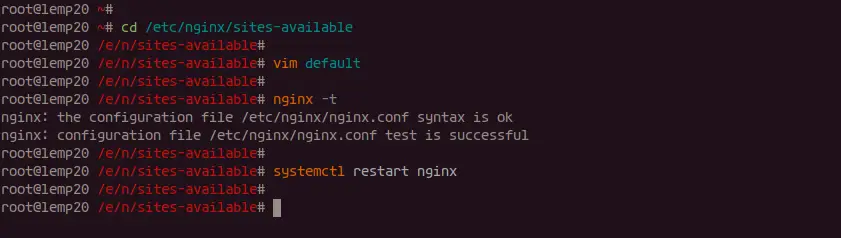
Test Nginx configuration and make sure there is no error, then restart the service.
nginx -t
systemctl restart nginx
As a result, the Nginx and PHP-FPM configuration has been completed.
Step 5 - Install phpMyAdmin
PhpMyAdmin is a PHP based application to manage MySQL or MariaDB databases from a web browser. In this step, we will install and configure PHPMyAdmin under the LEMP (Linux, Nginx, MySQL, and PHP-FPM) stack.
Install PHPMyAdmin using the apt command below.
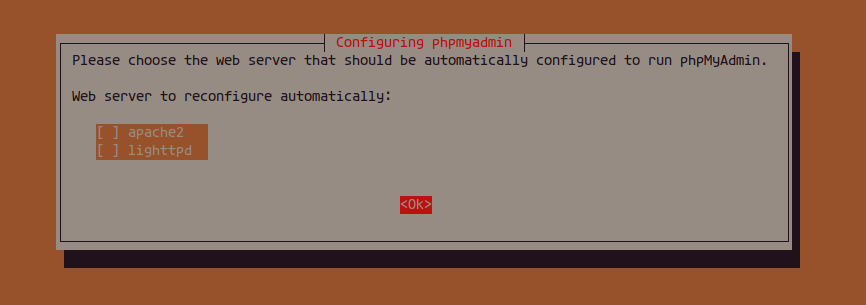
sudo apt install phpmyadmin
During the installation, it will ask you about the web server configuration for phpmyadmin.
Choose none option and move the cursor to 'OK'.
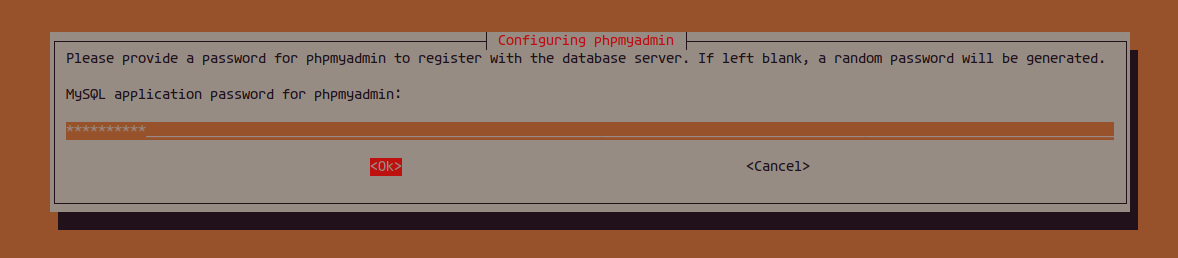
For the phpmyadmin database and user configuration, choose 'Yes'.

And type new 'STRONG' PHPMyAdmin admin such as 'Hakaselabs001@#'.
Repeat the 'Hakaselabs001@#' password.
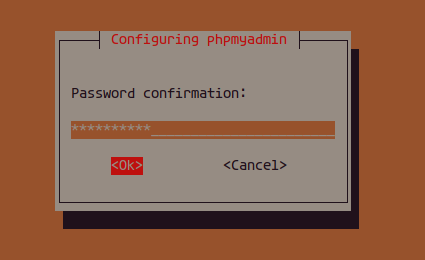
And the phpMyAdmin installation on Ubuntu 20.04 is completed.
Step 6 - Configure phpMyAdmin with Nginx and MySQL
After the phpmyadmin installation, we need to configure phpmyadmin to run under the Nginx web server and configure the MySQL user phpmyadmin access. To run PHPMyAdmin under the Nginx web server, we need to add the configuration to the virtual host configuration file.
Configure phpMyAdmin with Nginx Webserver
Now go to the '/etc/nginx' configuration directory, and edit the default virtual host file.
cd /etc/nginx/sites-available/
vim default
Paste the following Nginx configuration for PHPMyAdmin inside the 'server {...}' bracket.
location /phpmyadmin {
    root /usr/share/;
    index index.php;
    try_files $uri $uri/ =404;

location ~ ^/phpmyadmin/(doc|sql|setup)/ {
    deny all;
    }

location ~ /phpmyadmin/(.+\.php)$ {
    fastcgi_pass unix:/run/php/php7.4-fpm.sock;
    fastcgi_param SCRIPT_FILENAME $document_root$fastcgi_script_name;
    include fastcgi_params;
    include snippets/fastcgi-php.conf;
    }
}
Save and exit.
Test the nginx configuration and make sure there is no error, then restart the nginx service.
nginx -t
systemctl reload nginx
And we've added the Nginx configuration for our phpMyAdmin installation, it's accessible through the path URL as 'http://server-ip/phpmyadmin'.
Allow phpMyAdmin user to Access Databases
For this tutorial, we will be using non-root MySQL users for PHPMyAdmin. We will create a new user and grant all privileges of all databases inside the server to the user.
Login to the MySQL shell using the following command.
mysql -u root -p
Now create a new MySQL user 'hakase' and grant all database privileges.
create user hakase@'localhost' identified by 'Hakaselabs001@#';
grant all privileges on *.* to hakase@'localhost';
flush privileges;
Now type 'exit' to logout from the MySQL shell.
exit
As a result, we've created a new MySQL user for the phpMyAdmin.
Step 7 - Testing
In this step, we will test our configuration of the LEMP Stack and phpMyAdmin.
Test PHP File
Go to the '/var/www/html' directory and create a new script file 'info.php' using vim editor.
cd /var/www/html
vim info.php
Paste the following script into it.
<?php
phpinfo();
?>
Save and close.
Next, open your web browser and type your server IP address following by the path of your 'info.php' script.
http://server-ip/info.php
Below is the result you will get.
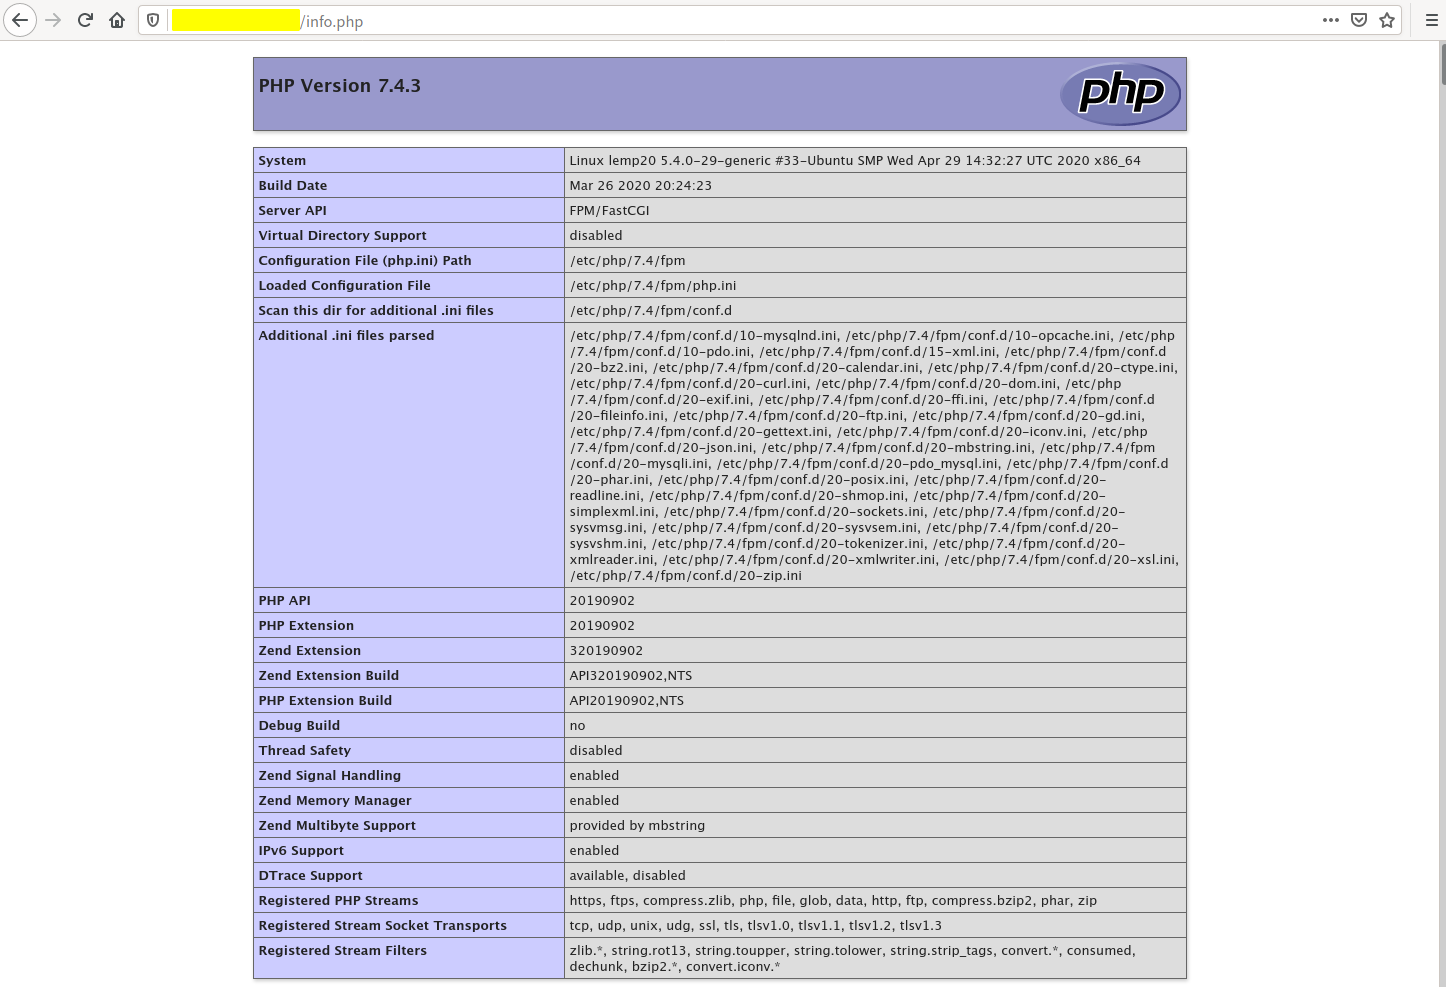
As a result, we've detailed configuration of our PHP-FPM 7.4 on the Ubuntu 20.04 server, and the PHP script is running on our LEMP Stack server.
Test phpMyAdmin
To test our phpMyAdmin installation, type your server IP address following by the 'phpmyadmin' path on the URL.
http://server-ip/phpmyadmin/
And you will get the phpMyAdmin login page.
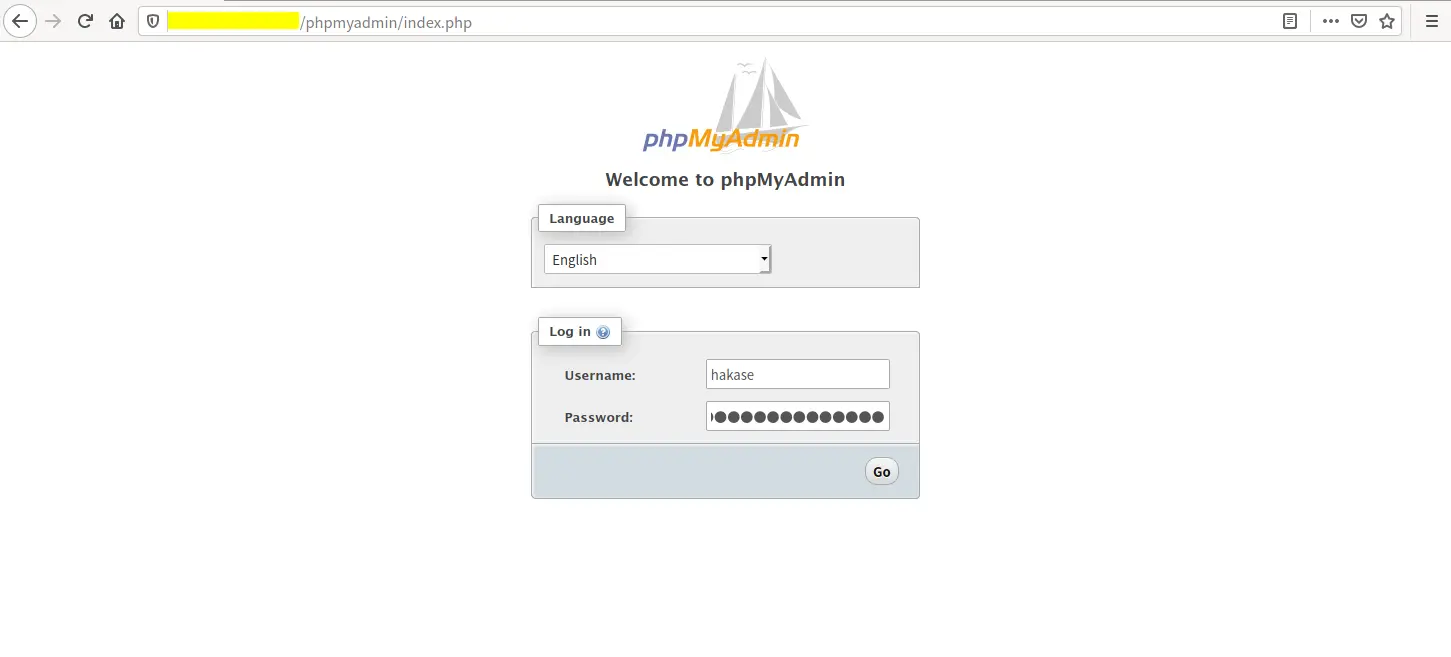
To login to the phpMyAdmin, type the user that we've created on top. The user is 'hakase' with the password 'Hakaselabs001@#', then click the 'Go' button.
And you will get the phpMyAdmin dashboard as below.
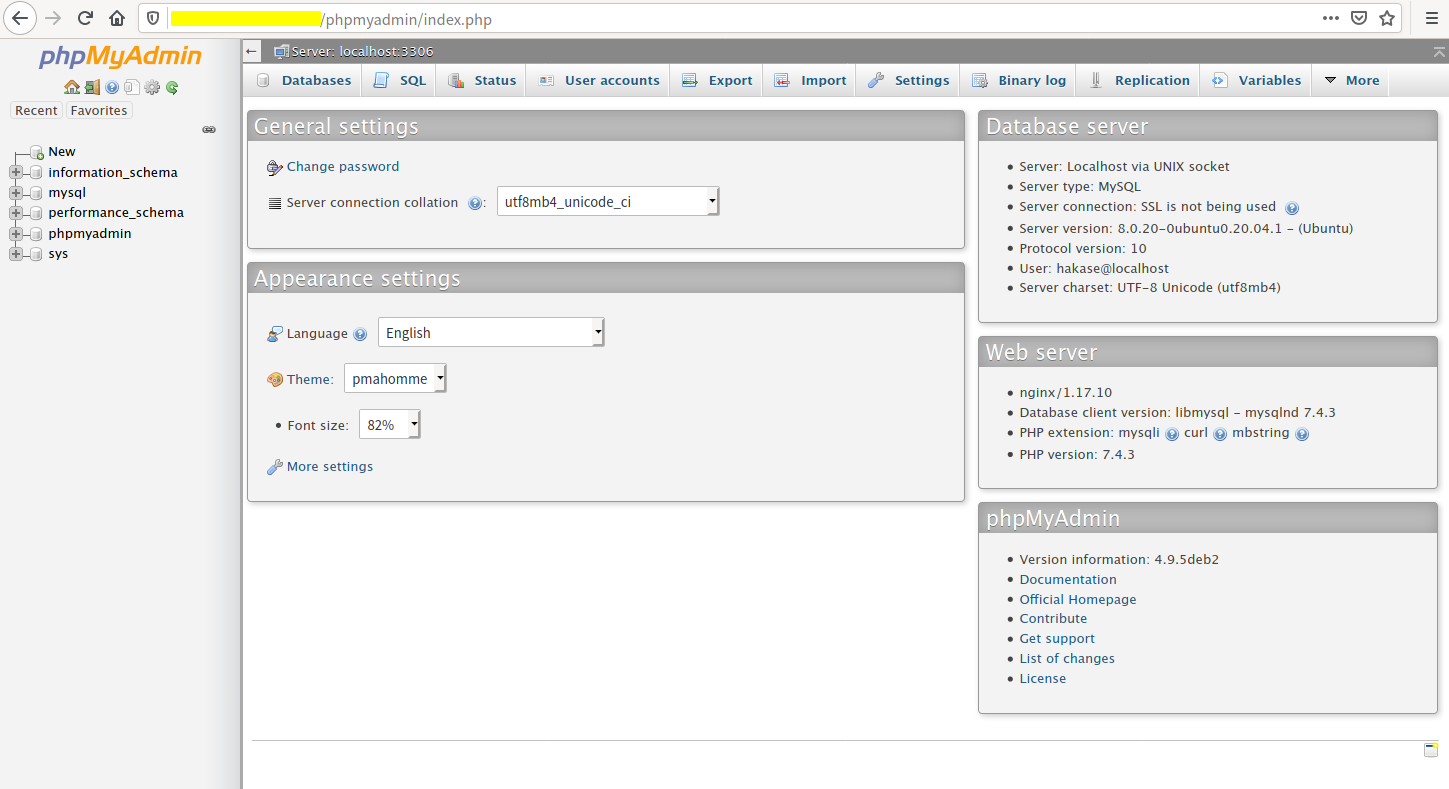
The phpMyAdmin is working under the LEMP Stack environment.
As a result, the installation and configuration of the LEMP Stack on Ubuntu 20.04 has been completed successfully.

