How to install a Debian 8 (Jessie) Minimal Server - Page 2
This tutorial exists for these OS versions
- Debian 12 (Bookworm)
- Debian 11 (Bullseye)
- Debian 10 (Buster)
- Debian 9 (Stretch)
- Debian 8 (Jessie)
- Debian 7 (Wheezy)
On this page
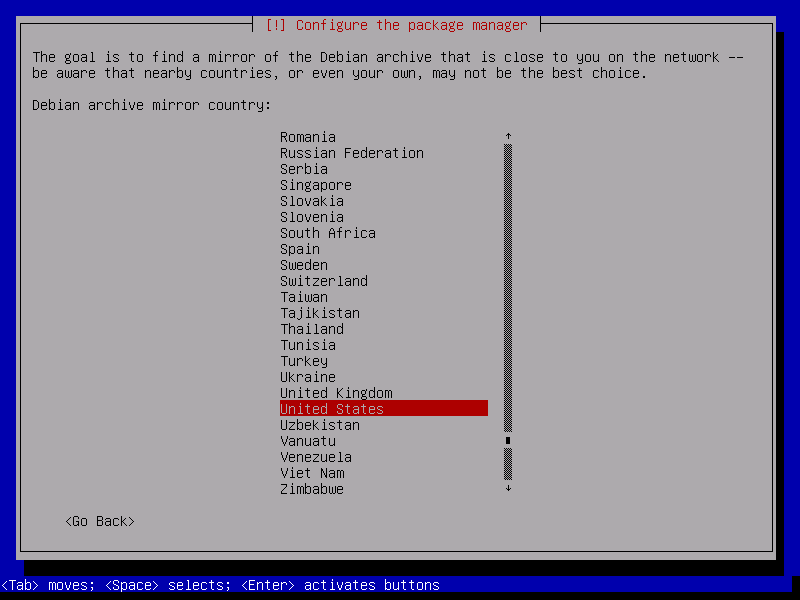
Next you must configure apt. Because we are using the Debian Jessie Netinstall CD, which contains only a minimal set of packages, we must use a network mirror. Select the country where the network mirror that you want to use is located (usually this is the country where your Server system is located):
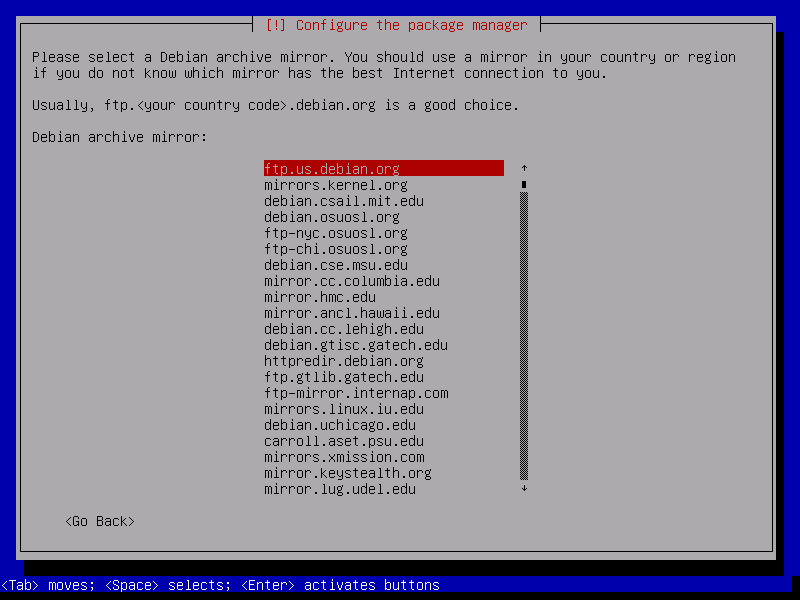
Then select the mirror you wish to use (e.g. ftp.us.debian.org):
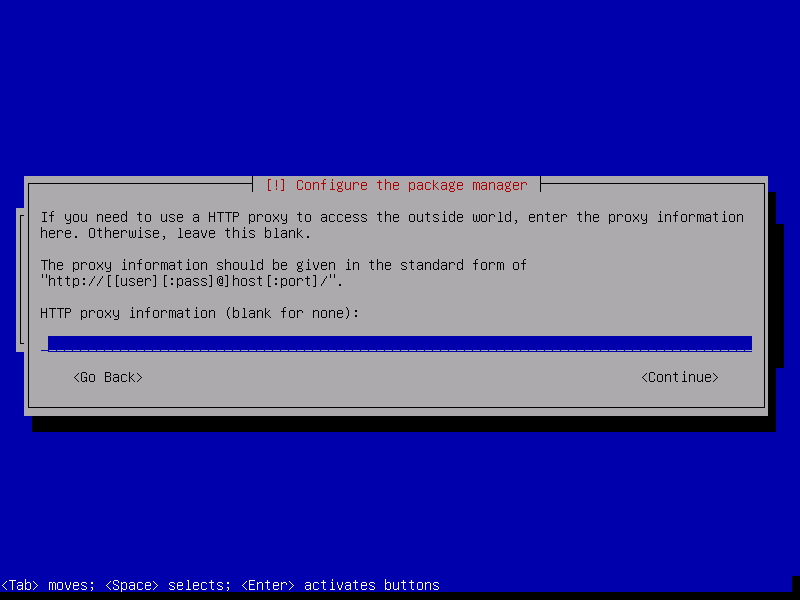
Unless you use an HTTP proxy, leave the following field empty and hit Continue:
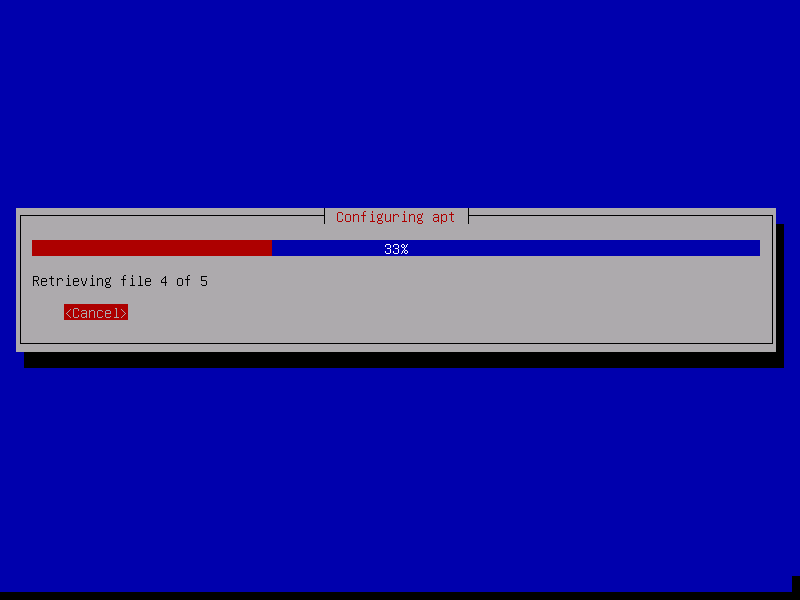
Apt is now updating its packages database:
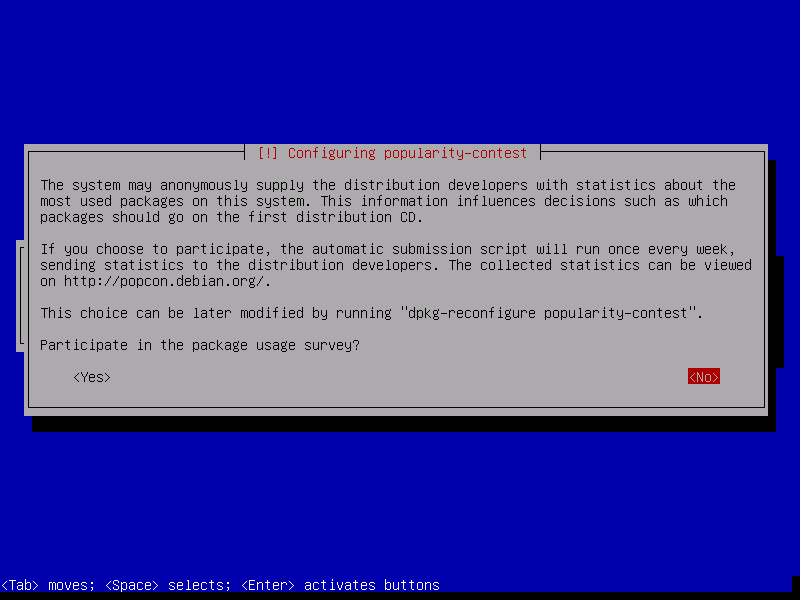
You can skip the package usage survey by selecting No:
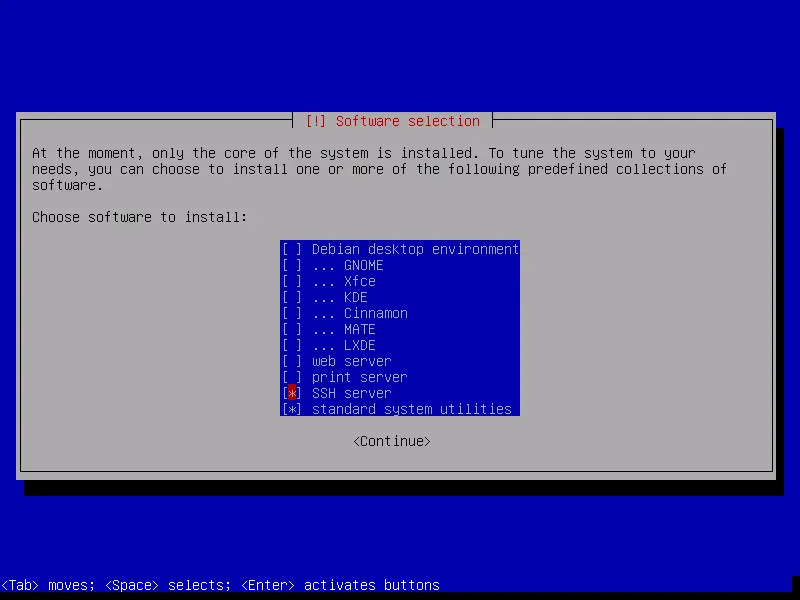
We just select Standard system utilities and SSH server (so that I can immediately connect to the system with an SSH client such as PuTTY after the installation has finished) and hit Continue.
Some might argue that one should not install the Standard System Utilities on a minimal server but in my opinion, you will need most of the standard utilities later anyway so I will install them on this server as part of the base setup.
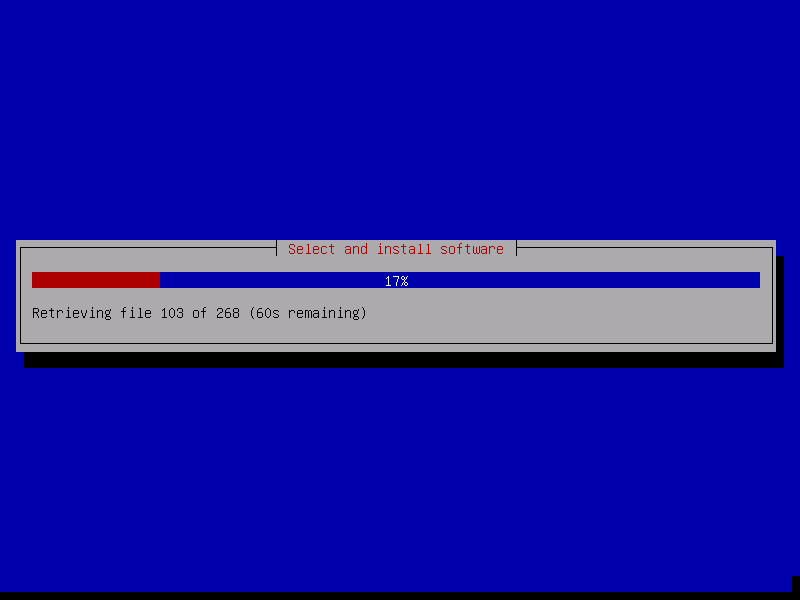
The required packages are downloaded and installed on the system:
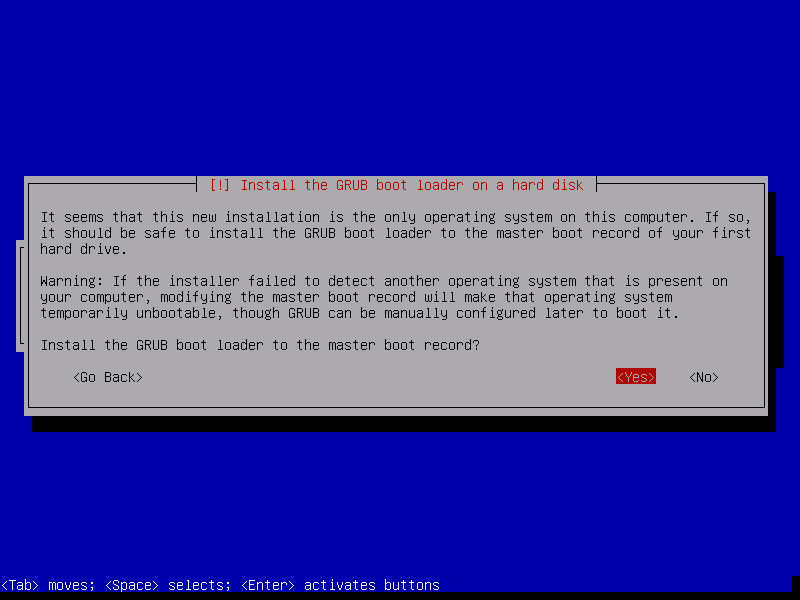
When you're asked Install the GRUB boot loader to the master boot record?, select Yes:
The installer might ask you in which partition Grub shall be installed. This server has just one harddisk, so I choose /dev/sda here.
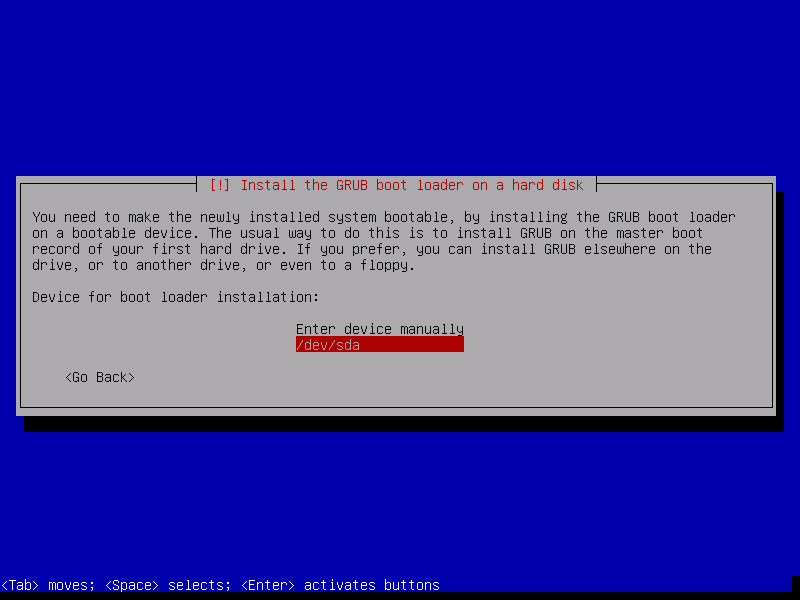
Press enter and the Installer will install Grub and finishes the installation.
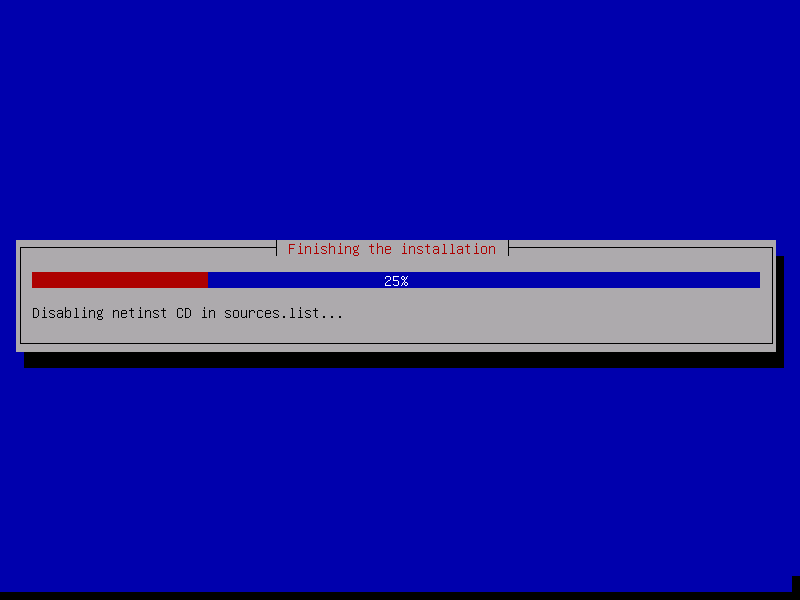
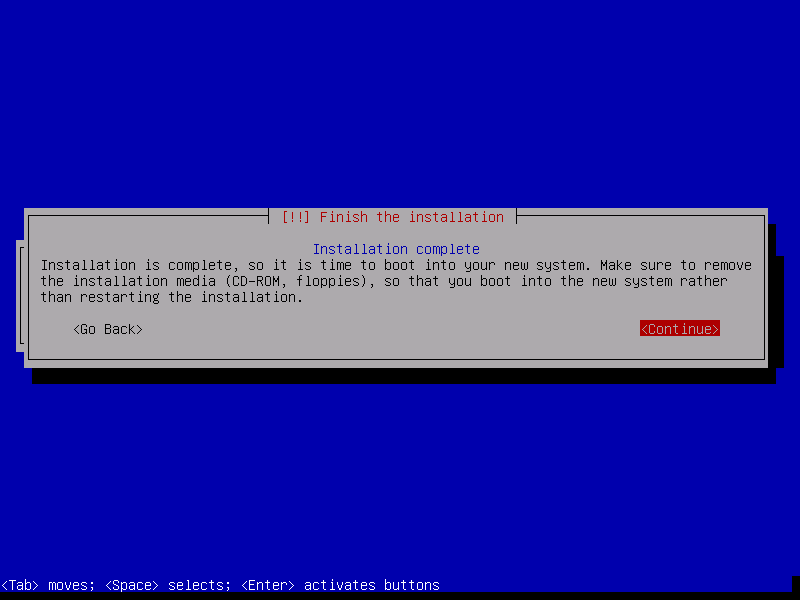
The base system installation is now finished. Remove the Debian Netinstall CD from the CD drive and hit Continue to reboot the system:
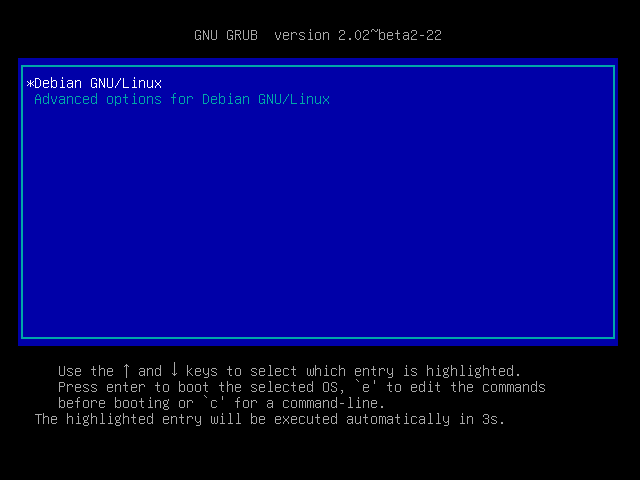
The first boot of the newly installed Debian 8 server: first you will see the boot screen of the Grub Boot Loader, press enter or wait a few seconds, the boot process will continue automatically.
A few seconds later the login prompt should show up.
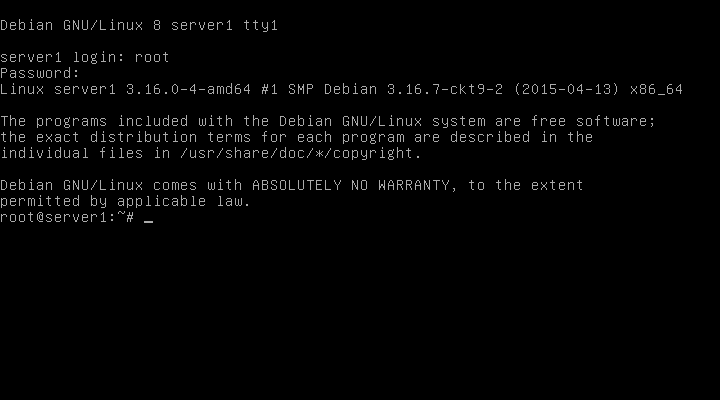
Login with username "root" and the root password that you have chosen during installation. When you login by SSH, then use the username "administrator" as the root user is disabled for remote logins. Then run the command "su":
su
To become root user.
On to the next step...
4 Install The SSH Server (Optional)
If you did not install the OpenSSH server during the system installation, you could do it now:
apt-get -y install ssh openssh-server
From now on you can use an SSH client such as PuTTY and connect from your workstation to your Debian Jessie server and follow the remaining steps from this tutorial.
5 Install a shell editor (Optional)
I'll use nano as my favorite shell text editor, others prefer vi that is not that easy to use for beginners. With the following command I will install both editors:
apt-get -y install vim-nox nano
(You don't have to do this if you use a different text editor such as joe or the built-in editor from mc).
6 Configure The Network
Because the Debian 8 installer has configured our system to get its network settings via DHCP, we have to change that now because a server should have a static IP address. Edit /etc/network/interfaces and adjust it to your needs (in this example setup I will use the IP address 192.168.1.100) (please note that I replace allow-hotplug eth0 with auto eth0; otherwise restarting the network doesn't work, and we'd have to reboot the whole system):
nano /etc/network/interfaces
The interfaces file with DHCP enabled as created by the apt installer:
# This file describes the network interfaces available on your system
# and how to activate them. For more information, see interfaces(5).

source /etc/network/interfaces.d/*

# The loopback network interface
auto lo
iface lo inet loopback

# The primary network interface
allow-hotplug eth0
iface eth0 inet dhcp
And here the edited interfaces file with the static IP 192.168.1.100 configured.
# This file describes the network interfaces available on your system
# and how to activate them. For more information, see interfaces(5).

# The loopback network interface
auto lo
iface lo inet loopback

# The primary network interface
#allow-hotplug eth0
#iface eth0 inet dhcp
auto eth0
iface eth0 inet static
        address 192.168.1.100
        netmask 255.255.255.0
        network 192.168.1.0
        broadcast 192.168.1.255
        gateway 192.168.1.1
Then restart your network:
service networking restart
Then edit /etc/hosts. Make it look like this:
nano /etc/hosts
127.0.0.1       localhost.localdomain   localhost
192.168.1.100   server1.example.com     server1

# The following lines are desirable for IPv6 capable hosts
::1     localhost ip6-localhost ip6-loopback
ff02::1 ip6-allnodes
ff02::2 ip6-allrouters
Now edit the hostname in case you did not select the final hostname in the installer
nano /etc/hostname
The /etc/hostname file contains the hostname without the domain part, so in our case just "server1".
Then reboot the server to apply the hostname change:
reboot
After you logged in again, run:
hostname
hostname -f
To verify that the new hostname is set correctly. The outut should be:
root@server1:/home/administrator# hostname
server1
root@server1:/home/administrator# hostname -f
server1.example.com
root@server1:/home/administrator#
7 Update Your Debian Installation
First make sure that your /etc/apt/sources.list contains the jessie/updates repository (this makes sure you always get the newest updates), and that the contrib and non-free repositories are enabled.
nano /etc/apt/sources.list
# deb cdrom:[Debian GNU/Linux 8.0.0 _Jessie_ - Official amd64 NETINST Binary-1 20150425-12:50]/ jessie main

deb http://ftp.us.debian.org/debian/ jessie main contrib non-free
deb-src http://ftp.us.debian.org/debian/ jessie main contrib non-free


deb http://httpredir.debian.org/debian jessie-updates main contrib non-free
deb-src http://httpredir.debian.org/debian jessie-updates main contrib non-free


deb http://security.debian.org/ jessie/updates main contrib non-free
deb-src http://security.debian.org/ jessie/updates main contrib non-free
Run
apt-get update
to update the apt package database and
apt-get upgrade
to install the latest updates (if there are any).
8 Links
- Debian: http://www.debian.org/

