How to Install Nextcloud on Debian 12
This tutorial exists for these OS versions
- Debian 12 (Bookworm)
- Debian 11 (Bullseye)
- Debian 10 (Buster)
- Debian 9 (Stretch)
- Debian 9 (Stretch)
On this page
- Prerequisites
- Installing Apache2 Web Server
- Installing UFW
- Installing PHP 8.2
- Installing MariaDB Server
- Creating Database and User
- Downloading Nextcloud Source Code
- Configuring Apache2 Virtual Host
- Securing Nextcloud with SSL/TLS Certificates
- Installing Nextcloud
- Basic Performance Tuning for Nextcloud
- Conclusion
Nextcloud is open-source software for creating public and private file storage. It allows you to create your self-hosted services like Dropbox, Google Drive, or Mega.nz. Initially, it was created by the original owncloud developer Frank Karlitschek. In 2016, he forked the Owncloud project and created a new project with the new name "Nextcloud"
By now, the Nextcloud project is growing rapidly and becoming more than file hosting software. It's more like a file sync and content collaboration platform. Backed with many plugins, Nextcloud has become such a powerful collaboration software. You can install plugins for project management, video conferencing, collaborative editing, note-taking, email client, etc.
This tutorial will show you how to install Nextcloud on a Debian 12 server. You will install Nextcloud with Apache2 web server, MariaDB server, and PHP 8.2. Furthermore, you will also secure your installation with UFW (Uncomplicated Firewall) and SSL/TLS certificates from Letsencrypt.
Prerequisites
To complete this guide, ensure you have the following:
- A Debian 12 server with at least 4 GB of memory and 2 CPUs.
- A non-root user with administrator privileges.
- A domain name pointed to the server IP address.
Installing Apache2 Web Server
In the first step, you will be installing the Apache2 web server that will be used to run Nextcloud.
First, update your Debian package index via the apt update command below. When finished, you will get the latest package information that allows you to install the latest version of packages.
sudo apt update
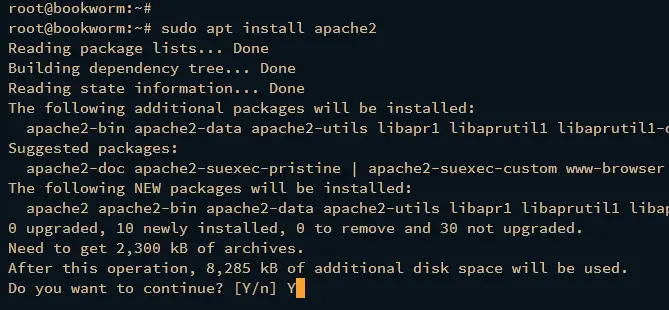
Now enter the following apt install command to install the Apache web server. Input y to confirm when prompted, then press ENTER to proceed to the installation.
sudo apt install apache2
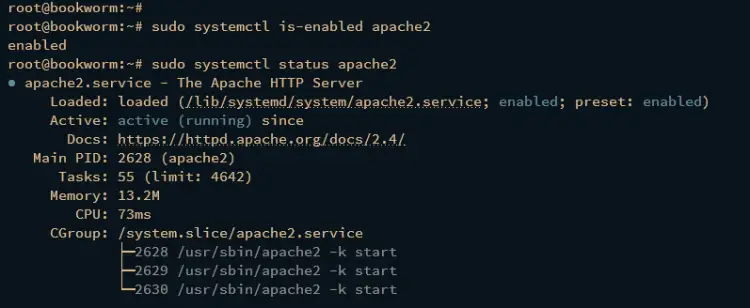
After Apache2 is installed, execute the systemctl commands below to verify the apche2 service status.
sudo systemctl is-enabled apache2
sudo systemctl status apache2
The output enabled should indicate the apache2 service will start automatically upon the system startup. And the status active (running) confirms that the apache2 service is running.
Installing UFW
After Apache2 is installed, you will install the UFW (Uncomplicated Firewall) and open ports for OpenSSH, HTTP, and HTTPS. You will set up UFW as the default firewall on your Debian server.
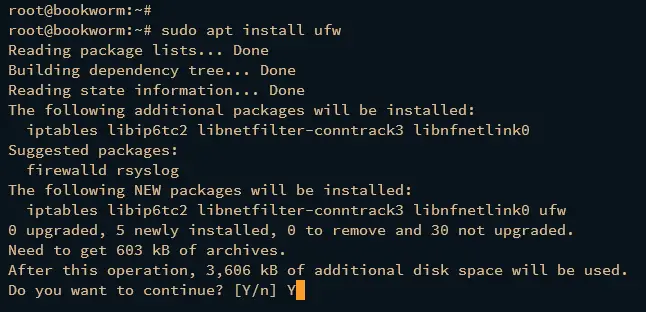
Install the ufw package to your Debian server via the apt install command below. Input y to confirm the installation and press ENTER to proceed.
sudo apt install ufw
After ufw is installed, execute the ufw commands below to allow the ssh service and enable ufw.
sudo ufw allow OpenSSH
sudo ufw enable
Input y when asked to start and enable the ufw service. If successful, you should get an output "Firewall is active and enabled on system startup".
With the ufw running, you should add both HTTP and HTTPS ports that the Apache2 webserver will use.
Run the ufw command below to get the list of application profiles available on ufw. You should see profiles such as OpenSSH for ssh service and WWW Full for Apache2 webserver, both HTTP and HTTPS protocols.
sudo ufw app list
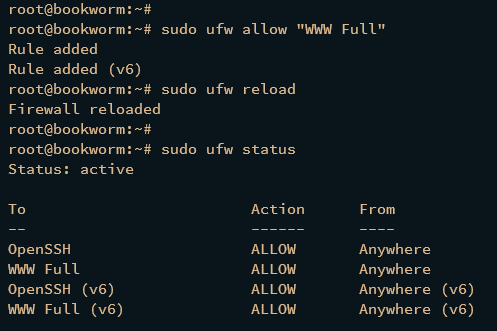
Now run the following command to add and enable the WWW Full profile and reload ufw to apply the changes.
sudo ufw allow "WWW Full"
sudo ufw reload
Lastly, run the ufw status command below to verify enabled rules in ufw. Ensure you got the WWW Full profile enabled, which means both HTTP and HTTPS ports are opened.
sudo ufw status
Installing PHP 8.2
The latest Debian 12 Bookwork comes with PHP 8.2 packages by default, which is the PHP version that is recommended for installing Nextcloud. Now, you will install PHP 8.2 packages and configure PHP for the Nextcloud installation. You will also enable the PHP Opcache that will be used as the memory caching for Nextcloud.
Run the apt install command below to install PHP packages to your Debian system. The command will install PHP and some extensions needed by Nextcloud, such as GD, MySQL, Imagick, pear, and apcu. Check the Nextcloud server requirements page to get the full list of packages that you need.
sudo apt install -y php php-curl php-cli php-mysql php-gd php-common php-xml php-json php-intl php-pear php-imagick php-dev php-common php-mbstring php-zip php-soap php-bz2 php-bcmath php-gmp php-apcu libmagickcore-dev php-redis php-memcached
Input y to confirm the installation, then press ENTER to proceed.
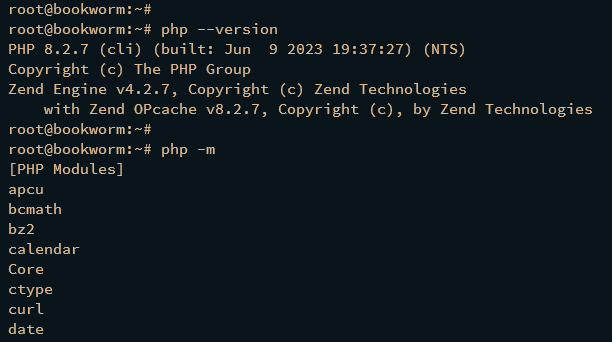
After PHP is installed, check the PHP version and enabled PHP extensions using the below command.
php --version
php -m
You should see PHP 8.2 is installed with extensions enabled, such as GD, MySQL, Imagick, xml, and zip.
Next, run the nano editor command below to open the PHP configuration file /etc/php/8.2/apache2/php.ini.
sudo nano /etc/php/8.2/apache2/php.ini
Uncomment the date.timezone parameter and input the proper timezone for PHP.
date.timezone = Europe/Amsterdam
Increase the default value of parameters memory_limit, upload_max_filesize, post_max_size, and max_execution_time. Change the value as you need.
memory_limit = 512M
upload_max_filesize = 500M
post_max_size = 600M
max_execution_time = 300
Enable file_uploads and allow_url_fopen by changing the default value to On.
file_uploads = On
allow_url_fopen = On
Disable the parameter display_errors and output_buffering by changing the default value to Off.
display_errors = Off
output_buffering = Off
Uncomment the zend_extension parameter and change the value to opcache. This will enable PHP OPcache, which is needed for Nextcloud.
zend_extension=opcache
Add the following lines to the [opcache] section. The OPCache configuration is recommended by Nextcloud.
opcache.enable = 1
opcache.interned_strings_buffer = 8
opcache.max_accelerated_files = 10000
opcache.memory_consumption = 128
opcache.save_comments = 1
opcache.revalidate_freq = 1
Save the file and close the editor when finished.
Lastly, enter the systemctl command below to restart the apache2 service. Every time you make changes to the PHP configuration, restart the apache2 service to apply the changes that you've made.
sudo systemctl restart apache2
Installing MariaDB Server
After installing the Apache2 web server and PHP 8.2, you will install the MariaDB server that will be used as the database for Nextcloud and configure the MariaDB root password via the mariadb-secure-installation utility.
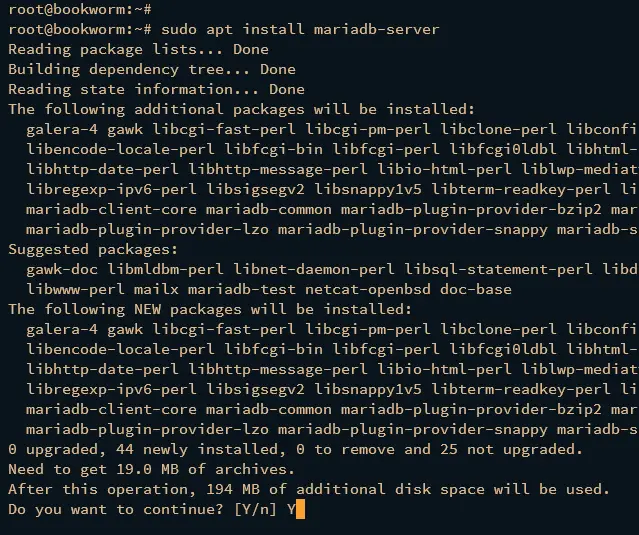
Install the MariaDB server via the apt install command below. Input y when prompted and press ENTER to proceed with the installation.
sudo apt install mariadb-server
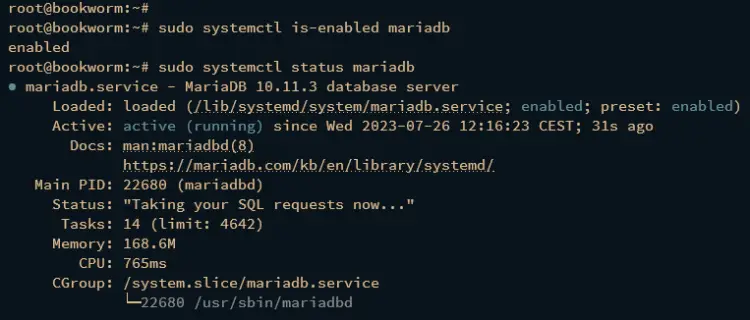
Once MariaDB is installed, enter the following systemctl commands to verify the mariadb service.
sudo systemctl is-enabled mariadb
sudo systemctl status mariadb
The output enabled indicates that the mariadb service will be run automatically at system boot. And the output active (running) should indicate that the mariadb service is running.
Now that the MariaDB server is running, you should secure the MariaDB installation, and this can be done via the mariadb-secure-installation utility. The mariadb-secure-installation command helps you set up the MariaDB root password and authentication and helps you remove the default anonymous user default database test.
Execute the mariadb-secure-installation command to secure your MariaDB server.
sudo mariadb-secure-installation
During the process, you should input Y to agree and apply the configuration to MariaDB, or input n to disagree and leave the configuration as default. Below are some MariaDB configurations that you will be asked for:
- Press ENTER when asked for the MariaDB root password.
- Input n when asked about the unix_socket authentication method.
- Input Y to set up a new password for the MariaDB root user. Then, input the new password and repeat.
- Input Y to remove the default anonymous user from MariaDB.
- Then, input Y again to disable remote login for the MariaDB root user.
- Input Y to remove the default database test from MariaDB.
- Lastly, input Y again to reload table privileges and apply the changes.
With this, the MariaDB server is installed and secured.
Creating Database and User
After installing the MariaDB server, now you will create a new database and user for Nextcloud. To achieve that, you must log in to the MariaDB server via the mariadb client.
Log in to the MariaDB server using the mariadb client command below. Input the MariaDB root password when prompted.
sudo mariadb -u root -p
Once logged in to MariaDB, run the following queries to create a new Mariadb database and user for Nextcloud. In this example, you will create a new database nextcloud_db, and the user nextclouduser with the password StrongPassword. Be sure to change the password StrongPassword with a new password.
CREATE DATABASE nextcloud_db;
CREATE USER nextclouduser@localhost IDENTIFIED BY 'StrongPassword';
GRANT ALL PRIVILEGES ON nextcloud_db.* TO nextclouduser@localhost;
FLUSH PRIVILEGES;
Lastly, run the following query to ensure that the user nextclouduser can access the database nextcloud_db.
SHOW GRANTS FOR nextclouduser@localhost;
If everything goes well, you should see the user nextclouduser has privileges to the database nextcloud_db.
Type quit to exit from the MariaDB server and complete this section.
Downloading Nextcloud Source Code
At this point, all software packages for running Nextcloud are installed. Now you will download the latest version of Nextcloud source code, then install it. Check the Nextcloud download page before you start to get information about Nextcloud's latest version.
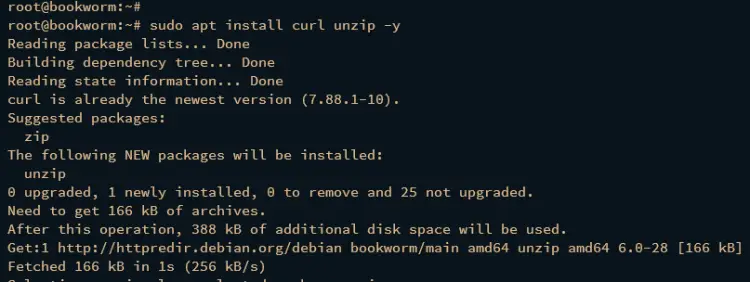
Before downloading the Nextcloud source code, run the apt install command below to install curl and unzip.
sudo apt install curl unzip -y
Move to the /var/www directory and download the Nextcloud source code via the curl command below. Visit the Nextcloud Download page to get the latest version of Nextcloud.
cd /var/www/
curl -o nextcloud.zip https://download.nextcloud.com/server/releases/latest.zip
Now extract the nextcloud.zip file via unzip command, then change the ownership of the nextcloud directory to www-data.
unzip nextcloud.zip
sudo chown -R www-data:www-data nextcloud
With this, you should notice the Document Root directory for Nextcloud installation is /var/www/nextcloud directory. And the Apache2 web server can access the nextcloud source code via user www-data.
Configuring Apache2 Virtual Host
After downloading the Nextcloud source code, you must create the new Apache2 virtual host configuration that will be used to run Nextcloud. Be sure you have the domain name pointed to your Debian server IP address for your Nextcloud installation.
Create a new Apache2 virtual host configuration /etc/apache2/sites-available/nextcloud.conf using the nano command below.
sudo nano /etc/apache2/sites-available/nextcloud.conf
Change the domain name within the ServerName parameter with your domain, and the full path of log for both ErrorLog and CustomLog parameters.
<VirtualHost *:80>
    ServerName nextcloud.howtoforge.local
    DocumentRoot /var/www/nextcloud/

    # log files
    ErrorLog /var/log/apache2/files.howtoforge.local-error.log
    CustomLog /var/log/apache2/files.howtoforge.local-access.log combined

    <Directory /var/www/nextcloud/>
        Options +FollowSymlinks
        AllowOverride All

        <IfModule mod_dav.c>
            Dav off
        </IfModule>

        SetEnv HOME /var/www/nextcloud
        SetEnv HTTP_HOME /var/www/nextcloud
    </Directory>
</VirtualHost>
Once you're done, save the file and exit the editor.
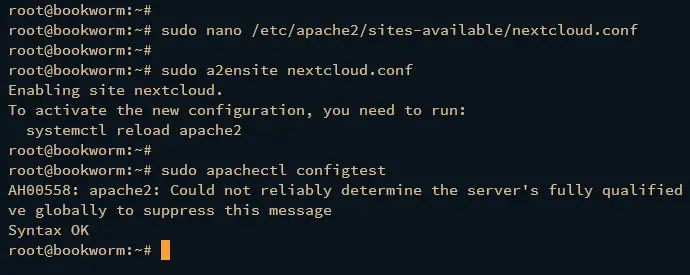
Next, run the a2ensite command below to enable the virtual host configuration nextcloud.conf. Then verify the overall Apache2 configuration via the apachectl command below.
sudo a2ensite nextcloud.conf
sudo apachectl configtest
You should see the output Syntax OK if you have correct and proper Apache configurations.
Now enter the following systemctl command to restart the apache2 service and apply the Nextcloud virtual host configuration.
sudo systemctl restart apache2
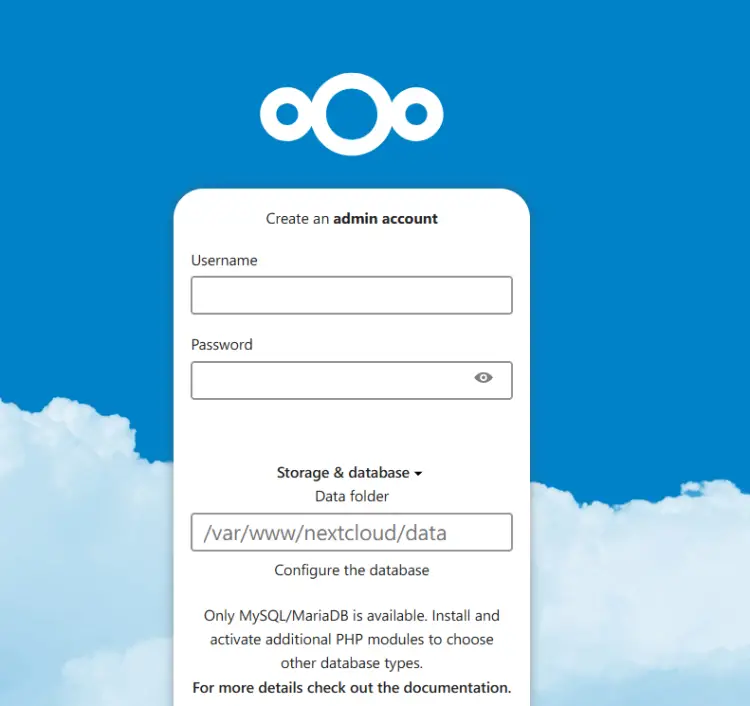
After the apache2 restarted, your Nextcloud installation should be accessible via an insecure HTTP protocol. Visit your Nextcloud domain name and you should get the installation page like this:
Securing Nextcloud with SSL/TLS Certificates
To add an additional security layer for your Nextcloud, you will set up HTTPS within your Apache2 virtual host configuration via Certbot. The Certbot is a command-line tool for generating free SSL/TLS certificates from Letsencrypt and comes with an additional plugin that allows you to configure HTTPS automatically for multiple web servers.
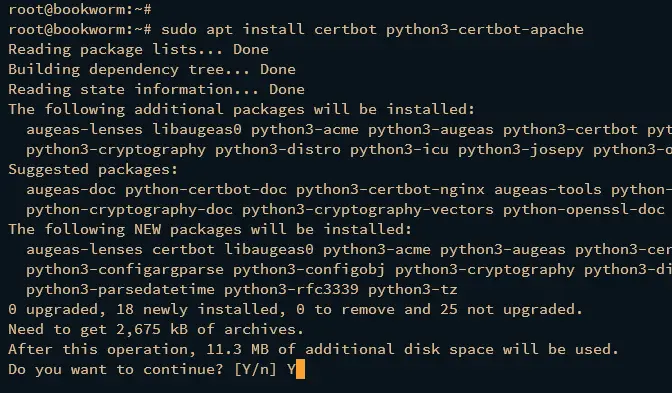
Run the apt install command below to install Certbot and Certbot apache plugin. Input y, when prompted for confirmation, and press, ENTER to proceed.
sudo apt install certbot python3-certbot-apache
Now run the certbot command below to generate SSL/TLS certificates for your Nextcloud domain name and automatically configure HTTPS within the Apache2 virtual host. Be sure to change the domain name and the email address within the following command.
sudo certbot --apache --agree-tos --redirect --hsts --staple-ocsp --email [email protected] -d nextcloud.howtoforge.local
Once the process is finished, the Nextcloud domain name should be configured with HTTPS, which is managed by the Certbot Apache plugin. And the SSL/TLS certificates are located at /etc/letsencrypt/live/domain-name.com/ directory.
Installing Nextcloud
In this section, you will start the Nextcloud installation from your web browser. In this process, you will also create the admin user for Nextcloud.
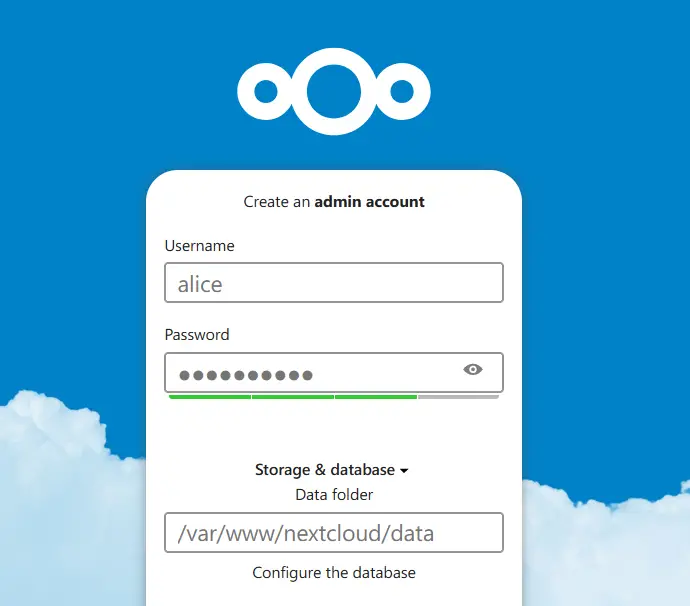
Launch your web browser and visit the domain name of your Nextcloud installation (i.e: http://nextcloud.howtoforge.local/). You should automatically be redirected to a secure HTTPS connection and will be asked to create an administrator user for Nextcloud.
Input the new admin user and password for your Nextcloud. You can also set up a custom data directory or leave it as default.
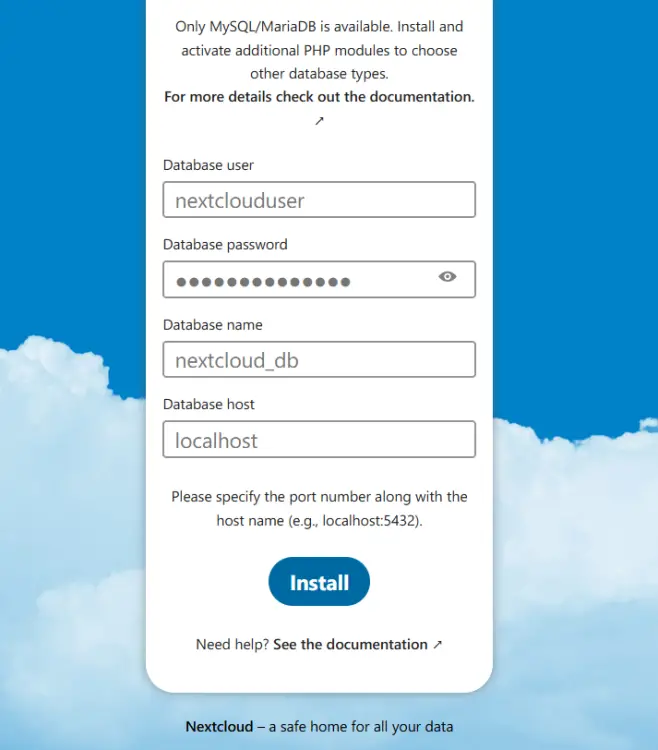
Next, scroll to the bottom page and input the details database name, user, and password. Then click Finish Setup to complete the installation.
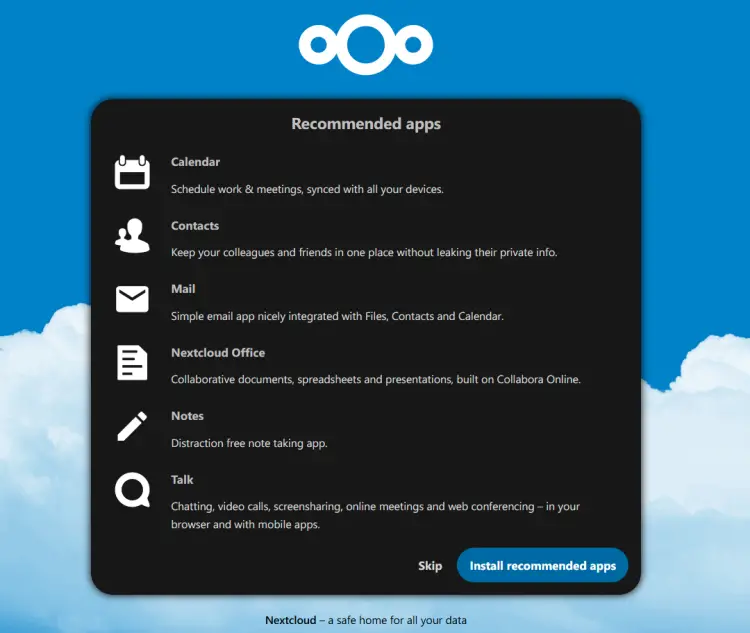
Once installation is completed, you should get the Nextcloud recommendation to install some of Nextcloud apps. Click Skip to install it later.
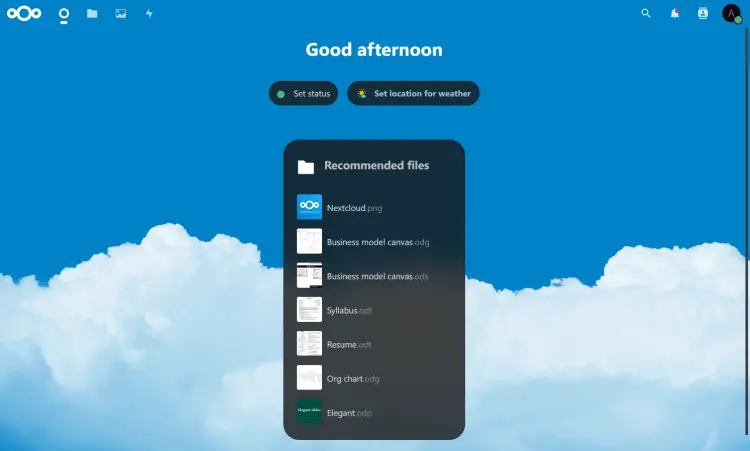
Now you should see the user dashboard like the following:
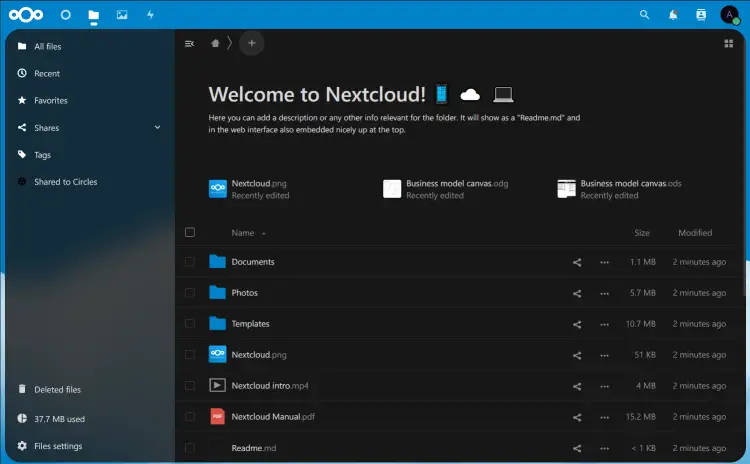
Now click on the folder icon to get the file manager of Nextcloud.
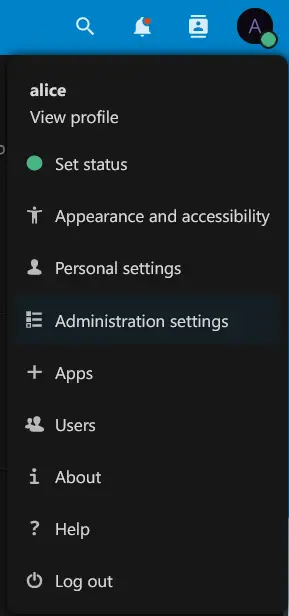
Lastly, click the user icon on the left menu and select Administration Settings.
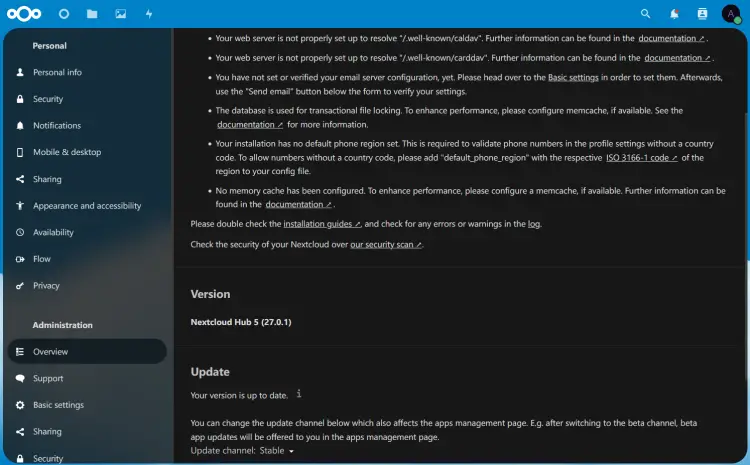
Within the Administration section, click Overview. You should get information on your Nextcloud version and some recommendations that you can apply to your Nextcloud, including some security recommendations and performance optimizations.
Basic Performance Tuning for Nextcloud
In the following steps, you will add settings to your Nextcloud installation by enabling memory cache via OPCache and setting up cron via crontab.
Open the default Nextcloud configuration /var/www/nextcloud/config/config.php using the nano editor command below.
sudo nano /var/www/nextcloud/config/config.php
Within the $CONFIG = array section, add the new configuration below to enable the memory caching for Nextcloud.
<?php
$CONFIG = array (
....
  # Additional configuration
  'memcache.local' => '\OC\Memcache\APCu',
);
Save the changes and close the file when you're done.
Next, run the following command to create a new crontab that will be used to run the Nextcloud crontab script. The parameter -u www-data is used because the Apache2 web server is running on top of that user.
sudo crontab -u www-data -e
Add the following configuration to the crontab file.
*/5 * * * * php -f /var/www/nextcloud/cron.php
Save and exit the file when finished.
Verify the list crontab for the user www-data using the following command. Ensure you have the crontab script that you've added.
crontab -u www-data -l
Conclusion
You're all set! You've completed the installation of Nextcloud on your Debian system. You've installed Nextcloud with Apache2 web server, PHP 8.2, and the MariaDB database server. You've also secured your Nextcloud with UFW (Uncomplicated Firewall) and SSL/TLS certificates via Certbot and Letsencrypt.
With that all setup, you can now use Nextcloud to store your documents securely or add third-party data storage to your Nextcloud.

