How to use Apache Guacamole to create a VNC Connection
On this page
- Prerequisites
- Step 1 - Install Desktop GUI on your server
- Step 2 - Install TigerVNC Server
- Step 3 - Create VNC User credentials
- Step 4 - Create VNC Systemd Unit file
- Step 5 - Start VNC Server
- Step 6 - Configure Firewall
- Step 7 - Create a VNC connection to CentOS / Rocky Linux / AlmaLinux server
- Step 8 - Create a VNC Connection to a remote Ubuntu/Debian server
- Conclusion
Recently, you learned how to install and use Apache Guacamole to create an SSH connection on a Rocky Linux 8 based server. One of the most popular uses of Guacamole is to use it as a VNC (Virtual Network Computing) viewer. Using VNC, you can access your desktop or a server from anywhere without installing any 3rd party client.
In this tutorial, you will learn how to install VNC on your Linux server and use Guacamole to create a VNC connection. We will cover all common distributions and specify differences wherever needed.
Prerequisites
-
A server running Rocky Linux, CentOS, AlmaLinux, Ubuntu or Debian.
-
Apache Guacamole should be installed. Follow our tutorials for the same.
-
A non-root user with sudo privileges is available on the server you are connecting to.
-
A minimum of 2 CPU cores and 4GB RAM on your remote servers for a smooth VNC connection.
-
Make sure everything is updated.
CentOS / Rocky Linux / AlmaLinux
$ sudo dnf update
Ubuntu / Debian
$ sudo apt update && sudo apt upgrade
-
Install basic utility packages. Some of them may already be installed.
CentOS / Rocky Linux / AlmaLinux
$ sudo dnf install wget curl nano unzip yum-utils -y
Ubuntu / Debian
$ sudo apt install wget curl nano unzip -y
Step 1 - Install Desktop GUI on your server
For our tutorial, we will install the Xfce Graphical Environment. You can, however, choose to install any environment of your choice. Run the following commands to install a GUI.
CentOS / Rocky Linux / AlmaLinux
$ sudo dnf install -y epel-release
$ sudo dnf groupinstall -y "Xfce" "base-x"
$ sudo systemctl set-default graphical
$ sudo reboot
If you have been following our Apache Guacamole tutorial, the EPEL repository will already be installed so that you can skip the first command. The second command installs the actual Graphical environment and libraries, and the third command sets the GUI environment as default. You need to reboot the server for the installation to take effect.
Ubuntu / Debian
$ sudo apt install xfce4 xfce4-goodies
$ sudo systemctl set-default graphical
$ sudo reboot
Step 2 - Install TigerVNC Server
There are many VNC server applications you can choose to install on your system. For our tutorial, we will be installing TigerVNC server software.
Run the following command to install the TigerVNC server.
CentOS / Rocky Linux / AlmaLinux
$ sudo dnf install tigervnc-server
Ubuntu / Debian
$ sudo apt install tigervnc-standalone-server
Step 3 - Create VNC User credentials
The next step is to create a system user for VNC from which the connection will be made.
CentOS / Rocky Linux / AlmaLinux
Run the following commands to create a new user and set a password. Replace vncuser with a username of your choice.
$ sudo adduser vncuser
$ sudo passwd vncuser
The next step is to create an access password that will be used to connect from the VNC client to the server on your machine.
Switch to the vncuser.
$ sudo su - vncuser
Set a VNC access password.
$ vncpasswd
Password:
Verify:
Would you like to enter a view-only password (y/n)? y
Password:
Verify:
You will be asked to create a password and verify the same. Next, you will be asked if you want to create a View-only password. A View-only password is useful if you want to limit the VNC access to just viewing the system and prohibit any interactions using a mouse or keyboard. Enter y if you want to set up such a password or enter n to finish the process.
Exit the vncuser shell.
$ exit
Ubuntu / Debian
Run the following command to create a new user and set a password. Replace vncuser with a username of your choice.
$ sudo adduser vncuser
Adding user `vncuser' ...
Adding new group `vncuser' (1001) ...
Adding new user `vncuser' (1001) with group `vncuser' ...
Creating home directory `/home/vncuser' ...
Copying files from `/etc/skel' ...
New password:
Retype new password:
passwd: password updated successfully
Changing the user information for vncuser
Enter the new value, or press ENTER for the default
        Full Name []:
        Room Number []:
        Work Phone []:
        Home Phone []:
        Other []:
Is the information correct? [Y/n] y
Switch to the vncuser.
$ sudo su - vncuser
Set a VNC access password.
$ vncpasswd
Password:
Verify:
Would you like to enter a view-only password (y/n)? y
Password:
Verify:
We need to configure the startup file for TigerVNC to use Xfce.
Open the file ~/.vnc/xstartup for editing.
$ sudo nano ~/.vnc/xstartup
Paste the following code in it.
#!/bin/sh
unset SESSION_MANAGER
unset DBUS_SESSION_BUS_ADDRESS
exec startxfce4
Save the file by pressing Ctrl + X and entering Y when prompted to save.
You can configure additional options for the VNC via the file ~/.vnc/config. Create and open the file for editing.
$ sudo nano ~/.vnc/config
Paste the following code in it.
geometry=1024x768
dpi=96
depth=24
Save the file by pressing Ctrl + X and entering Y when prompted to save.
Test the VNC server.
$ vncserver
/usr/bin/xauth:  file /home/vncuser/.Xauthority does not exist


New 'vncdesktop:1 (vncuser)' desktop at :1 on machine vncdesktop

Starting applications specified in /home/vncuser/.vnc/xstartup
Log file is /home/vncuser/.vnc/vncdesktop:1.log

Use xtigervncviewer -SecurityTypes VncAuth -passwd /home/vncuser/.vnc/passwd :1 to connect to the VNC server.
You can get a list of all current VNC sessions using the following command.
$ vncserver -list
TigerVNC server sessions:

X DISPLAY #     RFB PORT #      PROCESS ID
:1              5901            1029
Next, we need to kill the process because, in the next step, we will be creating a service file for it.
$ vncserver -kill :1
Killing Xtigervnc process ID 1029... success!
Exit the user shell.
$ exit
Step 4 - Create VNC Systemd Unit file
CentOS / Rocky Linux / AlmaLinux
TigerVNC's systemd service unit file is available in the /lib/systemd/system directory. Copy the file to /etc/systemd/system directory.
$ sudo cp /lib/systemd/system/[email protected] /etc/systemd/system/vncserver@:1.service
VNC server runs on port 5900 by default. Every user should run their VNC server instance on a separate port. The number :1 at the end of the command instructs VNC to run the service on a sub-port of 5900. Hence :1 translates to port 5900, :2 translates to port 5902 and so on.
Not only VNC should know the port number to run the service on, but you also need to specify which user will run the server under which port number. You can configure this by editing the /etc/tigervnc/vncserver.users file. Open it for editing.
$ sudo nano /etc/tigervnc/vncserver.users
Enter the value :1=vncuser right before # :2=andrew so that it looks like the following.
# TigerVNC User assignment
#
# This file assigns users to specific VNC display numbers.
# The syntax is <display>=<username>. E.g.:
#
  :1=vncuser
# :2=andrew
# :3=lisa
Save the file by pressing Ctrl + X and entering Y when prompted to save.
Ubuntu / Debian
The installer doesn't install a systemd service file on Ubuntu or Debian system. You need to create it manually. Create and open the systemd unit file for TigerVNC.
$ sudo nano /etc/systemd/system/[email protected]
Paste the following code in it.
[Unit]
Description=Remote desktop service (VNC)
After=syslog.target network.target

[Service]
Type=simple
User=vncuser
PAMName=login
PIDFile=/home/%u/.vnc/%H%i.pid
ExecStartPre=/bin/sh -c '/usr/bin/vncserver -kill :%i > /dev/null 2>&1 || :'
ExecStart=/usr/bin/vncserver :%i -geometry 1440x900 -alwaysshared -fg
ExecStop=/usr/bin/vncserver -kill :%i

[Install]
WantedBy=multi-user.target
Save the file by pressing Ctrl + X and entering Y when prompted to save.
The next step is common to all Linux distributions.
Reload the systemd daemon to activate the service.
$ sudo systemctl daemon-reload
Step 5 - Start VNC Server
CentOS / Rocky Linux / AlmaLinux
Start the VNC server service.
$ sudo systemctl start vncserver@:1
If you want to enable the service to keep running across system reboots, you can enable it.
$ sudo systemctl enable vncserver@:1
Check the status of the service.
$ sudo systemctl status vncserver@:1
? vncserver@:1.service - Remote desktop service (VNC)
   Loaded: loaded (/etc/systemd/system/vncserver@:1.service; disabled; vendor preset: disabled)
   Active: active (running) since Wed 2022-03-16 01:16:18 UTC; 6s ago
  Process: 6777 ExecStart=/usr/libexec/vncsession-start :1 (code=exited, status=0/SUCCESS)
 Main PID: 6784 (vncsession)
    Tasks: 0 (limit: 11179)
   Memory: 1.1M
   CGroup: /system.slice/system-vncserver.slice/vncserver@:1.service
           ? 6784 /usr/sbin/vncsession vncuser :1

Mar 16 01:16:18 guacamole systemd[1]: Starting Remote desktop service (VNC)...
Mar 16 01:16:18 guacamole systemd[1]: Started Remote desktop service (VNC).
Ubuntu / Debian
Start the VNC server service.
$ sudo systemctl start [email protected]
Enable the VNC service.
$ sudo systemctl enable [email protected]
Check the status of the service.
$ sudo systemctl status [email protected]
? [email protected] - Remote desktop service (VNC)
     Loaded: loaded (/etc/systemd/system/[email protected]; enabled; vendor preset: enabled)
     Active: active (running) since Sat 2022-03-19 09:42:28 UTC; 6s ago
    Process: 1420 ExecStartPre=/bin/sh -c /usr/bin/vncserver -kill :1 > /dev/null 2>&1 || : (code=exited, status=0/SUCCESS)
   Main PID: 1455 (vncserver)
      Tasks: 0 (limit: 4686)
     Memory: 884.0K
     CGroup: /system.slice/system-vncserver.slice/[email protected]
             ? 1455 /usr/bin/perl /usr/bin/vncserver :1 -geometry 1440x900 -alwaysshared -fg

Mar 19 09:42:28 vncdesktop systemd[1]: Starting Remote desktop service (VNC)...
Mar 19 09:42:28 vncdesktop systemd[1420]: pam_unix(login:session): session opened for user vncuser by (uid=0)
Mar 19 09:42:28 vncdesktop systemd[1]: Started Remote desktop service (VNC).
Mar 19 09:42:29 vncdesktop systemd[1455]: pam_unix(login:session): session opened for user vncuser by (uid=0)
Step 6 - Configure Firewall
To make the VNC accessible over the network, we need to open its ports.
CentOS / Rocky Linux / AlmaLinux
Run the following command to open VNC ports and reload the firewall.
$ sudo firewall-cmd --permanent --add-service=vnc-server
$ sudo firewall-cmd --reload
Ubuntu / Debian
$ sudo ufw allow 5901:5910/tcp
$ sudo ufw reload
Step 7 - Create a VNC connection to CentOS / Rocky Linux / AlmaLinux server
Open your Guacamole URL and enter your credentials to log in.
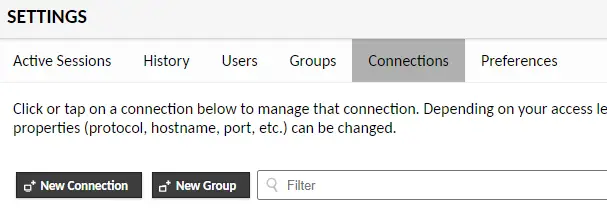
Visit the Connections tab under Guacamole Settings. Click on the New Connection button.
Choose a name for your connection and select VNC from the dropdown menu.

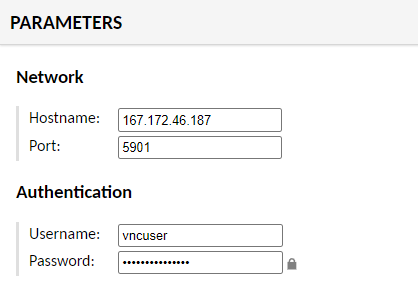
Under the Parameters section, enter your server's IP address (167.172.46.187 in our case) as the hostname and 5901 as the port. Under the Authentication section, enter your VNC system username and password.
If you want to enable any additional settings, do that. Click Save to finish adding the connection.
Access your machine using VNC
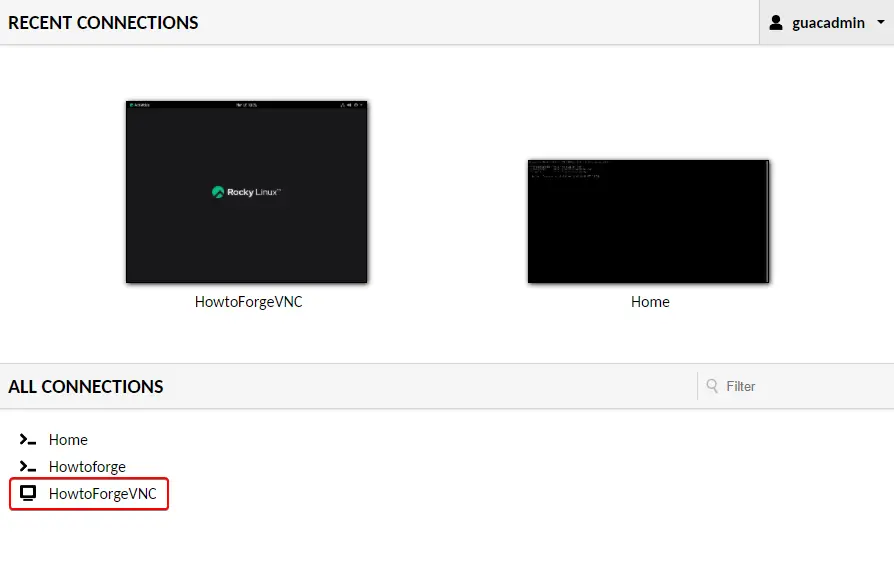
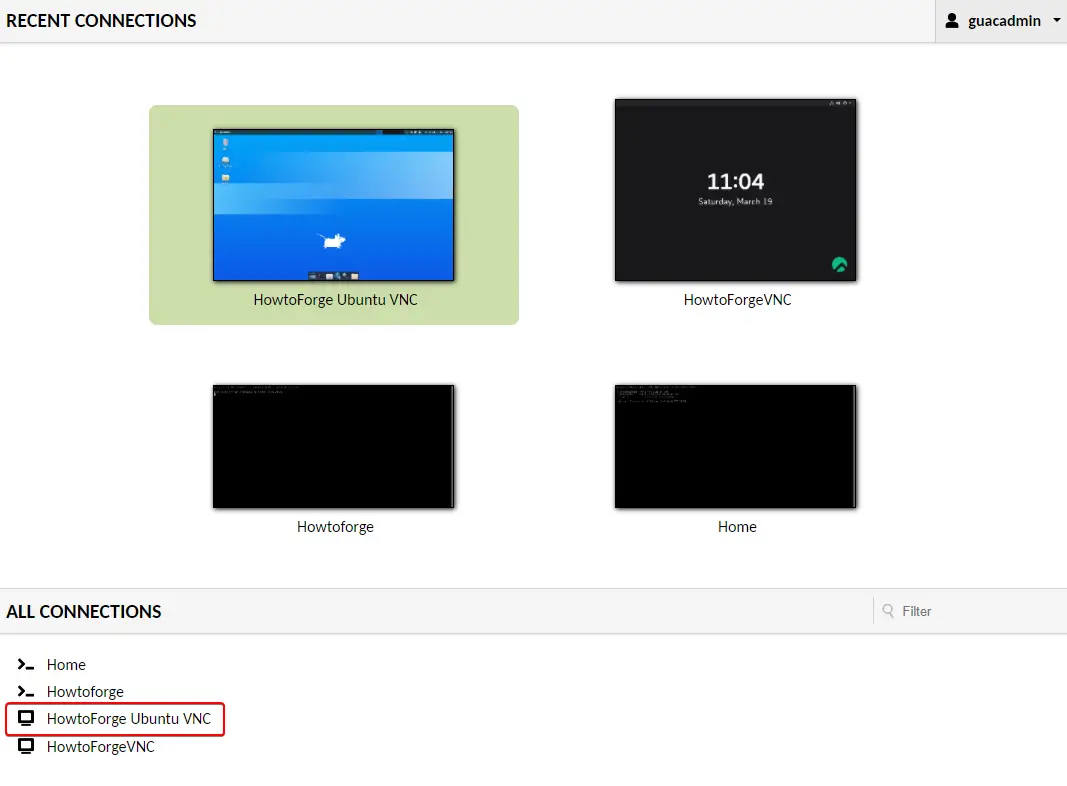
Visit the Guacamole dashboard and click on your VNC Connection under the All Connections section.
You will be greeted with the Lock screen of your server.
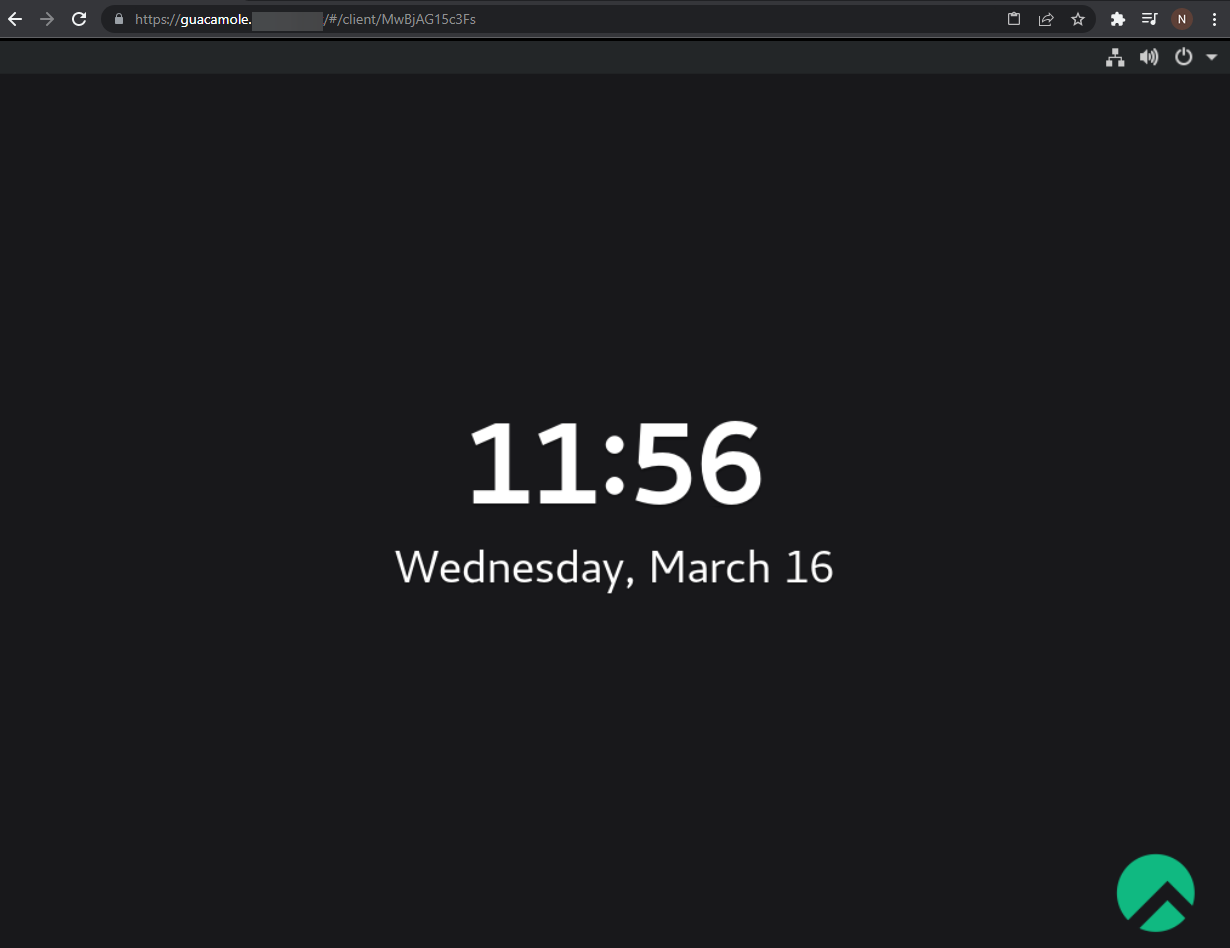
Dismiss it and enter your VNC user credentials.
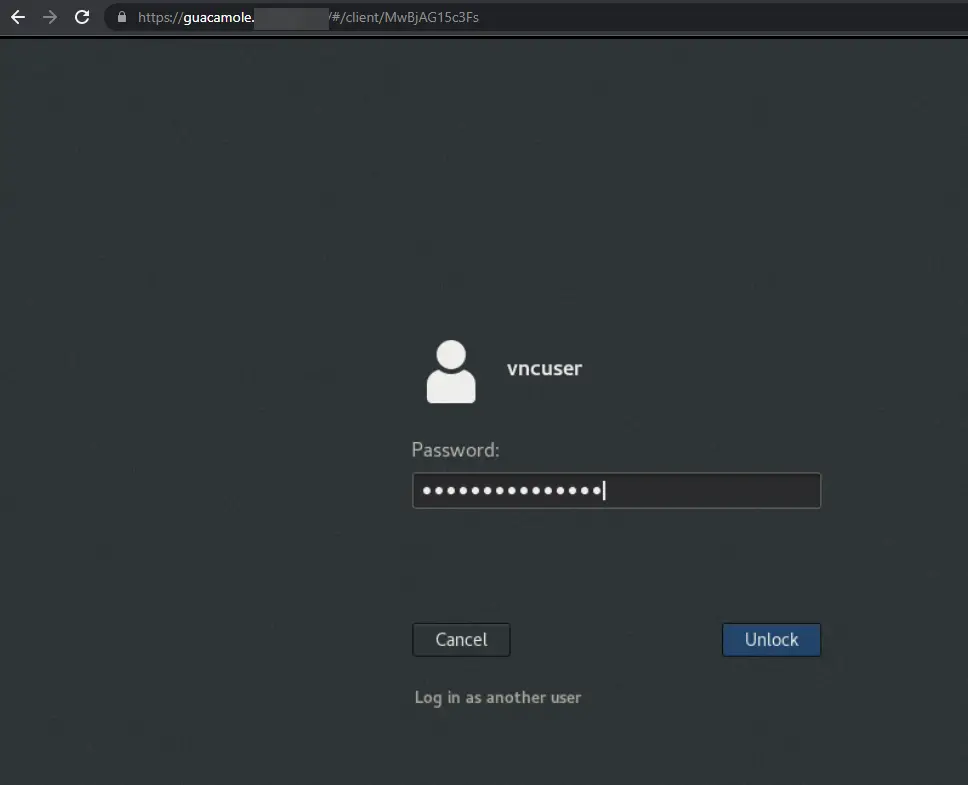
Press the Unlock button to proceed to your server/desktop's home screen.
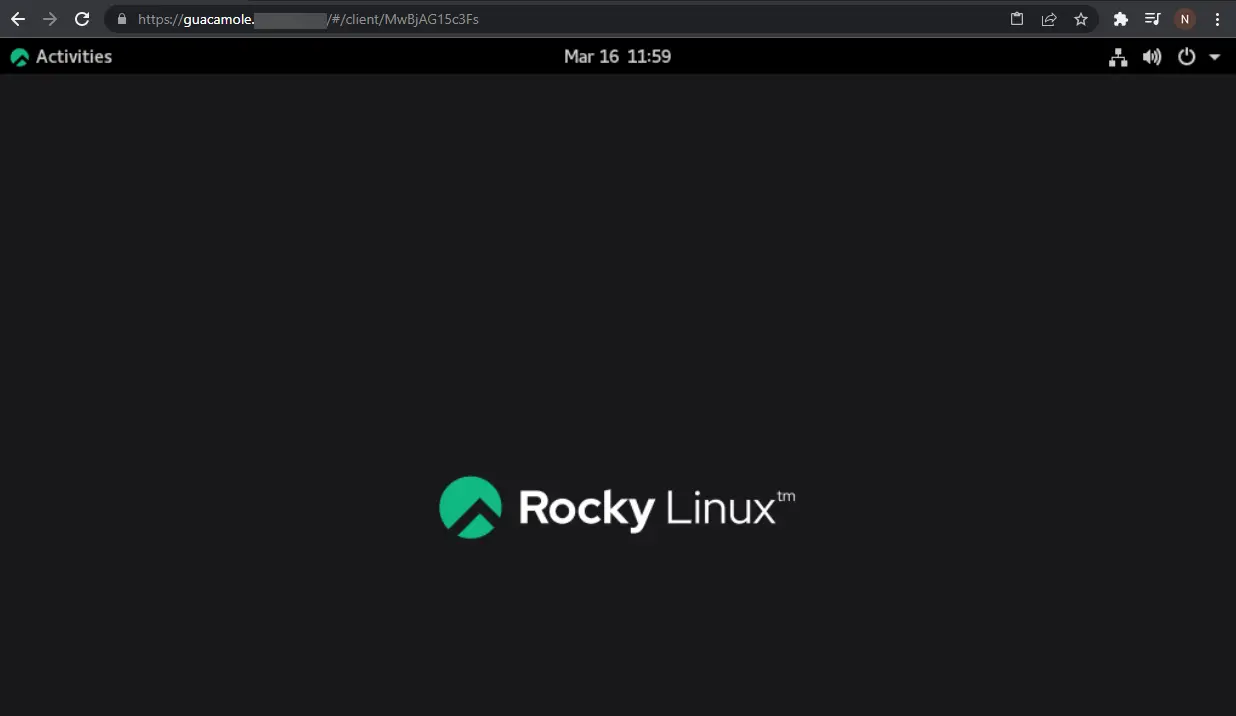
You can start working on your machine.
Step 8 - Create a VNC Connection to a remote Ubuntu/Debian server
If your Guacamole installation and the desktop environment are on the same server, you can access your server VNC using the steps above. Our Rocky Linux installation was on the same server, but our Ubuntu environment was on a different server. In such a case, we will be using SSH tunneling to create a VNC connection to the server since it is a more secure method.
Open your Guacamole URL and enter your credentials to log in.
Visit the Connections tab under Guacamole Settings. Click on the New Connection button.
Choose a name for your connection and select VNC from the dropdown menu.

Under the Parameters section, enter the localhost address as the hostname and 5001 as the port. Leave the Authentication section as blank as we will use that in the next step. We will also talk about why we used localhost as a host in a moment.
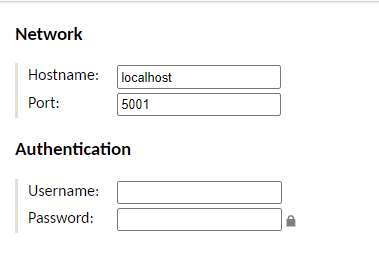
If you want to enable any additional settings, do that. Click Save to finish adding the connection.
Create an SSH Tunnel
Run the following command from the terminal of the server hosting Guacamole.
$ ssh -L 5001:localhost:5901 [email protected]
Let us go through what is happening here. The above command forwards your system's SSH connection to the remote server using local port forwarding.
- The
-Lflag specifies local port forwarding. - The
5001port is the port on your Guacamole machine where we can access the remote server. You can choose a different port if you want. localhost:5901is the remote VNC server and the display number (and its corresponding port number) to connect to. Since we are doing local port forwarding, the remote server address is translated tolocalhostfor us.[email protected]in our case are the SSH user and the IP address of the remote Ubuntu / Debian server which we are accessing.
The SSH tunnel will remain open as long as the command is running. Type exit on the terminal to exit the tunnel and close the VNC connection.
Access your machine using VNC
Visit the Guacamole dashboard and click on your VNC Connection under the All Connections section.
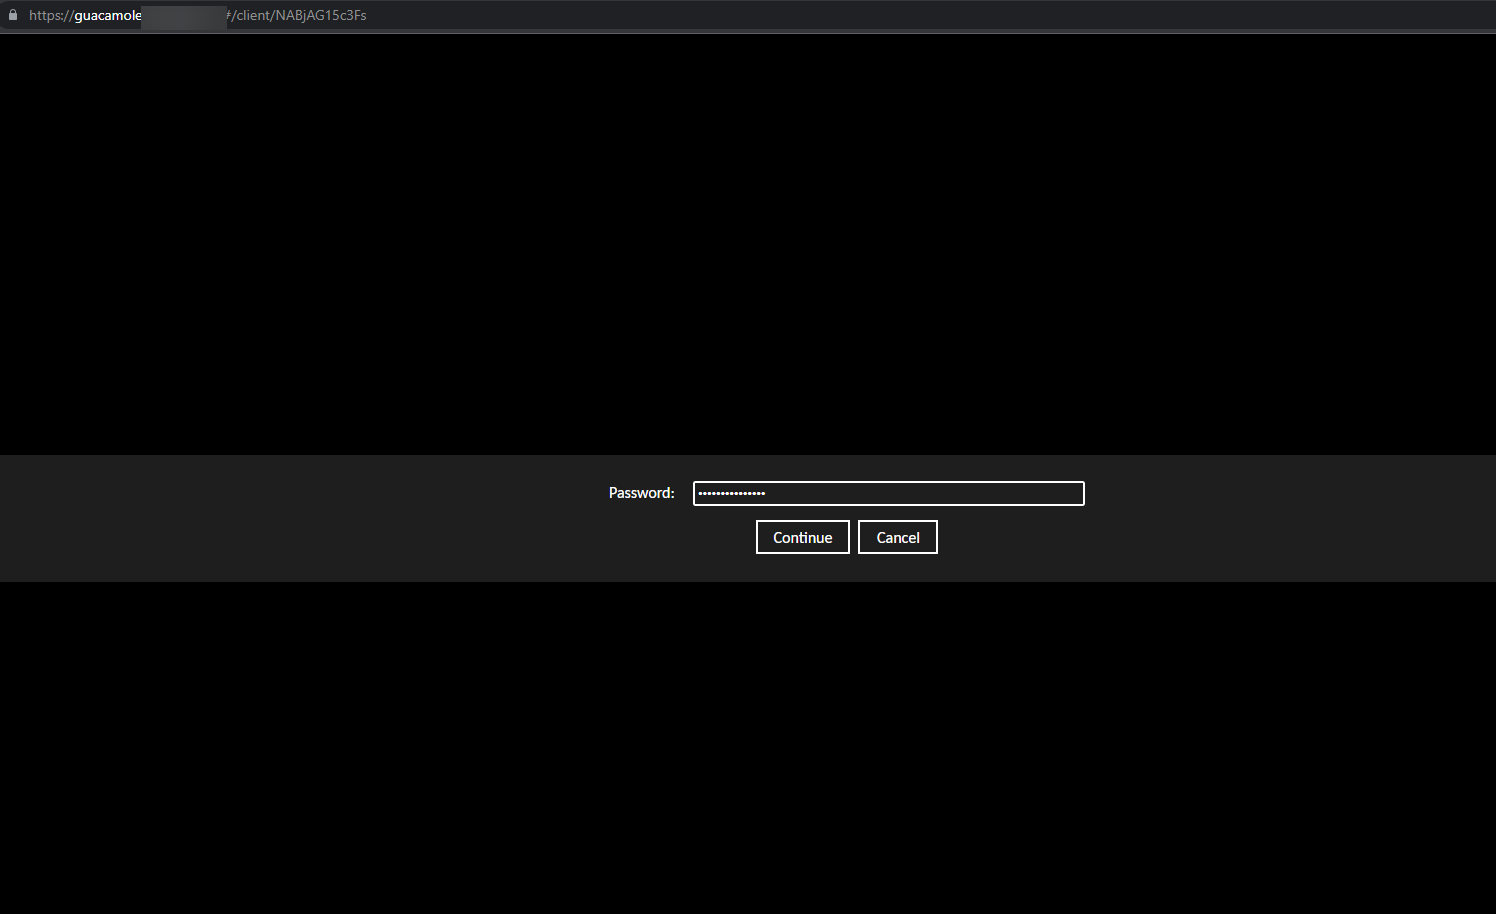
You will be greeted with a password prompt asking for the VNC password you set using the vncpasswd command. Enter the password and press Continue to proceed.
Upon successful confirmation, you will be taken to your system's desktop screen.
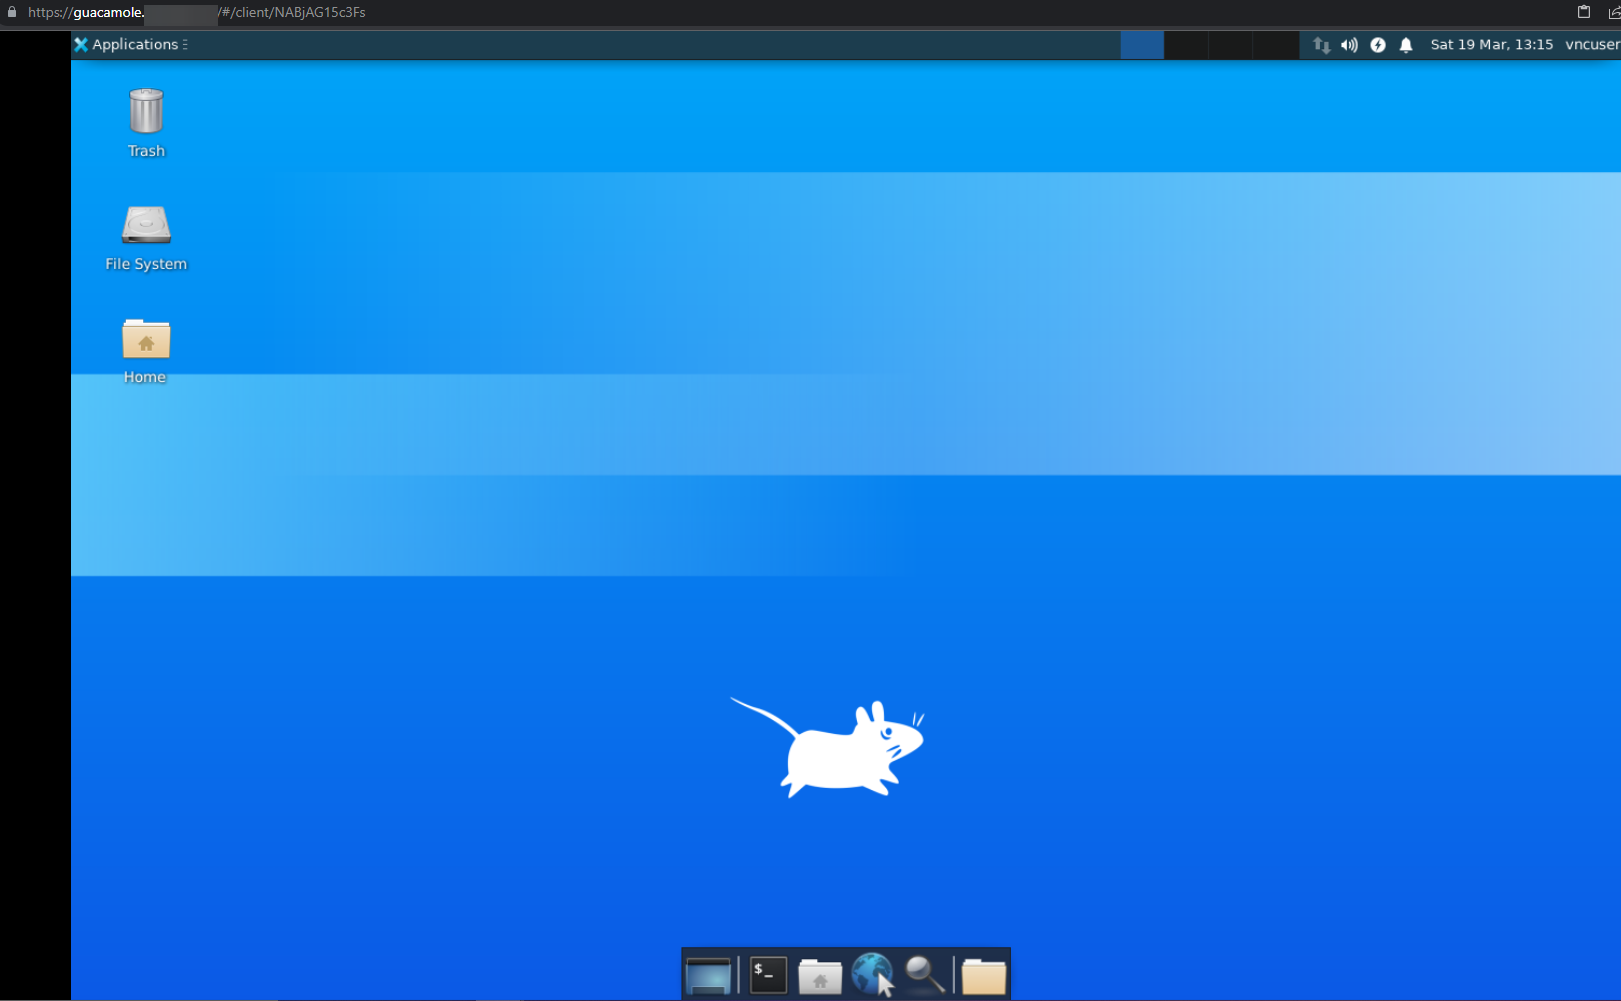
You can start working on your machine.
Conclusion
This concludes our tutorial on using Apache Guacamole to create a VNC connection with a Linux server. If you have any questions, post them in the comments below.

