How to Register a Domain Name on AWS
On this page
Amazon Route53 comes to the rescue when it comes to buying a domain name on AWS. One can also transfer a domain name from other registrars to AWS. When you want to build a website or web applications, the first step is to buy a domain name, as it is an easier way to remember than the IP of the server. A domain name is a unique name that identifies the website, hence no 2 websites can have the same name on the internet.
Any domain consists of Top Level Domain (TLD) and Second Level Domain (SLD). If we take an example of the domain name as "my-example.com" .com is the Top Level Domain and my-example is the Second Level Domain. Additionally, you can create Sub-Domains under your Domain name for which you don't need to pay. In "my-subdomain.my-example.com" URL, "my-subdomain" is the Sub-Domain you can create it without paying any additional amount to your registrar.
To know about the pricing of Route53 service on AWS, visit the official page here.
In this article, we will see the steps to buying a domain name on AWS using the Route53 service.
Pre-requisites
- AWS Account (Create if you don’t have one).
- Access to the Email account registered with AWS(You will receive a confirmation link and other details on this email-id).
What will we do?
- Login to AWS
- Create a Domain.
Login to AWS
Click here to go to the login page where you can enter your credentials to get into the account.

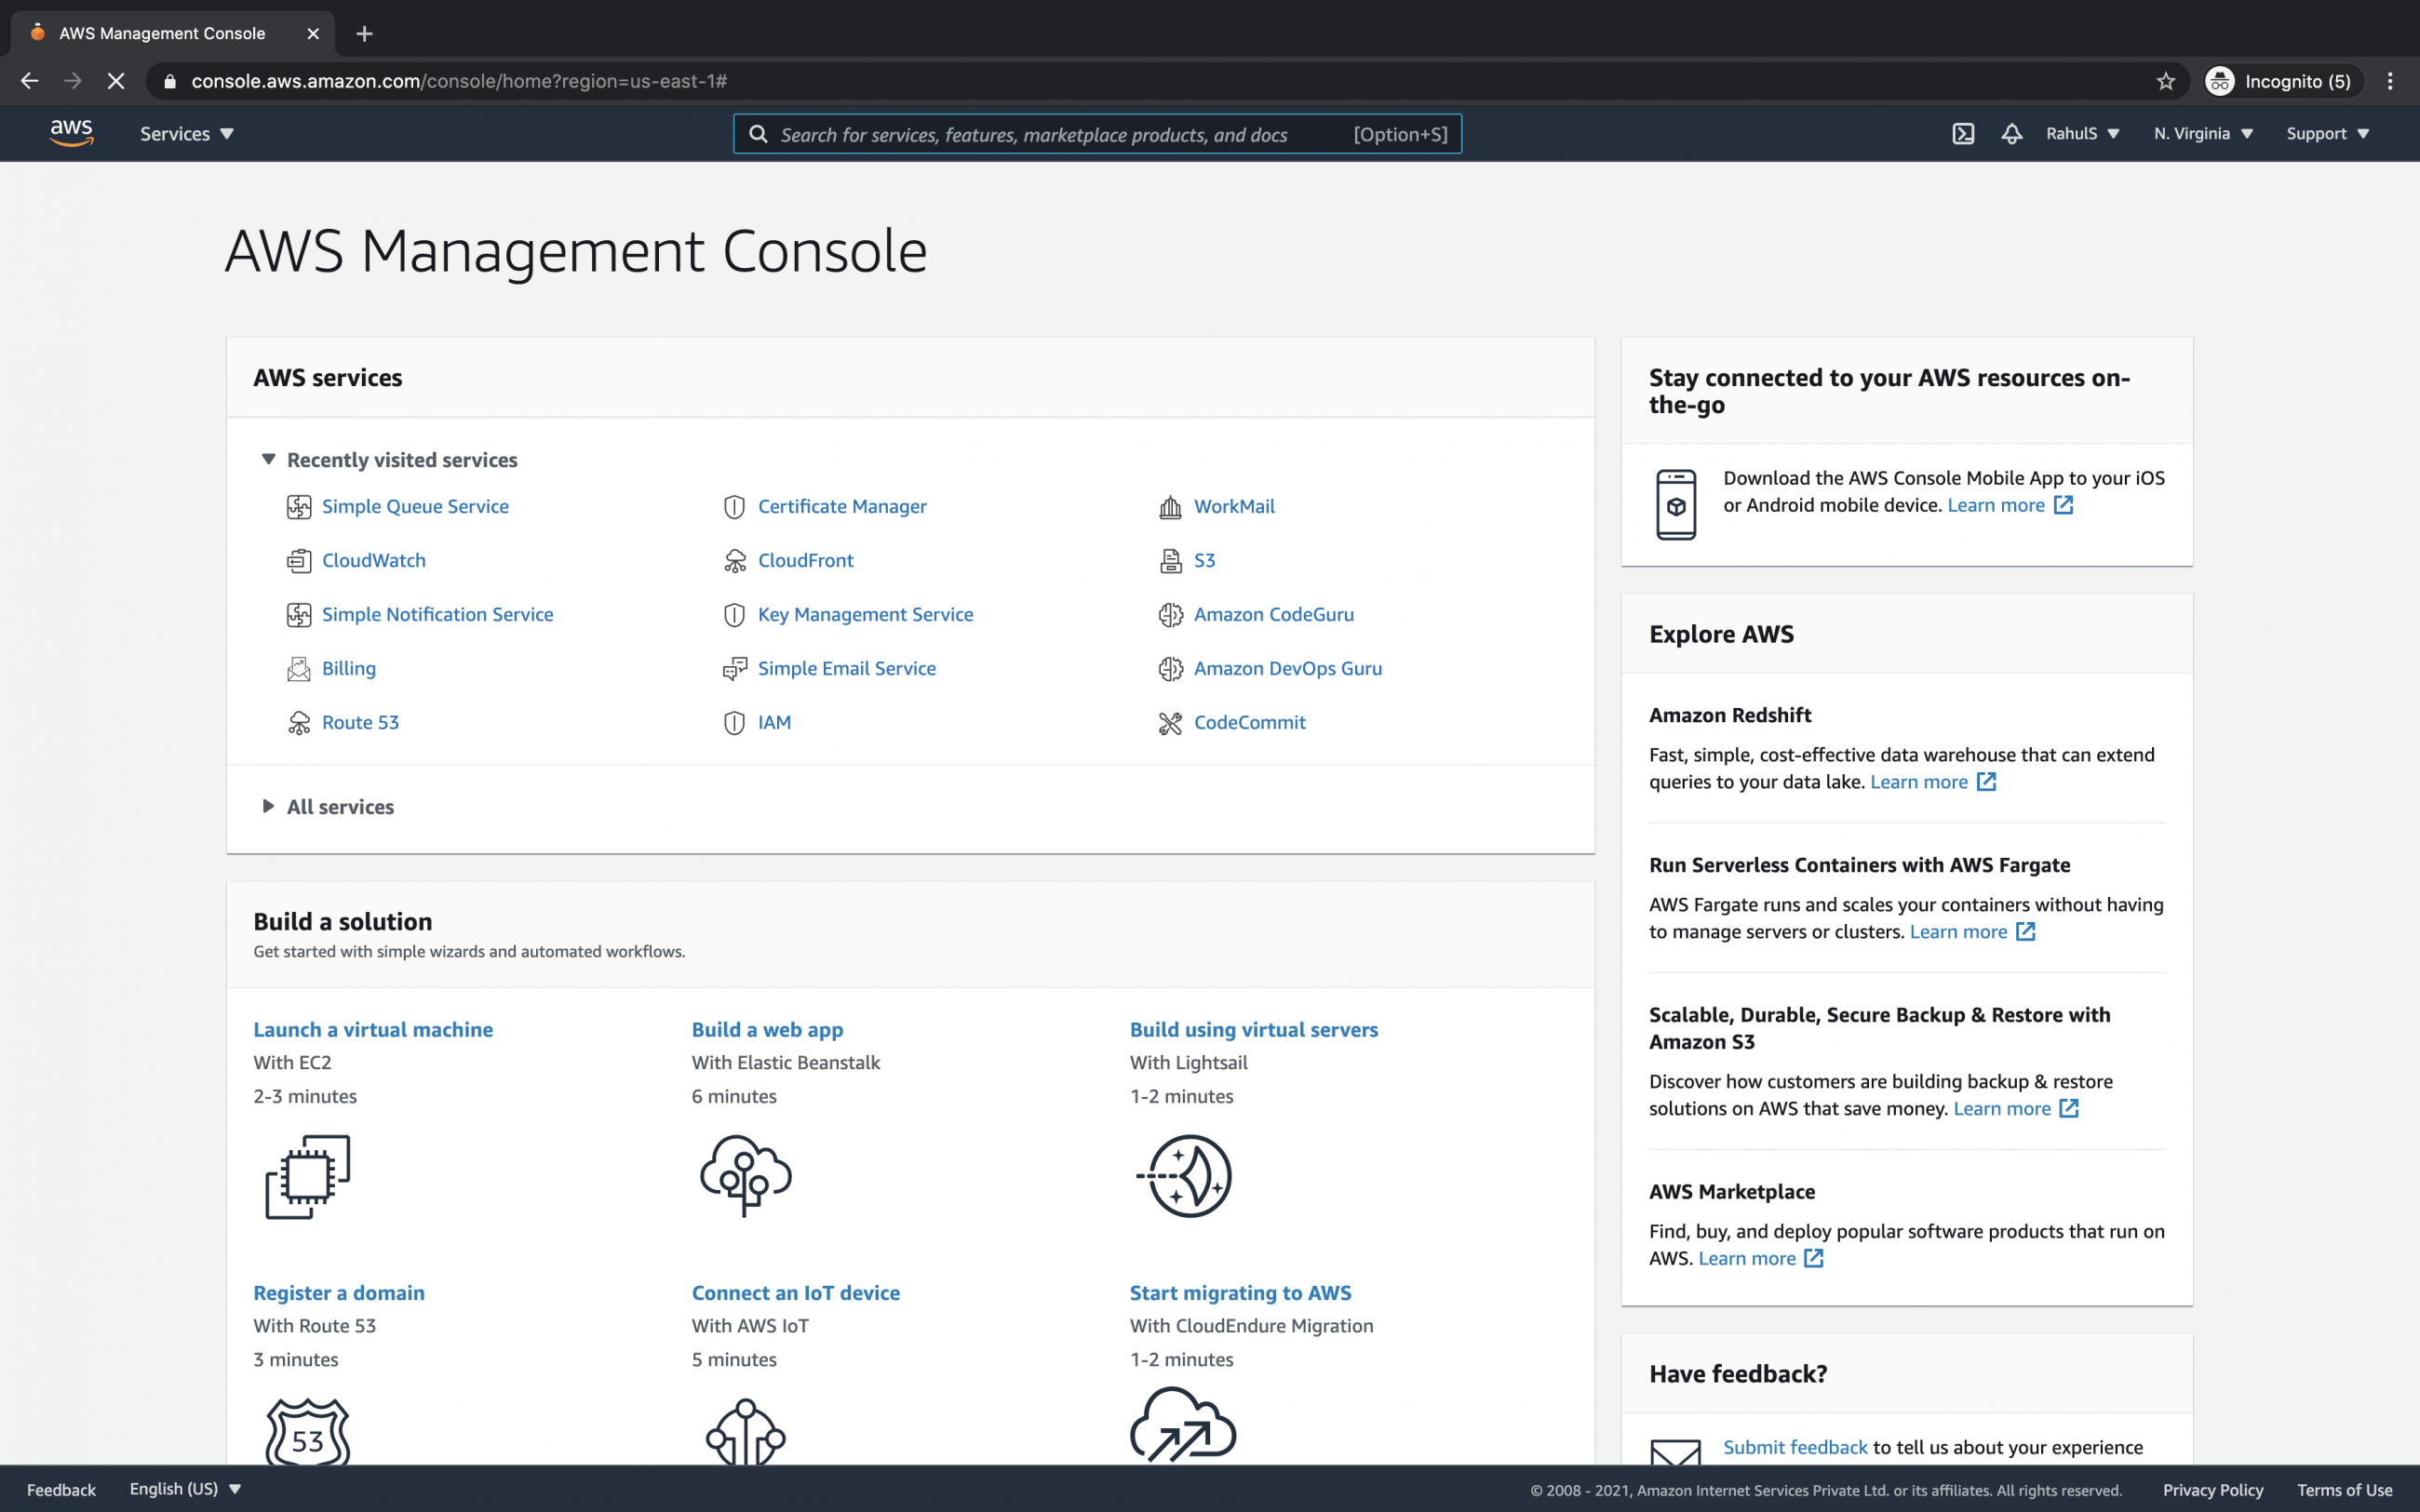
You will see the main AWS management console as follows upon successful login.
Create a Domain
Search for Route53 in the search box at the top of the screen.

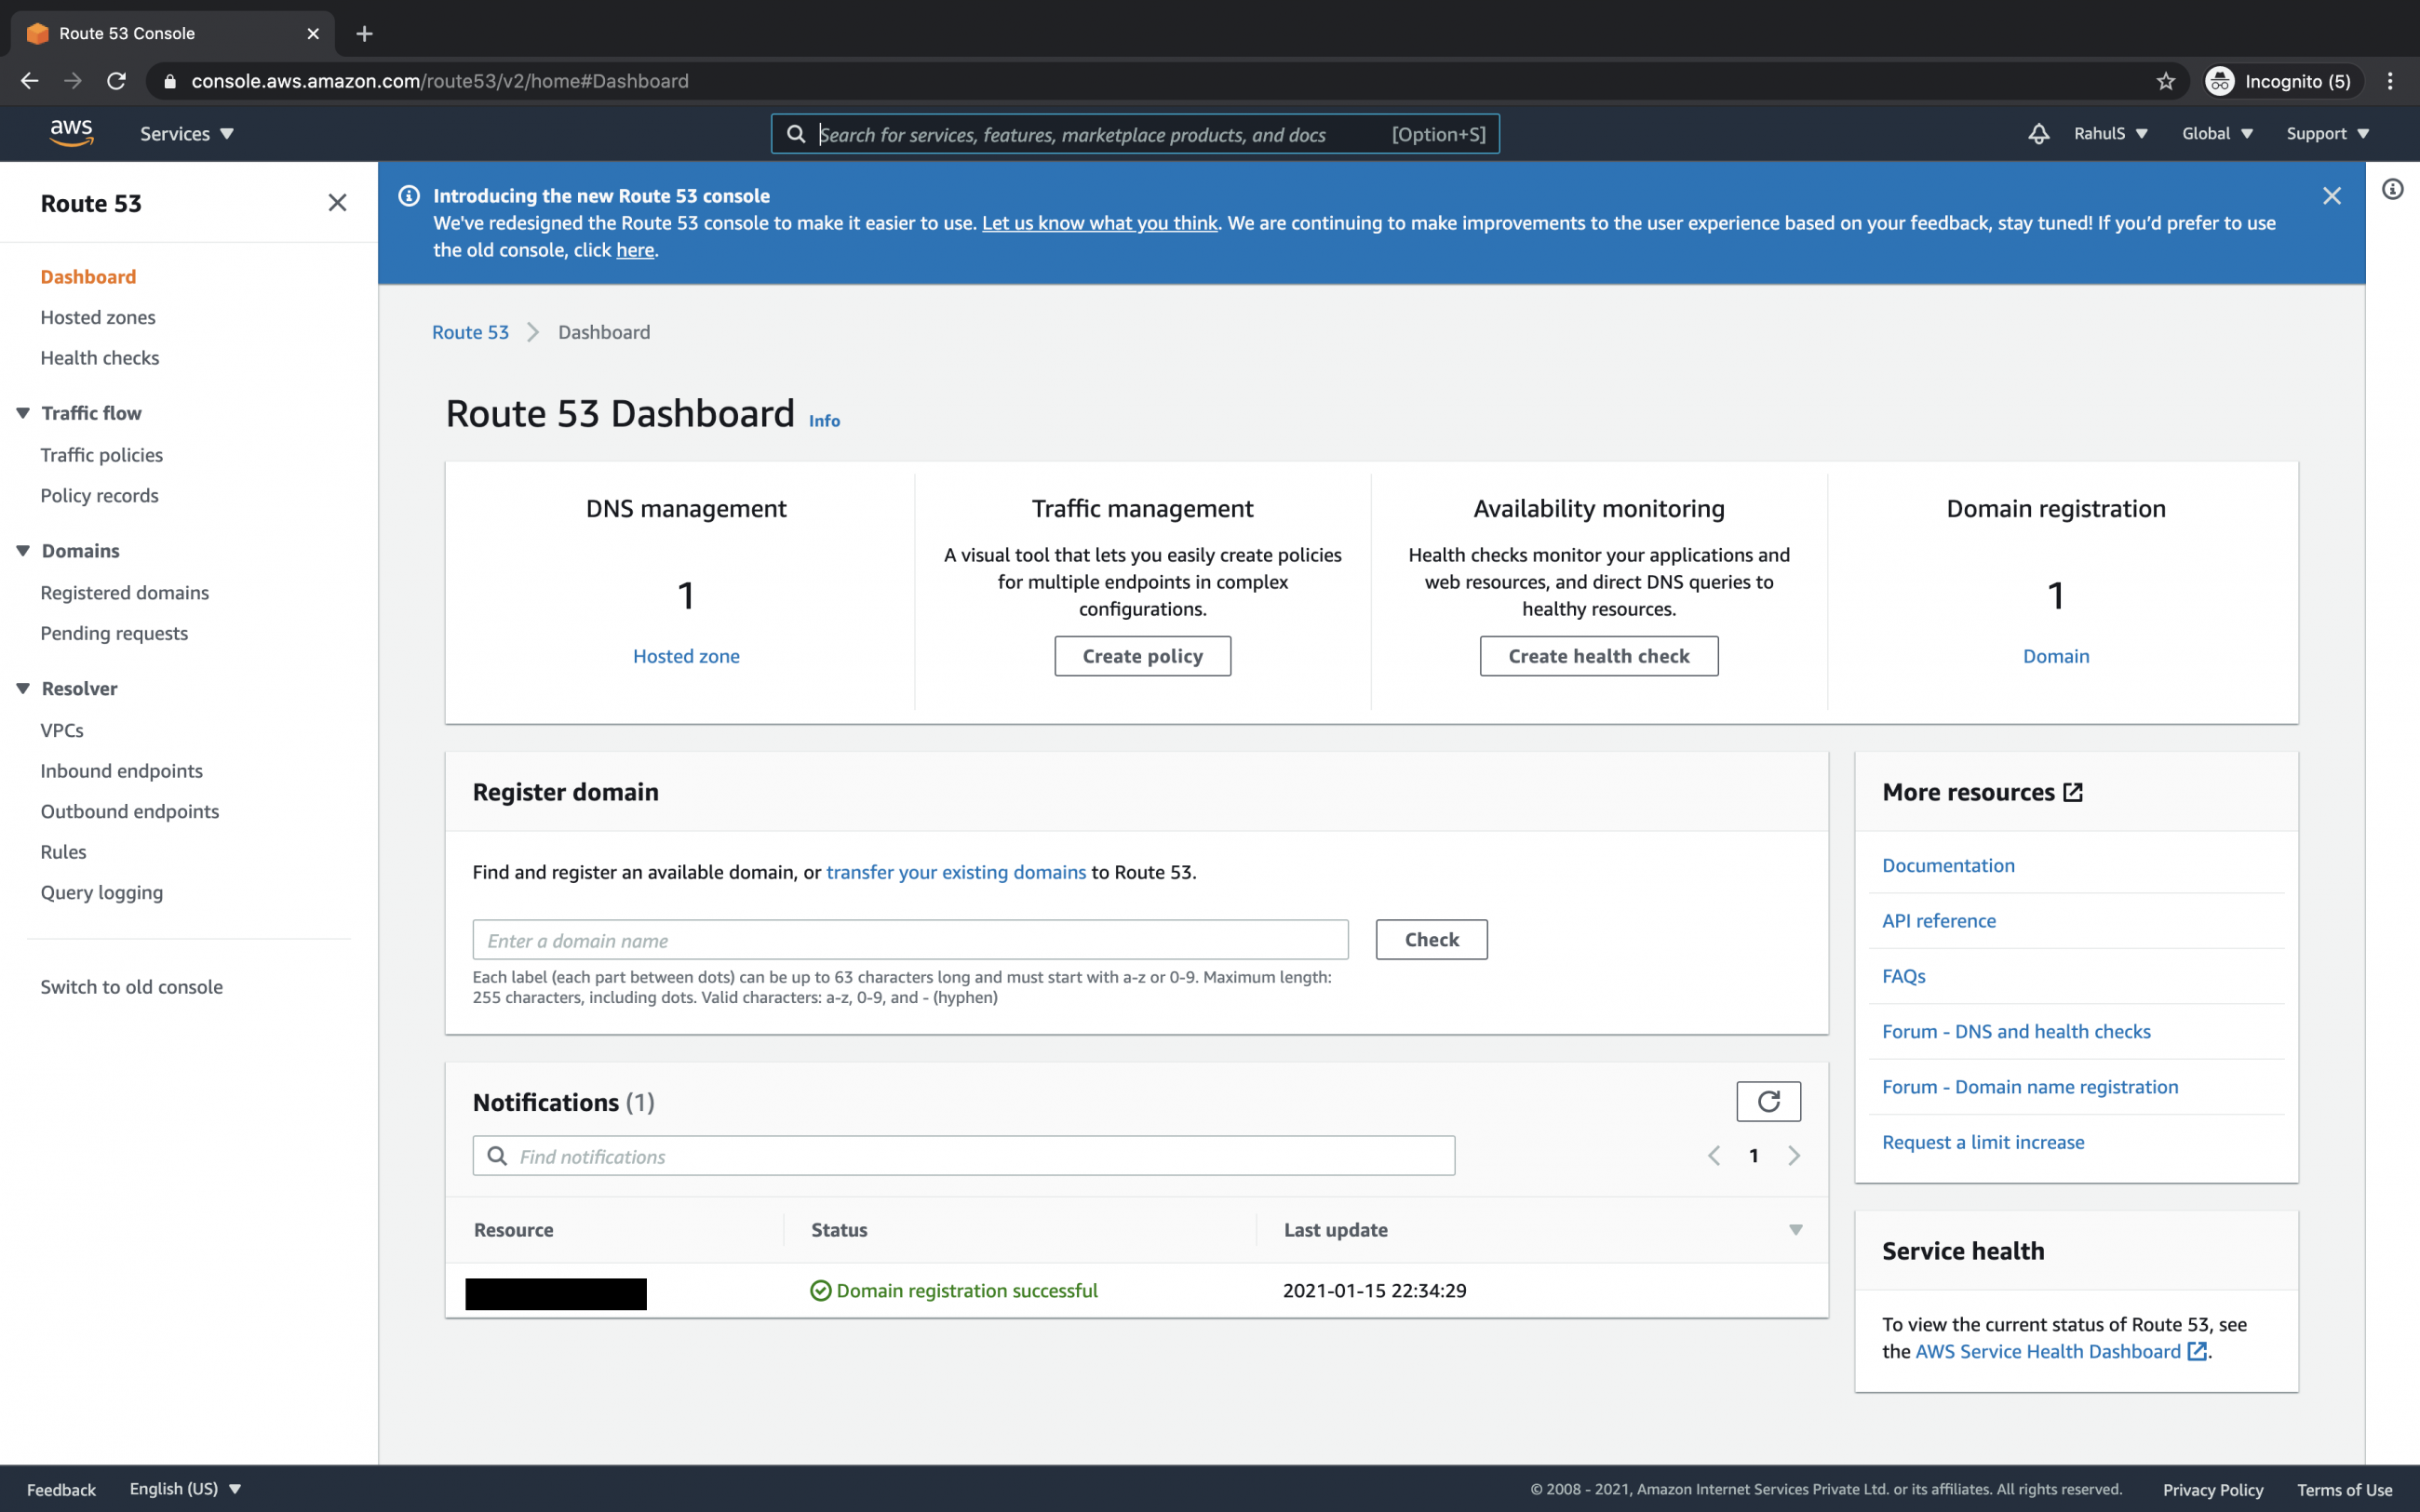
Here is the dashboard of Route53. Since I already have a domain in my account you see 1 hosted zone.
Click on "Registered domains" under "Domains" in the left panel.
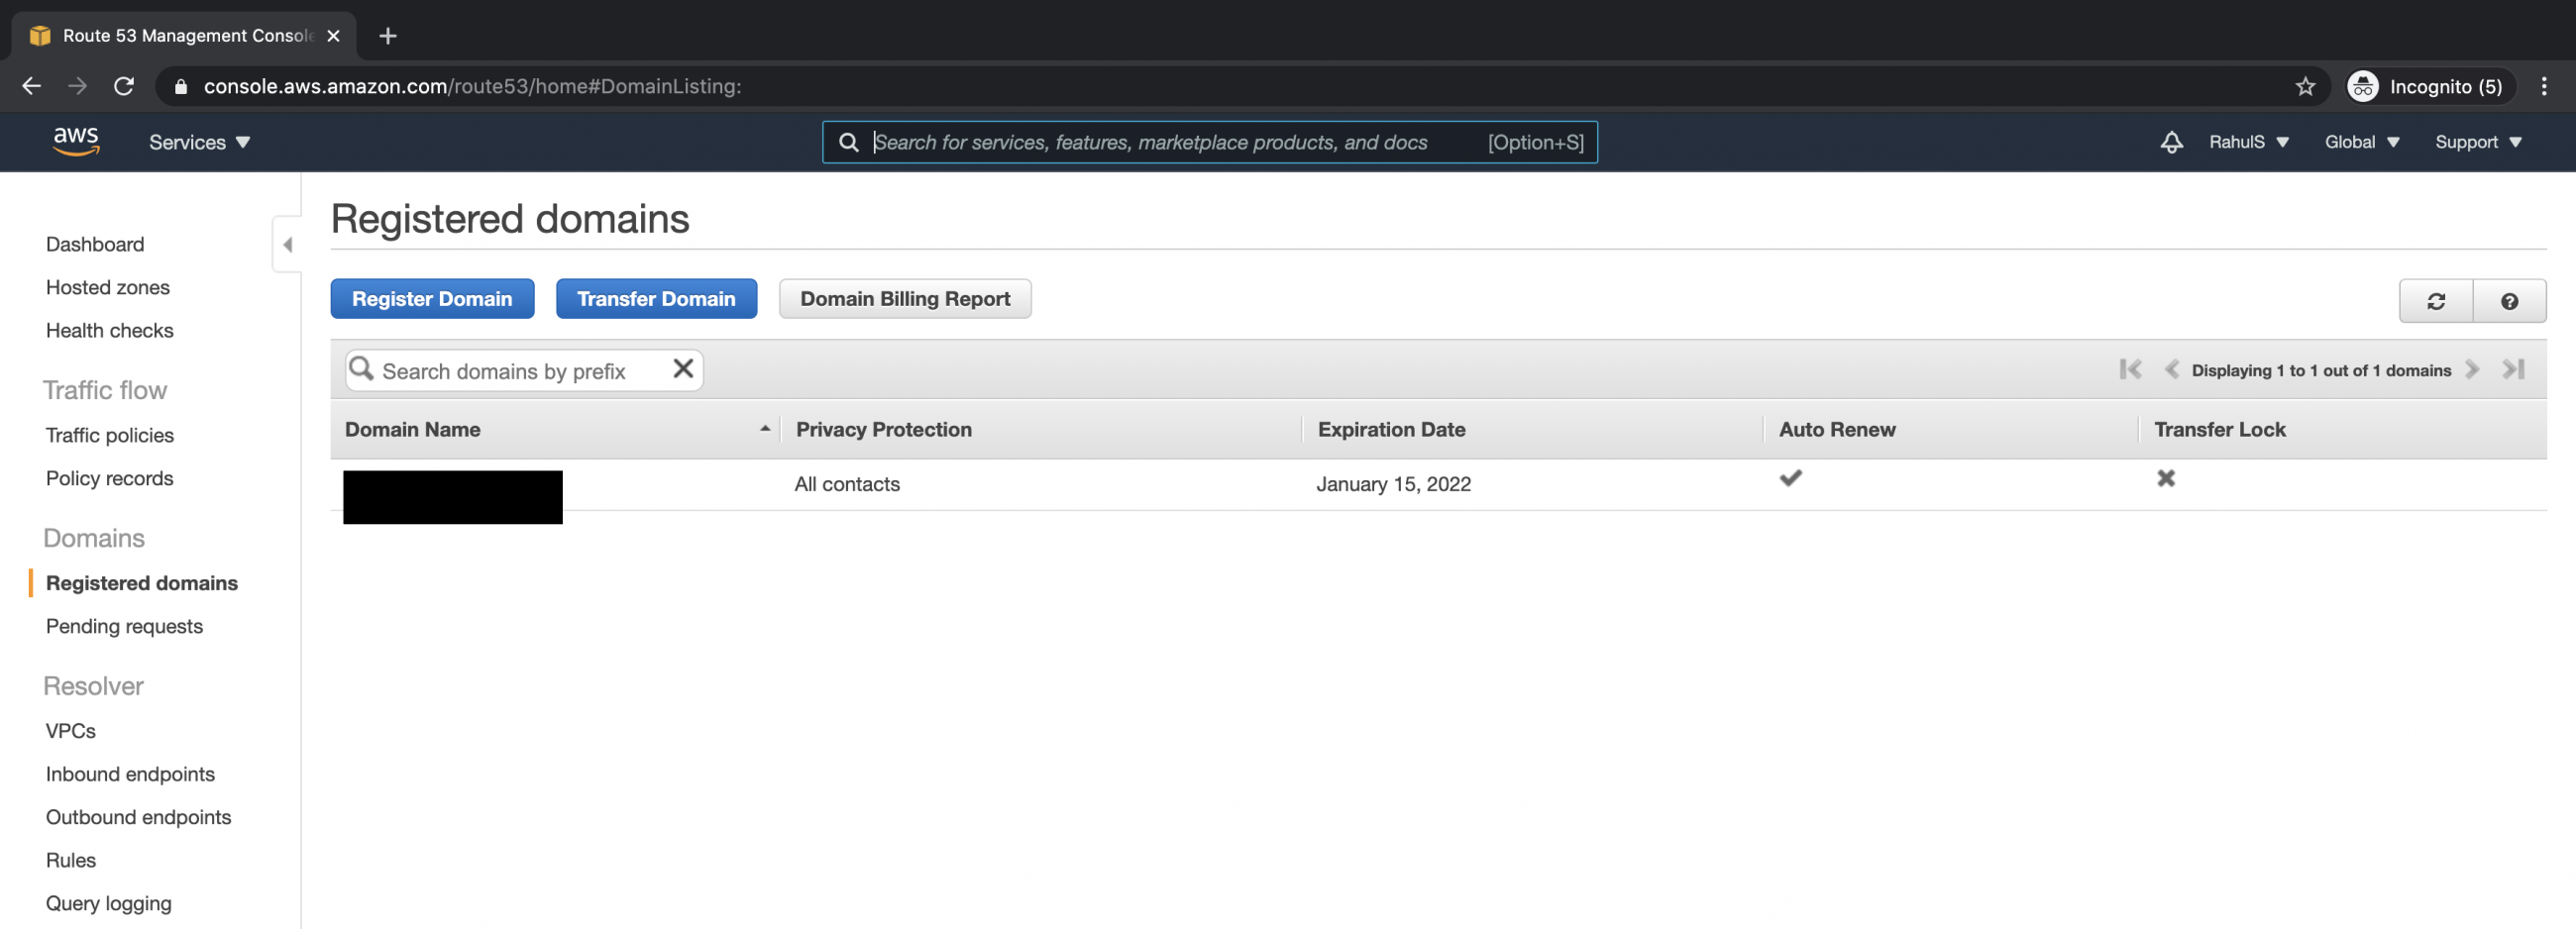
On this page, click on the "Register Domain" button. Since I already have one domain in my account, it is listed here. If you do not have any domain in your account, you will not see any domain listed on this page.
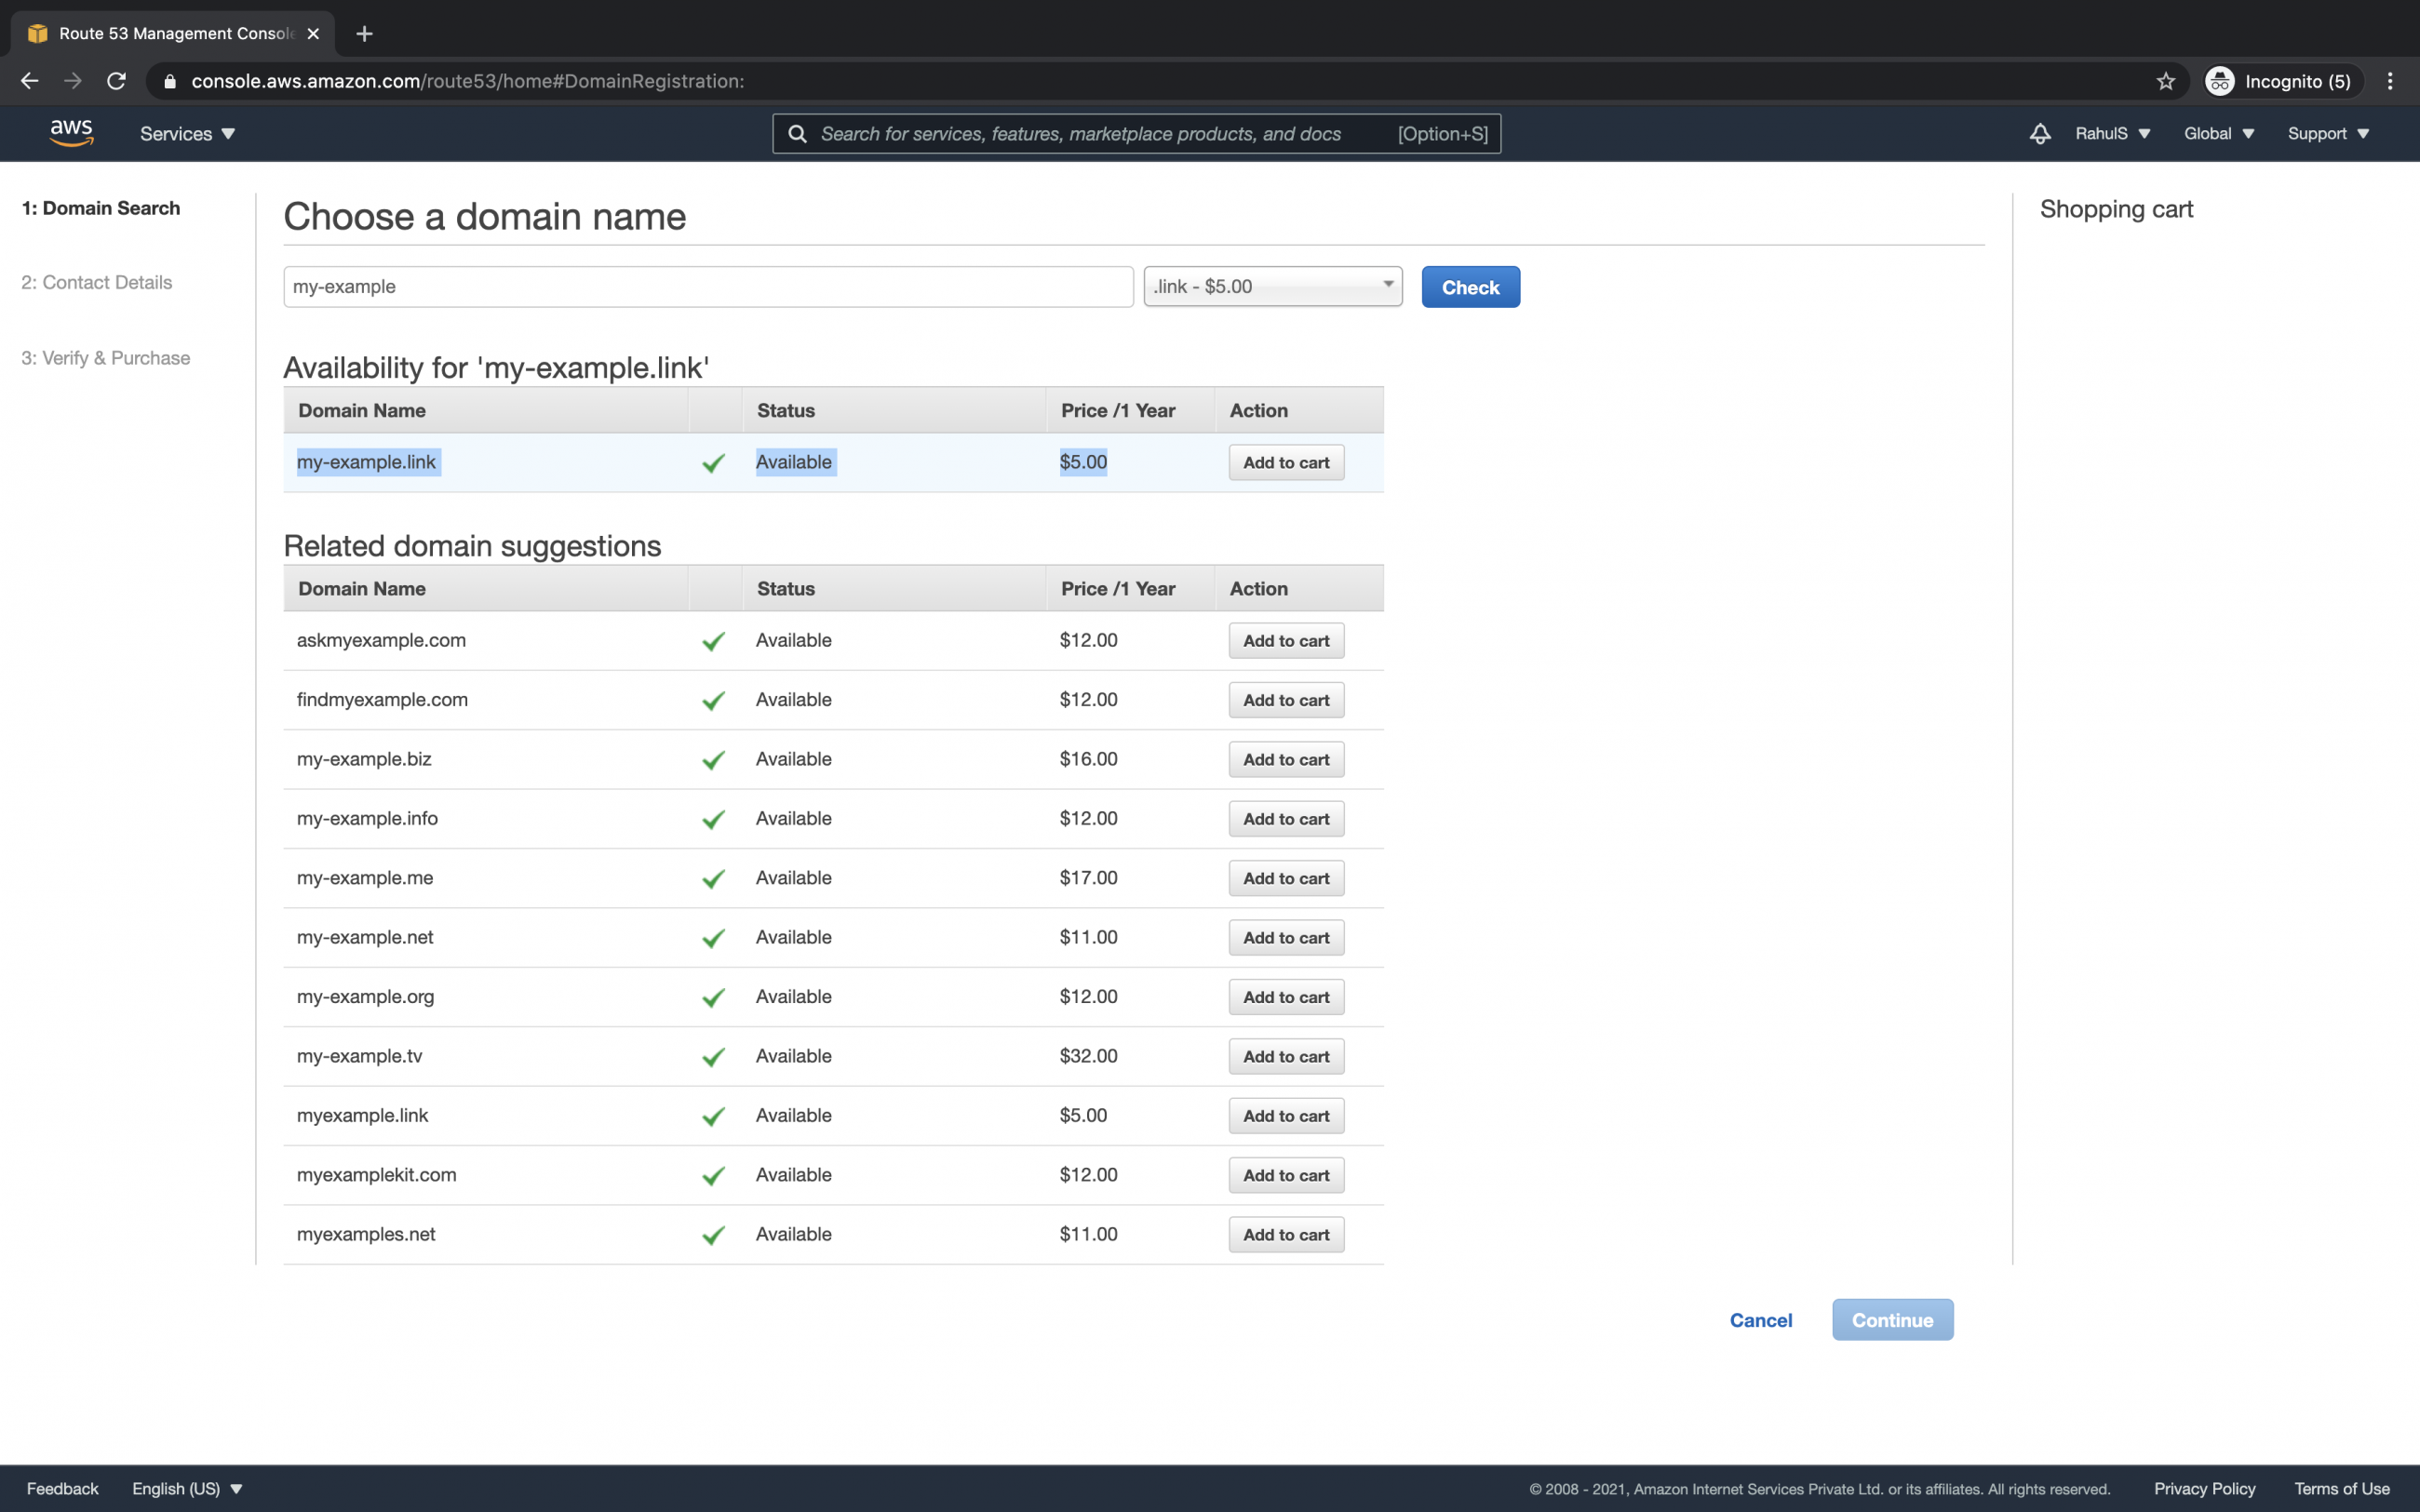
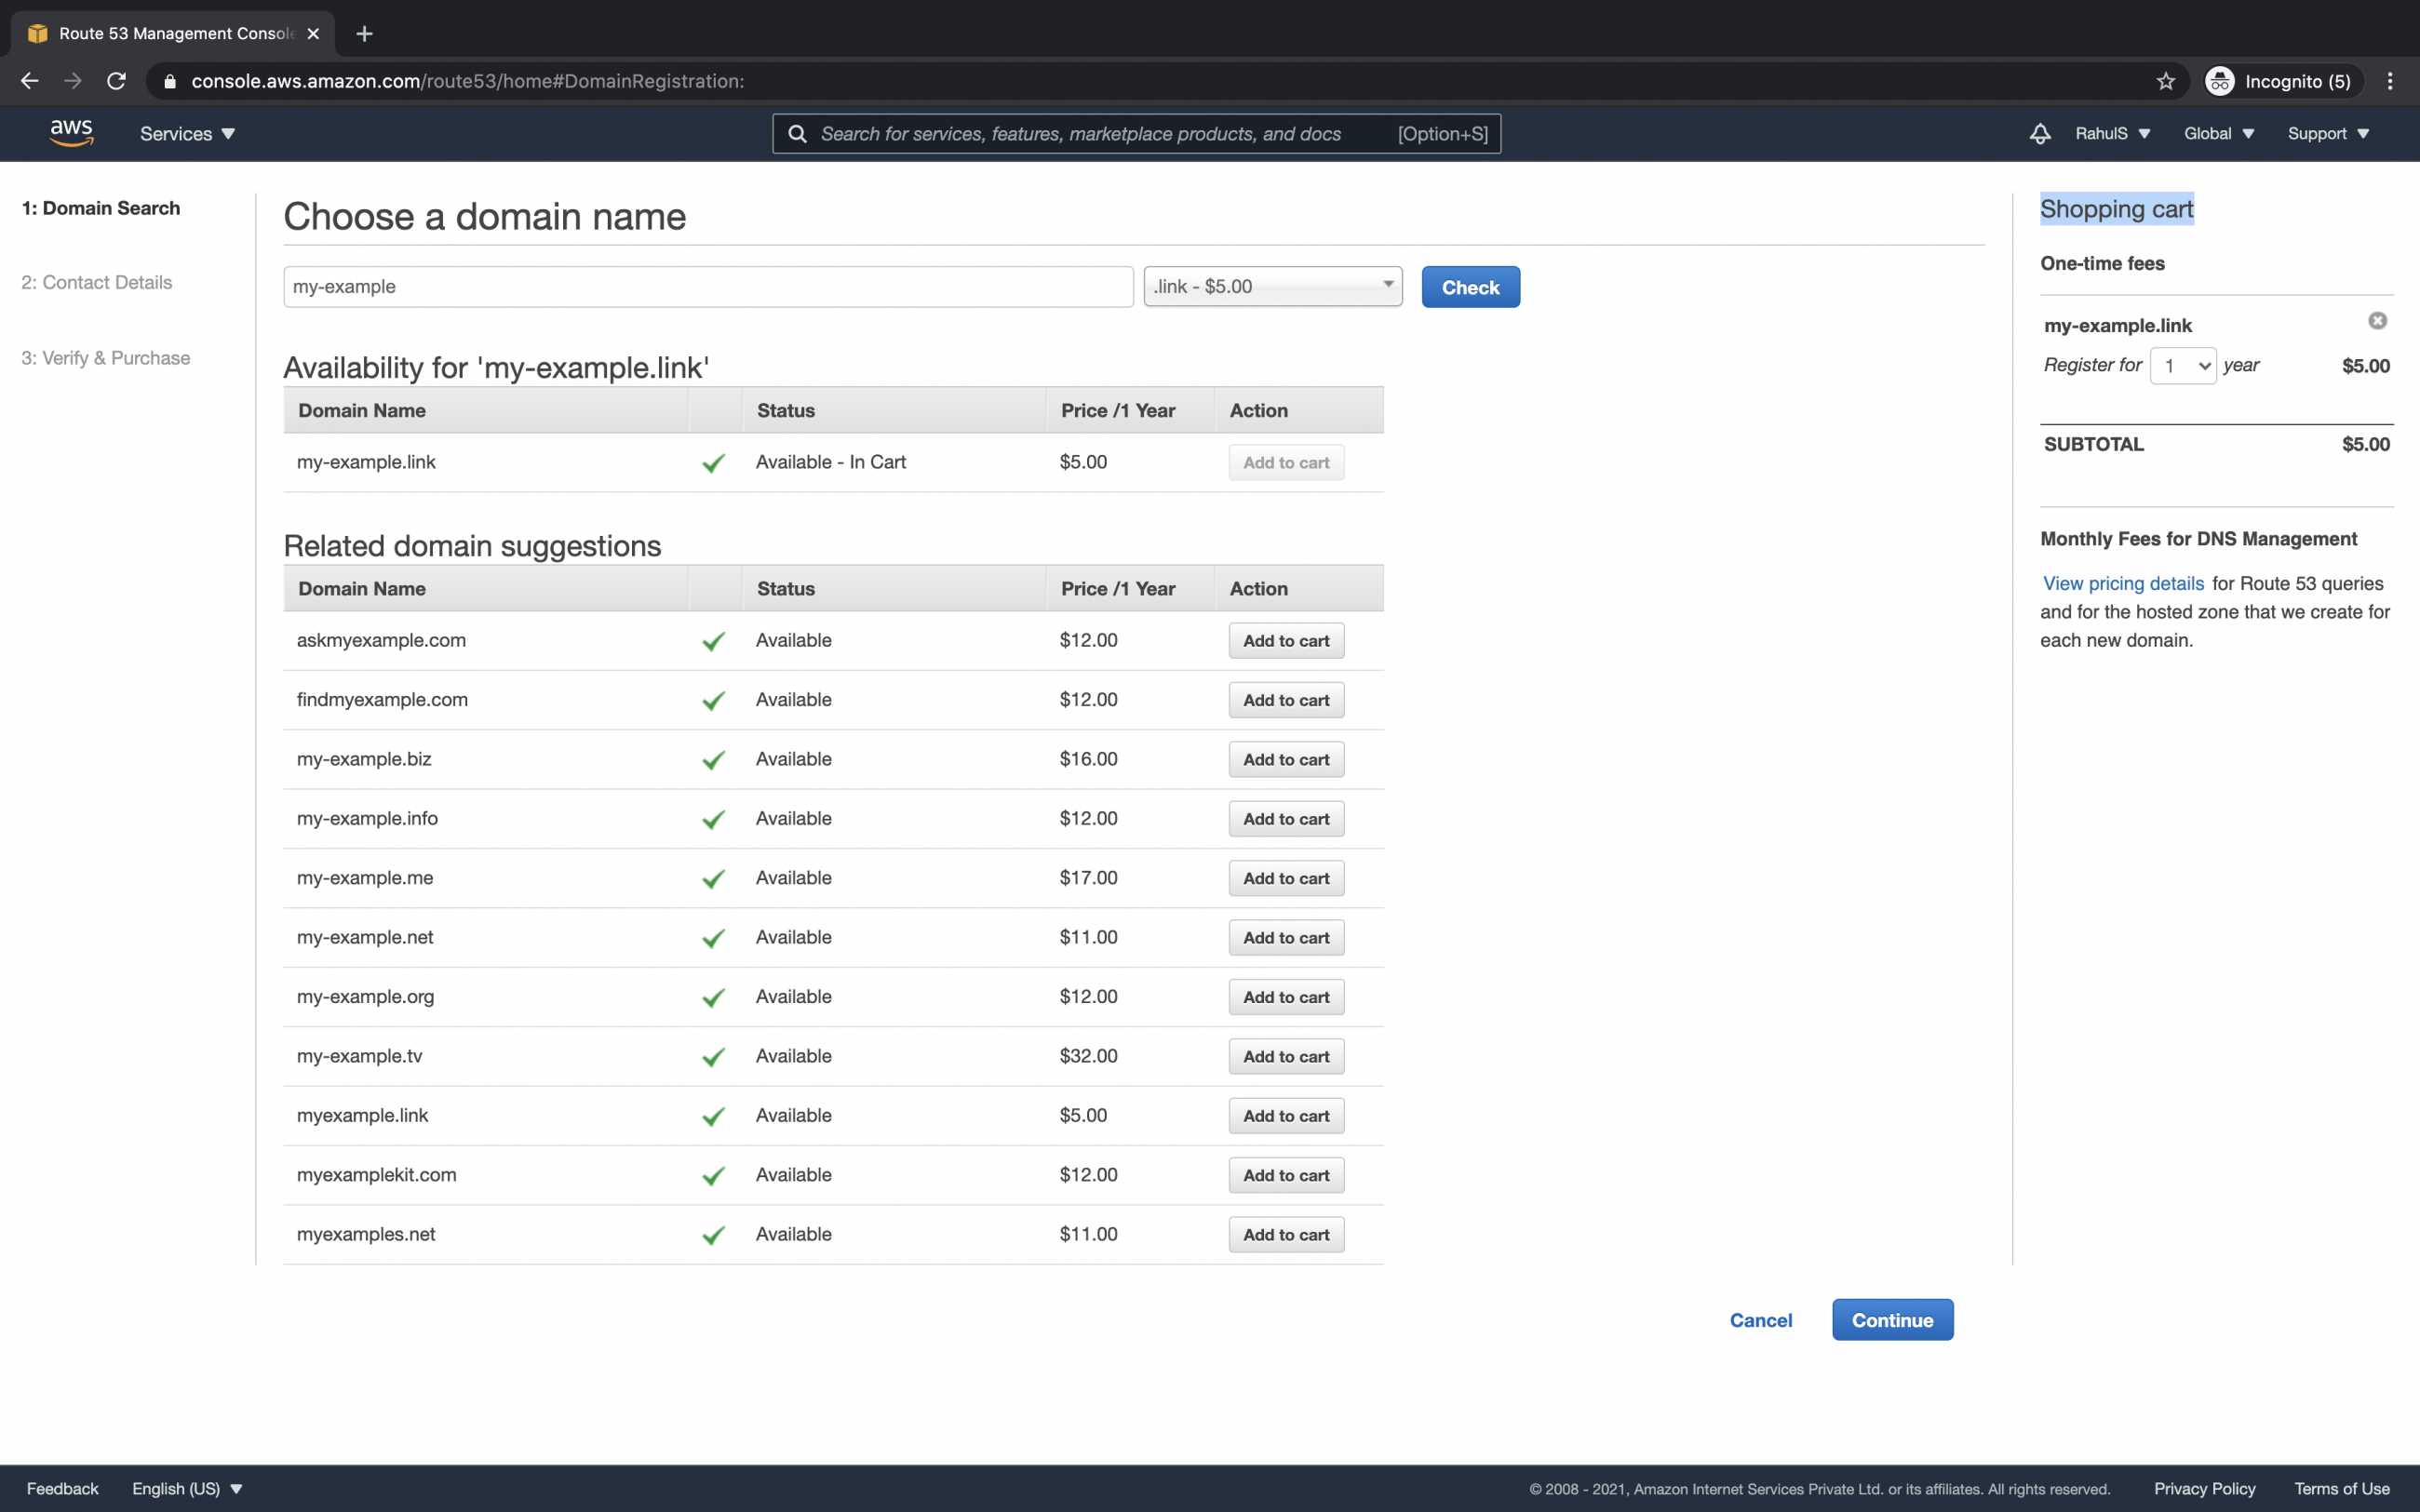
In the search box search for a domain name of your choice and check its availability. You can select domain name extensions referred to as top-level domains (TLDs) from the dropdown list. Here, "my-example" is the domain name and "link" is the domain extension to the top-level domain.
You will get the result to see if the domain is available or not. If the domain of your choice is not available you will get related domain suggestions, if you are not satisfied with the related domain suggestions you can check for some other domain. Once you finalize the domain name you can click on the "Add to cart" button.
Upon clicking on the "Add to cart" button, you will see its fees and the total amount that you will need to pay. Click on the "Continue" button to proceed further.
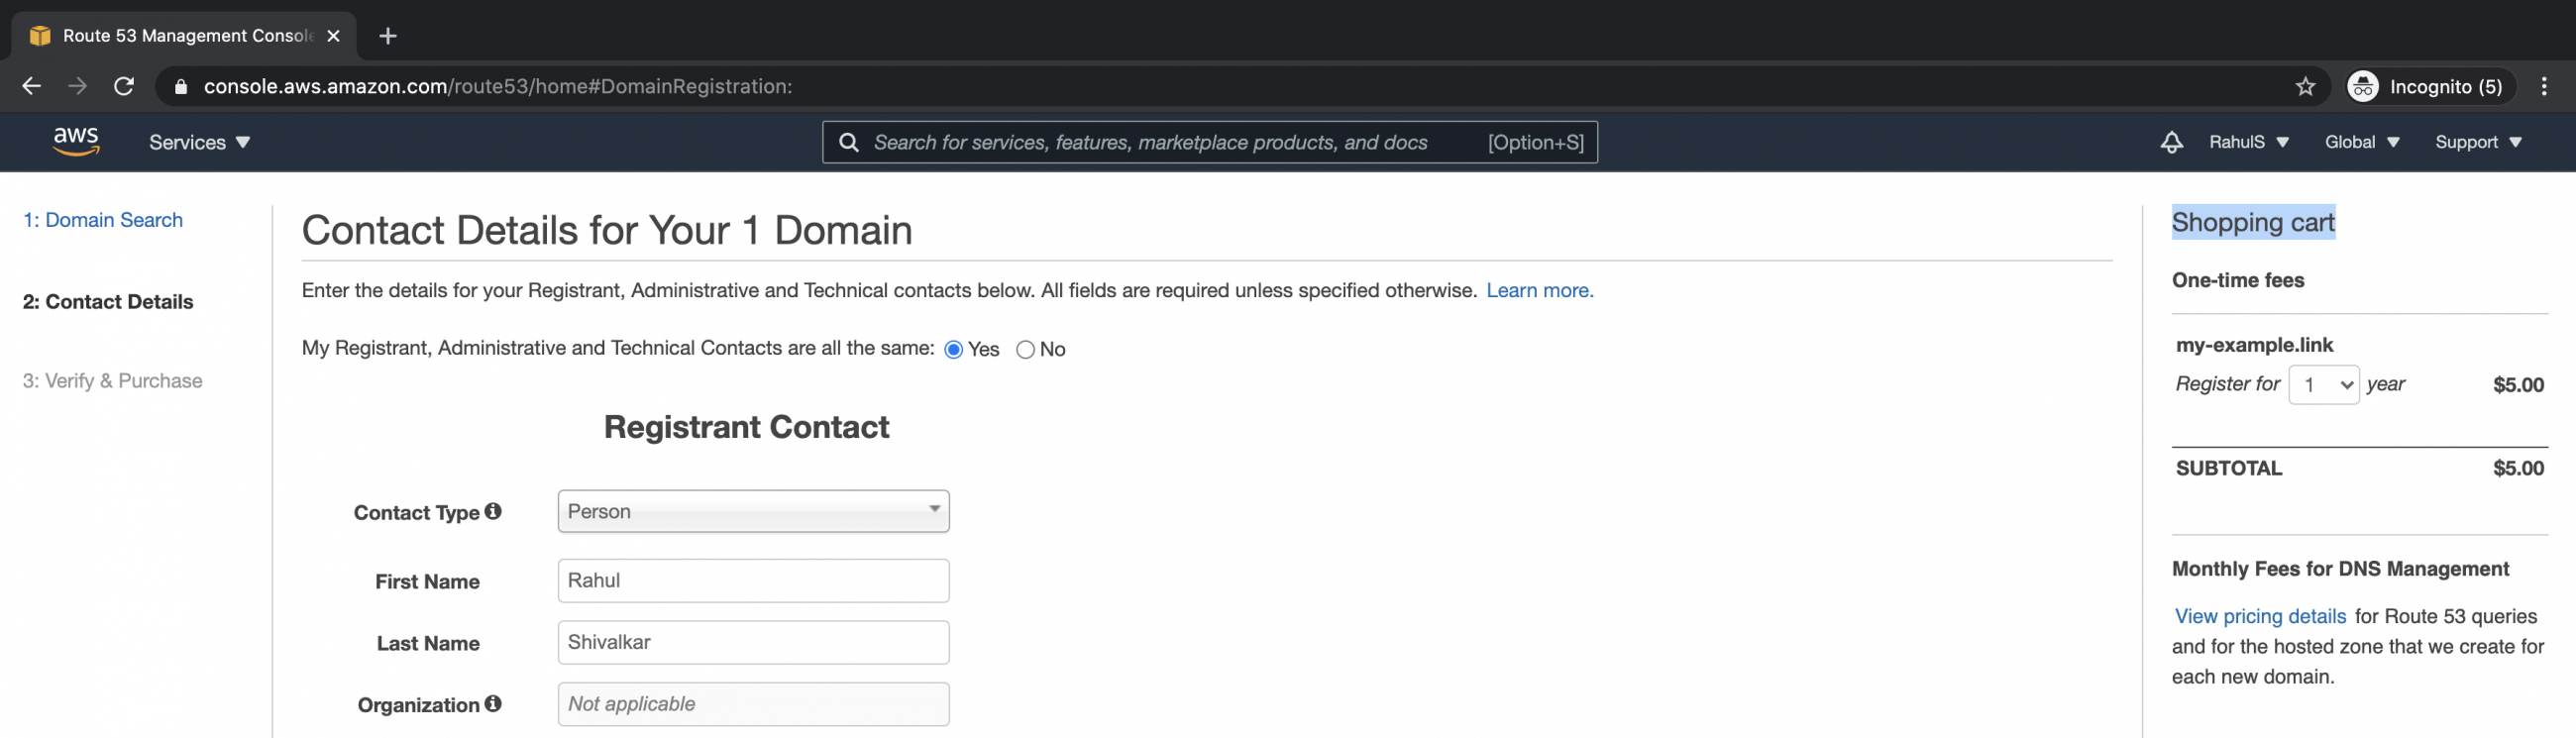
Here you will see your contact details. If you want to provide different Registrant, Administrative and Technical contact details you can specify them by selecting the "No" option. I am proceeding with "Yes" here.
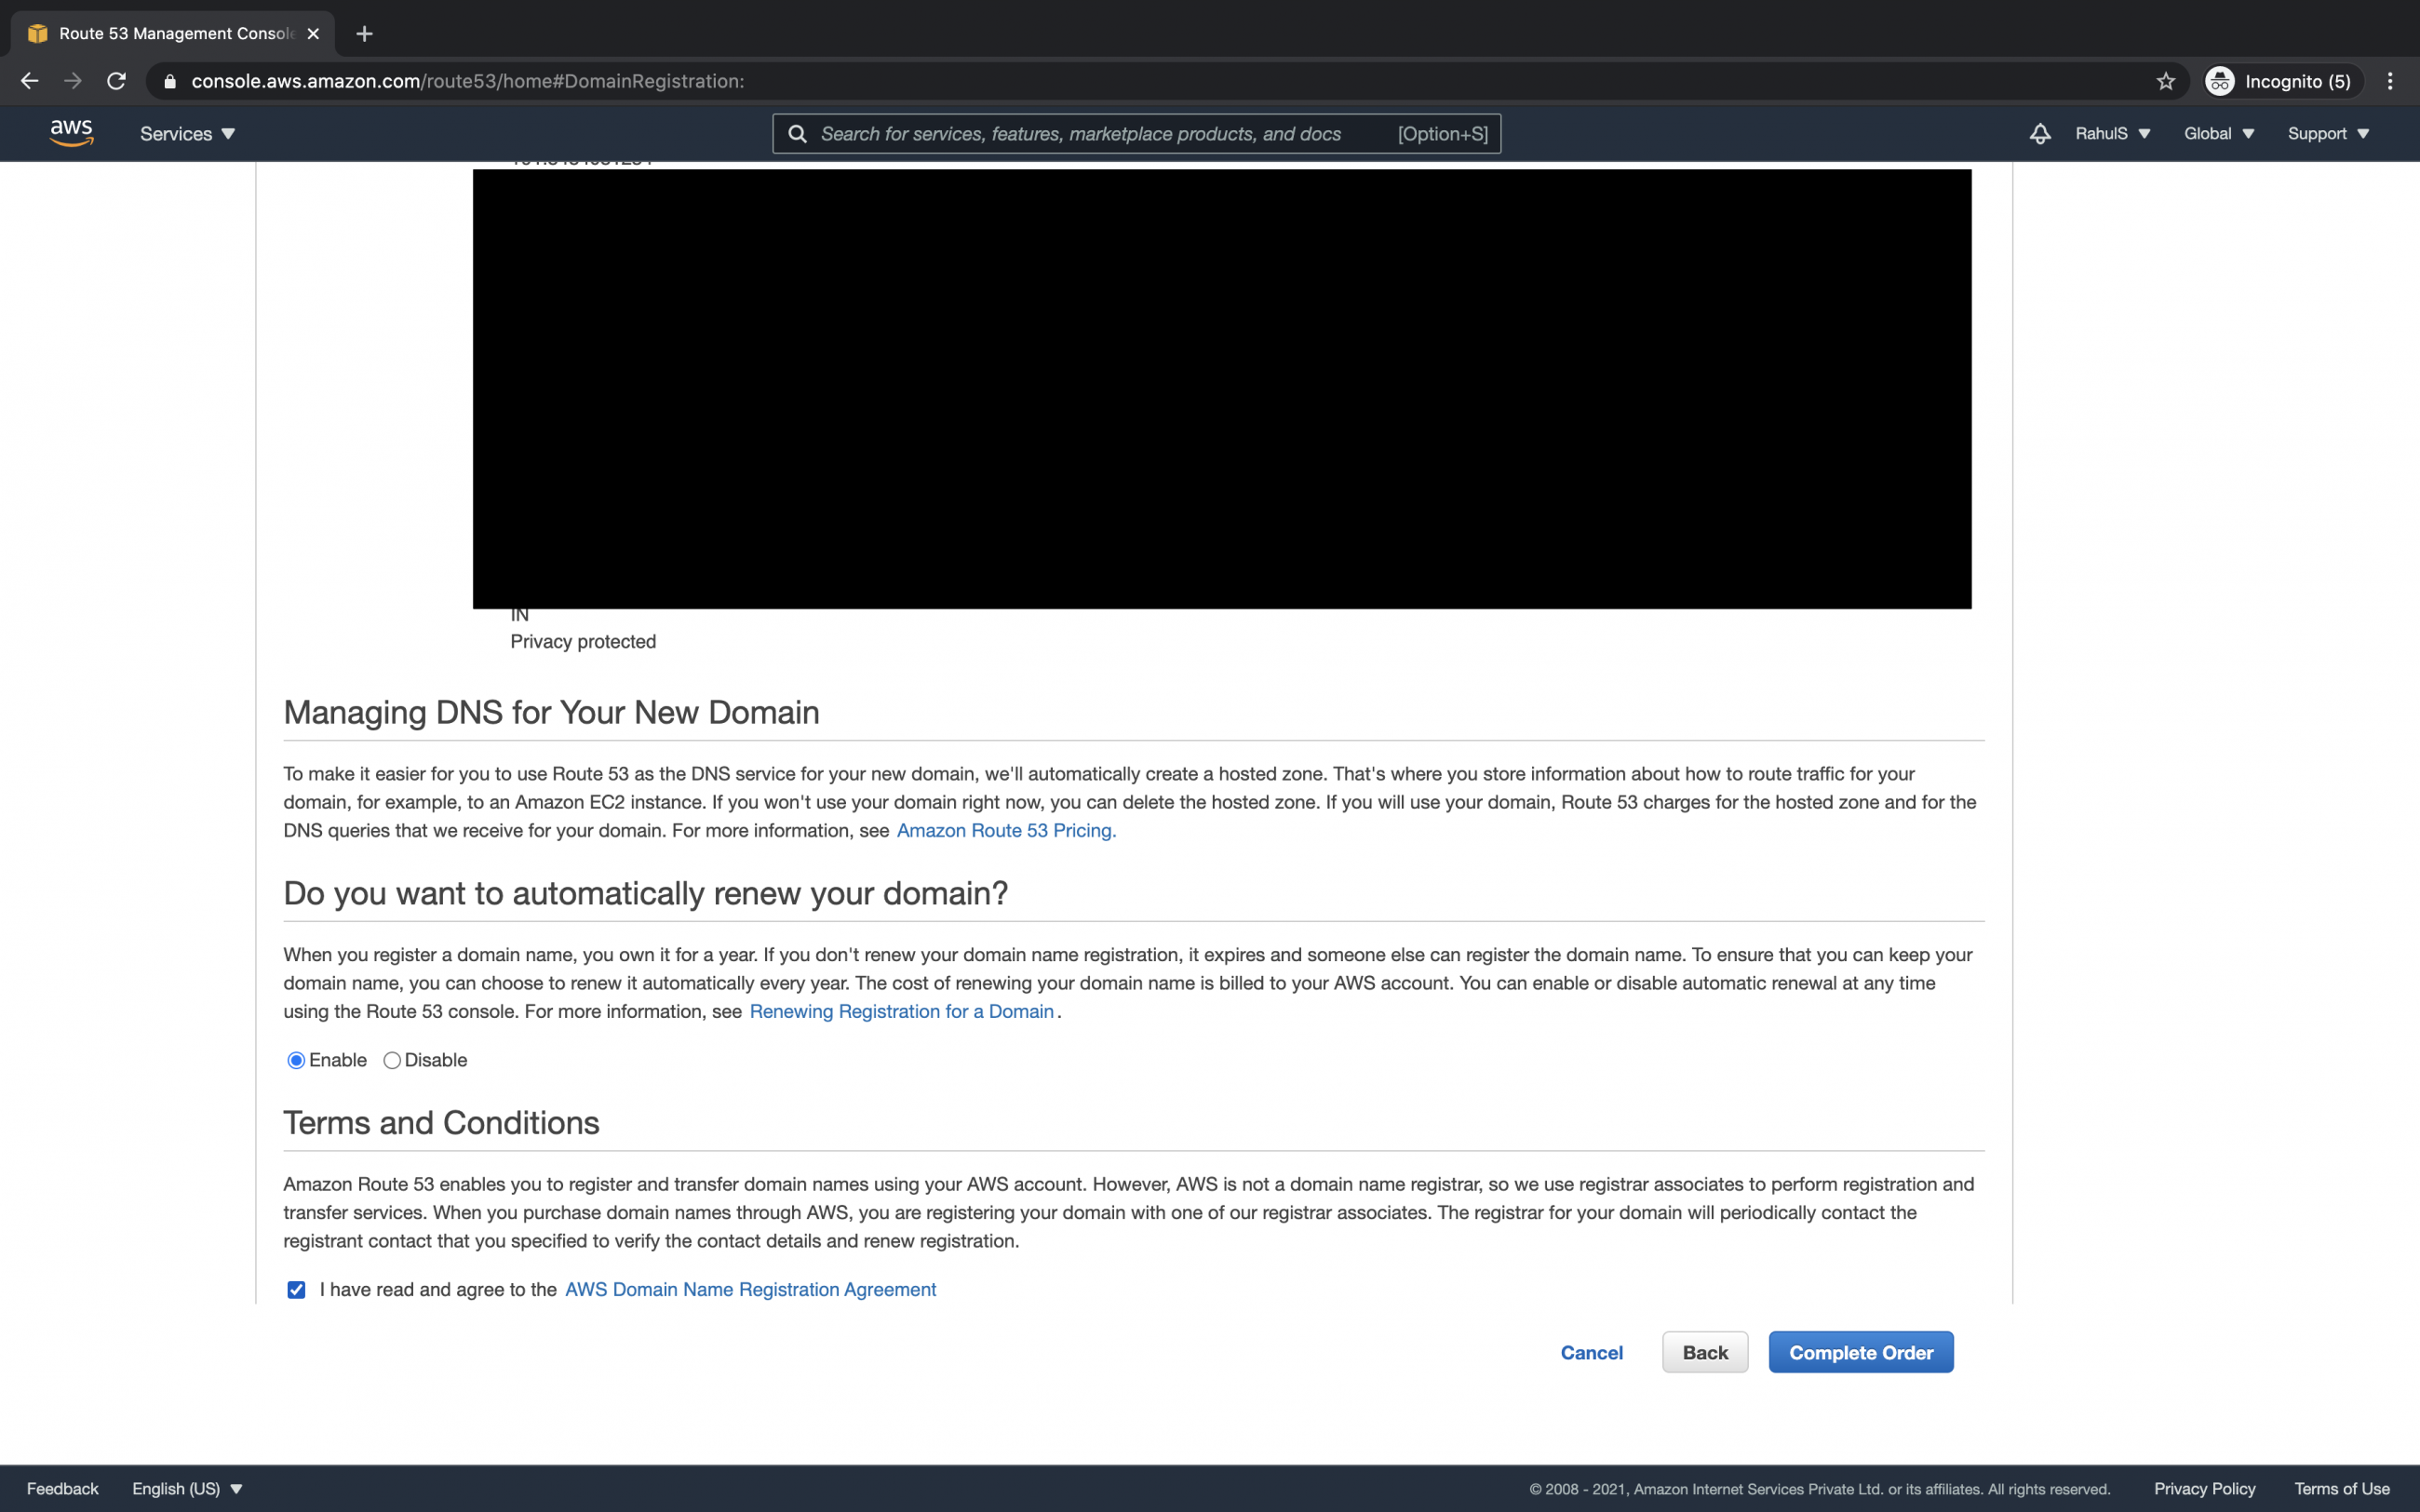
If you want to automatically renew your domain, proceed with the "Enable" option else select "Disable". If you do not enable auto-renewal, the domain will expire after the lock-in period and someone else can buy it. To ensure that we do not lose our domain after the lock-in, it is a good idea to auto-renew the domain. Read and agree to all the registration agreements and then click on the "Complete order" button.
You will get an "Amazon Registrar Sign-Up Confirmation" email and an invoice. After you pay the invoice, AWS completes the domain registration and sends the applicable emails as follows.
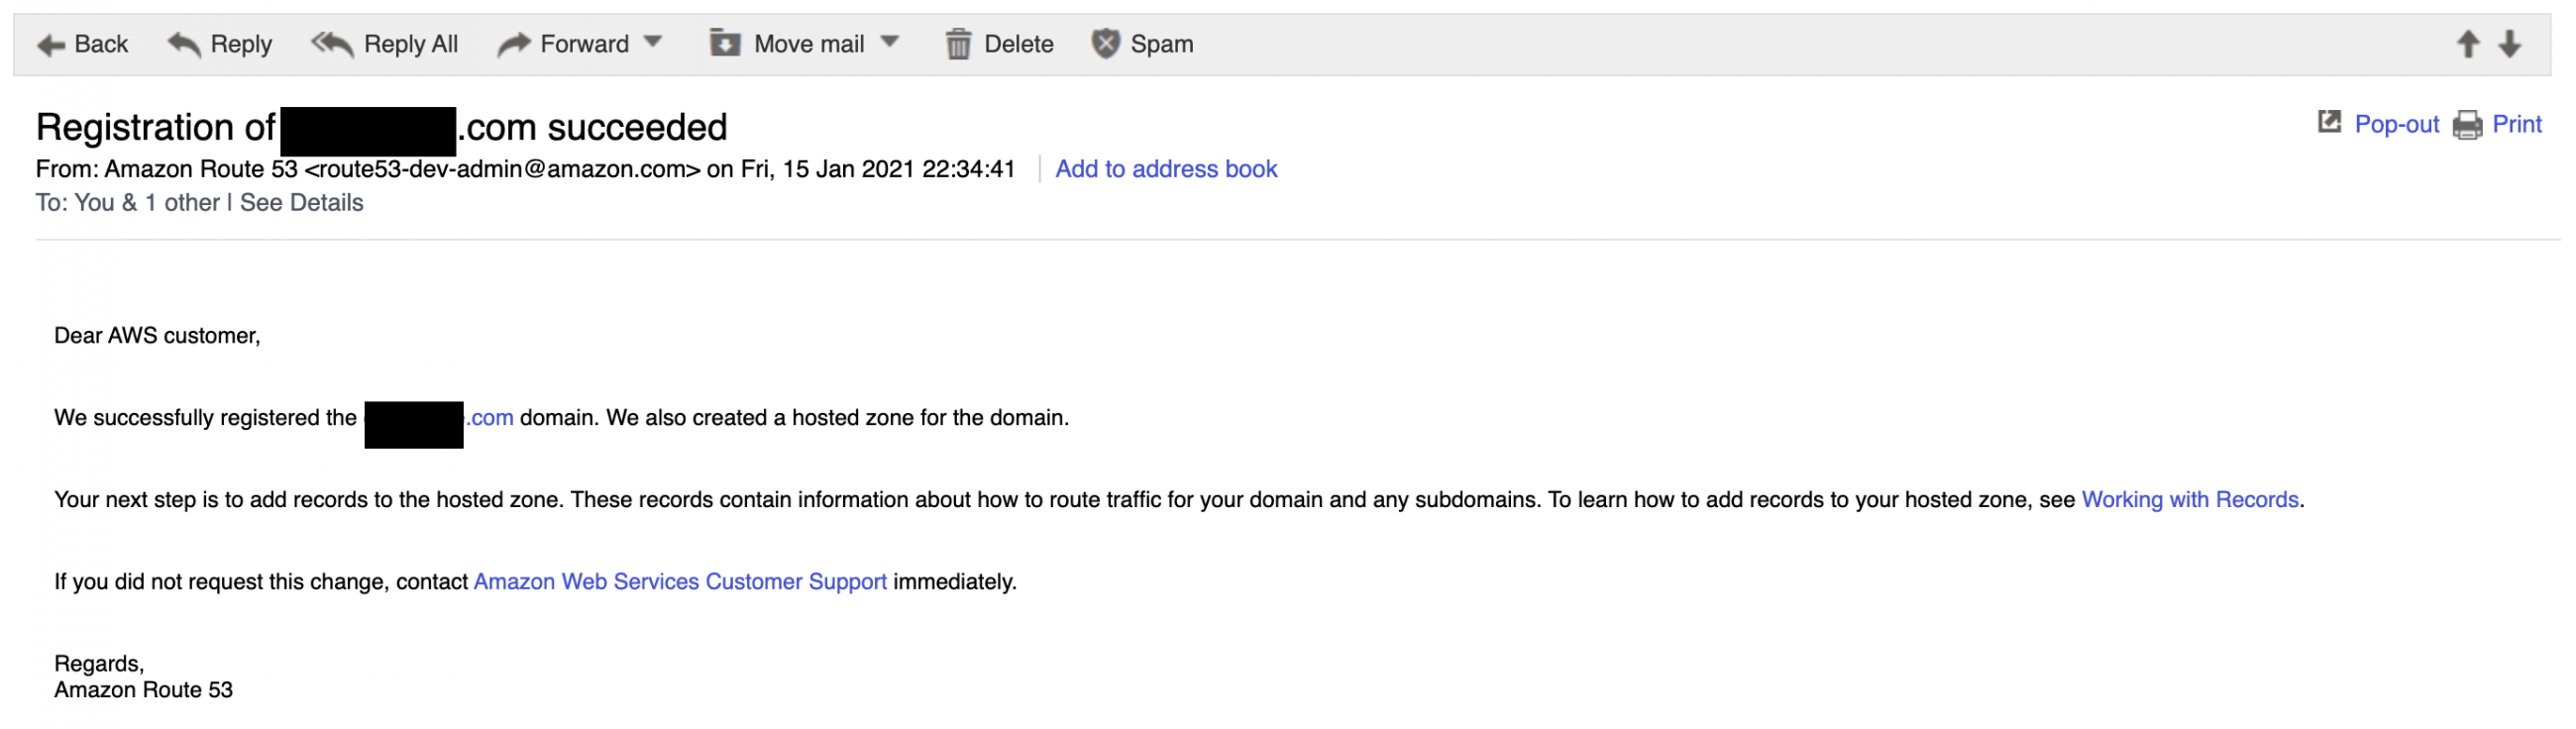
Now you have your domain in AWS. You can use it to point to your website, you can create sub-domains without paying any additional amount.
Conclusion
In this article, we saw steps to search for a domain name and buy it through the AWS console in rout 53. We saw, to buy a domain one needs to clear the bill immediately, if we don't pay the invoice within five days, the invoice is canceled.

