How to Install WordPress with Docker Compose
This tutorial exists for these OS versions
- Ubuntu 24.04 (Noble Numbat)
- Ubuntu 16.04 (Xenial Xerus)
On this page
- Prerequisites
- Step 1 - Configure Firewall
- Step 2 - Install Docker and Docker Compose
- Step 3 - Create Docker Compose File for WordPress
- Step 4 - Update Docker Compose For Nginx
- Step 5 - Update Docker Compose for SSL
- Step 6 - Start and Install WordPress
- Step 7 - Access PhpMyAdmin
- Step 8 - Access WP-CLI
- Step 9 - Backup WordPress
- Step 10 - Upgrade WordPress
- Conclusion
WordPress CMS (Content Management System) is a widely used open-source platform that enables users to create, manage, and publish digital content, primarily for websites and blogs. Initially released in 2003, WordPress has grown to become the world's most popular CMS, powering over 40% of all websites on the internet. It offers a user-friendly interface that allows individuals with little to no coding experience to build and maintain professional-quality websites. WordPress is highly customizable, with thousands of themes and plugins available to extend its functionality, catering to a wide range of needs from simple blogs to complex e-commerce sites. Its strong community support, regular updates, and extensive documentation make it a reliable and versatile choice for both beginners and experienced developers.
Docker is an open-source platform designed to automate the deployment, scaling, and management of applications within lightweight, portable containers. Introduced in 2013, Docker revolutionized software development by providing a consistent environment for applications to run regardless of where they are deployed, be it on a developer's local machine, on-premises data centers, or in the cloud. Containers bundle an application with all its dependencies, libraries, and configuration files, ensuring consistent performance across different environments. This containerization simplifies the development workflow, enhances collaboration, and increases efficiency by allowing developers to create, share, and run applications seamlessly. Docker's ecosystem includes tools and services for container orchestration, such as Docker Swarm and Kubernetes, which facilitate the management of large-scale container deployments, making it a cornerstone technology in modern DevOps practices.
This tutorial will teach you how to install WordPress using Docker/Docker Compose. Using Docker, the process of installing the preferred stack becomes a lot easier. You can use the same configuration to install WordPress quickly on multiple servers. We will also install the phpMyAdmin tool for managing databases along with the Nginx proxy server to serve the site via SSL.
Prerequisites
-
A Linux server with a non-root user having sudo privileges. We are using a server running Ubuntu 24.04 for our tutorial.
-
A fully qualified domain name (FQDN) pointing to your server. For our purposes, we will use
example.comas the domain name for the WordPress site andphpmyadmin.example.comfor the phpMyAdmin website. -
Make sure everything is updated.
$ sudo apt update
-
Install basic utility packages. Some of them may already be installed.
$ sudo apt install wget curl nano software-properties-common dirmngr apt-transport-https gnupg gnupg2 ca-certificates lsb-release ubuntu-keyring unzip -y
Step 1 - Configure Firewall
The first step is to configure the firewall. Ubuntu comes with ufw (Uncomplicated Firewall) by default.
Check if the firewall is running.
$ sudo ufw status
You should get the following output.
Status: inactive
Allow SSH port so the firewall doesn't break the current connection on enabling it.
$ sudo ufw allow OpenSSH
Allow HTTP and HTTPS ports as well.
$ sudo ufw allow http
$ sudo ufw allow https
Enable the Firewall
$ sudo ufw enable
Command may disrupt existing ssh connections. Proceed with operation (y|n)? y
Firewall is active and enabled on system startup
Check the status of the firewall again.
$ sudo ufw status
You should see a similar output.
Status: active

To                         Action      From
--                         ------      ----
OpenSSH                    ALLOW       Anywhere
80/tcp                     ALLOW       Anywhere
443                        ALLOW       Anywhere
OpenSSH (v6)               ALLOW       Anywhere (v6)
80/tcp (v6)                ALLOW       Anywhere (v6)
443 (v6)                   ALLOW       Anywhere (v6)
Step 2 - Install Docker and Docker Compose
Ubuntu 22.04 ships with an older version of Docker. To install the latest version, first, import the Docker GPG key.
$ curl -fsSL https://download.docker.com/linux/ubuntu/gpg | sudo gpg --dearmor -o /etc/apt/keyrings/docker.gpg
Create a Docker repository file.
$ echo \
  "deb [arch=$(dpkg --print-architecture) signed-by=/etc/apt/keyrings/docker.gpg] https://download.docker.com/linux/ubuntu \
  $(lsb_release -cs) stable" | sudo tee /etc/apt/sources.list.d/docker.list > /dev/null
Update the system repository list.
$ sudo apt update
Install the latest version of Docker.
$ sudo apt install docker-ce docker-ce-cli containerd.io docker-compose-plugin
Verify that it is running.
$ sudo systemctl status docker
? docker.service - Docker Application Container Engine
     Loaded: loaded (/lib/systemd/system/docker.service; enabled; vendor preset: enabled)
     Active: active (running) since Fri 2024-07-19 17:11:19 UTC; 3s ago
TriggeredBy: ? docker.socket
       Docs: https://docs.docker.com
   Main PID: 1163 (dockerd)
      Tasks: 7
     Memory: 21.9M
        CPU: 221ms
     CGroup: /system.slice/docker.service
             ??2803 /usr/bin/dockerd -H fd:// --containerd=/run/containerd/containerd.sock
By default, Docker requires root privileges. If you want to avoid using sudo every time you run the docker command, add your username to the docker group.
$ sudo usermod -aG docker $(whoami)
You will need to log out of the server and back in as the same user to enable this change or use the following command.
$ su - ${USER}
Confirm that your user is added to the Docker group.
$ groups
navjot wheel docker
Step 3 - Create Docker Compose File for WordPress
I will do the whole Docker WordPress installation in /opt. You may choose a different location like /var or /home to suit your needs.
cd /opt
Create a directory for WordPress configuration.
$ mkdir wordpress
Switch to the directory.
$ cd wordpress
Create and open the Docker compose file for editing.
$ nano docker-compose.yml
Paste the following code in it.
services:
  wp:
    image: wordpress:latest
    container_name: wordpress-app
    restart: unless-stopped
    expose:
      - 8080
    volumes:
      - ./config/php.conf.ini:/usr/local/etc/php/conf.d/conf.ini
      - ./wp-app:/var/www/html
      #- ./plugin-name/trunk/:/var/www/html/wp-content/plugins/plugin-name # Plugin development
      #- ./theme-name/trunk/:/var/www/html/wp-content/themes/theme-name # Theme development
    environment:
      WORDPRESS_DB_HOST: db
      WORDPRESS_DB_NAME: "${DB_NAME}"
      WORDPRESS_DB_USER: "${DB_USER_NAME}"
      WORDPRESS_DB_PASSWORD: "${DB_USER_PASSWORD}"
      VIRTUAL_HOST: example.com
      LETSENCRYPT_HOST: example.com
    depends_on:
      - db
    links:
      - db

  wpcli:
    image: wordpress:cli
    container_name: wpcli_app
    volumes:
      - ./config/php.conf.ini:/usr/local/etc/php/conf.d/conf.ini
      - ./wp-app:/var/www/html
    environment:
      WORDPRESS_DB_HOST: db
      WORDPRESS_DB_NAME: "${DB_NAME}"
      WORDPRESS_DB_USER: "${DB_USER_NAME}"
      WORDPRESS_DB_PASSWORD: "${DB_USER_PASSWORD}"
    depends_on:
      - db
      - wp

  pma:
    image: phpmyadmin/phpmyadmin
    container_name: pma
    restart: unless-stopped
    environment:
      # https://docs.phpmyadmin.net/en/latest/setup.html#docker-environment-variables
      PMA_HOST: db
      PMA_PORT: 3306
      MYSQL_ROOT_PASSWORD: "${DB_ROOT_PASSWORD}"
      UPLOAD_LIMIT: 50M
      VIRTUAL_HOST: phpmyadmin.example.com
      LETSENCRYPT_HOST: phpmyadmin.example.com
    expose:
      - 8081
    links:
      - db:db

  db:
    image: mysql:latest
    container_name: wordpressdb
    restart: unless-stopped
    command: [
        '--default_authentication_plugin=mysql_native_password',
        '--character-set-server=utf8mb4',
        '--collation-server=utf8mb4_unicode_ci'
    ]
    volumes:
      - ./wp-data:/docker-entrypoint-initdb.d
      - db_data:/var/lib/mysql
    environment:
      MYSQL_DATABASE: "${DB_NAME}"
      MYSQL_ROOT_PASSWORD: "${DB_ROOT_PASSWORD}"
      MYSQL_USER: "${DB_USER_NAME}"
      MYSQL_PASSWORD: "${DB_USER_PASSWORD}"

volumes:
  db_data:
Save the file by pressing Ctrl + X and entering Y when prompted.
There are two WordPress images we are pulling. One is for the website and one is for the WP-CLI tool. Both images depend on the MySQL 8.0 docker image. Here we set the environment variables for the Database credentials. We have created two volumes for both containers, one of which points to the public files for the WordPress site and the second one points to the custom PHP.ini location. We have also defined the environment variables for Nginx virtual host domain and the Let's encrypt SSL domain for the WordPress site.
You can add more environment variables and add custom wp-config.php data to the Docker file. You can learn about the additional environment variables from the WordPress DockerHub page.
The next image is for phpMyAdmin which depends on the same MySQL image and connects it using the root password. It has an upload limit of 50MB. You can change it according to your requirements and your database size. As with the WordPress site, we have defined the Nginx virtual host domain, and Let's encrypt SSL domain name for the phpMyAdmin site.
The last image is for the MySQL database. We have passed some commands to it to set the default authentication method and the character set. We have also created a couple of volumes for storing the data and set up environment variables for database credentials.
The next step is to make the environment file for the variables used in the compose file. Create and open the environment file for editing.
$ sudo nano .env
Paste the following code in it.
DB_NAME=wordpress
DB_USER_NAME=username
DB_USER_PASSWORD=userpassword
DB_ROOT_PASSWORD=password
You can save the file by pressing Ctrl + X and entering Y when prompted. Replace the variables with the username and password of your choice.
You can customize the PHP configuration using a custom php.ini file.
Create a folder for PHP configuration.
$ mkdir config
Create and open the php.conf.ini file for editing.
$ nano config/php.conf.ini
Paste the following code in it. Adjust the values as per your requirement. The upload limit for the PhpMyadmin container is independent of the values you use in this file.
file_uploads = On
memory_limit = 500M
upload_max_filesize = 30M
post_max_size = 30M
max_execution_time = 600
Save the file by pressing Ctrl + X and entering Y when prompted.
Step 4 - Update Docker Compose For Nginx
Create the directory for Nginx configuration.
$ mkdir nginx
Create a directory for Virtual hosts inside that directory.
$ mkdir nginx/vhost
Create and open the nginx/vhost/wordpress.example.com for editing.
$ nano nginx/vhost/wordpress.example.com
Paste the following code in it.
server_tokens off;
client_max_body_size 30m;
Save the file by pressing Ctrl + X and entering Y when prompted.
Do the same for nginx/vhost/phpmyadmin.example.com file.
$ nano nginx/vhost/phpmyadmin.example.com
Paste the following code in it.
server_tokens off;
client_max_body_size 50m;
Save the file by pressing Ctrl + X and entering Y when prompted.
Open the docker compose file again.
$ nano docker-compose.yml
Paste the following code before the volumes: db_data: line.
  nginx:
    container_name: nginx
    image: nginxproxy/nginx-proxy
    restart: unless-stopped
    ports:
        - 80:80
        - 443:443
    volumes:
        - /var/run/docker.sock:/tmp/docker.sock:ro
        - ./nginx/html:/usr/share/nginx/html
        - ./nginx/certs:/etc/nginx/certs
        - ./nginx/vhost:/etc/nginx/vhost.d
    logging:
        options:
            max-size: "10m"
            max-file: "3"
Save the file by pressing Ctrl + X and entering Y when prompted.
In the above code, we pull the Nginx proxy Docker image and expose ports 80 and 443 to the host container, which will be used to connect to the outer world. We have also created volumes for the Nginx HTML page, a directory where all the SSL certificates will be stored, and the directory for virtual hosts, which we used above to add additional Nginx configuration. We have configured the file upload size for the WordPress and phpMyAdmin sites. The site domain name is picked from the environment variables we defined in the previous step.
Step 5 - Update Docker Compose for SSL
Open the docker compose file for editing.
$ nano docker-compose.yml
Paste the following code before the volumes: db_data: line.
  acme-companion:
    container_name: acme-companion
    image: nginxproxy/acme-companion
    restart: unless-stopped
    volumes_from:
        - nginx
    volumes:
        - /var/run/docker.sock:/var/run/docker.sock
        - ./nginx/acme:/etc/acme.sh
    environment:
        DEFAULT_EMAIL: [email protected]
Save the file by pressing Ctrl + X and entering Y when prompted.
Here, we are pulling the Acme companion Docker image, which works with the Nginx proxy. It pulls the volumes from the Nginx container. We also define a volume for the acme.sh tool, which stores all the configuration regarding Let's Encrypt SSL. Lastly, we define an environment variable to register the SSL certificate with Let's Encrypt.
Step 6 - Start and Install WordPress
Now that all our configuration files are complete, it is time to start and launch the containers.
$ docker compose up -d
Wait for a couple of minutes and check the status of the containers.
$ docker ps
CONTAINER ID   IMAGE                       COMMAND                  CREATED          STATUS          PORTS                                                                      NAMES
c1e8a9b5169d   nginxproxy/acme-companion   "/bin/bash /app/entr…"   14 seconds ago   Up 7 seconds                                                                               acme-companion
8a37c78ff790   wordpress:latest            "docker-entrypoint.s…"   14 seconds ago   Up 7 seconds    80/tcp, 8080/tcp                                                           wordpress-app
4f9c777c97c2   phpmyadmin/phpmyadmin       "/docker-entrypoint.…"   14 seconds ago   Up 7 seconds    80/tcp, 8081/tcp                                                           pma
1b1dede46b07   nginxproxy/nginx-proxy      "/app/docker-entrypo…"   14 seconds ago   Up 11 seconds   0.0.0.0:80->80/tcp, :::80->80/tcp, 0.0.0.0:443->443/tcp, :::443->443/tcp   nginx
b9cf64a2f4a3   mysql:latest                "docker-entrypoint.s…"   14 seconds ago   Up 11 seconds   3306/tcp, 33060/tcp                                                        wordpressdb
Open the URL https://example.com to start the WordPress installer.
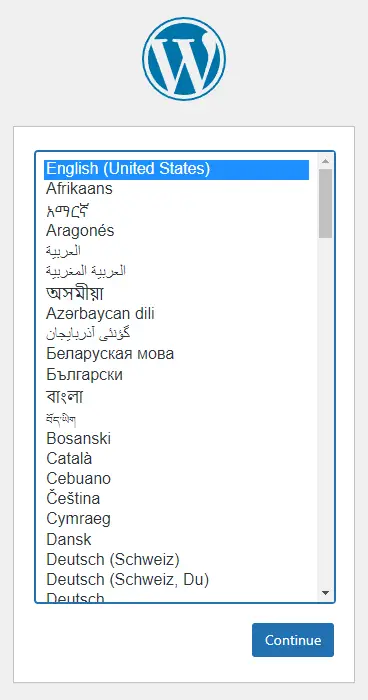
Select your language and click the Continue button to proceed to the next page.
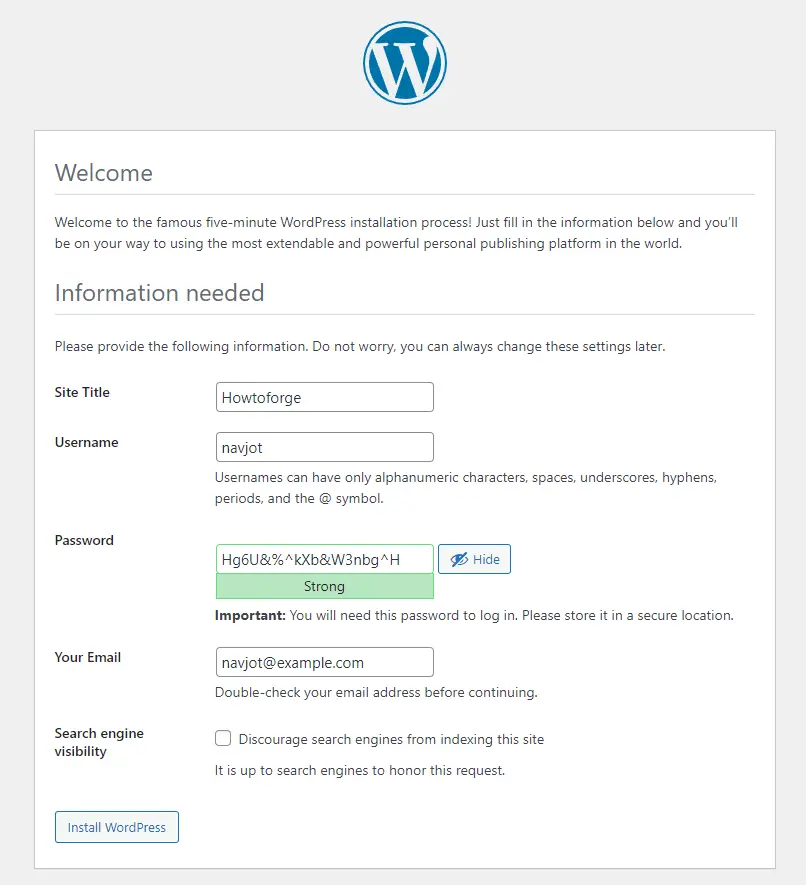
Fill in the site details, choose your username, password, and email address and click the Install WordPress button to start the installation.
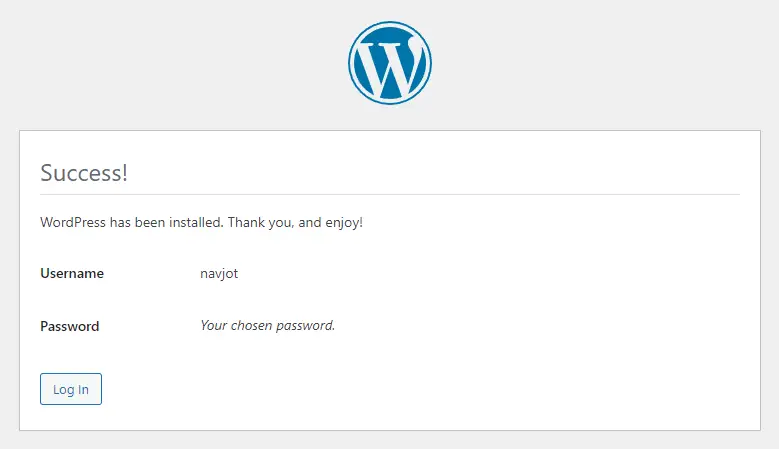
You will be taken to the installation success page. Click the Log in button to take you to the login page.

Enter your login details and click the Log In button to open the WordPress dashboard.
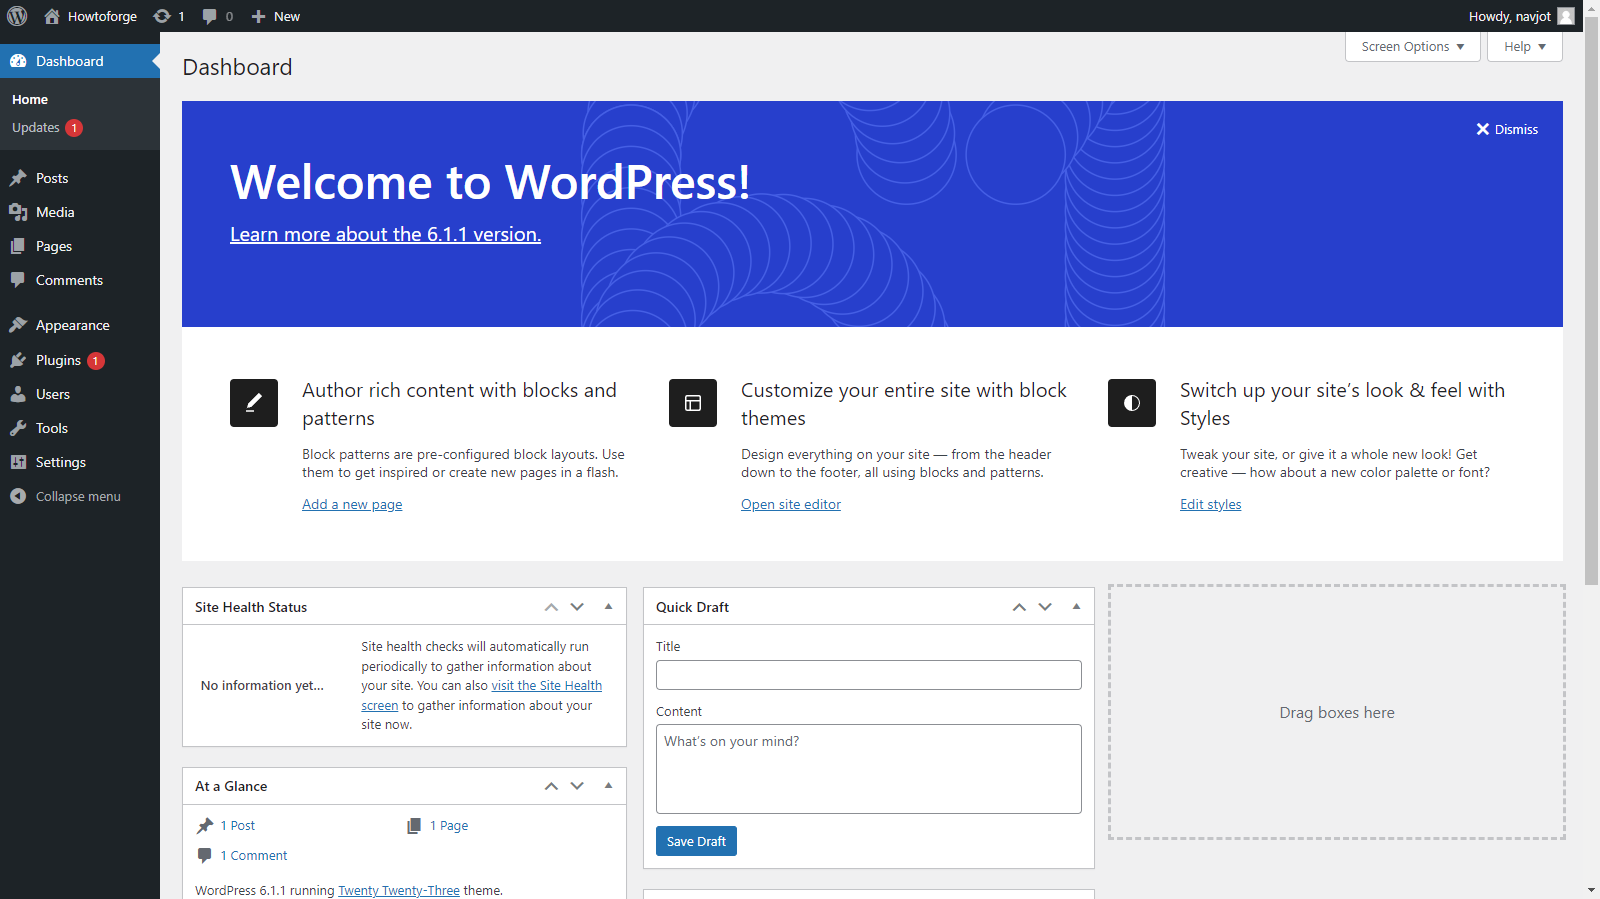
You can start using WordPress now.
Step 7 - Access PhpMyAdmin
You can access phpMyAdmin via the URL https://phpmyadmin.example.com.
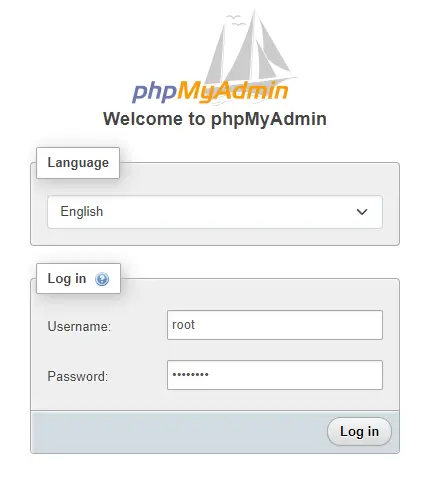
Enter root as the username and the root password and click Log in to open the dashboard.
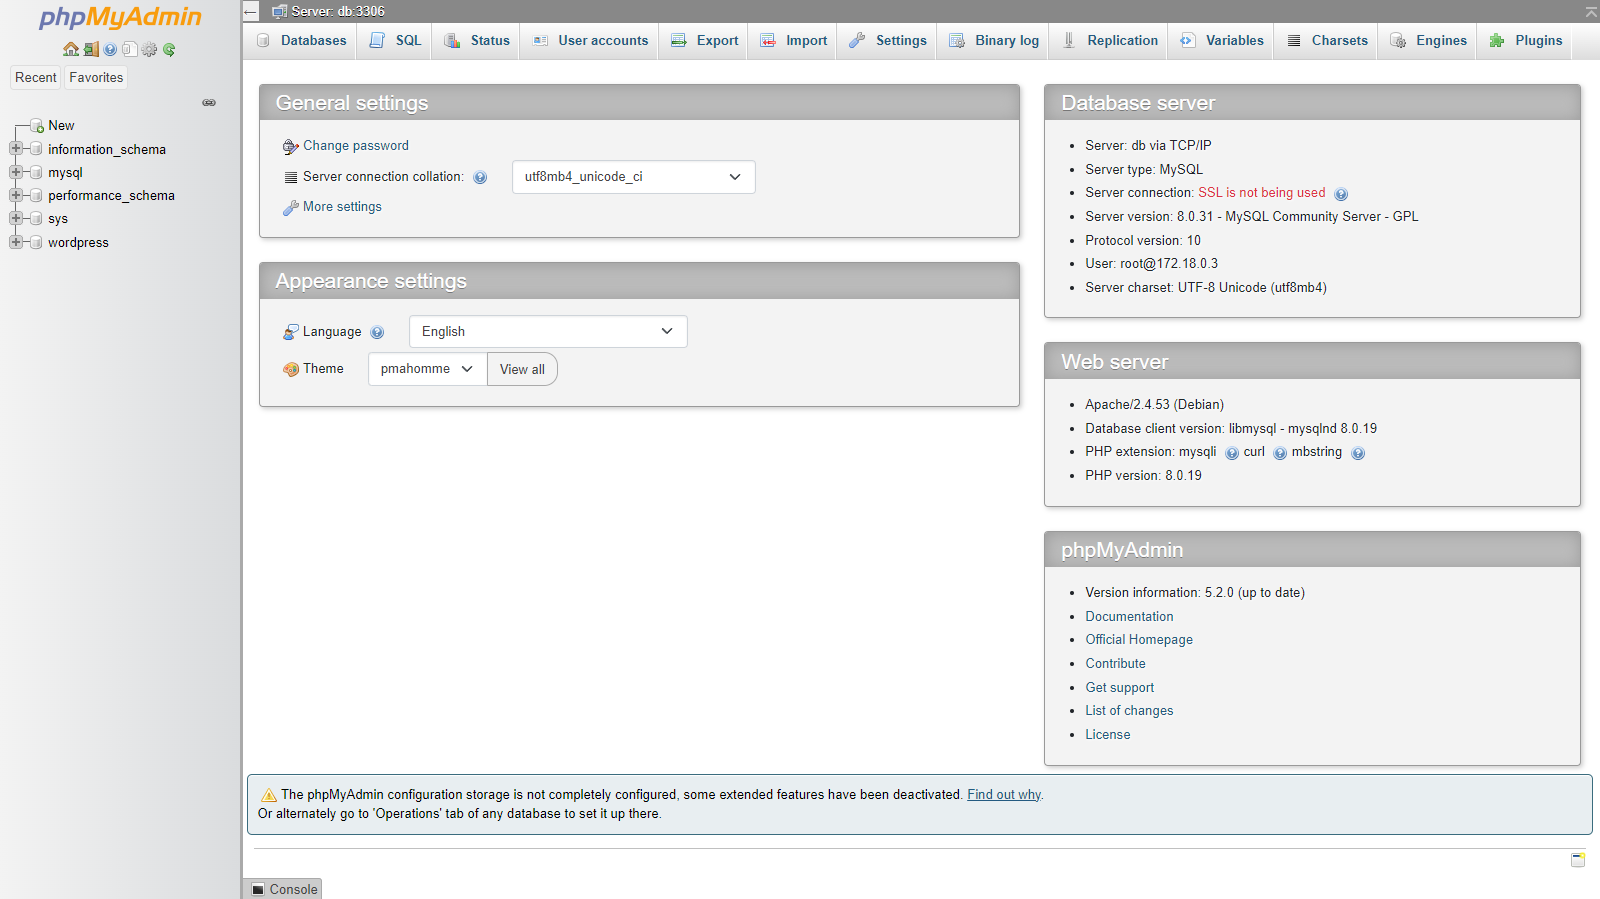
You can start using phpMyAdmin now.
Step 8 - Access WP-CLI
You can access the WP-CLI using the following command.
$ docker compose run --rm wpcli cli version
You will get the following output.
[+] Running 2/0
 ? Container wordpressdb    Running                                                                                0.0s
 ? Container wordpress-app  Running                                                                                0.0s
WP-CLI 2.7.1
To avoid typing such a long command every time, we can use Linux's alias feature.
$ alias wp="docker compose -f ~/wordpress/docker-compose.yml run --rm wpcli"
You can now type the following command from anywhere in your container.
$ wp cli version
Aliases in Linux are temporary. To make the alias permanent, you need to edit the ~/.bashrc file. Open it for editing.
$ nano ~/.bashrc
Paste the following line at the end of the file.
# Custom aliases
alias wp="docker compose -f ~/wordpress/docker-compose.yml run --rm wpcli"
Save the file by pressing Ctrl + X and entering Y when prompted.
Source the file to reload the configuration.
$ source ~/.bashrc
You can start using WP-CLI.
Step 9 - Backup WordPress
There are several ways to back up WordPress. The easiest way is to use a plugin. There are several plugins available for that. You can also use phpMyAdmin to create a backup.
You can also use the command line to back up the WordPress database. Switch to the WordPress directory.
$ cd ~/wordpress
Use the following command to back up the WordPress database. You will be asked for your MySQL root password.
$ docker compose exec db sh -c "exec mysqldump wordpress -uroot -p" | sudo tee wp-data/data_`date +%d-%m-%Y"_"%H_%M_%S`.sql >/dev/null
Enter password: password
The above command will create the SQL backup in the ~/wordpress/wp-data directory.
Check the directory contents.
$ ls -al wp-data
total 908
drwxr-xr-x 2 root   root     4096 Jan 11 10:15 ./
drwxrwxr-x 6 navjot navjot   4096 Jan 11 10:05 ../
-rw-r--r-- 1 root   root   919814 Jan 11 10:14 data_11-01-2023_10_14_40.sql
You can see the database backed up in the directory. You can restore this database using the phpMyAdmin tool or using the following command.
$ docker compose exec db sh -c "exec mysql -uroot -p" < wp-data/data_11-01-2023_10_14_40.sql
You can create a cron job to back up the database regularly.
Create the backup script in the /etc/cron.daily directory and open it for editing.
$ sudo nano /etc/cron.daily/wpbackup.sh
Paste the following code in it.
#!/bin/bash
docker compose exec db sh -c "exec mysqldump wordpress -uroot -p" | tee wp-data/data_`date +%d-%m-%Y"_"%H_%M_%S`.sql >/dev/null
Save the file by pressing Ctrl + X and entering Y when prompted.
Make the script executable.
$ sudo chmod +x /etc/cron.daily/wpbackup.sh
Now, your database will be backed up daily.
Step 10 - Upgrade WordPress
The easiest way to upgrade WordPress is to use the in-built updater. You can also upgrade it using Docker. The first step is to back up the WordPress database using the command from step 9.
Then, switch to the directory.
$ cd ~/wordpress
Stop the Containers.
$ docker compose down --remove-orphans
Pull the latest container images.
$ docker compose pull
Make any changes in the docker-compose.yml if you want.
Restart the WordPress containers.
$ docker compose up -d
Conclusion
This concludes our tutorial on installing WordPress using Docker Compose, phpMyAdmin and WP-CLI. If you have any questions, post them in the comments below.

