How to Install WildFly Application Server with Nginx Reverse Proxy on Debian 12
This tutorial exists for these OS versions
- Debian 12 (Bookworm)
- Debian 11 (Bullseye)
- Debian 10 (Buster)
On this page
WildFly, formerly JBoss, is a free and open-source application server that helps you build and deploy Java web applications. It's written in Java and compliant with Java EE (Enterprise Edition) specifications. WildFly was created by JBoss but is now developed by RedHat. It is a powerful, production-ready, modular, and lightweight application server that provides all the necessary tools and features to run and deploy Java web applications.
WildFly is a cross-platform application server that provides tools for Java applications such as EJBs, JPA, Servlets, JAX-RS, Batch, and security.
In this guide, you will learn how to install WildFly or JBoss application runtime on a Debian 12 server step-by-step. You will install WildFly, enable the administration console, create a WildFly admin user, and install and configure Nginx as a reverse proxy.
Prerequisites
Before moving on, gather the following:
- A Debian 12 server with 4GB or more memory.
- A non-root user with sudo administrator privileges.
Installing Java OpenJDK
WildFly is a flexible and lightweight Java application runtime for building applications. In this section, you will install and use Java OpenJDK 17 to install WildFly on your Debian server.
First, run the following command to update your Debian repository.
sudo apt update
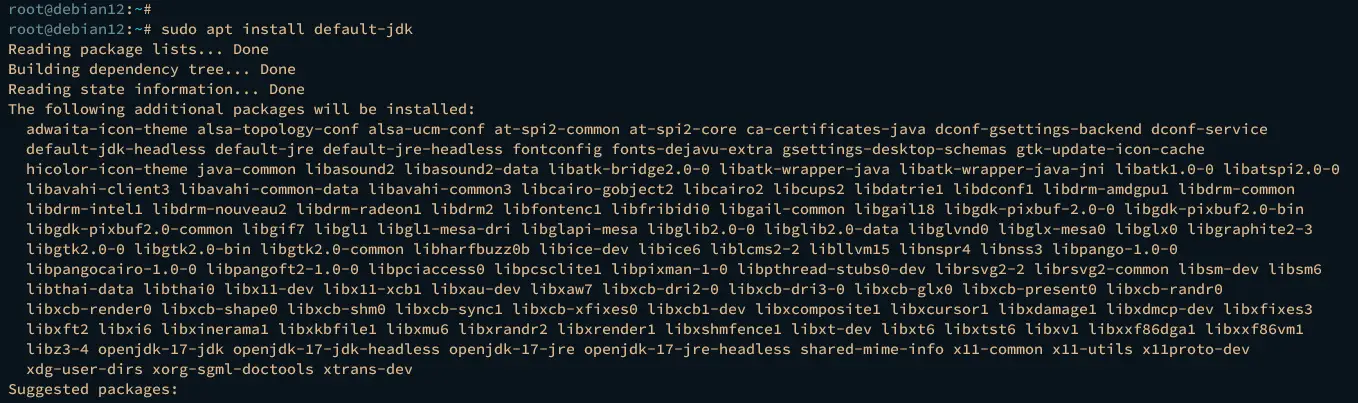
Now, install the Java OpenJDK package by executing the command below. This will install the default-jdk package, which is equivalent to the Java OpenJDK 17 LTS (Long Term Supports) version.
sudo apt install default-jdk
Input y to proceed with the installation.
After you've installed Java, verify the Java version using the command below. You should see that Java OpenJDK 17 is installed.
java -version

Installing and Configuring WildFly
After you've installed Java OpenJDK, you can now start the WildFly installation by completing the following tasks:
- Adding wildfly User and Group
- Downloading WildFly Binary Package
- Configuring WildFly Installation
- Running WildFly as a Systemd Service
Let's get started.
Adding wildfly User and Group
First, you will create a new system user and group wildfly that will be used to run your WildFly installation.
Execute the command below to add a new group and user called wildfly by executing the following command. With this, you will also set up the default home directory for wildfly users to /opt/wildfly, which will be used as the WildFly installation directory.
sudo groupadd -r wildfly
sudo useradd -r -g wildfly -d /opt/wildfly -s /sbin/nologin wildfly
Downloading WildFly Binary Package
After adding a systemd user, you will download the WildFly binary package via wget. Be sure to visit the WildFly download page to get the latest version of it.
Before that, install unzip via the following apt command.
sudo apt install unzip -y
After that, visit the WildFly download page and copy the link to WildFly's latest version. Download the WildFly binary package via the wget command like the following. In this example, you will install WildFly 30.0.0.
wget https://github.com/wildfly/wildfly/releases/download/30.0.0.Final/wildfly-30.0.0.Final.zip
Next, unzip the WildFly binary package and move the extracted directory to /opt/wildfly.
unzip wildfly-30.0.0.Final.zip
sudo mv wildfly-30.0.0.Final /opt/wildfly
Lastly, run the below command to change the ownership of the /opt/wildfly directory to the user wildfly.
sudo chown -RH wildfly: /opt/wildfly
Configuring WildFly Installation
In this example, you will install WildFly on a single machine in standalone mode. So, every configuration you modify here is related to WildFly standalone configurations.
Launch the following nano editor command to open the file /opt/wildfly/bin/standalone.conf.
sudo nano /opt/wildfly/bin/standalone.conf
Change the value Xmx512m within the JBOSS_JAVA_SIZING environment variable to increase WildFly's default max heap memory size, as follows.
Be sure to adjust the max heap memory size with your current server. The following example sets the max heap memory to 4GB.
JBOSS_JAVA_SIZING="-Xms64m -Xmx4096m -XX:MetaspaceSize=96M -XX:MaxMetaspaceSize=256m"
Save and exit the file when you're done.

Now create a new configuration directory /etc/wildfly using the below command.
sudo mkdir -p /etc/wildfly
Copy the WildFly configuration file to /etc/wildfly/wildfly.conf and open it using the following nano editor command.
sudo cp /opt/wildfly/docs/contrib/scripts/systemd/wildfly.conf /etc/wildfly/
sudo nano /etc/wildfly/wildfly.conf
Change the default WILDFLY_BIND to 127.0.0.1 and add a variable WILDFLY_CONSOLE_BIND to enable the WildFly console administration. Both WildFly and the admin console will be running in localhost.
# The address to bind to
WILDFLY_BIND=127.0.0.1

# Enable Admin
WILDFLY_CONSOLE_BIND=127.0.0.1
When finished, save and exit the file.

Next, copy the WildFly launch script to /opt/wildfly/bin/launch.sh and make it executable via chmod command below
sudo cp /opt/wildfly/docs/contrib/scripts/systemd/launch.sh /opt/wildfly/bin/
sudo chmod +x /opt/wildfly/bin/*.sh
Open the WildFly launch script /opt/wildfly/bin/launch.sh using the following nano editor command.
sudo nano /opt/wildfly/bin/launch.sh
Insert the new command option '-bmanagement $4' to enable the WildFly administration console like this.
if [[ "$1" == "domain" ]]; then
    $WILDFLY_HOME/bin/domain.sh -c $2 -b $3 -bmanagement $4
else
    $WILDFLY_HOME/bin/standalone.sh -c $2 -b $3 -bmanagement $4
fi
Save and close the file when you're finished.

Lastly, run the command below to change the WildFly installation directory /opt/wildfly ownership to the user wildfly.
sudo chown -RH wildfly: /opt/wildfly
Running WildFly as a Systemd Service
After configuring WildFly as standalone mode, you will set up a systemd service file for WildFly. This allows you to run WIldFly in the background and manage WildFly easily via the systemctl utility.
Copy the WildFly systemd service file to /etc/systemd/system/wildfly.service and modify it using the below nano editor command.
sudo cp /opt/wildfly/docs/contrib/scripts/systemd/wildfly.service /etc/systemd/system/
sudo nano /etc/systemd/system/wildfly.service
Within the ExecStart option, add a new start parameter $WILDFLY_CONSOLE_BIND to enable the WildFly admin console.
ExecStart=/opt/wildfly/bin/launch.sh $WILDFLY_MODE $WILDFLY_CONFIG $WILDFLY_BIND $WILDFLY_CONSOLE_BIND
When finished, save the file and exit the editor.

Next, run the below systemctl command to reload the systemd manager.
sudo systemctl daemon-reload
Then start and enable the wildfly service using the below command.
sudo systemctl start wildfly
sudo systemctl enable wildfly

Verify the wildfly service to ensure that the service is running by executing the following command.
sudo systemctl status wildfly
If the wildfly service is running, the following output will be displayed.

You can also verify the list of open ports on your system by executing the following command.
ss -antpl | grep -i java
You should see multiple ports 8080, 8443, and 9990 that WildFly uses.

Adding WildFly User Management
After installing WildFly, you will create a new admin user for WildFly via the script /opt/wildfly/bin/add-user.sh.
Run the script /opt/wildfly/bin/add-user.sh like the following.
sh /opt/wildfly/bin/add-user.sh
Now you will be asked with the following:
- Input a to create a new WildFly management user.
- Input your admin user and password, then repeat it.
- Press ENTER when asked for the group configuration.
- Input yes to add your user to the ManagementRealm.
Once the process is finished, you should see that your new user has been added to the WildFly configuration.

Setting up Nginx as a Reverse Proxy
At this point, you've accomplished the WildFLy installation, enabled the administration console, and created the admin user. The next step is to install Nginx and configure it as a reverse proxy for WildFly.
Execute the apt command below to install Nginx to your Debian server. Input y to proceed with the installation.
sudo apt install nginx

Once Nginx is installed, you will configure it as a reverse proxy for WildFly.
Create a new Nginx proxy headers configuration /etc/nginx/conf.d/proxy_headers.conf using the below nano editor command.
sudo nano /etc/nginx/conf.d/proxy_headers.conf
Insert the following configuration into the file.
```
proxy_set_header Host $host;
proxy_set_header X-Forwarded-Proto $scheme;
add_header Front-End-Https on;
add_header Cache-Control no-cache;
```
Save and exit the file when finished.
Next, launch the following nano editor command to create a new Nginx server block configuration /etc/nginx/sites-available/wildfly.
sudo nano /etc/nginx/sites-available/wildfly
Insert the configuration below to set up Nginx as a reverse proxy for your WildFly installation. Be sure to change the domain within the server_name option, you can use a local domain name.
server {
    listen          80;
    server_name     wildfly.howtoforge.local;

    location / {
        include conf.d/proxy_headers.conf;
        proxy_pass http://127.0.0.1:8080;
    }

    location /management {
        include conf.d/proxy_headers.conf;
        proxy_pass http://127.0.0.1:9990/management;
    }

    location /console {
        include conf.d/proxy_headers.conf;
        proxy_pass http://127.0.0.1:9990/console;
    }

    location /logout {
        include conf.d/proxy_headers.conf;
        proxy_pass http://127.0.0.1:9990/logout;
    }

    location /error {
        include conf.d/proxy_headers.conf;
        proxy_pass http://127.0.0.1:9990;
    }

}
Save and close the file when you're done.
Now run the below command to activate the virtual host file wildfly and verify your Nginx syntax.
sudo ln -s /etc/nginx/sites-available/wildfly /etc/nginx/sites-enabled/
sudo nginx -t
If you have proper Nginx syntax, the output "syntax is ok—test is successful" will be displayed.

Lastly, run the below command to restart the Nginx service and apply the changes that you've made. Then, verify the Nginx service to ensure that the service is running.
sudo systemctl restart nginx
sudo systemctl status nginx
If Nginx is running, you should get the output active (running).

Accessing WildFly via Client
On your client machine, open the hosts file using your text editor. For Windows users, open the file C:\Windows\System32\drivers\etc\hosts as an administrator, as for Linux or macOS users, open the /etc/hosts file with sudo privileges.
Insert the following configuration and be sure to change the local domain name and IP address with your information.
192.168.5.15 wildfly.howtoforge.local
Save and close the file when you're done.
Launch your web browser and visit your WildFly local domain (e.g.: http:wildfly.howtoforge.local/). If your installation is successful, you should see the default WildFly index page, which is as follows:

Now click on the Administration Console link to access the WildFly admin console. This will open a new tab and you will be redirected to the WildFly admin console with the URL path /console.
Input your admin user and password for the WildFly administration console, then click Sign In.

If you have the correct user and password, you should see the WildFly administration console like the following.

Next, click on the Runtime menu and select your server. You should see the confirmation that WildFly is up and running.

Lastly, select the Status menu and you should see the detailed status of your WildFly installation, including the heap configuration changed to 4GB.

Conclusion
In conclusion, you have now finished the installation of WildFly on Debian 12 step-by-step. You've installed WildFly, enabled the administration console, and created a WildFly admin user. On top of that, you've also configured Nginx as a reverse proxy for Wildfly. From now on, you can deploy and run your JBoss applications using WildFly application runtime.

