How to Install Webmin on Debian 12
Webmin is a powerful web-based system administration tool for Unix-like systems, including Debian 12. It provides an intuitive graphical interface allowing administrators to manage various aspects of their server without using the command line. Through Webmin, users can configure user accounts, manage services, set up DNS, manage databases, and perform many other administrative tasks. This tool enhances efficiency and accessibility, making server management more approachable, especially for those who may not be as comfortable with command-line operations. By leveraging Webmin on Debian 12, administrators can streamline their workflows and maintain their systems more efficiently.
In this article, I will show you how to install the Webmin Linux admin panel on Debian 12.
Prerequisites
- A server running Debian 12.
- A root password is configured on the server.
Getting Started
Before starting, updating your system's package cache to the latest version is recommended. You can update it using the following command:
apt update -y
After updating the package cache, install other required dependencies using the following command:
apt install gnupg2 curl -y
Once all the required dependencies are installed, you can proceed to the next step.
Install Webmin
The Webmin package is not included in the Debian 12 default repository by default. So, you will need to add the Webmin repository to the APT.
First, download and add the GPG key and add the Webmin repository with the following commands:
cd /tmp
curl -o setup-repos.sh https://raw.githubusercontent.com/webmin/webmin/master/setup-repos.sh
sh setup-repos.sh
Once the repository is added, update the repository and install the Webmin with the following command:
apt update -y
apt install webmin --install-recommends -y
Once the Webmin is installed, you can proceed to the next step.
Manage Webmin Service
You can start, stop, restart, and check the status of the Webmin easily from the init service.
To start the Webmin service, run the following command:
service webmin start
To restart the Webmin service, run the following command:
service webmin restart
To stop the Webmin service, run the following command:
service webmin stop
To check the status of the Webmin service, run the following command:
service webmin status
By default, Webmin listens on port 100000. You can check it using the following command:
ss -antpl | grep 10000
You should see the following output:
LISTEN 0 4096 0.0.0.0:10000 0.0.0.0:* users:(("miniserv.pl",pid=4073,fd=5))
Configure Firewall for Webmin
It is also recommended to secure your server with a UFW firewall. To do so, install the UFW firewall with the following command:
apt install ufw -y
Once the UFW firewall is installed, allow ports 22 and 10000 with the following command:
ufw allow 22
ufw allow 10000
Next, enable the UFW firewall using the command below:
ufw enable
Next, verify the firewall with the following command:
ufw status
You should get the following output:
Status: active

To                         Action      From
--                         ------      ----
22                         ALLOW       Anywhere
10000                      ALLOW       Anywhere
22 (v6)                    ALLOW       Anywhere (v6)
10000 (v6)                 ALLOW       Anywhere (v6)
How to Use Webmin
At this point, Webmin is installed. You can now access it using the URL https://your-server-ip:10000. You will be redirected to the Webmin login page:
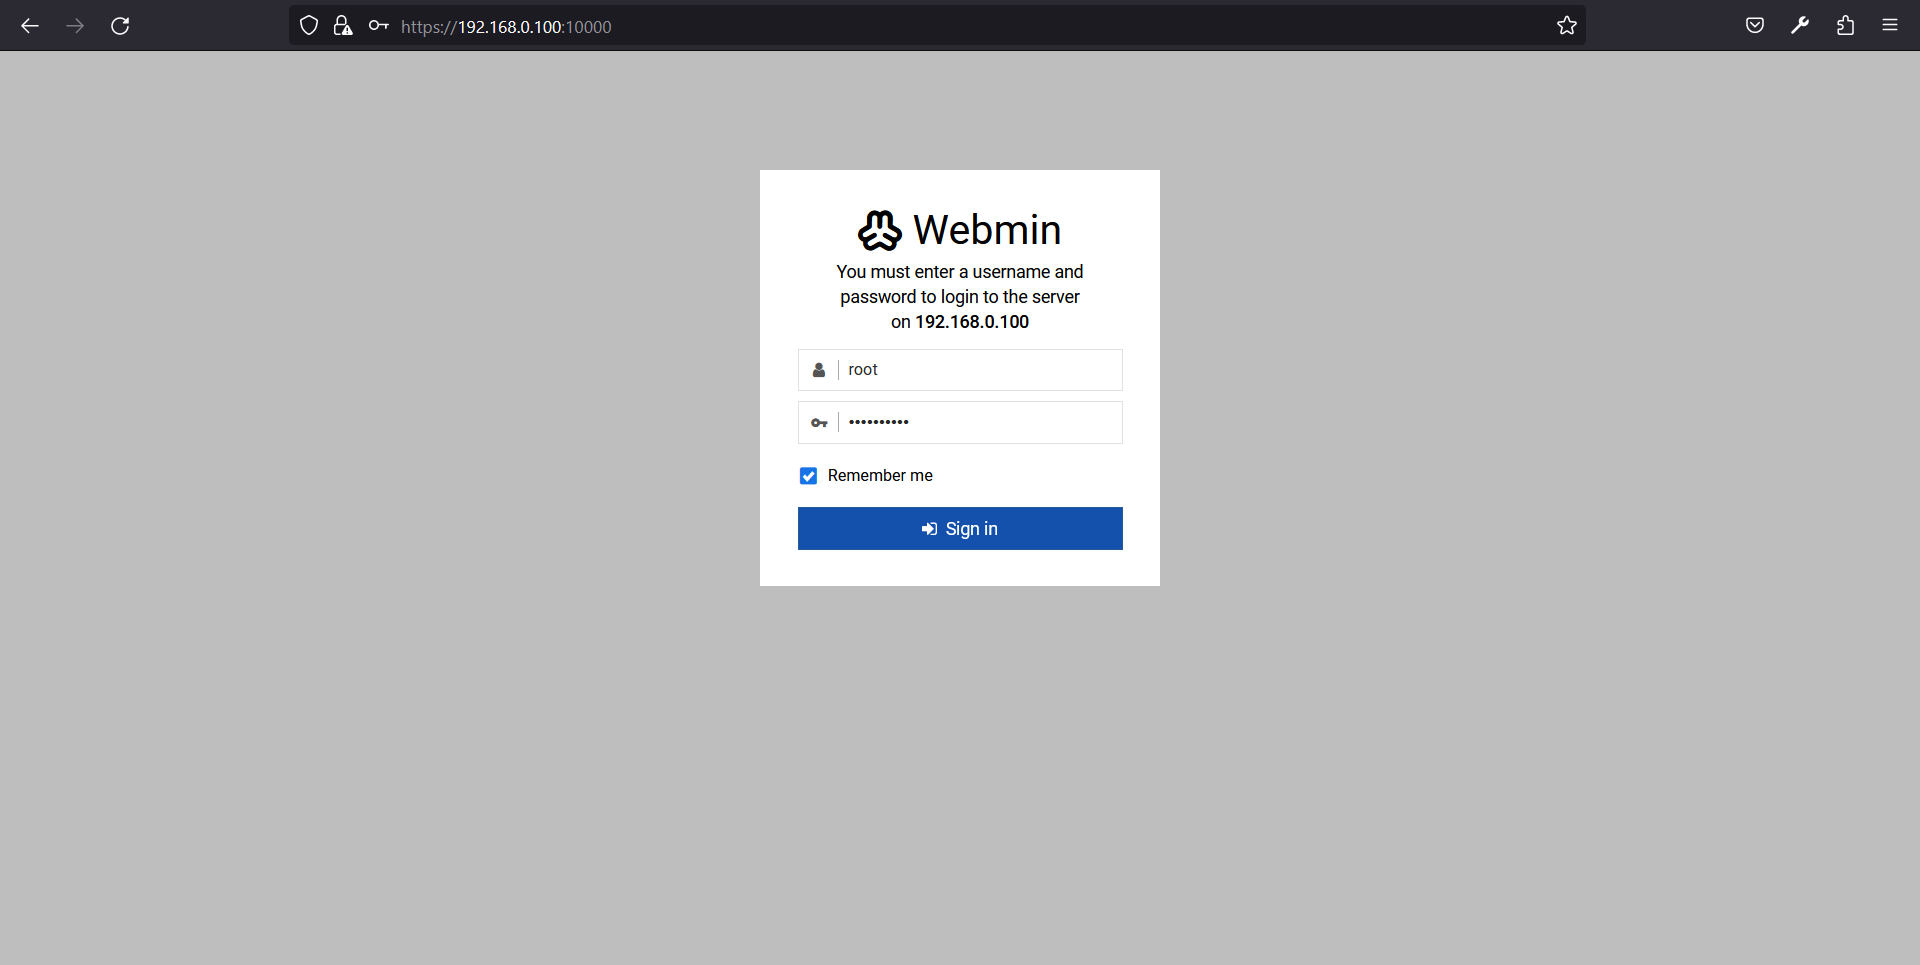
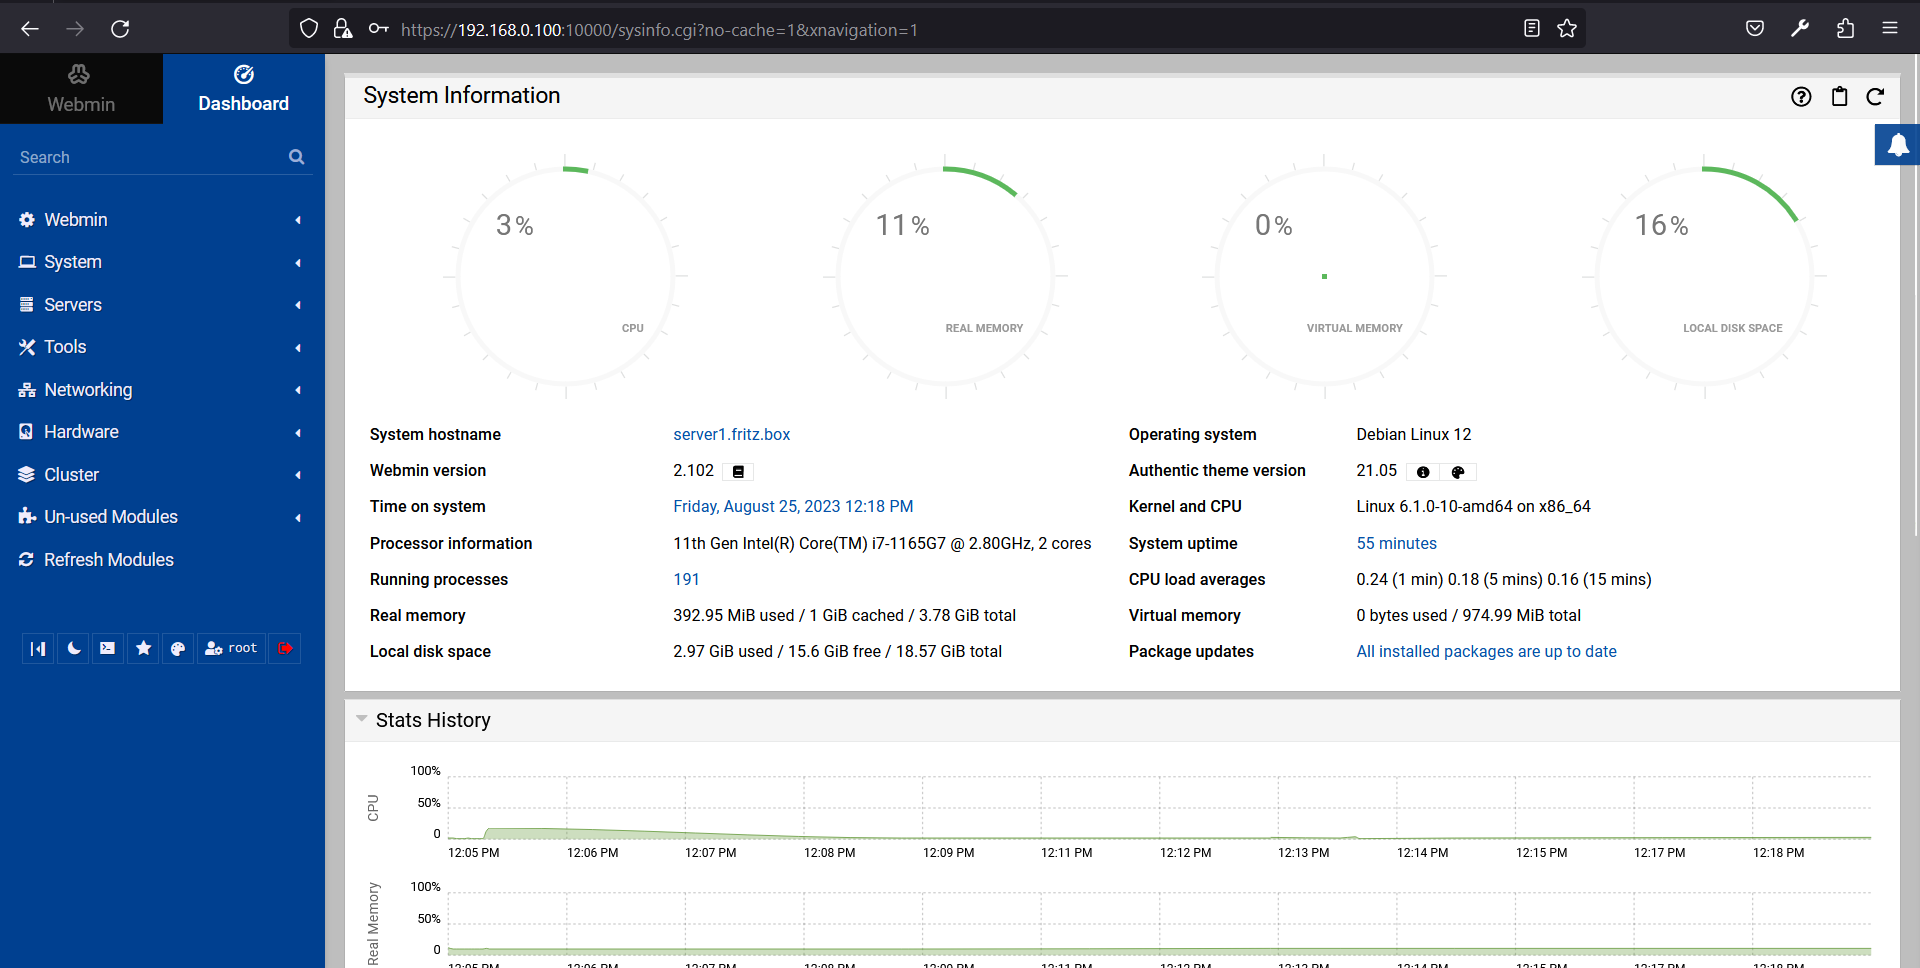
Provide your root username, password and click on the Sign in button. You should see the Webmin dashboard on the following page:
In the left pane, click on the Tools => Command Shell. You should see the Linux terminal on the following page:
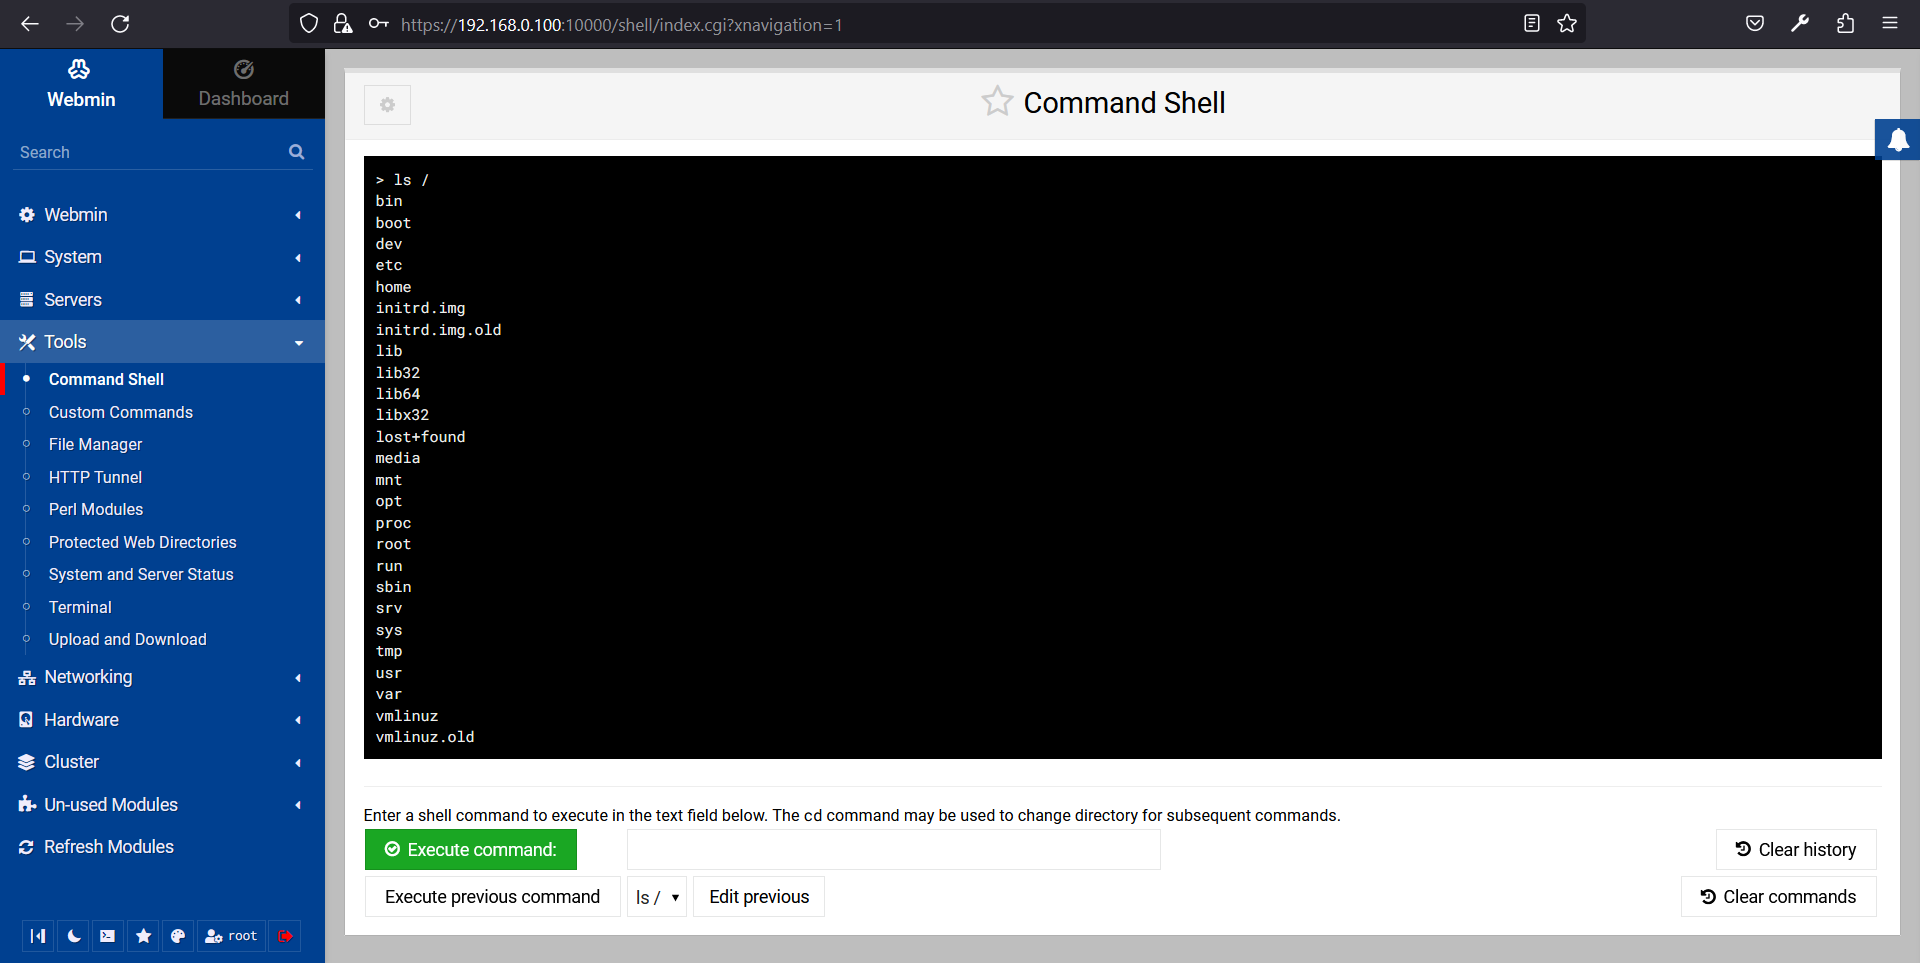
From here, you can run any command to your Linux server.
Click on the Tools => File Manager. You should see the File Manager on the following page:
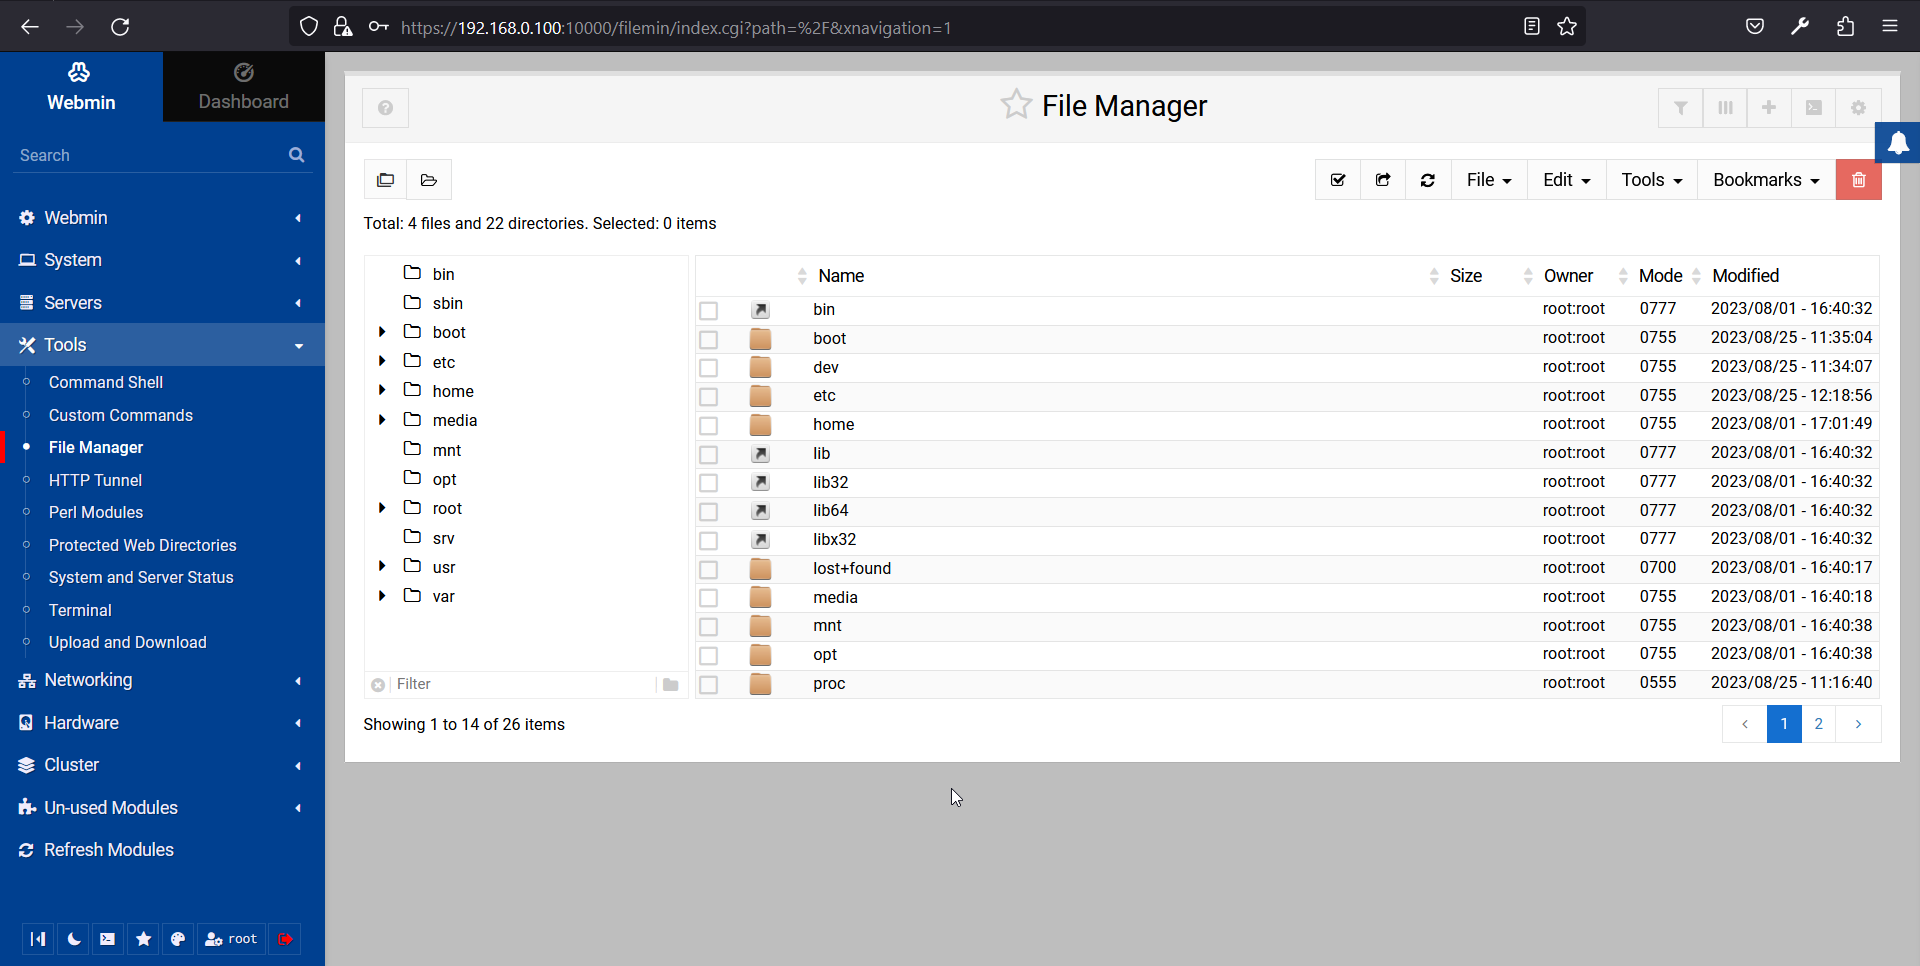
From here, you can create a file, directory, and manage the entire file system.
Click on the Tools => Upload and Download. You should see the following page:
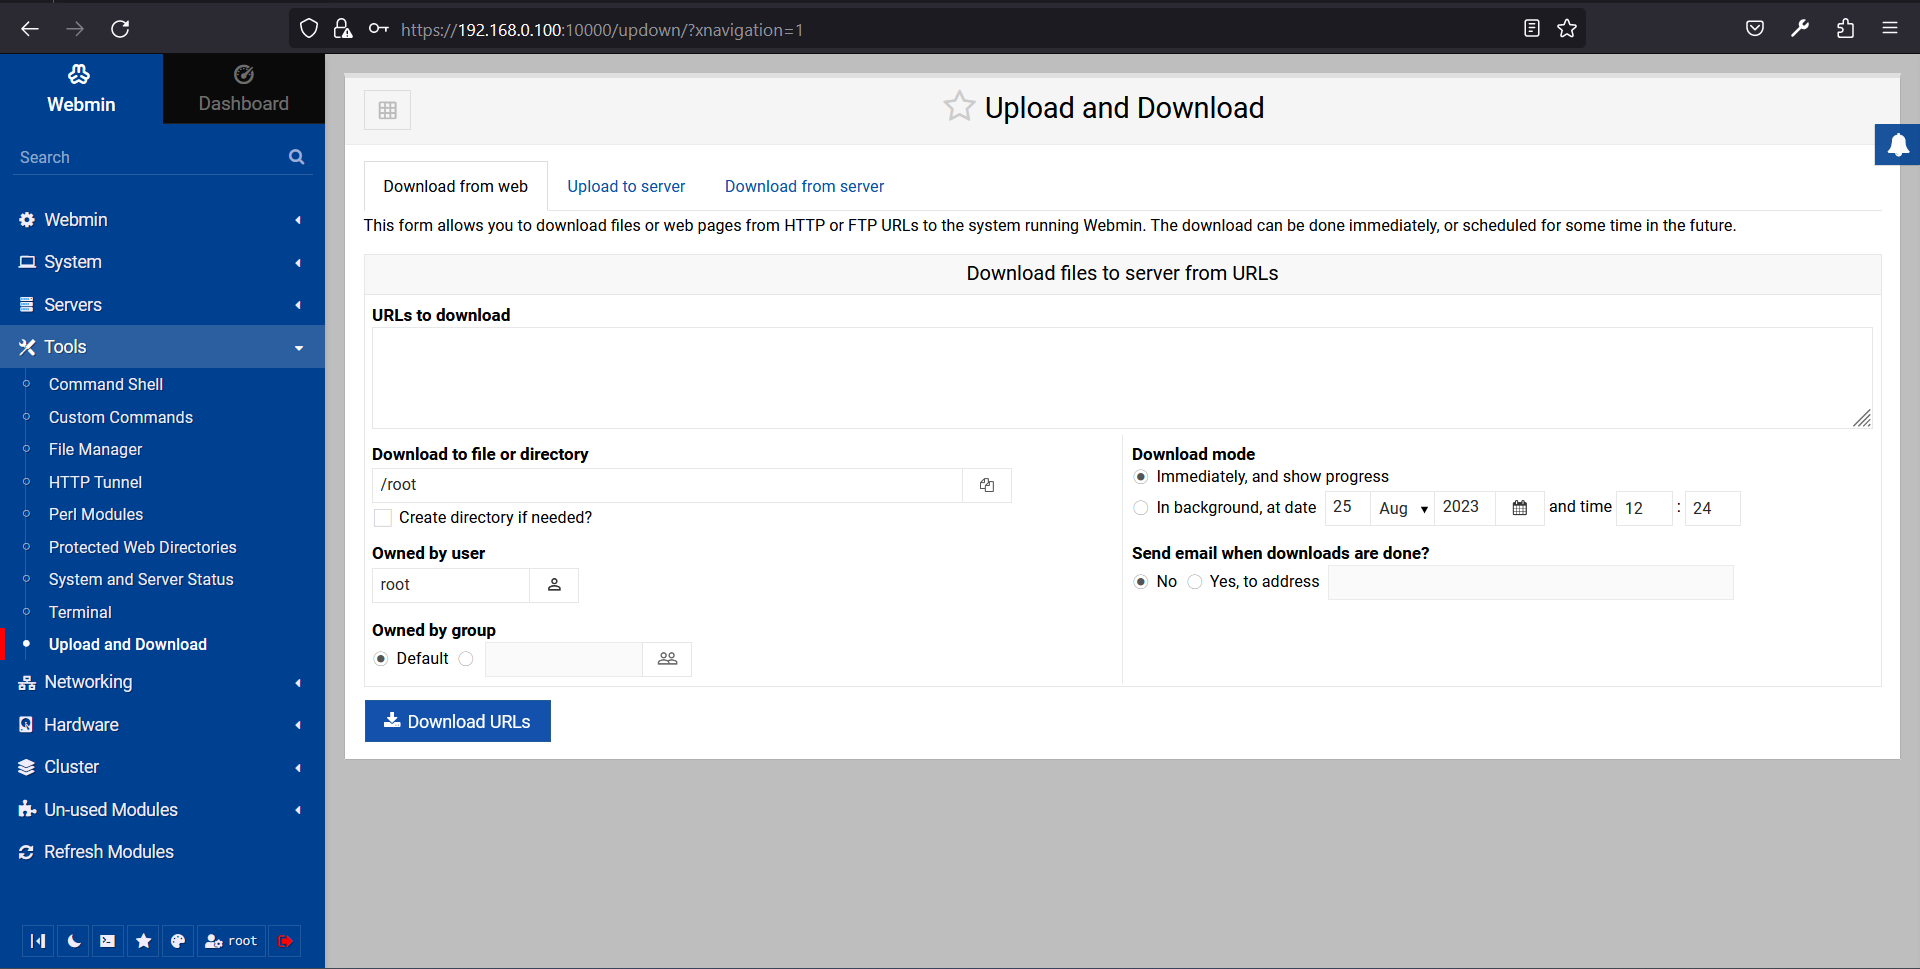
From here, you can upload and download any file to and from the server.
Click on the Networking => Linux Firewall. You should see the firewall interface on the following page:
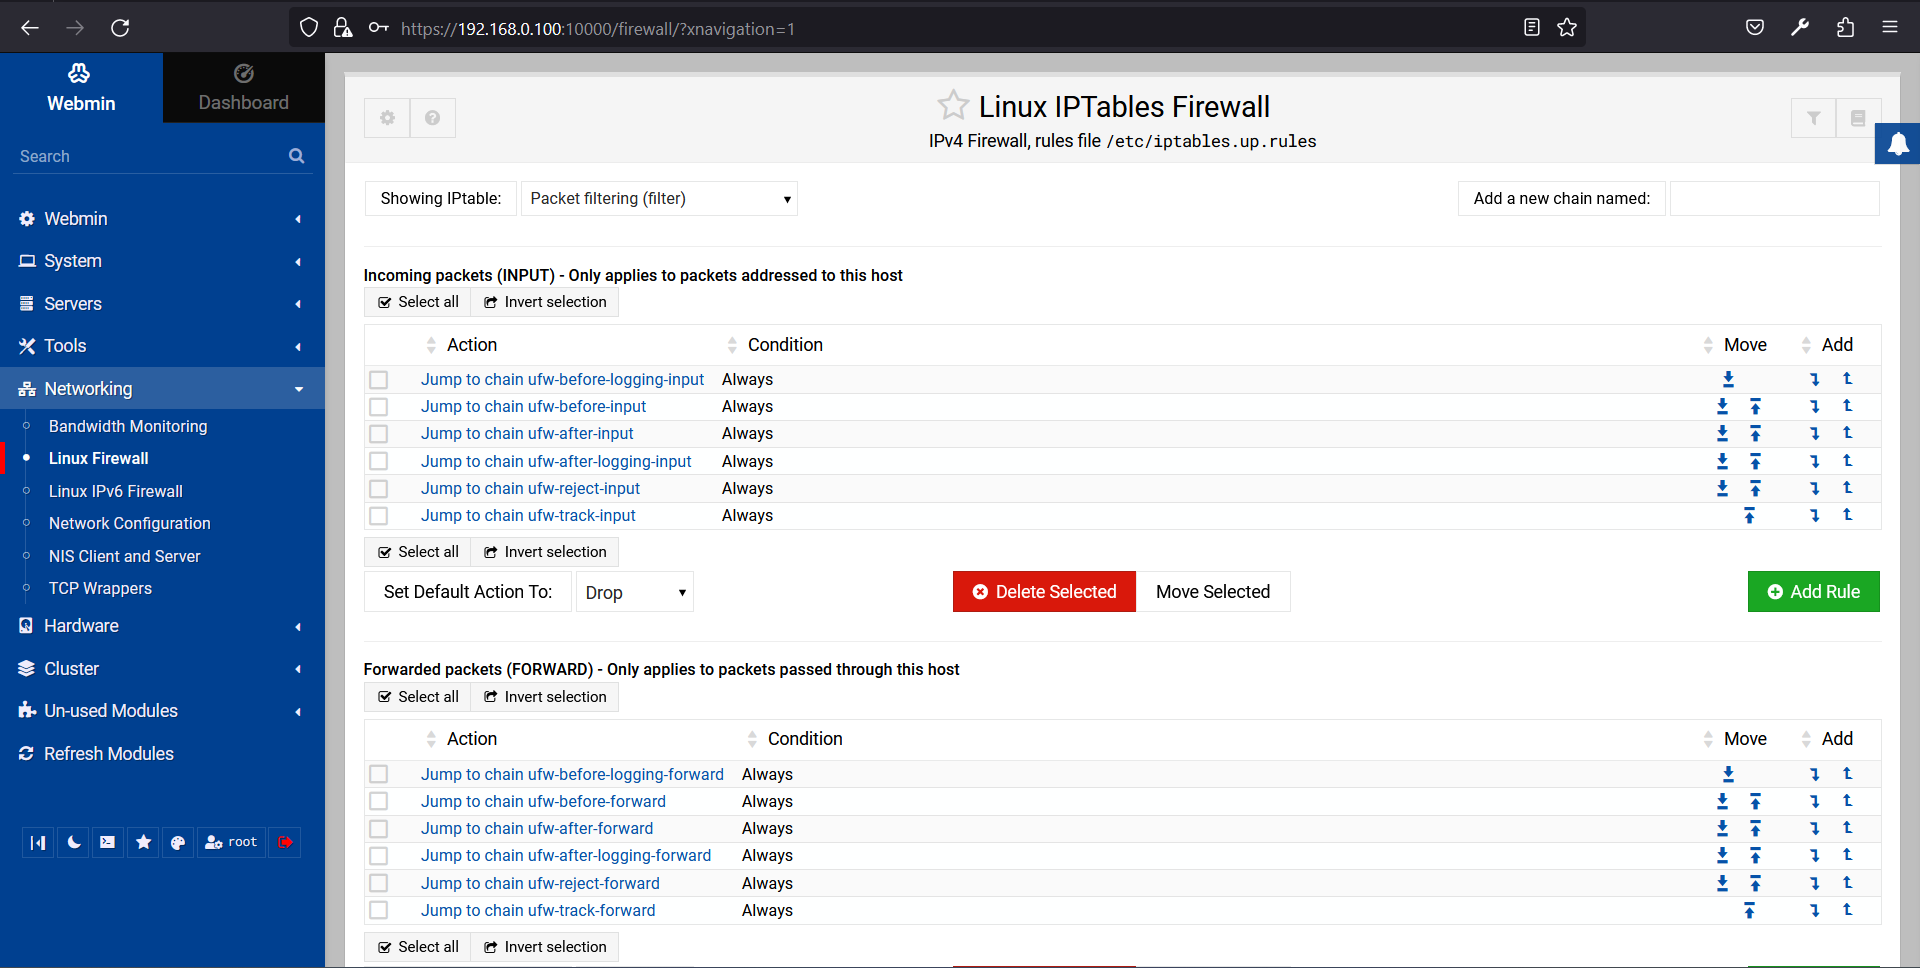
From here, you can open and close the specific ports for remote users.
Click on the Networking => Network Configuration. You should see the network configuration wizard:
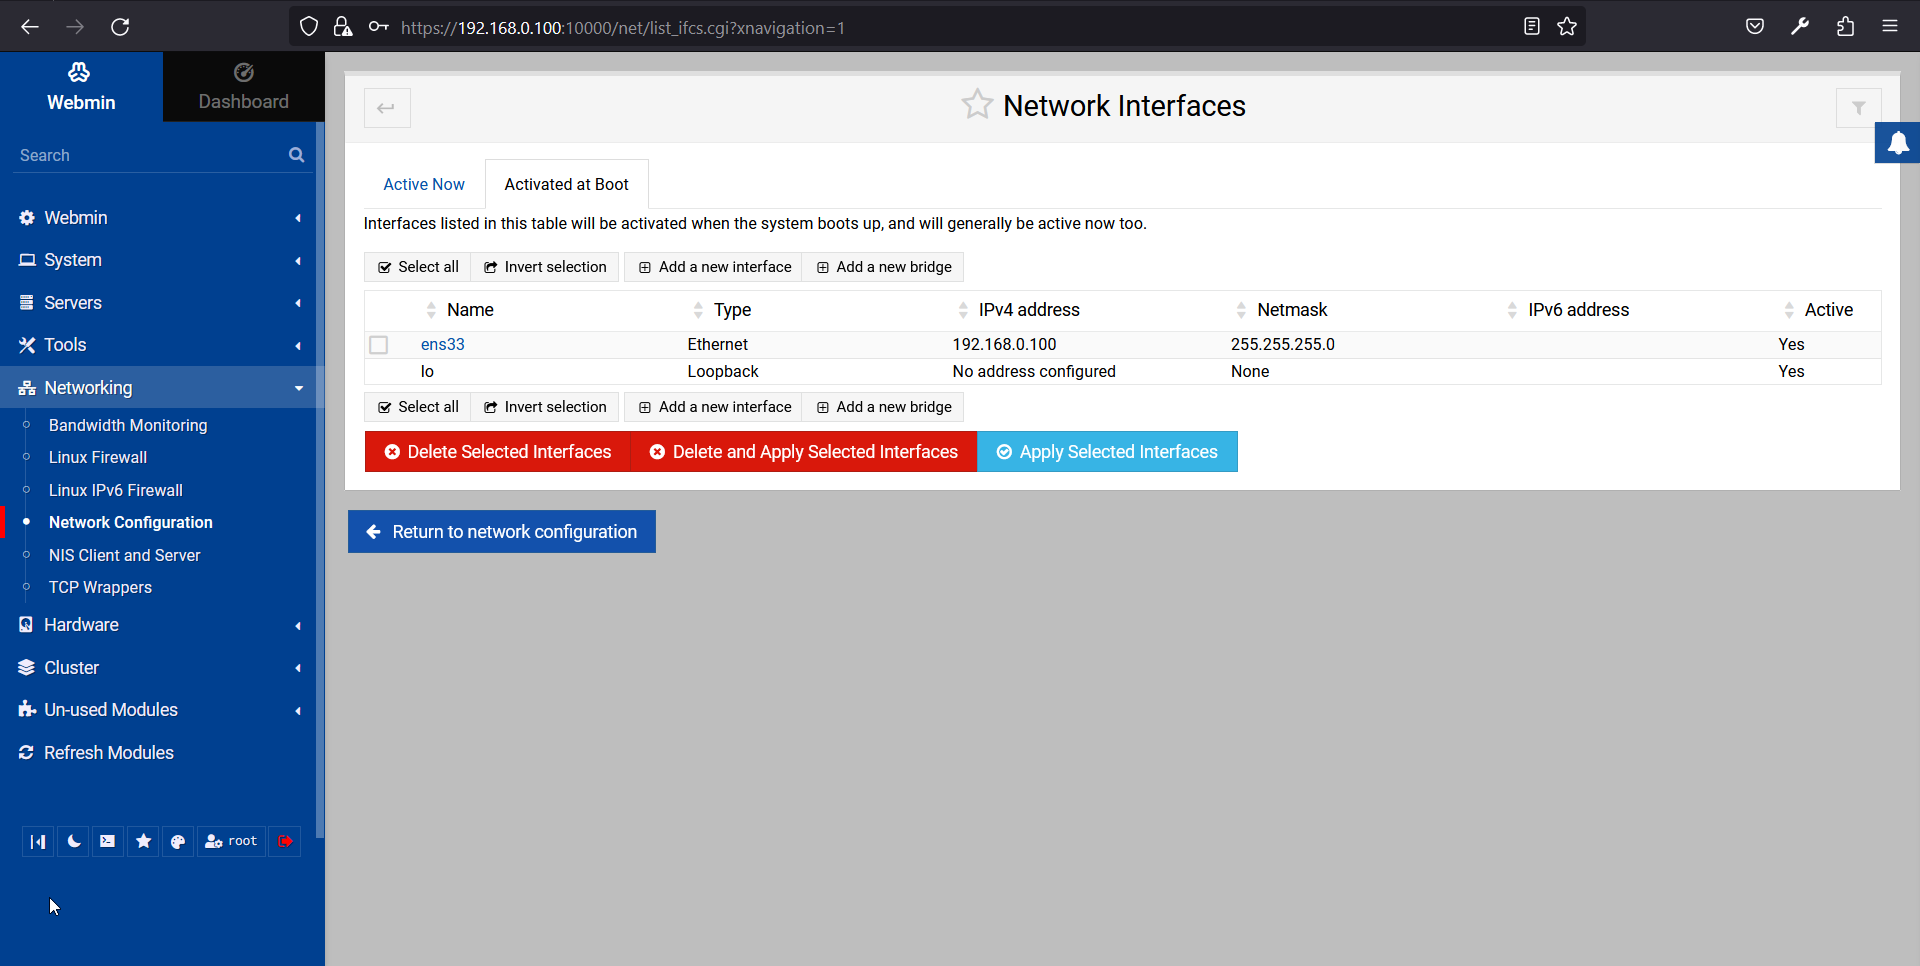
You can set up a static IP address, default gateway, hostname, and DNS from here.
Click on the Hardware => Partitions and Local Disks. You should see the Partition Manager on the following page:
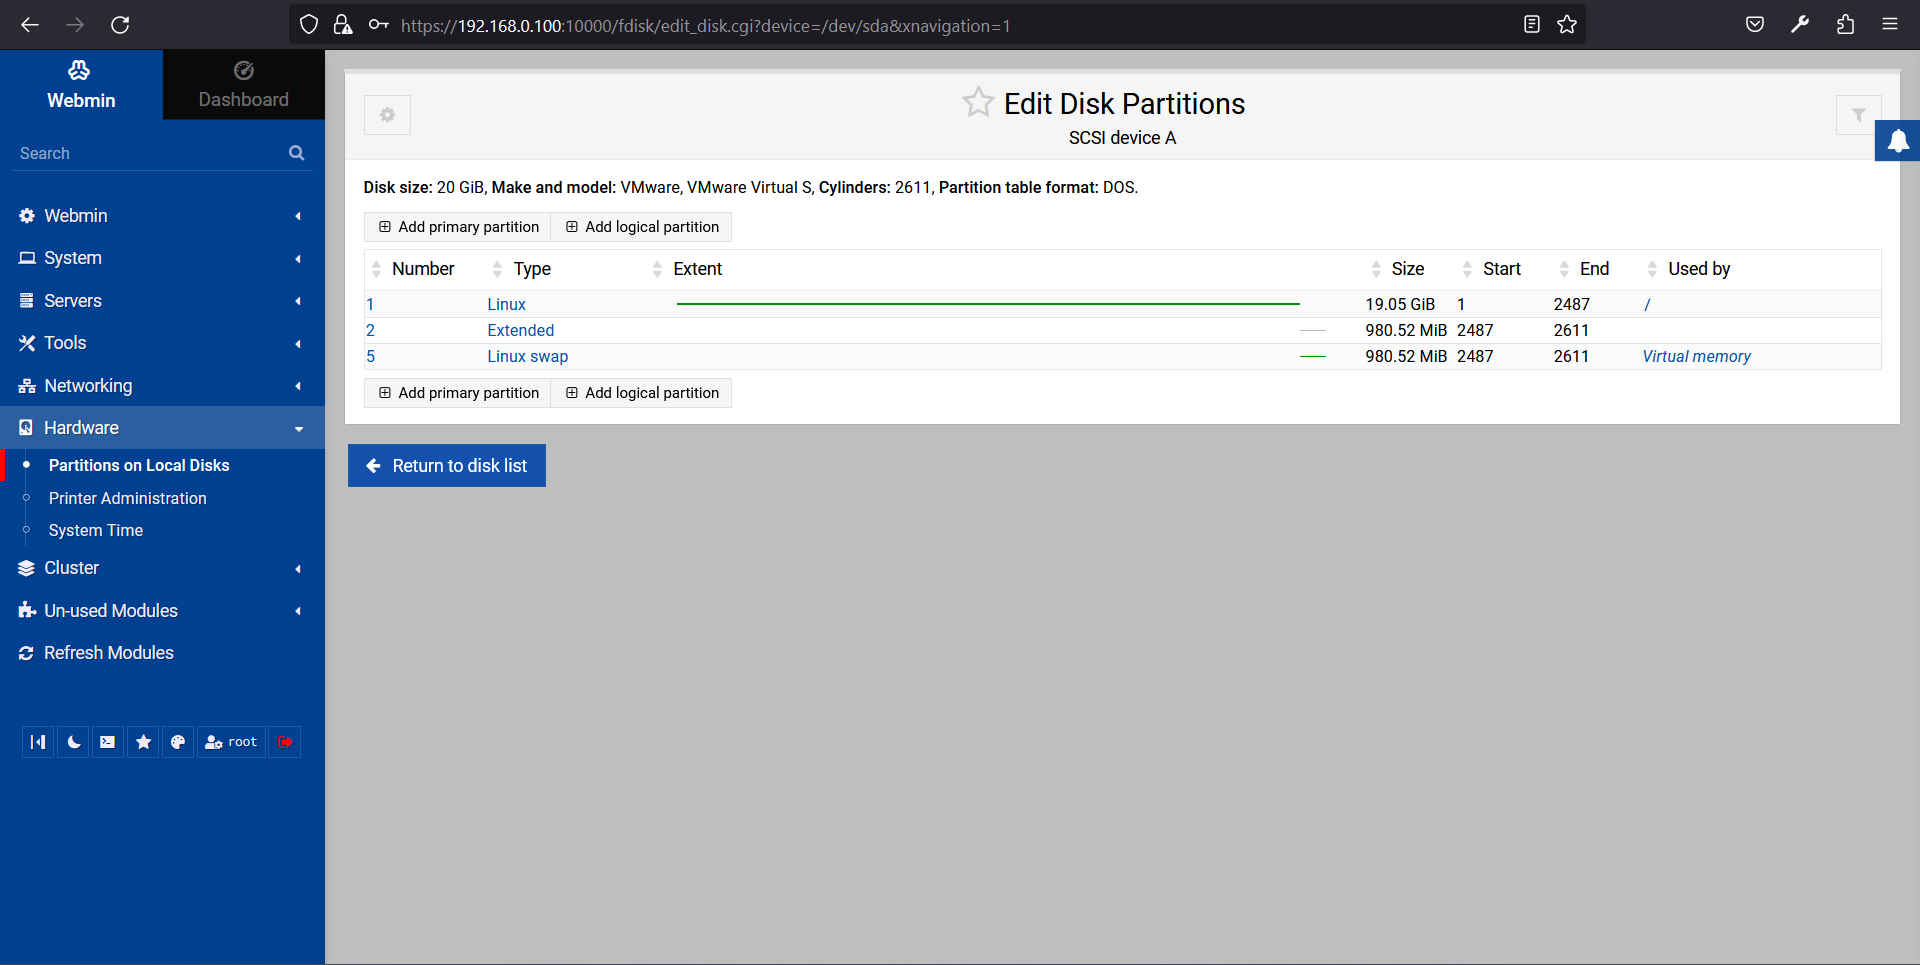
From here, you can create and edit your hard disk partitions.
Remove Webmin
If you don't want Webmin, then you can remove it using the following command:
apt remove webmin
Next, run the following command to clean the package cache and remove unwanted packages from your system.
apt autoremove -y
apt clean
Virtual Machine Image Download of this Tutorial
This tutorial is available as ready to-use virtual machine image in ovf/ova format that is compatible with VMWare and Virtualbox. The virtual machine image uses the following login details:
SSH / Shell Login
Username: administrator
Password: howtoforge
Username: root
Password: howtoforge
Webmin Login
Username: root
Password: howtoforge
The IP of the VM is 192.168.0.100. It can be changed in the file /etc/network/interfaces. Please change all the above passwords to secure the virtual machine.
Conclusion
Congratulations! you have successfully installed Webmin on Debian 12. I hope Webmin will help you to manage and control your Linux server from the web browser. Feel free to ask me if you have any questions.

