How to Install Suricata IDS on Ubuntu 24.04 Server
This tutorial exists for these OS versions
- Ubuntu 24.04 (Noble Numbat)
- Ubuntu 22.04 (Jammy Jellyfish)
- Ubuntu 20.04 (Focal Fossa)
- Ubuntu 18.04 (Bionic Beaver)
On this page
Suricata is an open-source IDS (Intrusion Detection System) and IPS (Intrusion Prevention System) developed by OSIF (open infosec foundation). It can monitor and examine network traffic and process every packet to detect malicious network activity. You can set up log events, trigger alerts, and even drop traffic for suspicious network activity.
This tutorial will show you how to install Suricata IDS on the Ubuntu 24.04 server. You'll install and configure Suricata, download ET signatures and rules, and then start Suricata in the background as a systemd service.
Prerequisites
To start with this guide, make sure you have the following:
- An Ubuntu 24.04 server.
- A non-root user with administrator privileges.
Installing from source code
In this section, you'll learn how to install Suricata from source code by compiling it manually on your system. And before that, you'll install package dependencies for compiling Suricata.
First, run the command below to update your Ubuntu package index and install build dependencies. Enter 'Y' to confirm the installation.
sudo apt update
sudo apt install autoconf automake build-essential cargo \
cbindgen libjansson-dev libpcap-dev libcap-ng-dev libmagic-dev liblz4-dev libpcre2-dev libtool \
libyaml-dev make pkg-config rustc zlib1g-dev

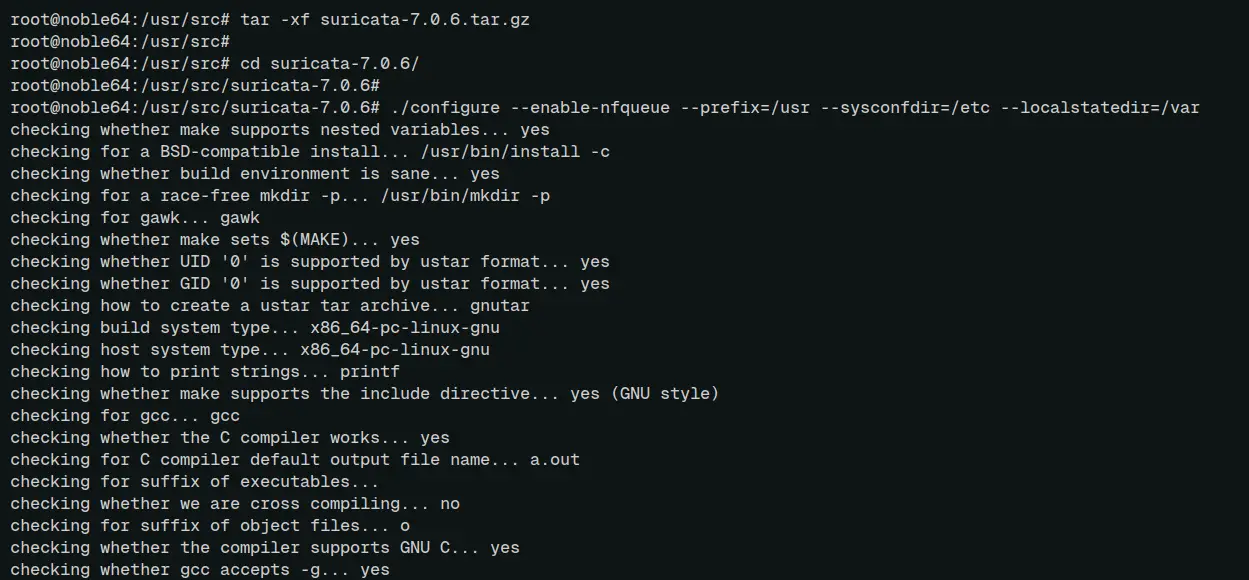
Now go to the '/usr/src' directory and run the following command to download the Suricata source code and extract it.
cd /usr/src
wget https://www.openinfosecfoundation.org/download/suricata-7.0.6.tar.gz
tar -xf suricata-7.0.6.tar.gz
Go to the 'suricata-7.0.6' directory and configure the Suricata compilation with the following. With this, you will set up and install the suricata binary file to the '/usr/bin' directory, the suricata configuration to the '/etc/suricata', and the data directory to '/var/lib/suricata'.
cd suricata-7.0.6/
./configure --enable-nfqueue --prefix=/usr --sysconfdir=/etc --localstatedir=/var
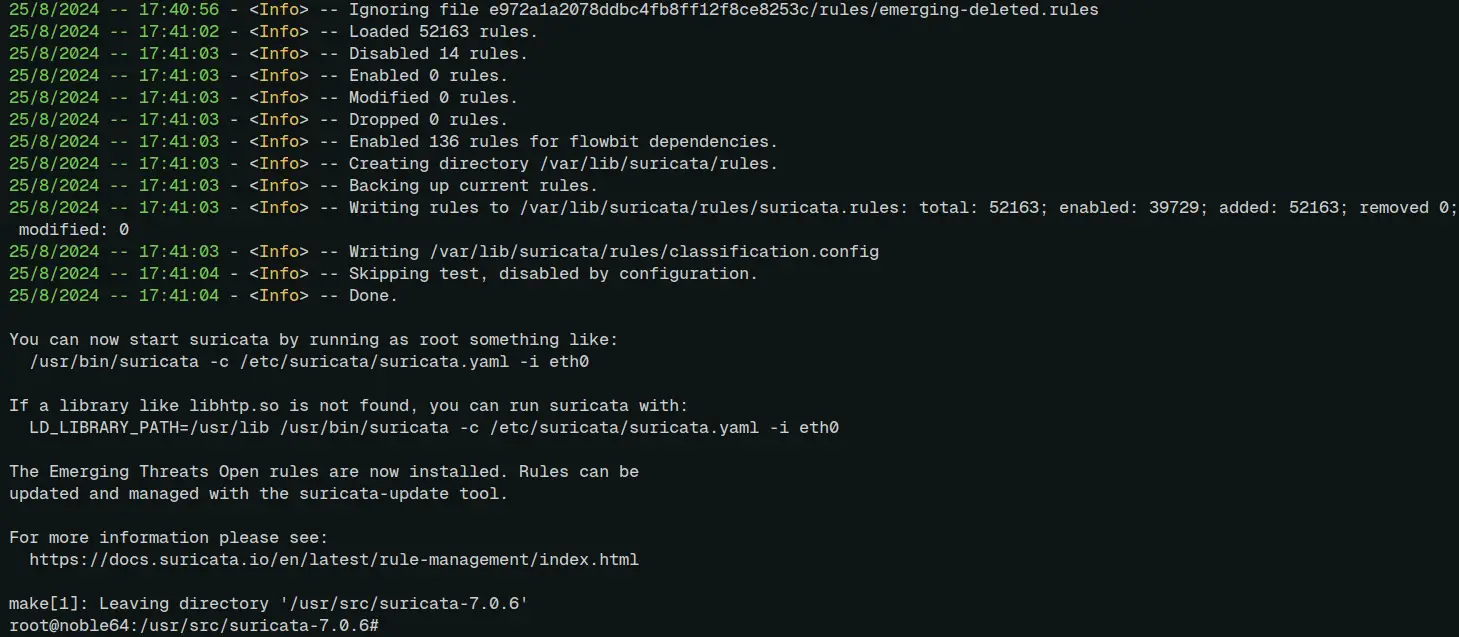
After the process is complete, copy and install suricata with the command below.
sudo make && sudo make install-full
Once the installation is complete, you'll see the following:
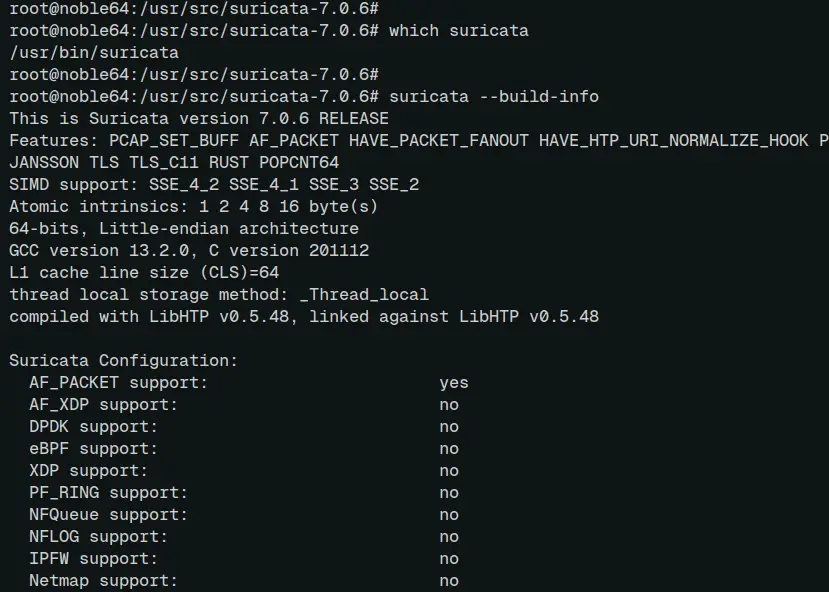
Lastly, run the command below to locate the 'suricata' binary file and check its version.
which suricata
suricata --build-info
In the following output, you can see that suricata '7.0.6' is installed at '/usr/bin/suricata'.
Installing via PPA repository
If you prefer to install Suricata via APT, you need to add the suricata PPA repository to your Ubuntu system. Also, make sure that the 'software-properties' package is installed.
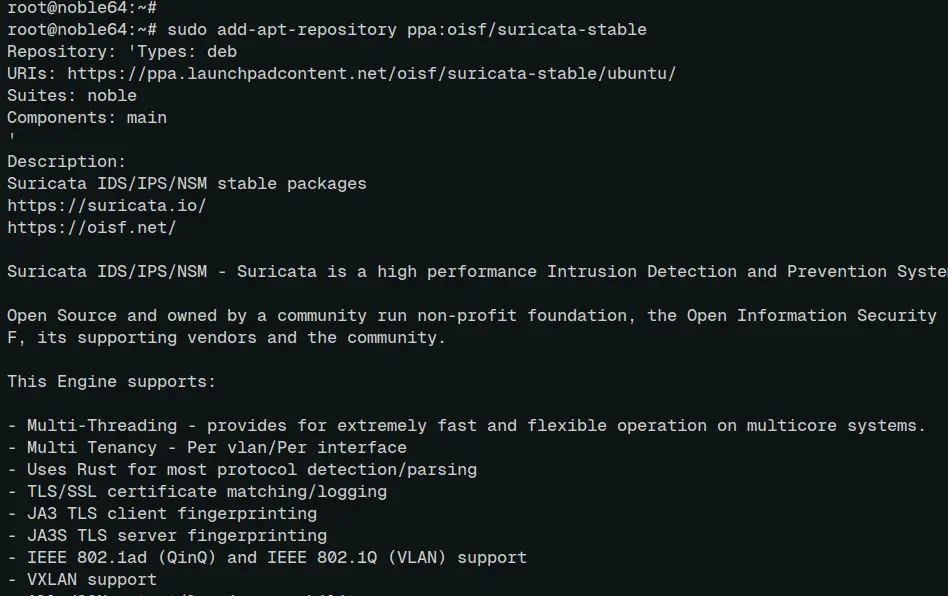
Add the PPA repository for suricata with the following:
sudo add-apt-repository ppa:oisf/suricata-stable
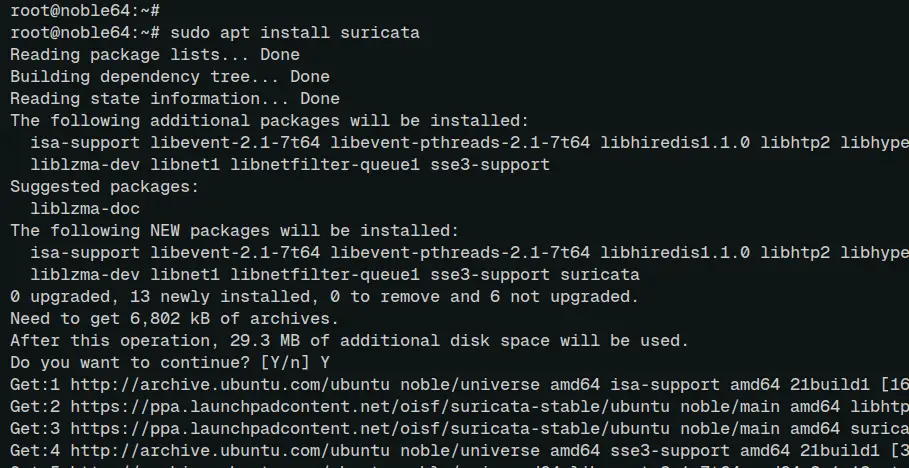
Now update your Ubuntu package index repository and install suricata with the 'apt' command below.
sudo apt update
sudo apt install suricata
Input 'Y' to proceed with the installation.
After the installation is complete, check the suricata binary file and its version with the command below.
which suricata
suricata --build-info
You can see below that suricata 7.0.6 is installed through the APT package manager.

Lastly, run the command below to enable and stop the 'suricata' service. You need to terminate suricata before configuring it.
sudo systemctl enable suricata
sudo systemctl stop suricata

Configuring Suricata
In this section, you'll configure Suricata to monitor the network interface. Suricata will capture malicious traffic on the target interface.
Open the default suricata configuration '/etc/suricata/suricata.yaml' using 'nano' editor.
sudo nano /etc/suricata/suricata.yaml
If you're using a local network, add your home network subnet to the 'HOME_NET' and 'EXTERNAL_NET' variables.
HOME_NET: "[192.168.5.0/24]"
...
EXTERNAL_NET: "!$HOME_NET"
Within the 'af-packet' section, change the default 'interface' to your target interface. In this example, we'll monitor interface 'enp0s3' with suricata.
af-packet:
 - interface: enp0s3
Add the 'detect-engine' option with the 'rule-reload: true' to enable live rule reloading.
detect-engine:
 - rule-reload: true
When done, save the file and exit the editor.
Updating suricata rule sets
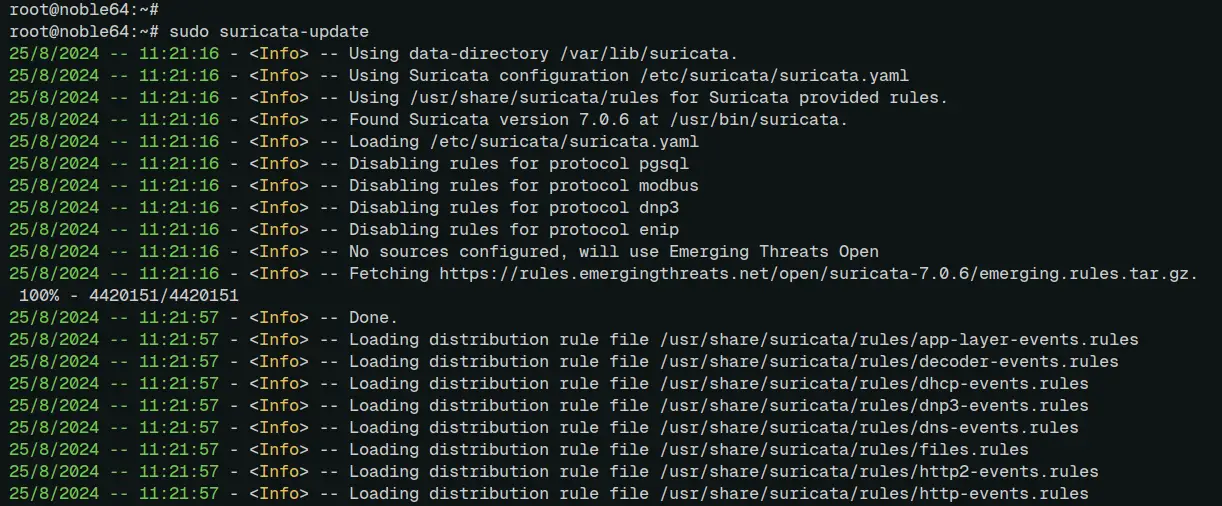
Before starting and running Suricata, you need to download and update suricata signatures and rules. This can be done via the 'suricata-update' command utility.
Run the 'suricata-update' command below to download and update suricata ET rules. The suricata will not start when ET rules missing.
sudo suricata-update
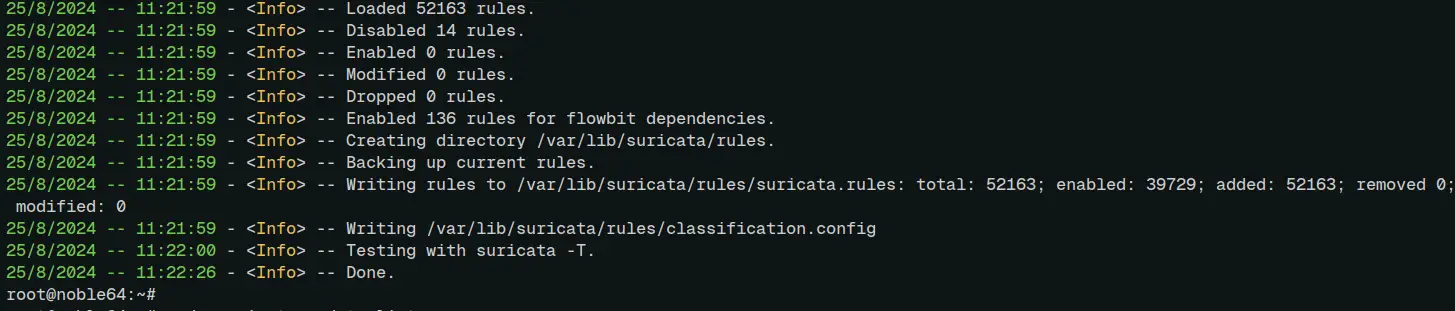
The suricata rules are written to the '/var/lib/suricata/suricata.rules' file like the following:
You can check the sources of rules with the following command:
sudo suricata-update list-sources
Running suricata
Now that you've configured Suricata, and downloaded and updated ET rules, you'll be testing suricata rules, and then start and verify the 'suricata' service.
To test suricata rules, run the 'suricata' command below. This will process available rules within the '/var/wlib/suricata/suricata.rules' file.
sudo suricata -T -c /etc/suricata/suricata.yaml -v
If no error, you'll an output 'suricata: Configuration provided was successfully loaded.'

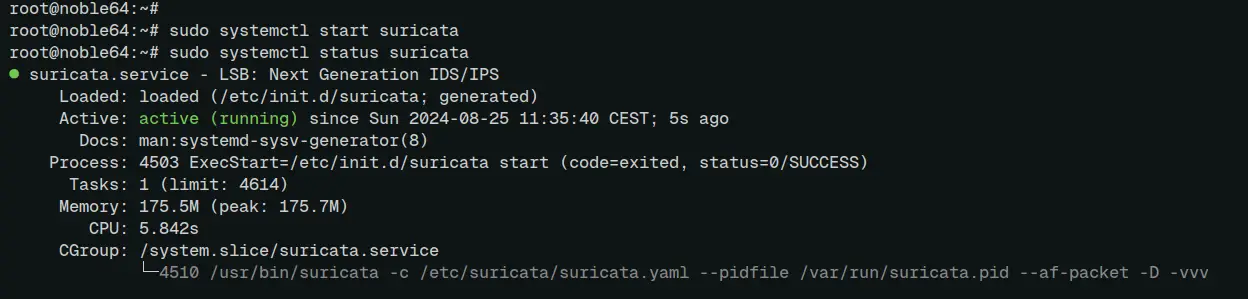
Now run the command below to start the 'suricata' service in the background and verify it.
sudo systemctl start suricata
sudo systemctl status suricata
In the following output, you can see the 'suricata' service is running.
Conclusion
Congratulations! You've completed the installation of Suricata IDS on the Ubuntu 24.04 server. You've learned two methods to install Suricata, compiling manually from the source and via the APT package manager. You also have learned how to configure Suricata, update suricata signatures and rules, and test suricata rules.

