How to Install PowerDNS and PowerAdmin on Rocky Linux
PowerDNS is a free and open-source DNS Server software. It's can be used as an authoritative nameserver and DNS recursor. The PowerDNS is written in C++ and supports multiple operating systems, including BSD, Linux, and macOS.
PowerDNS is a high-end and high-performance DNS server that supports multiple types of backends such as BIND, and RDBMS backends such as MySQL/MariaDB, PostgreSQL, and Oracle database.
The PowerDNS server is high-performance that can handle tens of thousands of concurrent, supports DNSSEC, and provides high scriptable with Lua.
In this guide, we will show you how to install PowerDNS and the PowerDNS-Admin on a Rocky Linux system. We will run the PowerDNS with the MySQL/MariaDB database backend and set up the PowerDNS-Admin that will be used as the web-based management tool for the PowerDNS server.
This guide also shows the installation of Python packages for Flask-based projects and the configuration of Nginx and Gunicorn that will be used as a reverse proxy for the PowerDNS-Admin web application.
Prerequisites
To begin with this guide, you will need the following requirements:
- A Rocky Linux server - You can use the Rocky Linux v8 or v9.
- A non-root user with sudo/root administrator privileges.
Installing and Configuring MariaDB Database Server
The PowerDNS is a scalable DNS server software that supports multiple backends such as PostgreSQL, MariaDB/MySQL, and SQLite. For large deployments, you should consider using PostgreSQL or MySQL/MariaDB as the database backend.
You'll now begin by installing and configuring the MariaDB database on the Rocky Linux server. You will set up the PowerDNS with MariaDB as the database backend.
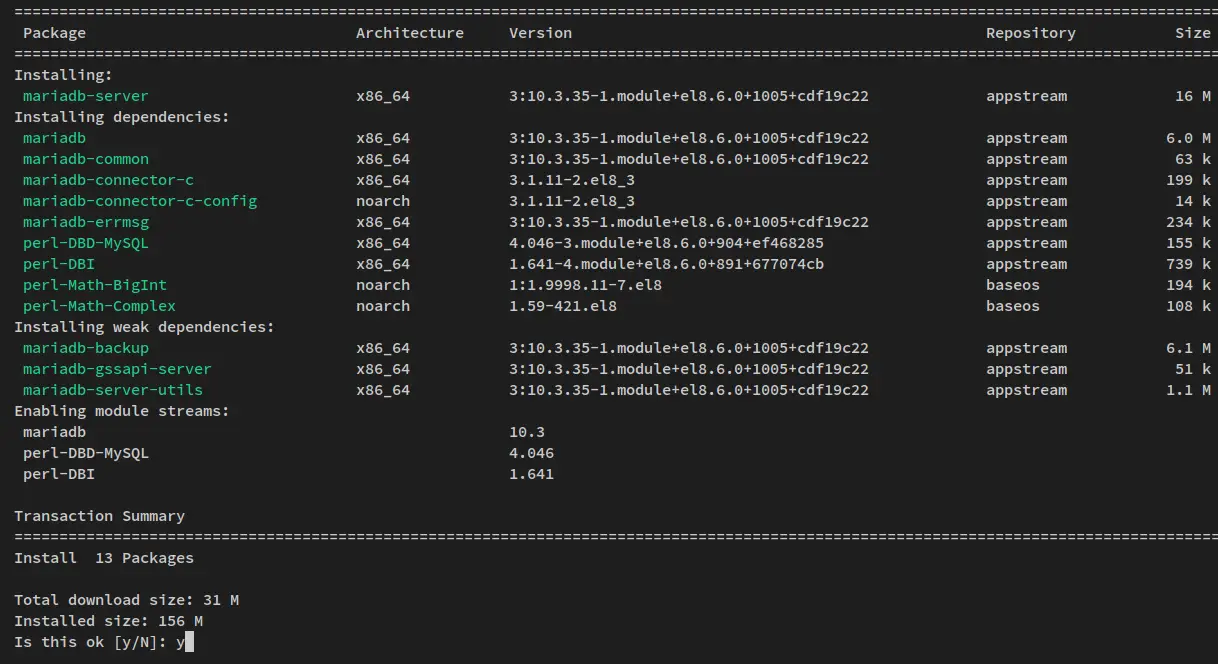
The default Rocky Linux repository provides multiple versions of MariaDB server packages. Run the dnf command below to install the MariaDB database server.
sudo dnf install mariadb-server
When prompted for the confirmation, input y to confirm and press ENTER to proceed.
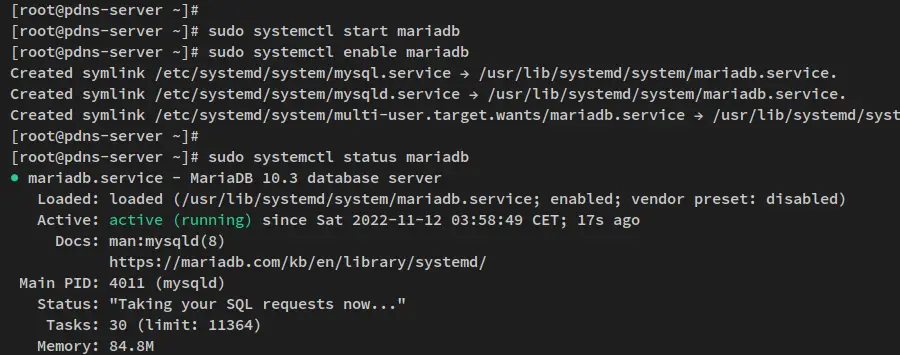
After the MariaDB server is installed, run the below systemctl command to start and enable the MariaDB service.
sudo systemctl start mariadb
sudo systemctl enable mariadb
Now the MariaDB server should be running and it's should be enabled. Run the below command to verify the MariaDB service and make sure that the service is running.
sudo systemctl status mariadb
You will see the following output - The MariaDB service is running and it's enabled, which means the service will be run automatically upon the bootup.
Now that the MariaDB server running, you'll then set up and secure the MariaDB installation via the command-line tool 'mysql_secure_installation'.
Run the following command to start securing the MariaDB server deployment.
sudo mysql_secure_installation
You'll then be asked for some configurations of the MariaDB server.
- Set up the MariaDB root password? Input y to confirm and type the new password for your MariaDB server, then repeat the password.
- Disable remote login for the MariaDB root user? Input y to confirm and disable it.
- Remove the default anonymous user from the MariaDB? Input y to confirm.
- Remove the default database test from MariaDB? Input y again to confirm.
- Lastly, reload tables privileges to apply new changes? Input y to confirm and the MariaDB will reload all privileges and apply new settings.
Now that you have secured the MariaDB deployment, you will next set up a new MariaDB database and user for the PowerDNS.
To begin, run the mysql command below to log in to the MariaDB shell as the MariaDB root user.
sudo mysql -u root -p
When asked for the password, input the password of your MariaDB root user.
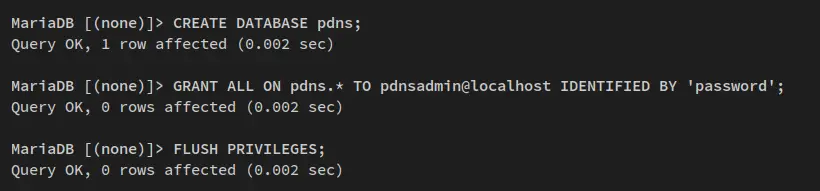
Next, run the following queries to create a new MariaDB database and user. In this example, you'll create a new database pdns with the user pdnsadmin and the password is 'password'.
CREATE DATABASE pdns;
GRANT ALL ON pdns.* TO pdnsadmin@localhost IDENTIFIED BY 'password';
FLUSH PRIVILEGES;
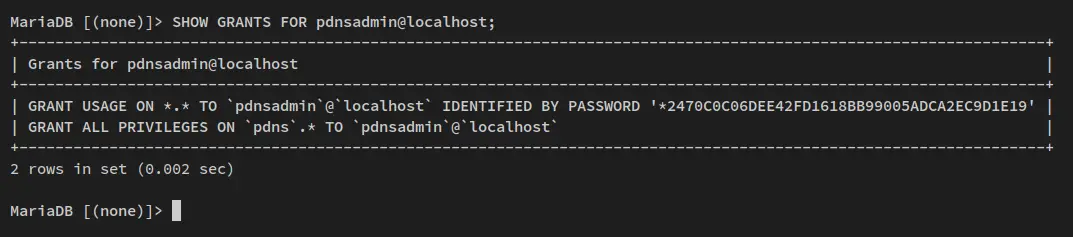
Now run the following queries to verify the privileges of MariaDB user pdnsadmin@localhost. This will show you the list of privileges for the MariaDB user pdnsadmin@localhost.
SHOW GRANTS FOR pdnsadmin@localhost;
You will see the following output - The MariaDB user pdnsadmin@localhost has privileges to the PowerDNS database pdns.
Now type 'quit' to exit from the MariaDB shell.
With the MariaDB server running, you'll then install and configure the PowerDNS server with the MariaDB database backend.
Installing and Configuring PowerDNS
After installed the MariaDB database server, you will now install the PowerDNS server and set up the PowerDNS with the MariaDB database backend.
For the RHEL-based operating systems, PowerDNS are available on the EPEL repository. So, before installing PowerDNS, you must add the EPEL repository to your system.
Run the following dnf command to install the EPEL repository.
sudo dnf install epel-release -y
After the EPEL repository is added, run the following dnf command to install the PowerDNS and PowerDNS MySQL backend.
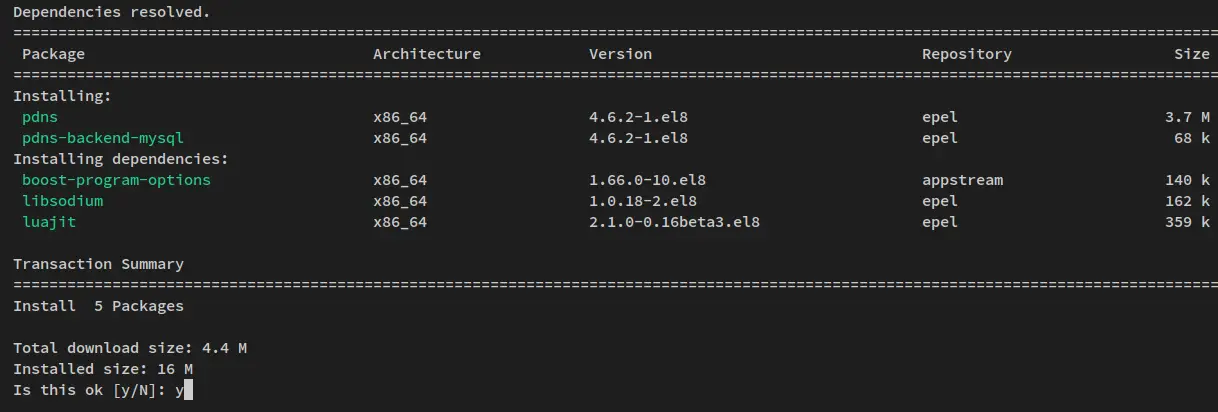
sudo dnf install pdns pdns-backend-mysql
When asked for the confirmation, input y to confirm and press ENTER to proceed.
After the PowerDNS installation is finished, run the following mysql command to import the database schema for PowerDNS. The following command will import the database schema via the MariaDB user pdnsadmin to the database pdns.
sudo mysql -u pdnsadmin -p pdns < /usr/share/doc/pdns/schema.mysql.sql
Input the password for the pdnsadmin user and press ENTER to confirm and proceed.

Next, edit the PowerDNS configuration '/etc/pdns/pdns.conf' using the following nano editor command.
sudo nano /etc/pdns/pdns.conf
Uncomment the MariaDB backend configuration and change the details database name, user and password. Be sure to use the correct MariaDB database details that you've created.
#################################
# launch        Which backends to launch and order to query them in
#
launch=gmysql

gmysql-host=localhost
gmysql-user=pdnsadmin
gmysql-password=password
gmysql-dbname=pdns
Next, uncomment the 'api' and change the value to 'yes'. Then, uncomment the 'api-key' option and change the default key. The following PowerDNS API will be used to manage the PowerDNS server via the PowerDNS-Admin web application.
#################################
# api   Enable/disable the REST API (including HTTP listener)
#
api=yes

#################################
# api-key       Static pre-shared authentication key for access to the REST API
#
api-key=CHANGEME
Save the file and exit the editor when you are finished.
After configuring the PowerDNS server, run the following command to verify the PowerDNS configuration.
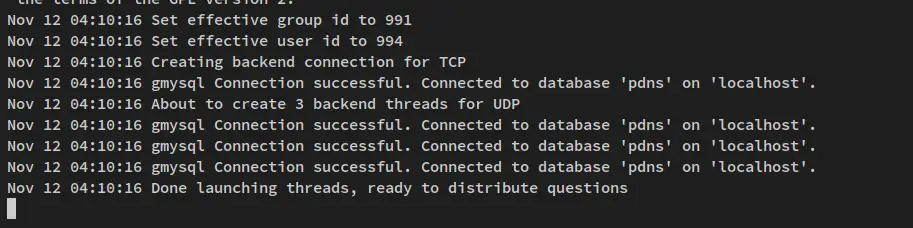
pdns_server --daemon=no --guardian=no --loglevel=9
You will see the output like the following - The connection of PowerDNS to the MariaDB database backend is successful, you can now press 'Ctrl+c' to terminate the process.
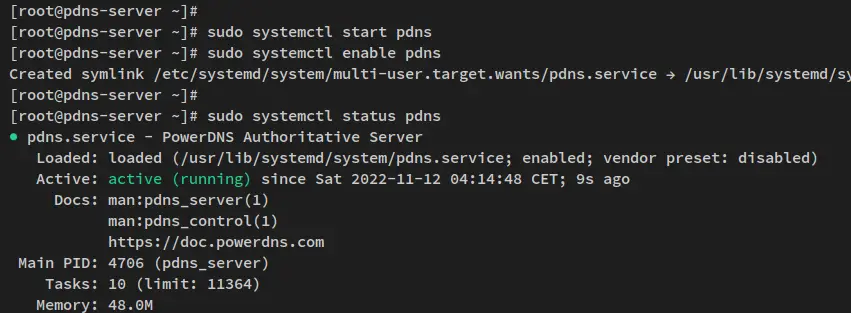
Now run the following systemctl command to start and enable the PowerDNS service.
sudo systemctl start pdns
sudo systemctl enable pdns
Lastly, verify the PowerDNS service to ensure that the PowerDNS is running and enabled.
sudo systemctl status pdns
In the below output, you will see the current status PowerDNS service is running and it's enabled, which means it will be run automatically upon the boot process.
At this point, you have now finished the installation of the PowerDNS server. You'll next start the installation of PowerDNS-Admin which will be used as the web front-end management for the PowerDNS server.
Installing PowerDNS-Admin
With the PowerDNS running, you will now install and configure the PowerDNS-Admin on the Rocky Linux server. The PowerDNS-Admin is a Python Flask-based web application, so the PowerDNS-Admin installation is quite the same as the Flask web framework installation.
Below are some steps you must do to install PowerDNS-Admin on Rocky Linux
- Installing Package Dependencies
- Setting up Python Virtual Environment
- Installing Python Dependencies
- Configuring PowerDNS-Admin with MariaDB Database
- Generating Database Schema and Building Static Files
Now let's begin the PowerDNS-Admin installation
Installing Package Dependencies
The first step to do for installing PowerDNS-Admin is by installing package dependencies such as Python3, Pip, Node.js, and Yarn.
Before you start, run the dnf command below to enable the 'powertools' repository on your Rocky Linux system.
sudo dnf config-manager --set-enabled powertools
After enabled the 'powertools' repository, install Python packages via the dnf command below.
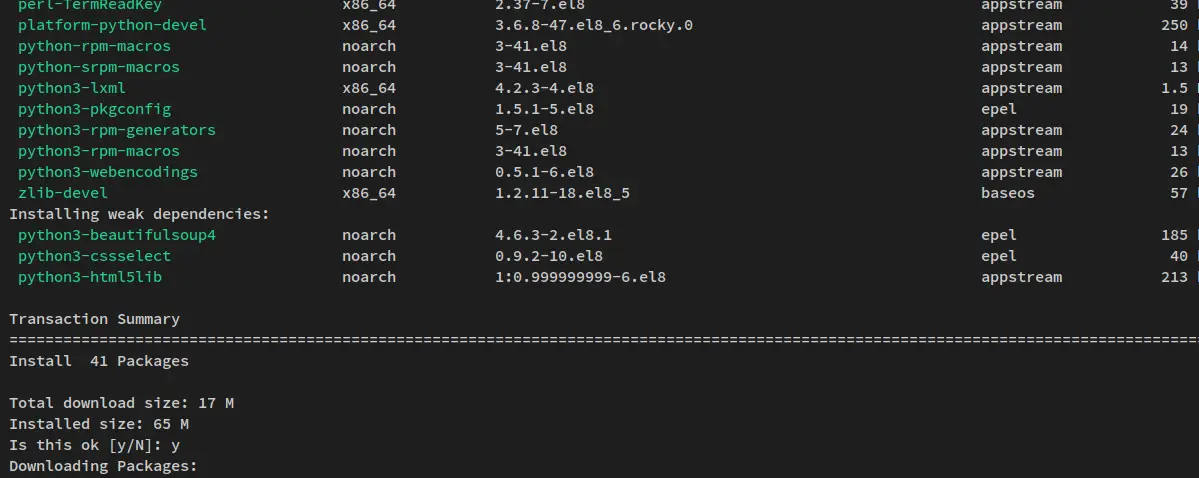
sudo dnf install python3 python3-devel python3-pip python3-xmlsec gcc git mariadb-devel openldap-devel xmlsec1-devel xmlsec1-openssl libtool-ltdl-devel
When prompted for confirmation, input y and press ENTER to proceed.
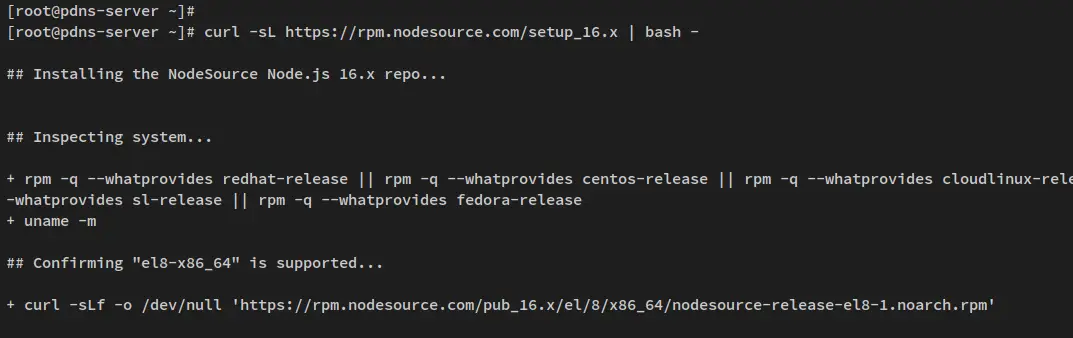
Next, add the Node.js and Yarn repositories to your system via the command below. The Node.js and Yarn package will be used to generate static files for the PowerAdmin web application. This example uses Node.js v16.
curl -sL https://rpm.nodesource.com/setup_16.x | bash -
curl -sL https://dl.yarnpkg.com/rpm/yarn.repo -o /etc/yum.repos.d/yarn.repo
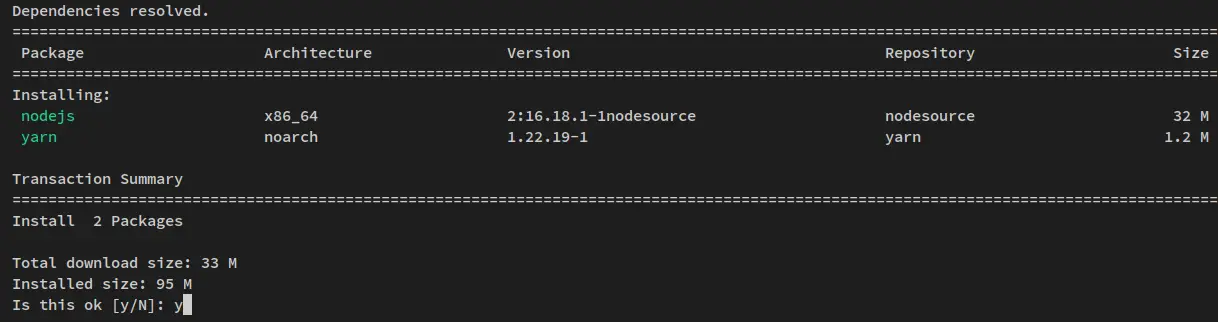
After repositories added, run the dnf command below to install the Node.js and Yarn package manager.
sudo dnf install nodejs yarn
Input y and press ENTER when prompted for the installation.
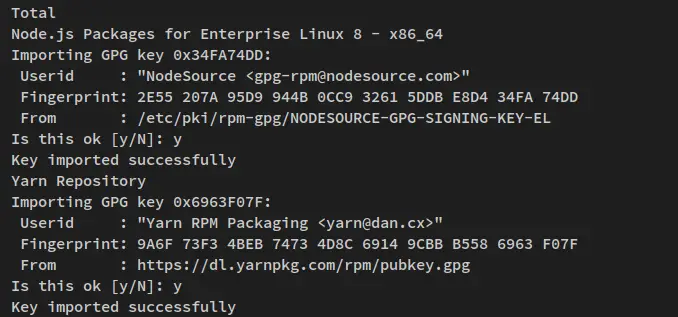
Also, when prompted to confirm GPG key, input y and press ENTER.
Next, run the pip3 command below to update the Python pip package and install the virtualenv to your system.
pip3 install -U pip
pip3 install -U virtualenv
The Python pip and virtualenv will now be installed in the '/usr/local/bin' directory. Add the directory '/usr/local/bin' to the system $PATH environment variable via the command below.
echo "export PATH="/usr/local/bin:$PATH"" >> ~/.bashrc
Now apply the new changes in the '~/.bashrc' file using the below command. You should now run the 'pip' and 'virtualenv' commands.
source ~/.bashrc
Setting up Python Virtual Environment
With package dependencies installed, you'll now download the PowerDNS-Admin source code and set up the Python virtual environment for the PowerDNS-Admin.
Clone the PowerDNS-Admin source code to the '/opt/powerdns-admin' directory using the following git command.
git clone https://github.com/ngoduykhanh/PowerDNS-Admin.git /opt/powerdns-admin
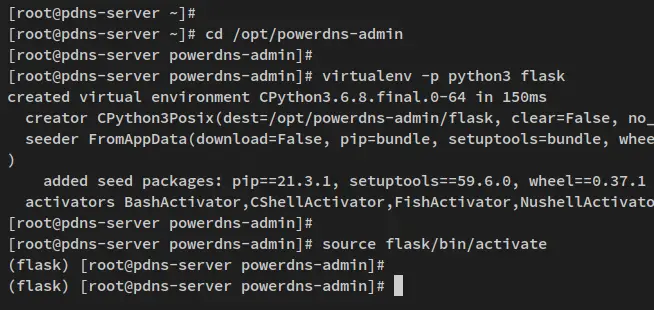
After the source code is downloaded, move the working directory to '/opt/powerdns-admin' and create a new Python virtual environment 'flask'.
cd /opt/powerdns-admin
virtualenv -p python3 flask
Now activate the 'flask' Python virtual environment via the command below.
source flask/bin/activate
When activated, you should now see the prompt become such as '(flask) [user@hostname /directory/path]#'.
From here, your working environment should always be in the Python virtual environment 'flask'.
Installing python dependencies
After setting up the Python virtual environment and cate it, you'll then install Python dependencies via the pip command.
Run the following pip command to install Python dependencies for the PowerDNS-Admin.
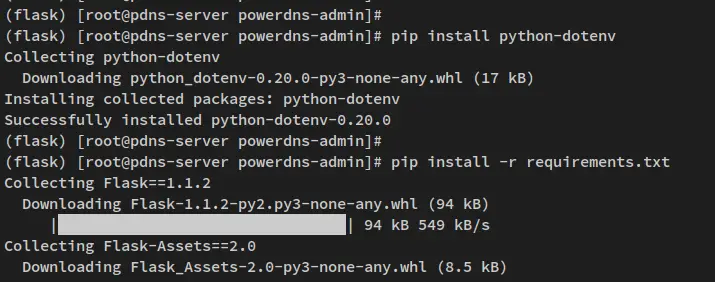
pip install python-dotenv
pip install -r requirements.txt
Now the installation will begin - This will install Python dependencies that are required by the PowerDNS-Admin, which is stored in the 'requirements.txt' file.
Now that you have Python dependencies installed, you're ready to set up and configure the PowerDNS-Admin with the MariaDB database.
Configuring PowerDNS-Admin with MariaDB Database
With Python dependencies installed, you will now set up the PowerDNS-Admin with the MariaDB database. The database details for the PowerDNS-Admin will be the same database as the PowerDNS server.
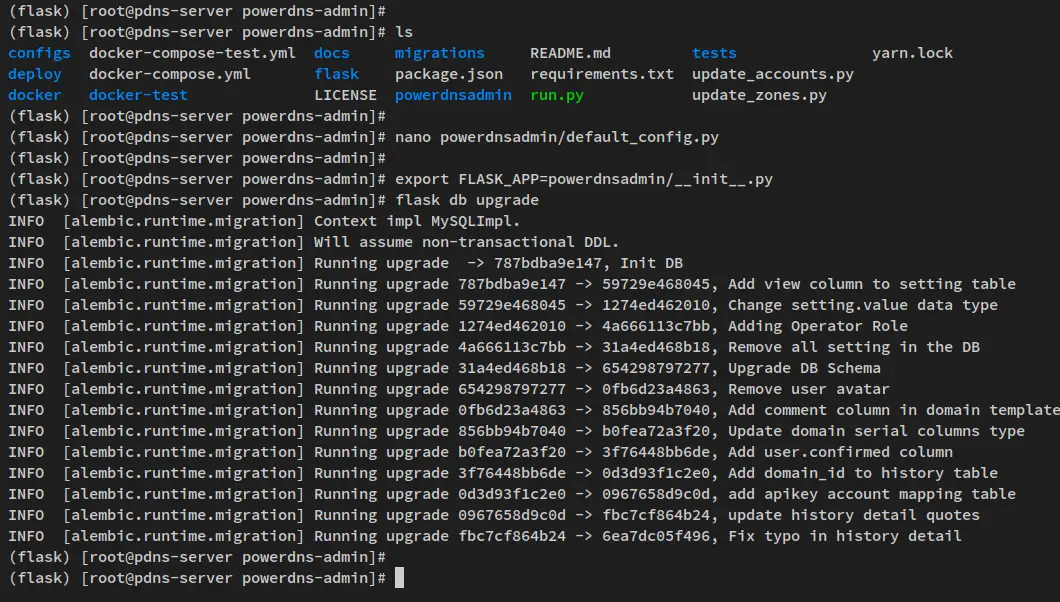
Now edit the file '/opt/powerdns-admin/powerdnsadmin/default_config.py' using the following nano editor command.
nano /opt/powerdns-admin/powerdnsadmin/default_config.py
Change the configuration as below.
SALT = 'RANDOM-GENERATED'
SECRET_KEY = 'RANDOM-GENERATED'
BIND_ADDRESS = '0.0.0.0'
PORT = 9191
HSTS_ENABLED = False
OFFLINE_MODE = False

SQLA_DB_USER = 'pdnsadmin'
SQLA_DB_PASSWORD = 'password'
SQLA_DB_HOST = '127.0.0.1'
SQLA_DB_NAME = 'pdns'
SQLALCHEMY_TRACK_MODIFICATIONS = True
Save the file and exit the editor when you are finished.
Generating Database Schema and Building Static Files
After configuring the MariaDB database on PowerDNS-Admin, you'll then migrate the database and generate static files for the PowerDNS-Admin.
First, run the following command to migrate the database of the PowerDNS-Admin. This will insert a new database schema to the database that will be used for the PowerDNS-Admin.
export FLASK_APP=powerdnsadmin/__init__.py
flask db upgrade
Below is the output you will get when the database migration is finished.
After the database migration is finished, run the following command to generate static files for the PowerDNS-Admin.
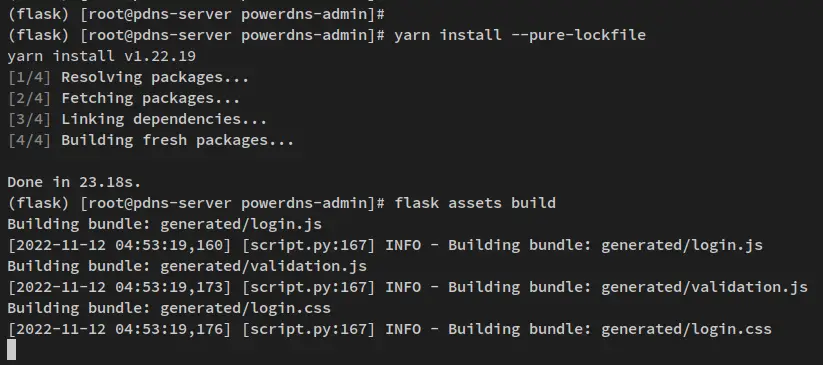
yarn install --pure-lockfile
flask assets build
Below you can see the installation of some JavaScript dependencies via the yarn package manager and the process of generating static files for the PowerDNS-Admin.
When static files are generated, run the following command to deactivate the Python virtual environment.
deactivate
At this point, you have finished the basic installation of PowerDNS-Admin with the MariaDB database server. You can now start the PowerDNS-Admin application via the command line, but also you can run PowerDNS-Admin as the systemd service.
Setting up Systemd Service for PowerDNS-Admin
In this step, you will set up a new systemd service file for the PowerDNS-Admin application. This allows you to easily manage and maintain the PowerDNS-Admin via the systemd command. Also, this will simplify the configuration of the PowerDNS-Admin.
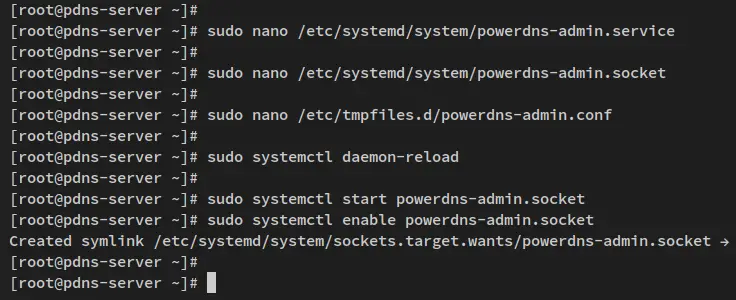
To start, create a new systemd service file '/etc/systemd/system/powerdns-admin.service' using the following nano editor command.
sudo nano /etc/systemd/system/powerdns-admin.service
Add the configuration below to the file. With this configuration, you will run the PowerDNS-Admin application via the gunicorn and run as the user and group 'pdns'. Also, the PowerDNS-Admin will be run with the UNIX socket file '/run/powerdns-admin/socket'.
[Unit]
Description=PowerDNS-Admin
Requires=powerdns-admin.socket
After=network.target

[Service]
PIDFile=/run/powerdns-admin/pid
User=pdns
Group=pdns
WorkingDirectory=/opt/powerdns-admin
ExecStartPre=+mkdir -p /run/powerdns-admin/
ExecStartPre=+chown pdns:pdns -R /run/powerdns-admin/
ExecStart=/usr/local/bin/gunicorn --pid /run/powerdns-admin/pid --bind unix:/run/powerdns-admin/socket 'powerdnsadmin:create_app()'
ExecReload=/bin/kill -s HUP $MAINPID
ExecStop=/bin/kill -s TERM $MAINPID
PrivateTmp=true

[Install]
WantedBy=multi-user.target
Save the file and exit the editor when you are finished.
Next, create a new systemd socket file for the PowerDNS-Admin '/etc/systemd/system/powerdns-admin.socket' using the below nano editor.
sudo nano /etc/systemd/system/powerdns-admin.socket
Add the following configuration to the file.
[Unit]
Description=PowerDNS-Admin socket

[Socket]
ListenStream=/run/powerdns-admin/socket

[Install]
WantedBy=sockets.target
Save the file and exit the editor when you are finished.
Now create a new configuration file '/etc/tmpfiles.d/powerdns-admin.conf' using the below nano editor command.
sudo nano /etc/tmpfiles.d/powerdns-admin.conf
Add the following configuration to the file.
d /run/powerdns-admin 0755 pdns pdns -
Save the file and exit the editor when you are finished.
After added a new systemd service file and new configuration, run the following command to reload the systemd manager and apply new service files on systemd.
sudo systemctl daemon-reload
Now start and enable the PowerDNS-Admin service via the following systemctl command. The PowerDNS-Admin should now be running with gunicorn and open the socket file that is available at the '/run/powerdns-admin/' directory.
sudo systemctl start powerdns-admin.socket powerdns-admin.service
sudo systemctl enable powerdns-admin.socket powerdns-admin.service
Lastly, run the following command to verify the PowerDNS-Admin service and make sure that the service is running.
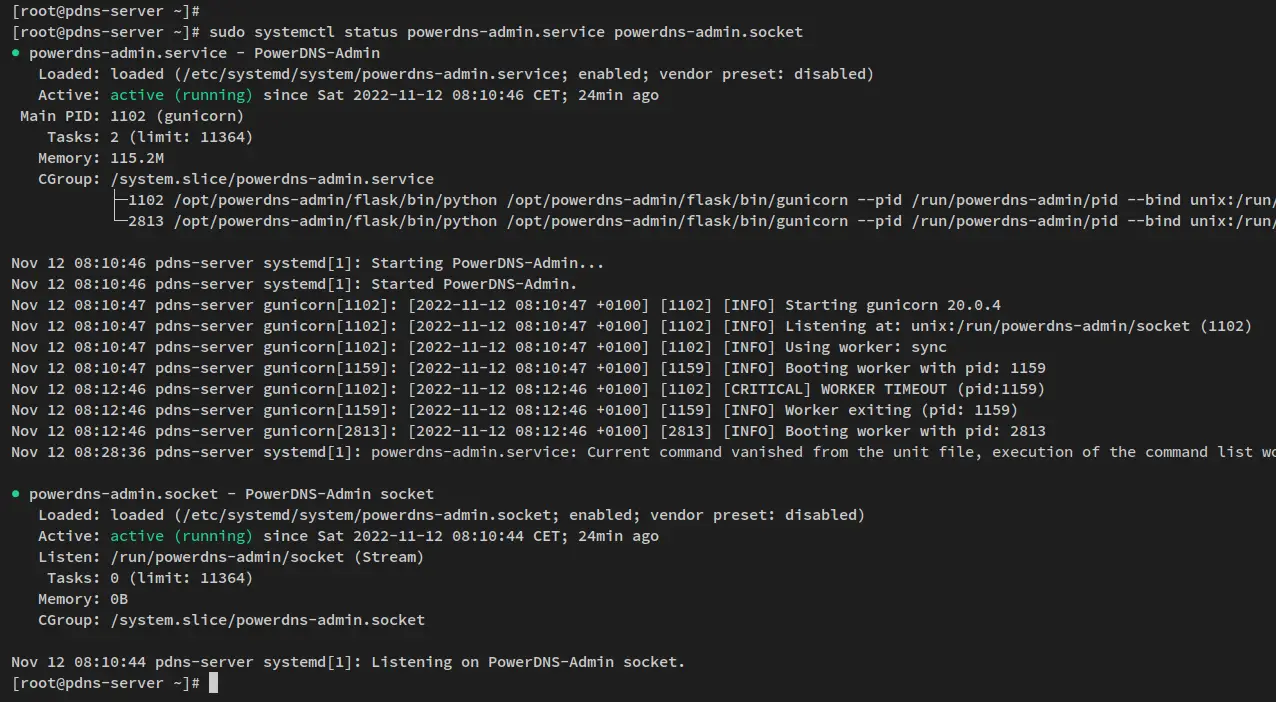
sudo systemctl status powerdns-admin.service powerdns-admin.socket
In the below output, the powerdns-admin.service and the powerdns-admin.socket is running and both are enabled. Both services will be run automatically upon system startup.
Installing Nginx as a Reverse Proxy for PowerDNS-Admin
In this step, you will set up Nginx as a reverse proxy for the PowerDNS-Admin.
Run the following dnf command to install Nginx to your Rocky Linux server. When prompted, input y to confirm and press ENTER to proceed.
sudo dnf install nginx
Next, create a new Nginx server block '/etc/nginx/conf.d/pdns.conf' using the following nano editor.
sudo nano /etc/nginx/conf.d/pdns.conf
Add the following configuration to the file and ensure to change the domain name. This example uses the domain 'pdns.howtoforge.local' for the PowerDNS-Admin.
server {
        listen                  80;
        server_name             pdns.howtoforge.local;
        return 301 https://$http_host$request_uri;
}

server {
        listen                  443 ssl http2;
        server_name              pdns.howtoforge.local;
        index                   index.html index.htm;
        error_log               /var/log/nginx/error_powerdnsadmin.log error;
        access_log              off;

        ssl_certificate                 /etc/letsencrypt/live/pdns.howtoforge.local/fullchain.pem;
        ssl_certificate_key             /etc/letsencrypt/live/pdns.howtoforge.local/privkey.pem;
        #ssl_dhparam                     path_to_your_dhparam.pem;
        ssl_prefer_server_ciphers       on;
        ssl_ciphers                     'EECDH+AESGCM:EDH+AESGCM:AES256+EECDH:AES256+EDH';
        ssl_session_cache               shared:SSL:10m;

        client_max_body_size            10m;
        client_body_buffer_size         128k;
        proxy_redirect                  off;
        proxy_connect_timeout           90;
        proxy_send_timeout              90;
        proxy_read_timeout              90;
        proxy_buffers                   32 4k;
        proxy_buffer_size               8k;
        proxy_set_header                Host $http_host;
        proxy_set_header                X-Scheme $scheme;
        proxy_set_header                X-Real-IP $remote_addr;
        proxy_set_header                X-Forwarded-For $proxy_add_x_forwarded_for;
        proxy_set_header                X-Forwarded-Proto $scheme;
        proxy_headers_hash_bucket_size  64;

        location ~ ^/static/  {
                include         mime.types;
                root            /opt/powerdns-admin/powerdnsadmin;
                location        ~* \.(jpg|jpeg|png|gif)$ { expires 365d; }
                location        ~* ^.+.(css|js)$ { expires 7d; }
        }

        location ~ ^/upload/  {
                include         mime.types;
                root            /opt/powerdns-admin;
                location        ~* \.(jpg|jpeg|png|gif)$ { expires 365d; }
                location        ~* ^.+.(css|js)$ { expires 7d; }
        }

        location / {
                proxy_pass              http://unix:/run/powerdns-admin/socket;
                proxy_read_timeout      120;
                proxy_connect_timeout   120;
                proxy_redirect          http:// $scheme://;
        }
}
Save the file and exit the editor when you are finished.
Next, run the following command to verify the Nginx configuration and ensure that the configuration is correct. You should see the output message such as 'syntax ok - test is successful'.
sudo nginx -t
Now run the following systemctl command to start and enable the Nginx service.
sudo systemctl start nginx
sudo systemctl enable nginx

Lastly, verify the Nginx service via the following command to ensure that the service is running.
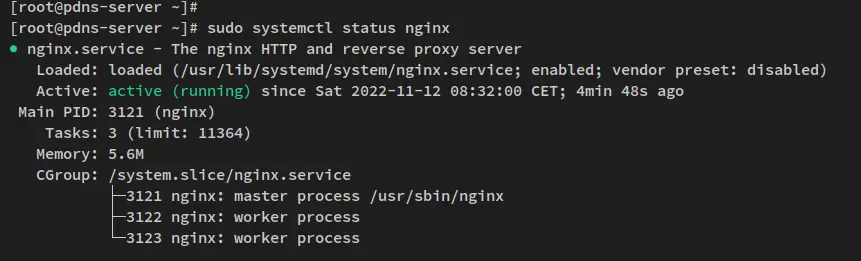
sudo systemctl status nginx
You should see the output that the nginx service is running and it's enabled. With this, the Nginx service will be run automatically upon the system startup.
Accessing PowerDNS-Admin Installation
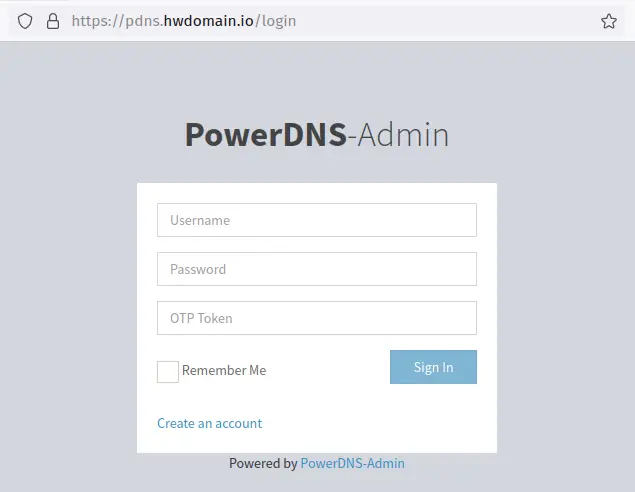
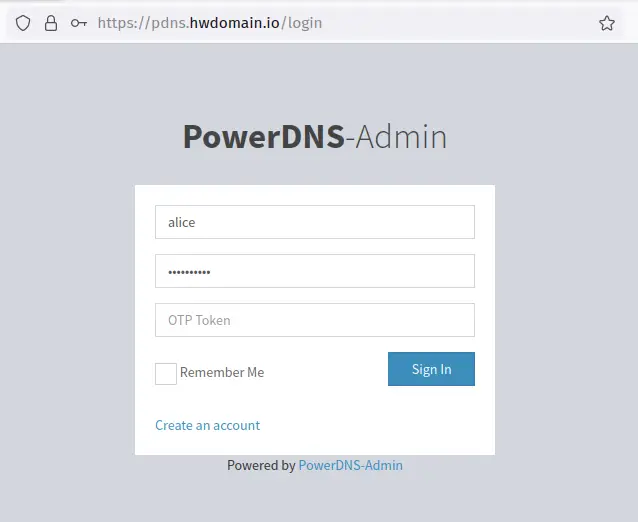
Open the web browser and visit the domain name of your PowerDNS-Admin installation (i.e: https://pdns.howtoforge.local), and you should get the PowerDNS-Admin login page.
Click on the link 'Create an account' to set up a new administrator user for PowerDNS-Admin.
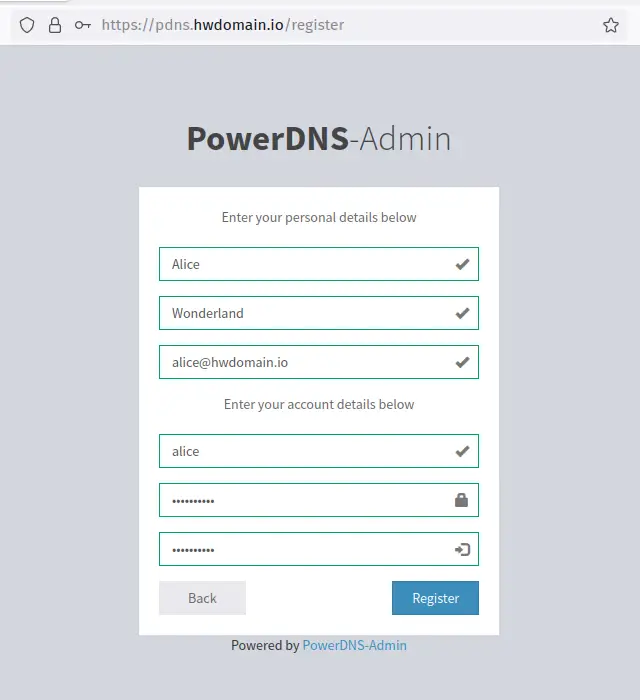
Now input details new user, email, and password. Then click 'Register' to confirm.
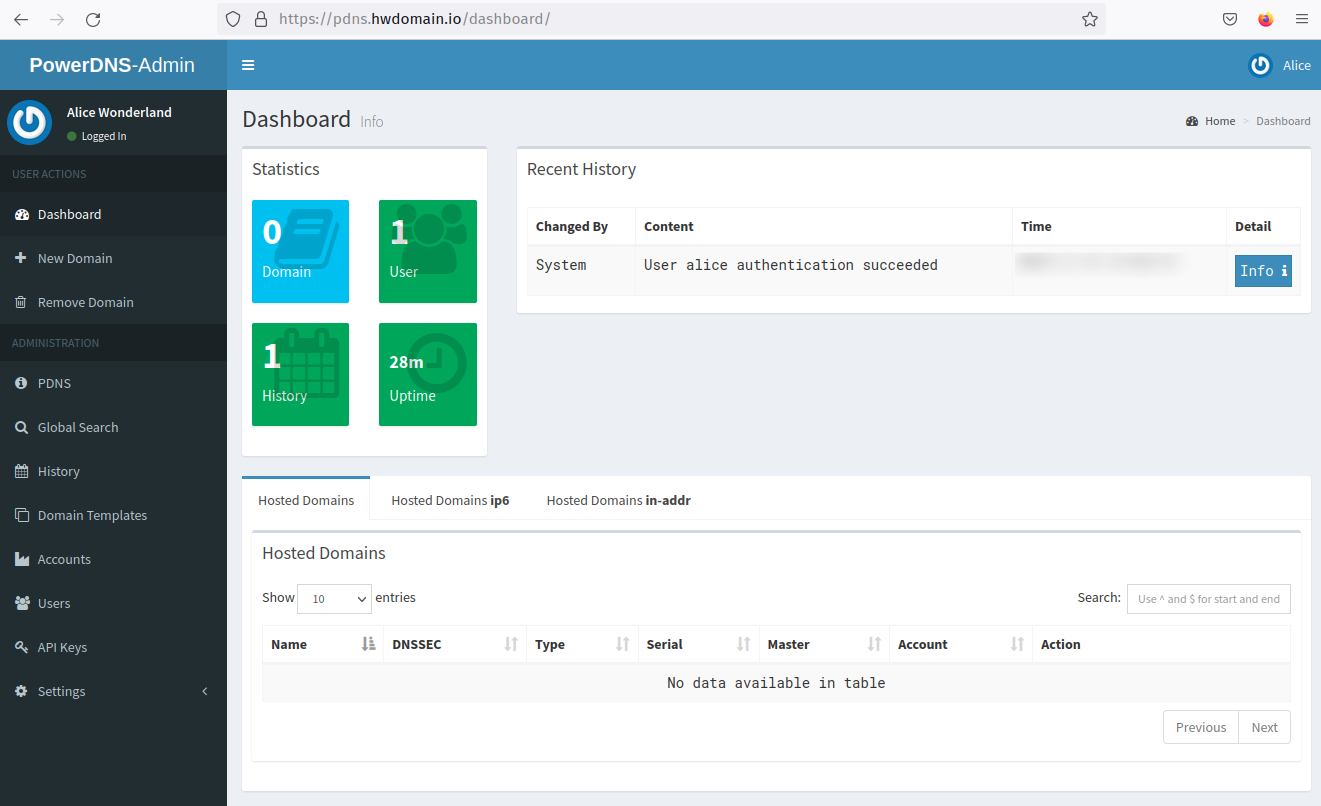
After the administrator user is created, you will be redirected again to the PowerDNS-Admin login page. Log in with your new user admin and password, then click 'Sign In'.
You should now get the PowerDNS-Admin dashboard. The PowerDNS-Admin is running, but still not yet connected to the PowerDNS server.
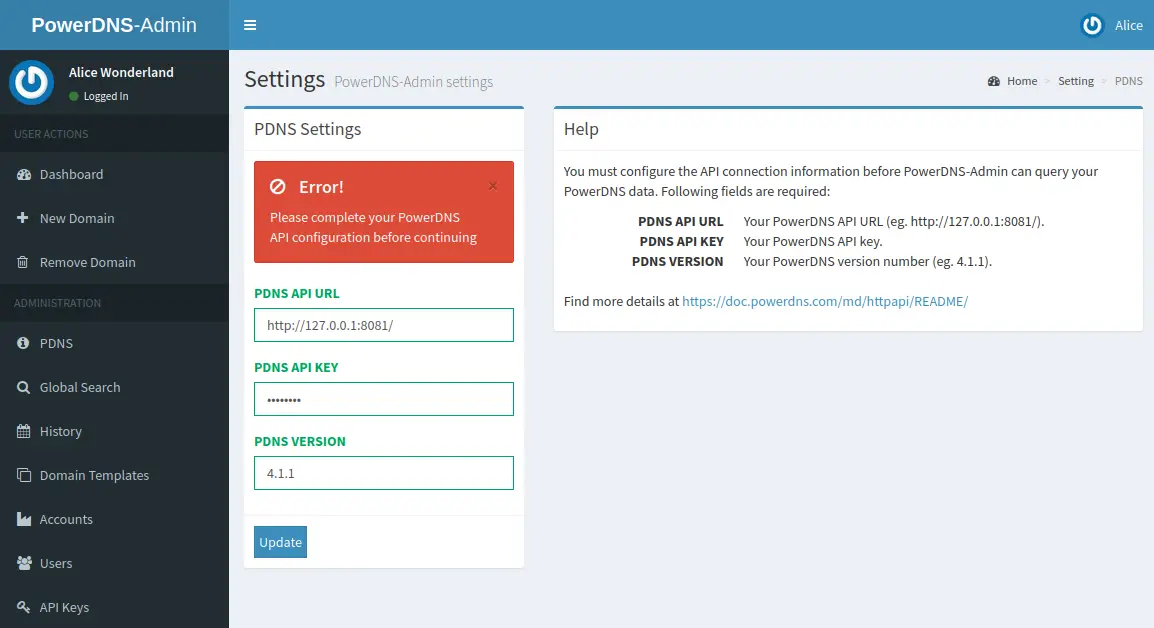
To set up the PowerDNS server with PowerDNS-Admin, you must add the API key that you have configured via the PowerDNS server to the PowerDNS-Admin.
Input the details API of the PowerDNS server to the 'PDNS Settings' section and click 'Update'.
When PowerDNS-Admin and the PowerDNS server are connected via API, your dashboard should look like the following screenshot.
From here, you can now easily add new DNS records or modify existing DNS records easily via the PowerDNS-Admin dashboard.
Conclusion
In this guide, you learned how to install a PowerDNS server with MySQL/MariaDB database on a Rocky Linux server. You also learned the basic deployment of the MariaDB database on Rocky Linux. Lastly, you learned the install and configure the PowerDNS-Admin that will be used as the web-based management tool for the PowerDNS server. The PowerDNS-Admin runs with Nginx as the reverse proxy and MariaDB database backend.
With the PowerDNS server and PowerDNS-Admin running, you can now manage your DNS server via the web administration dashboard. You can add, edit, or delete DNS records via the PowerDNS-Admin administration dashboard.

