How to Install Nextcloud on Ubuntu 24.04 Server
Nextcloud is open-source software for public and private file storage. It allows you to create self-hosted services like Dropbox, Google Drive, or Mega.nz. Initially, it was created by the original Owncloud developer, Frank Karlitschek. In 2016, he forked the Owncloud project and created a new project with the new name “Nextcloud.”
Nextcloud project is growing rapidly and becoming more than file hosting software. It’s more like a file sync and content collaboration platform. Backed with many plugins, Nextcloud has become such a powerful collaboration software. You can install plugins for project management, video conferencing, collaborative editing, note-taking, email client, etc.
This tutorial teaches you how to install Nextcloud on an Ubuntu 24.04 server. You’ll install Nextcloud with the LAMP Stack and then secure Netxcloud with HTTPS through Certbot and Letsencrypt.
Prerequisites
Before you start, make sure you have the following:
- An Ubuntu 24.04 server
- A non-root user with administrator privileges
- A domain name pointed to server IP address
- A UFW (Uncomplicated Firewall) is up and running
Installing Dependencies
In this section, you’ll install package dependencies for Nextcloud. You’ll run Nextcloud with the LAMP Stack, using curl to download Nextcloud source code, then using Certbot and Letsencrypt to secure nextcloud with HTTPS.
Before you start, run the command below to update your Ubuntu package index
sudo apt update
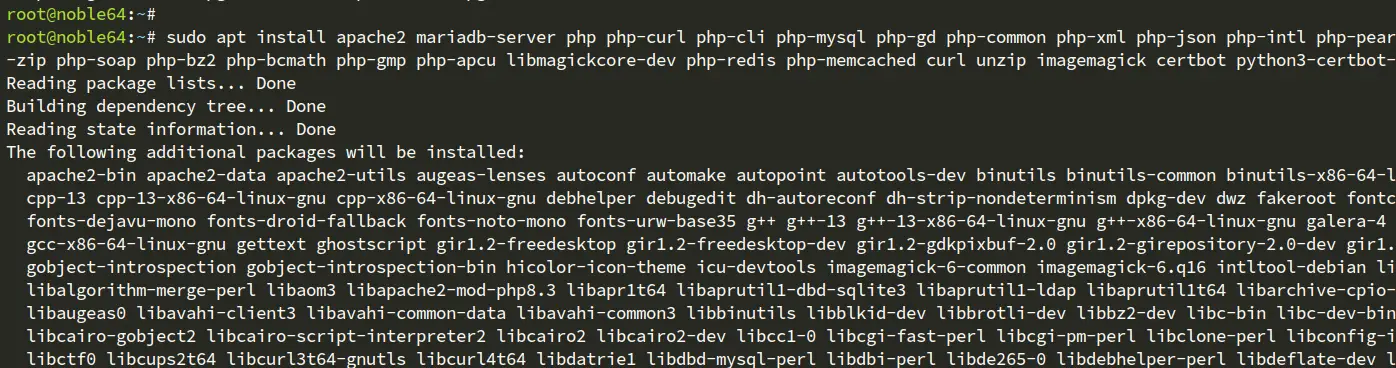
Now, install Nextcloud dependencies with the following apt install command. This will install the LAMP Stack (Linux, Apache, MySQL/MariaDB, and PHP), curl, unzip, ImageMagick, and certbot.
sudo apt install apache2 mariadb-server php php-curl php-cli php-mysql php-gd php-common php-xml php-json php-intl php-pear php-imagick php-dev php-common php-mbstring php-zip php-soap php-bz2 php-bcmath php-gmp php-apcu libmagickcore-dev php-redis php-memcached curl unzip imagemagick certbot python3-certbot-apache
Input Y to confirm the installation.
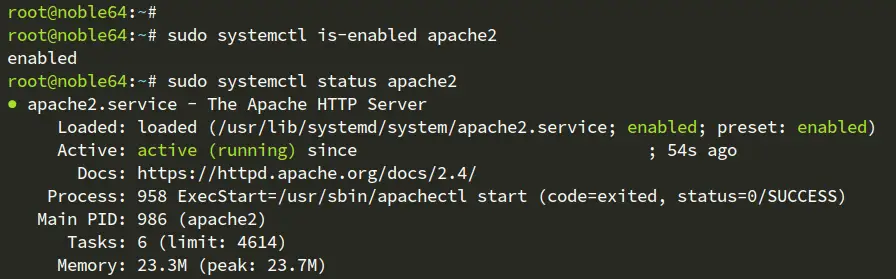
After the installation, check the Apache web server status using the command below. You’ll see the Apache web server is running and enabled.
sudo systemctl is-enabled apache2
sudo systemctl status apache2
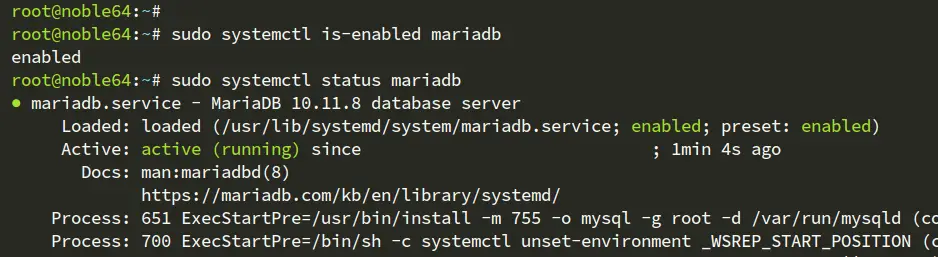
Now check the MariaDB server status with the following command. You should get a similar output as the MariaDB is running.
sudo systemctl is-enabled mariadb
sudo systemctl status mariadb
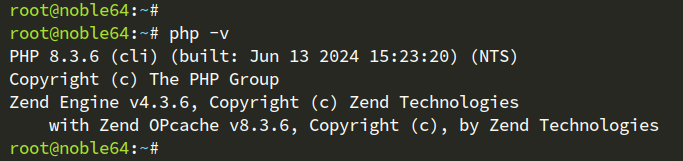
Lastly, run the command below to check your system's PHP version. You’ll see that PHP 8.3 is installed.
php -v
Configuring PHP
After you’ve installed dependencies, you’ll configure PHP by editing the php.ini file. You may adjust the PHP configuration as needed for some options, such as the max memory limit and max upload size.
Open the file /etc/php/8.3/apache2/php.ini with the nano editor.
sudo nano /etc/php/8.3/apache2/php.ini
Change the default configuration with the following, and make sure to adjust the memory_limit with your max memory and the date.timezone with your server location/timezone.
date.timezone = Europe/Amsterdam
memory_limit = 512M
upload_max_filesize = 500M
post_max_size = 600M
max_execution_time = 300
file_uploads = On
allow_url_fopen = On
display_errors = Off
output_buffering = Off
When finished, save the file and exit.
Now run the following systemctl command below to restart the Apache web server and apply your new PHP configuration.
sudo systemctl restart apache2
Configuring MariaDB Server
Now that you’ve configured PHP, you’ll configure the MariaDB server and create a new database and user for Nextcloud. You’ll secure MariaDB with the mariadb-secure-installation utility, then create a new database and user through the mariadb client.
To secure the MariaDB server, run the mariadb-secure-installation command below.
sudo mariadb-secure-installation
During the process, you’ll be asked about the following MariaDB server configurations:
- Press ENTER when asked for the MariaDB root password.
- Input n when asked about the unix_socket authentication method.
- Input Y to set up a new password for the MariaDB root user. Then, input the new password and repeat.
- Input Y to remove the default anonymous user from MariaDB.
- Then, input Y again to disable remote login for the MariaDB root user.
- Input Y to remove the default database test from MariaDB.
- Lastly, input Y again to reload table privileges and apply the changes.
Next, run the mariadb client command below to log in to the MariaDB server. Enter your root password when prompted.
sudo mariadb -u root -p
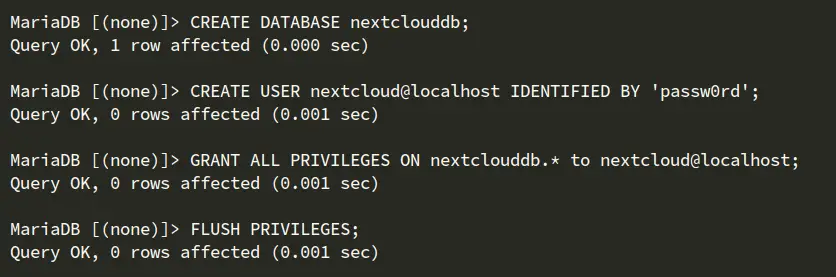
Run the following queries to create a new database nextclouddb, a user nextcloud@localhost, with the password passw0rd. You can adjust the database details with your information.
CREATE DATABASE nextclouddb;
CREATE USER nextcloud@localhost IDENTIFIED BY 'passw0rd';
GRANT ALL PRIVILEGES ON nextclouddb.* to nextcloud@localhost;
FLUSH PRIVILEGES;
Now run the query below to ensure that user nextcloud@localhost can access the database nextclouddb.
SHOW GRANTS FOR nextcloud@localhost;
You’ll see an output like the following:
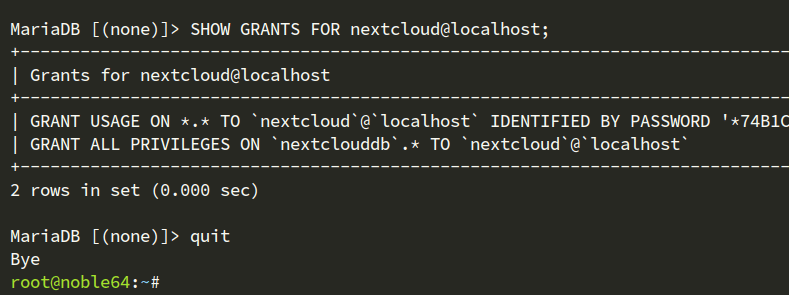
Type quit to exit from the MariaDB server.
Opening HTTP and HTTPS ports
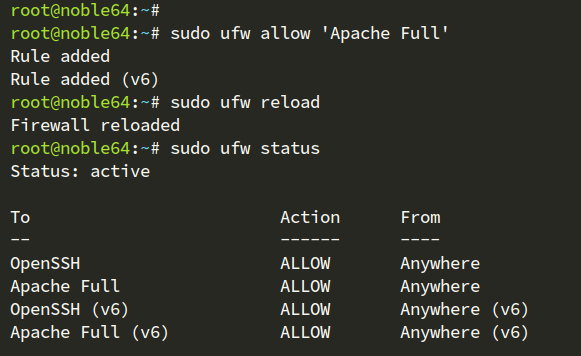
In this section, you’ll open the HTTP and HTTPS ports to allow access to the Nextcloud. So you must ensure that UFW is configured and enabled on your Ubuntu server.
To open both HTTP and HTTPS ports on Ubuntu, execute the ufw command below. With the Apache Full profile, you’ll allow connections to the HTTP and HTTPS ports.
sudo ufw allow 'Apache Full'
sudo ufw reload
Now verify the list rules on UFW with the command below. Make sure that the Apache Full profile is enabled on your Ubuntu server.
sudo ufw status
Downloading Nextcloud
Now that you’ve configured PHP, MariaDB, and UFW, you’ll download the Nextcloud source code and set up the document root directory for Nextcloud installation.
Go to the /var/www directory and download the Nextcloud source code with the curl command below.
cd /var/www/
sudo curl -o nextcloud.zip https://download.nextcloud.com/server/releases/latest.zip
Once downloaded, run the unzip command below to extract Nextcloud. This will set the Netxcloud root directory to /var/www/nextcloud.
sudo unzip nextcloud.zip
Now run the command below to change the ownership of the /var/www/nextcloud directory to the user www-data.
sudo chown -R www-data:www-data /var/www/nextcloud

Setting up Apache virtual host for Nextcloud
After downloading Nextcloud, you’ll create a new Apache virtual host for Nextcloud. Then, you’ll generate SSL certificates and secure Nextcloud with HTTPS.
Create a new Apache virtual host configuration /etc/apache2/sites-available/nextcloud.conf with the following nano editor.
sudo nano /etc/apache2/sites-available/nextcloud.conf
Insert the configuration below and make sure to change the domain name nextcloud.howtoforge.local.
<VirtualHost *:80>
 ServerName nextcloud.howtoforge.local
 DocumentRoot /var/www/nextcloud/

 # log files
 ErrorLog /var/log/apache2/nextclouds.howtoforge.local-error.log
 CustomLog /var/log/apache2/nextcloud.howtoforge.local-access.log combined

 <Directory /var/www/nextcloud/>
 Options +FollowSymlinks
 AllowOverride All

 <IfModule mod_dav.c>
 Dav off
 </IfModule>

 SetEnv HOME /var/www/nextcloud
 SetEnv HTTP_HOME /var/www/nextcloud
 </Directory>
</VirtualHost>
When done, save the file and exit the editor.
Now run the command below to activate the virtual host file nextcloud.conf and verify your Apache syntax. If you've proper Apache syntax, you’ll get an output Syntax is OK.
sudo a2ensite nextcloud.conf
sudo apachectl configtest
Next, run the systemctl command below to restart the Apache web server and apply your changes.
sudo systemctl restart apache2

Once Apache restarted, run the certbot command below to generate SSL certificates and secure your Nextcloud installation with HTTPS. Make sure to change the domain name and email address with your information.
sudo certbot --apache --agree-tos --redirect --hsts --staple-ocsp --email [email protected] -d nextcloud.howtoforge.local
Installing Nextcloud
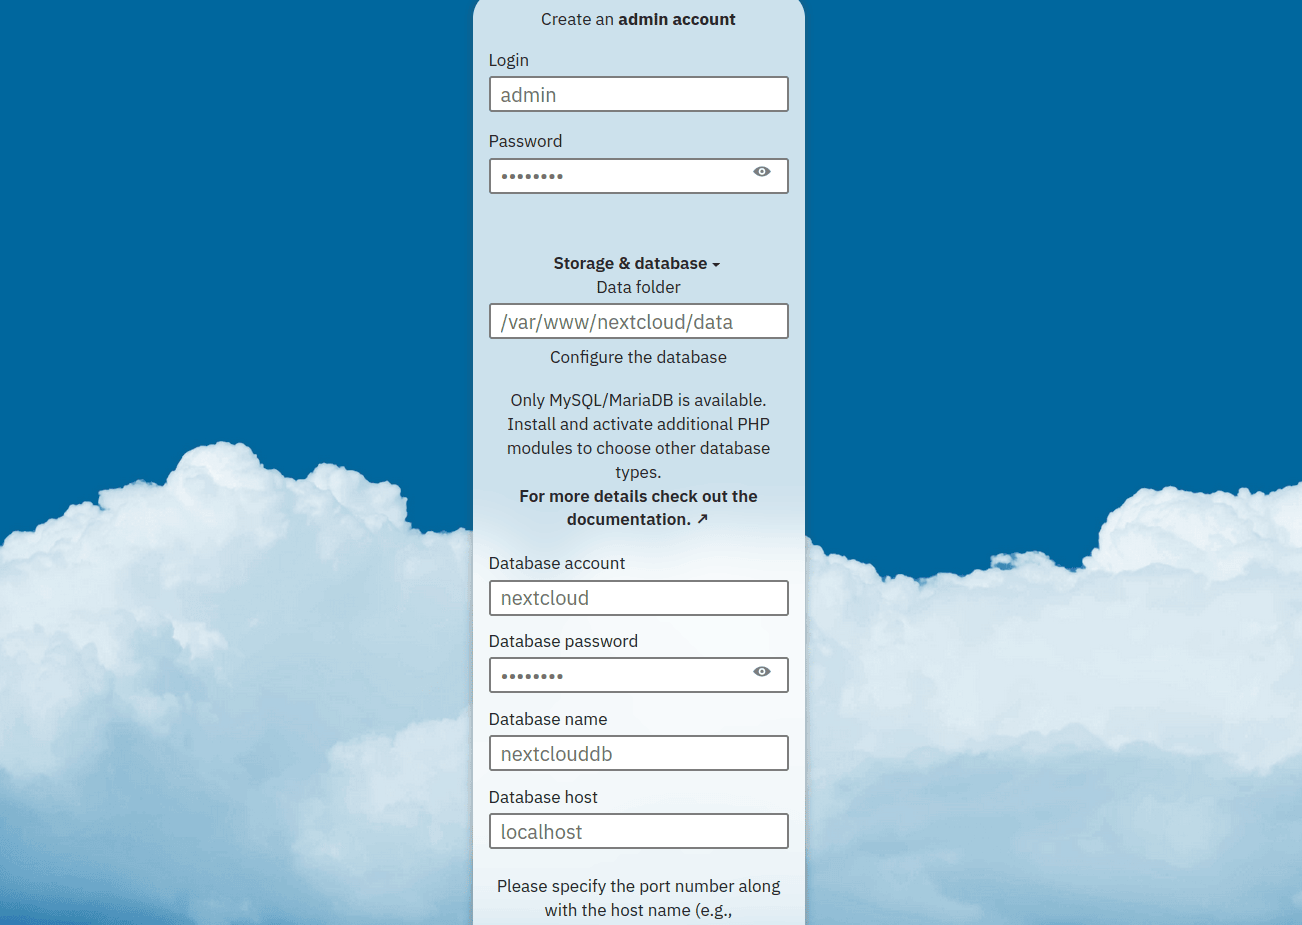
Open your web browser and visit https://nexcloud.howtoforge.local/. If your configuration is successful, you’ll see the Nextcloud installation page.
On the Nextcloud installation page, configure the following:
- Input your admin user and password for Nextcloud
- Select the storage path as the default directory
- Input Nextcloud database details that you’ve created
- Click Install to start the installation.
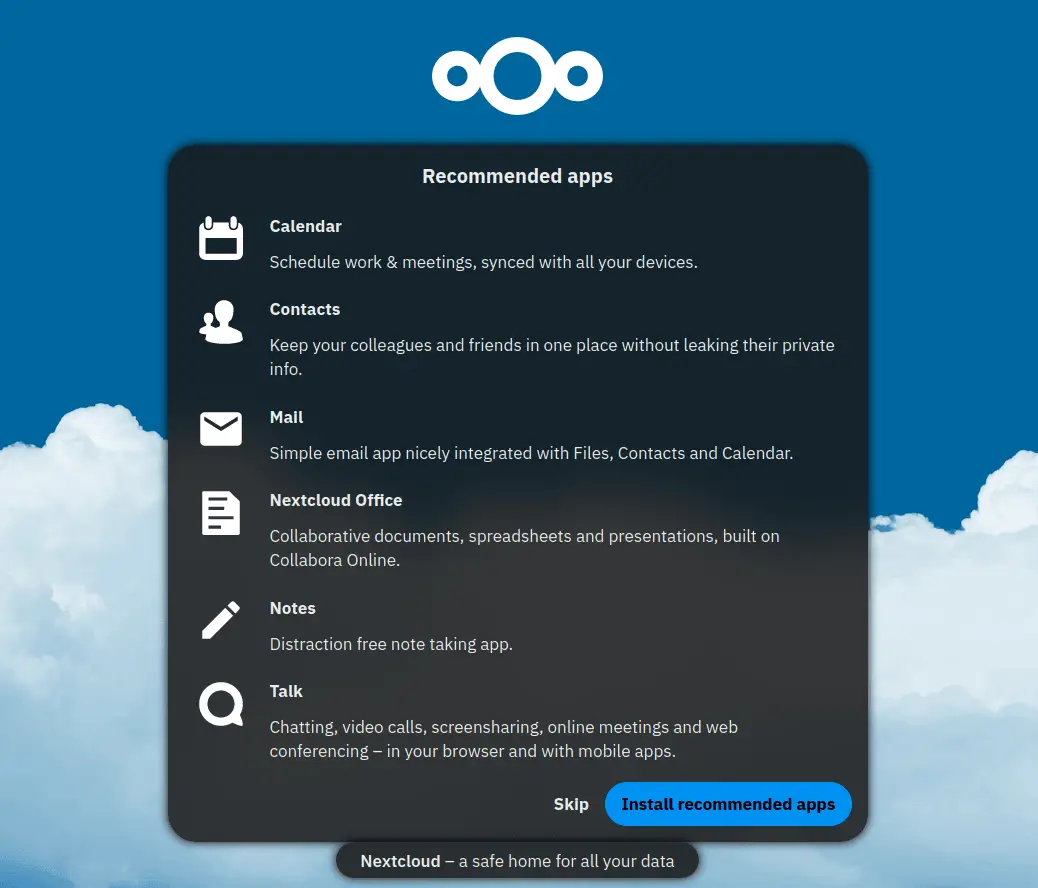
You can now install some Nextcloud applications or click Skip.
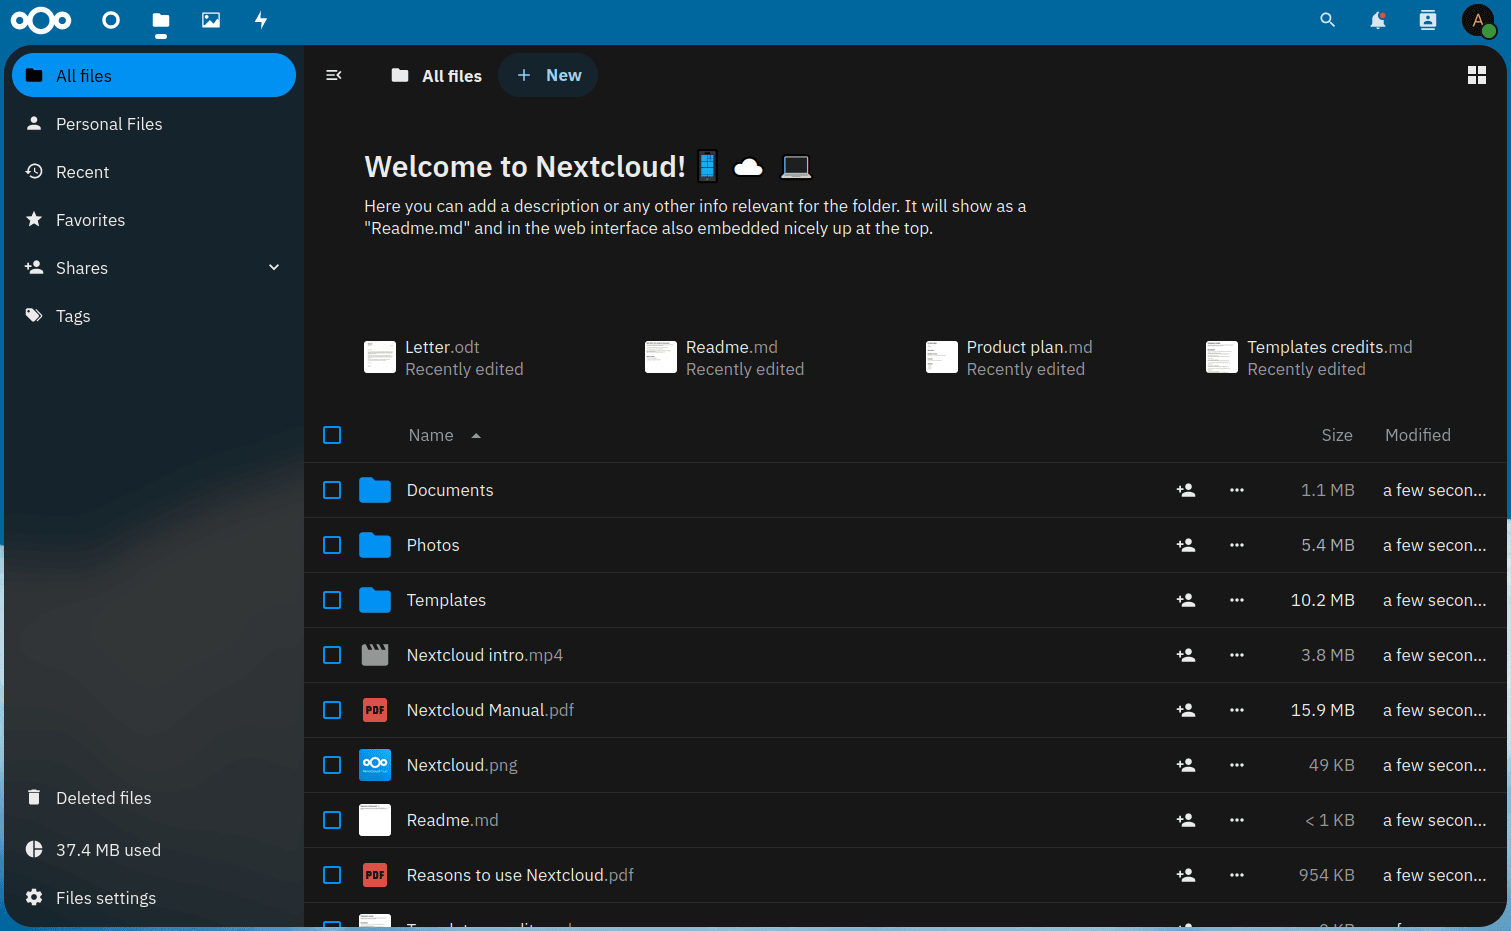
After the process is complete, you’ll see the following page:
Conclusion
Congratulations! You’ve completed the Nextcloud installation on the Ubuntu 24.04 server. Nextcloud is up and running with the LAMP Stack and secured with HTTPS through Certbot and Letsencrypt. You can now create new users and upload files to your Nextcloud, or you can add new caching methods to improve its performance.

