How to Install Moodle with Nginx and Free Let's Encrypt SSL on Ubuntu 22.04
This tutorial exists for these OS versions
- Ubuntu 24.04 (Noble Numbat)
- Ubuntu 22.04 (Jammy Jellyfish)
- Ubuntu 20.04 (Focal Fossa)
- Ubuntu 16.04 (Xenial Xerus)
On this page
Moodle is a free and open-source Learning Management System and CMS written in PHP. It allows tutors and instructors to create courses for their students and provides long-distance education and other online learning programs more accessible. Moodle offers a simple, user-friendly and custom dashboard that helps users access current, past, or future courses and review pending work. It is designed for teachers and educators who aim to provide technology-savvy education.
This tutorial will show you how to install Moodle with Nginx and Let's Encrypt SSL on Ubuntu 22.04.
Prerequisites
- A server running Ubuntu 22.04.
- A valid domain name pointed with your server IP.
- A root password is configured on the server.
Getting Started
First, you must update your system packages to the latest version. You can update all of them by running the following command:
apt-get update -y
Once your server is updated, you can proceed to the next step.
Install Nginx, MariaDB, and PHP
Before starting, you will need to install the Apache, MariaDB, PHP, and other PHP libraries to your system. First, install the Apache and MariaDB server using the following command:
apt-get install nginx mariadb-server -y
By default, Ubuntu 22.04 ships with PHP 8.1 version, and Moodle does not support this PHP version. So you will need to install PHP 7.4 on your server.
First, install all the required dependencies using the following command:
apt install software-properties-common ca-certificates lsb-release apt-transport-https -y
Next, add the PHP repository to your server with the following command:
add-apt-repository ppa:ondrej/php
Next, update the repository using the following command:
apt update
Once the repsoitory is updated, install PHP with other required extensions using the following command:
apt install php7.4 php7.4-fpm php7.4-common php7.4-mysql php7.4-gmp php7.4-curl php7.4-intl php7.4-mbstring php7.4-soap php7.4-xmlrpc php7.4-gd php7.4-xml php7.4-cli php7.4-zip unzip git curl -y
Once all the packages are installed, edit the php.ini file and change some settings:
nano /etc/php/7.4/fpm/php.ini
Change the following lines:
memory_limit = 256M
max_input_vars = 6000

cgi.fix_pathinfo = 0
upload_max_filesize = 100M
max_execution_time = 360
date.timezone = UTC
Save and close the file, then restart the PHP-FPM service to apply the changes:
systemctl restart php7.4-fpm
Once you are finished, you can proceed to the next step.
Create a Database for Moodle
Moodle uses MySQL or MariaDB as a database backend, so you will need to create a database and user for Moodle.
First, connect to the MySQL shell with the following command:
mysql
Once login, create a database and user with the following command:
CREATE DATABASE moodledb;
CREATE USER 'moodle'@'localhost' IDENTIFIED BY 'password';
Next, grant all the privileges to the Moodle database with the following command:
GRANT ALL ON moodledb.* TO 'moodle'@'localhost' WITH GRANT OPTION;
Next, flush the privileges and exit from MySQL with the following command:
FLUSH PRIVILEGES;
EXIT;
Next, edit the MariaDB default configuration file and define the innodb_file_format:
nano /etc/mysql/mariadb.conf.d/50-server.cnf
Add the following lines inside the [mysqld] section:
[mysqld]
innodb_file_format = Barracuda
innodb_file_per_table = 1
innodb_large_prefix = ON
Save the file, then restart the MariaDB service to apply the changes:
systemctl restart mariadb
Install Moodle on Ubuntu 22.04
First, change the directory to the Apache root directory and download the latest version of Moodle with the following command:
cd /var/www/html
git clone -b MOODLE_400_STABLE git://git.moodle.org/moodle.git moodle
Next, set proper permission and ownership to the Moodle:
mkdir -p /var/www/html/moodledata
chown -R www-data:www-data /var/www/html/moodle
chmod -R 755 /var/www/html/*
chown www-data:www-data /var/www/html/moodledata
Once you are finished, you can proceed to the next step.
Configure Nginx for Moodle
Next, you will need to create an Nginx virtual host configuration file to host Moodle:
nano /etc/nginx/conf.d/moodle.conf
Add the following lines:
server {
    listen 80;
    root /var/www/html/moodle;
    index  index.php index.html index.htm;
    server_name  moodle.example.com;

    client_max_body_size 100M;
    autoindex off;
    location / {
        try_files $uri $uri/ =404;
    }

    location /dataroot/ {
      internal;
      alias /var/www/html/moodledata/;
    }

    location ~ [^/].php(/|$) {
        include snippets/fastcgi-php.conf;
        fastcgi_pass unix:/run/php/php7.4-fpm.sock;
        fastcgi_param SCRIPT_FILENAME $document_root$fastcgi_script_name;
        include fastcgi_params;
    }
}
Save and close the file, then verify the Nginx for any syntax error with the following command:
nginx -t
You should get the following output:
nginx: the configuration file /etc/nginx/nginx.conf syntax is ok
nginx: configuration file /etc/nginx/nginx.conf test is successful
Finally, restart the Nginx service to apply the changes:
systemctl restart nginx
You can also check the status of the Nginx service using the following command:
systemctl status nginx
You should see the following output:
? nginx.service - A high performance web server and a reverse proxy server
     Loaded: loaded (/lib/systemd/system/nginx.service; enabled; vendor preset: enabled)
     Active: active (running) since Mon 2022-07-18 07:08:50 UTC; 26s ago
       Docs: man:nginx(8)
    Process: 51379 ExecStartPre=/usr/sbin/nginx -t -q -g daemon on; master_process on; (code=exited, status=0/SUCCESS)
    Process: 51382 ExecStart=/usr/sbin/nginx -g daemon on; master_process on; (code=exited, status=0/SUCCESS)
   Main PID: 51383 (nginx)
      Tasks: 3 (limit: 4579)
     Memory: 3.6M
        CPU: 64ms
     CGroup: /system.slice/nginx.service
             ??51383 "nginx: master process /usr/sbin/nginx -g daemon on; master_process on;"
             ??51384 "nginx: worker process" "" "" "" "" "" "" "" "" "" "" "" "" "" "" "" "" "" "" "" "" "" "" "" "" "" "" ""
             ??51385 "nginx: worker process" "" "" "" "" "" "" "" "" "" "" "" "" "" "" "" "" "" "" "" "" "" "" "" "" "" "" ""

Jul 18 07:08:50 ubuntu2204 systemd[1]: Starting A high performance web server and a reverse proxy server...
Jul 18 07:08:50 ubuntu2204 systemd[1]: Started A high performance web server and a reverse proxy server.
At this point, Nginx is configured to host Moodle. You can now proceed to the next step.
Access Moodle Web Interface
Now, open your web browser and access the Moodle web interface using the URL http://moodle.example.com. You should see the Moodle installation page:
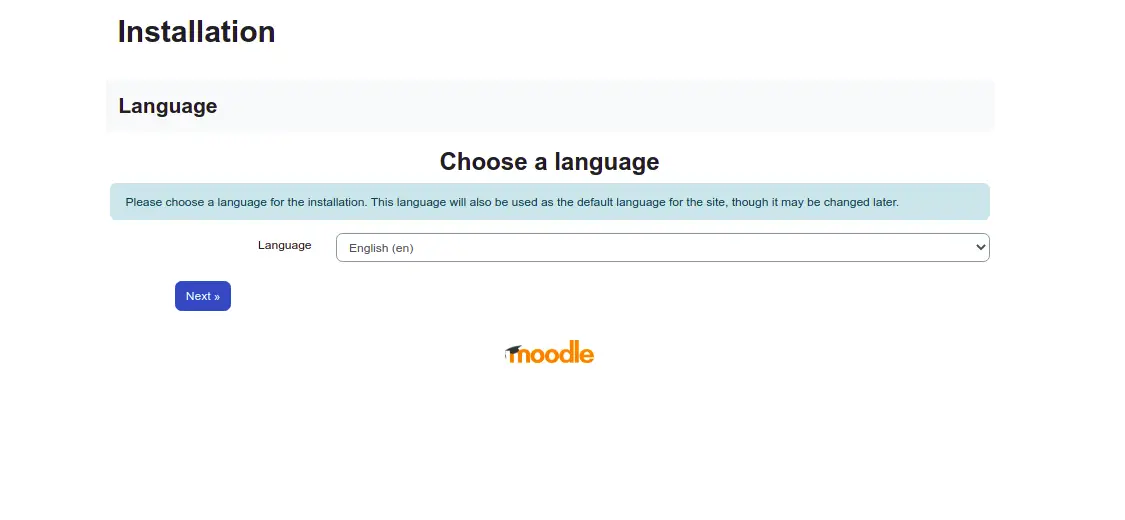
Select your language and click on Next. You should see the following page:
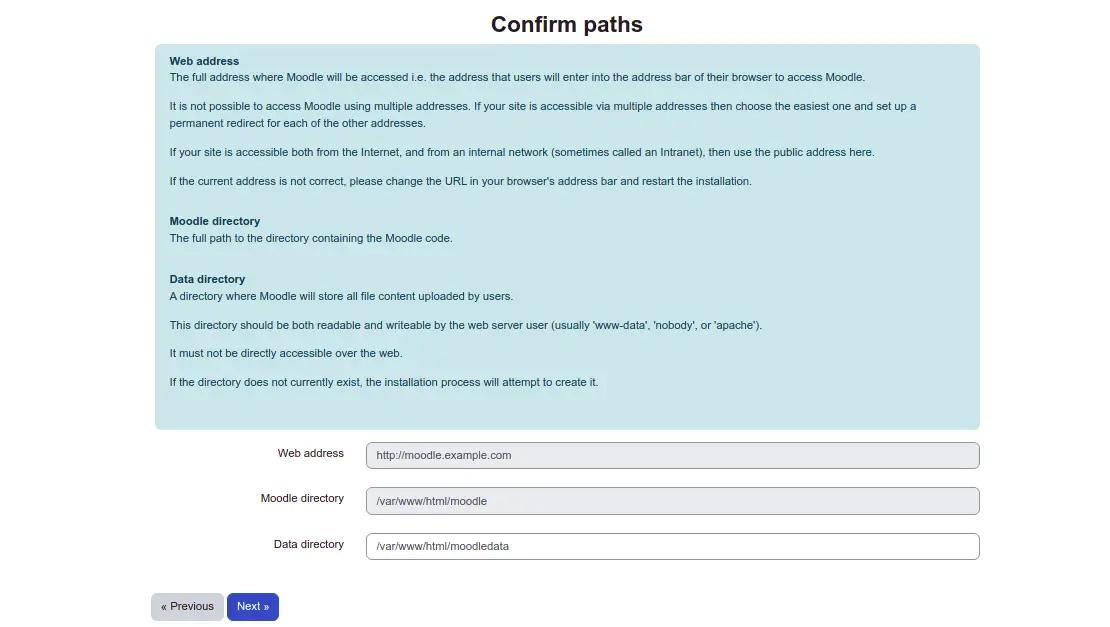
Provide your Moodle web address, directory path, data directory path, and click on Next. You should see the following page:
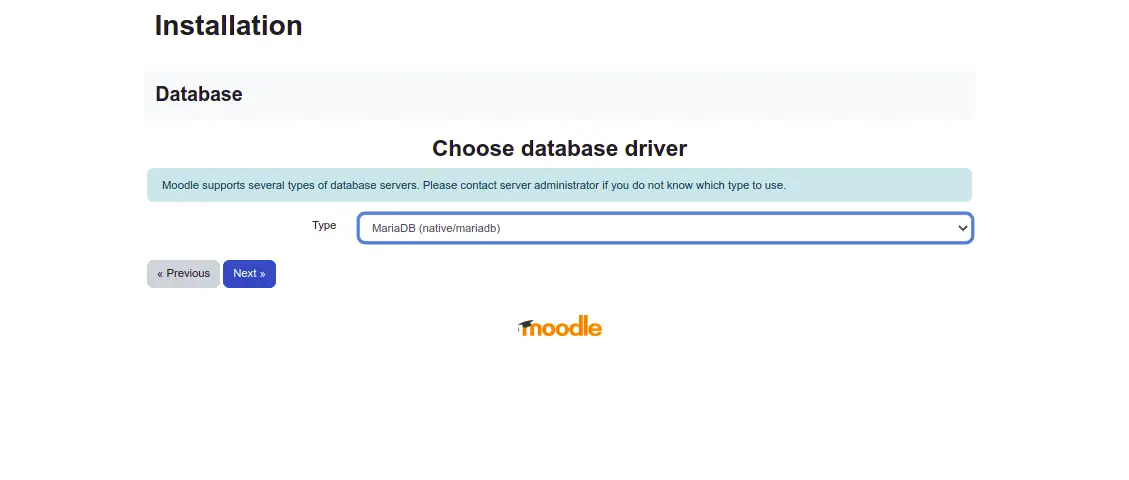
Select your database driver type and click on Next. You should see the following page:
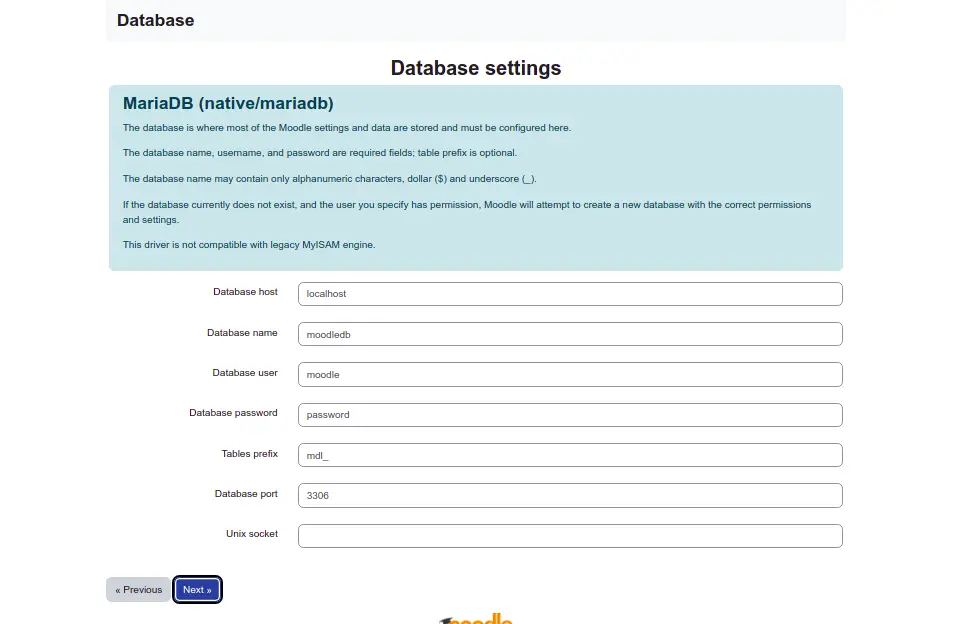
Provide your database host, database name, username, password, and click on Next. You should see the following page:
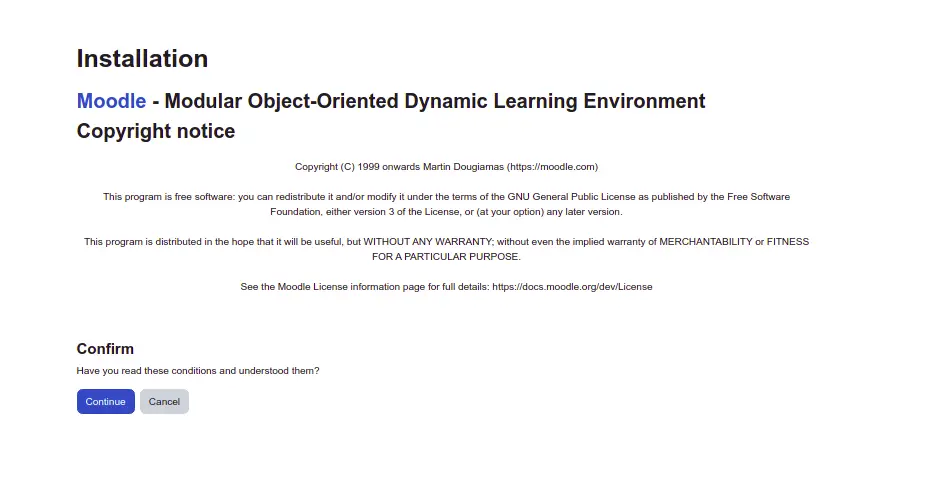
Click on the Continue to confirm all conditions. You should see the following page:
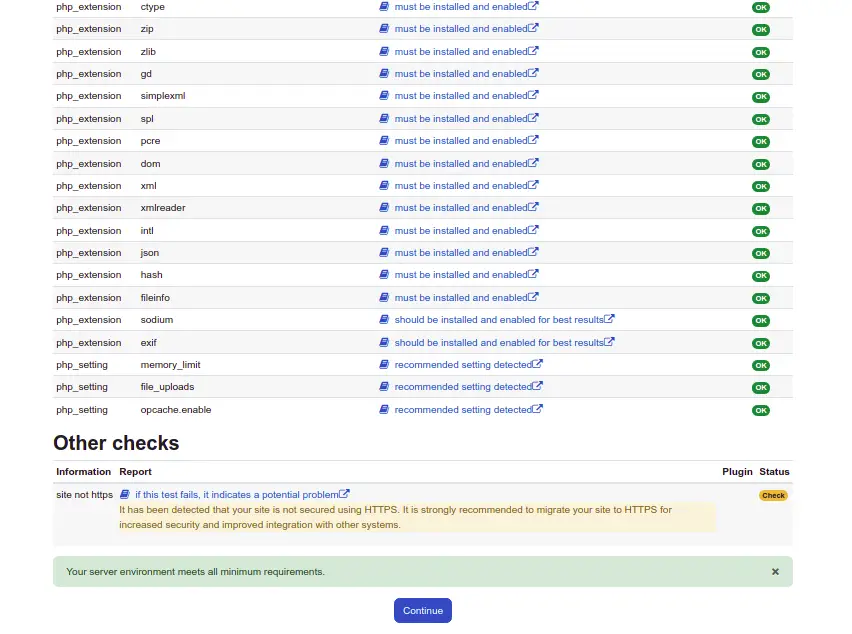
Make sure all required PHP extensions are installed, then click on Continue. You should see the following page:
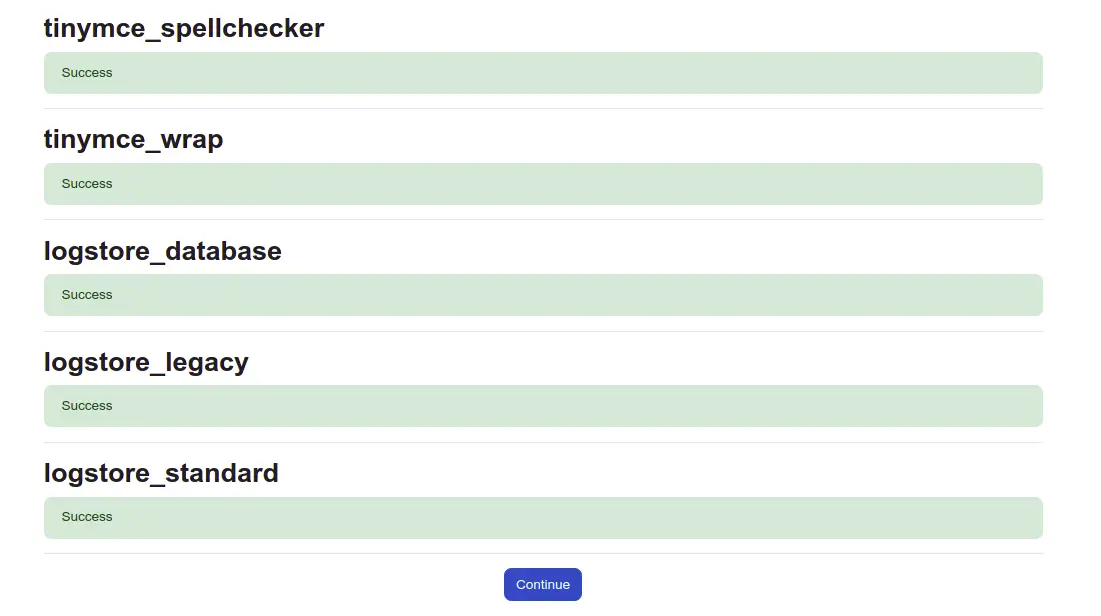
Click on the Continue. You should see the following page:
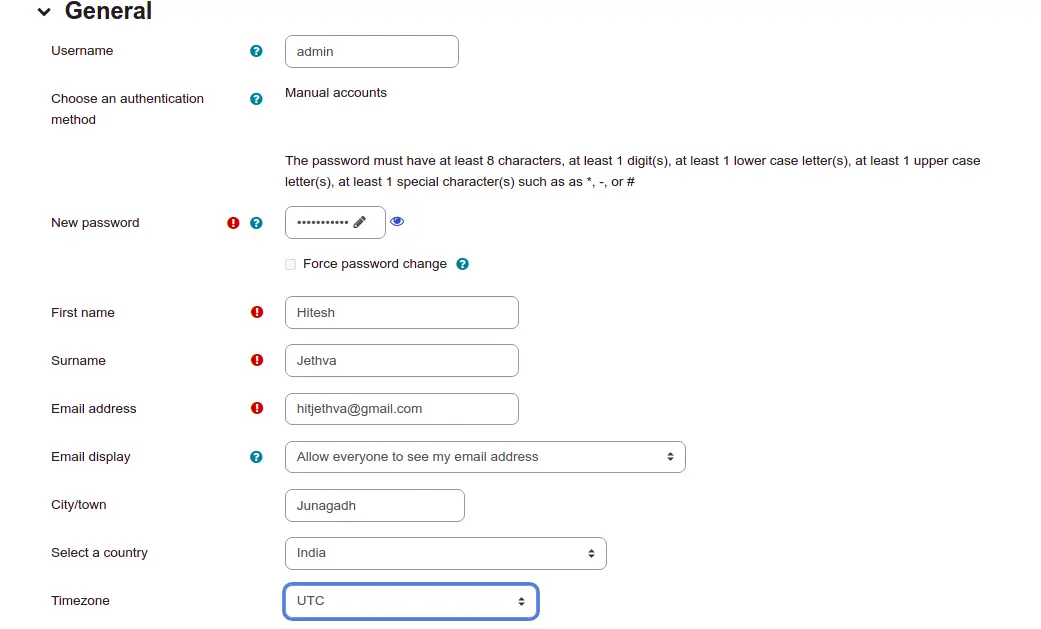
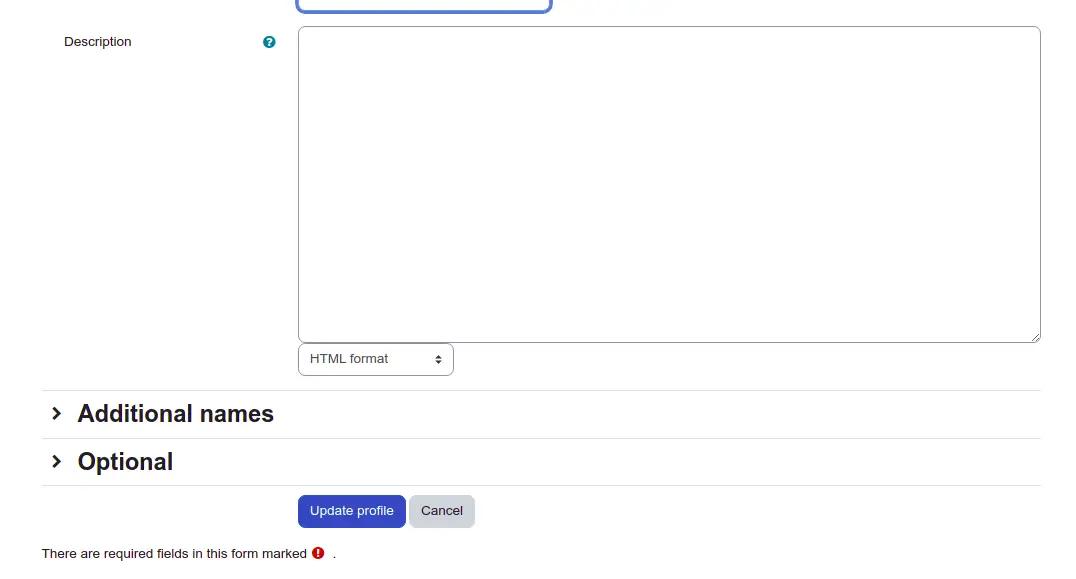
Provide your admin username, password, email, country, timezone and click on the Update profile. You should see the following page:

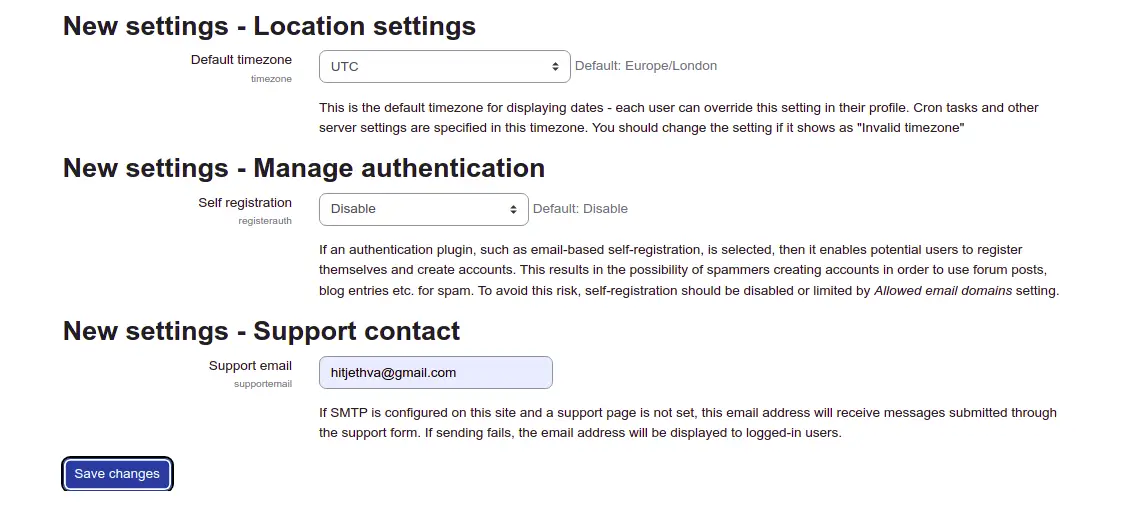
Provide your front page settings and click on the Save changes button to save the changes.
Secure Moodle with Let's Encrypt SSL
Next, you will need to install the Certbot tool to download Let's Encrypt SSL and configure Nginx to use this SSL.
First, install the Certbot with the following command:
apt-get install python3-certbot-nginx -y
Once installed, run the following command to download all SSL and configure Nginx to use it:
certbot --nginx -d moodle.example.com
You will be asked to provide a valid email address and accept the term of service as shown below:
Saving debug log to /var/log/letsencrypt/letsencrypt.log
Plugins selected: Authenticator nginx, Installer nginx
Enter email address (used for urgent renewal and security notices) (Enter 'c' to
cancel): [email protected]

- - - - - - - - - - - - - - - - - - - - - - - - - - - - - - - - - - - - - - - -
Please read the Terms of Service at
https://letsencrypt.org/documents/LE-SA-v1.2-November-15-2017.pdf. You must
agree in order to register with the ACME server at
https://acme-v02.api.letsencrypt.org/directory
- - - - - - - - - - - - - - - - - - - - - - - - - - - - - - - - - - - - - - - -
(A)gree/(C)ancel: A

- - - - - - - - - - - - - - - - - - - - - - - - - - - - - - - - - - - - - - - -
Would you be willing to share your email address with the Electronic Frontier
Foundation, a founding partner of the Let's Encrypt project and the non-profit
organization that develops Certbot? We'd like to send you email about our work
encrypting the web, EFF news, campaigns, and ways to support digital freedom.
- - - - - - - - - - - - - - - - - - - - - - - - - - - - - - - - - - - - - - - -
(Y)es/(N)o: Y
Obtaining a new certificate
Performing the following challenges:
http-01 challenge for moodle.example.com
Waiting for verification...
Cleaning up challenges
Deploying Certificate to VirtualHost /etc/nginx/conf.d/moodle.conf
Next, choose whether or not to redirect HTTP traffic to HTTPS as shown below:
Please choose whether or not to redirect HTTP traffic to HTTPS, removing HTTP access.
- - - - - - - - - - - - - - - - - - - - - - - - - - - - - - - - - - - - - - - -
1: No redirect - Make no further changes to the webserver configuration.
2: Redirect - Make all requests redirect to secure HTTPS access. Choose this for
new sites, or if you're confident your site works on HTTPS. You can undo this
change by editing your web server's configuration.
- - - - - - - - - - - - - - - - - - - - - - - - - - - - - - - - - - - - - - - -
Select the appropriate number [1-2] then [enter] (press 'c' to cancel): 2
Type 2 and hit Enter to continue. You should see the following output:
Redirecting all traffic on port 80 to ssl in /etc/nginx/conf.d/moodle.conf

- - - - - - - - - - - - - - - - - - - - - - - - - - - - - - - - - - - - - - - -
Congratulations! You have successfully enabled https://moodle.example.com

You should test your configuration at:
https://www.ssllabs.com/ssltest/analyze.html?d=moodle.example.com
- - - - - - - - - - - - - - - - - - - - - - - - - - - - - - - - - - - - - - - -

IMPORTANT NOTES:
 - Congratulations! Your certificate and chain have been saved at:
   /etc/letsencrypt/live/moodle.example.com/fullchain.pem
   Your key file has been saved at:
   /etc/letsencrypt/live/moodle.example.com/privkey.pem
   Your cert will expire on 2022-10-19. To obtain a new or tweaked
   version of this certificate in the future, simply run certbot again
   with the "certonly" option. To non-interactively renew *all* of
   your certificates, run "certbot renew"
 - Your account credentials have been saved in your Certbot
   configuration directory at /etc/letsencrypt. You should make a
   secure backup of this folder now. This configuration directory will
   also contain certificates and private keys obtained by Certbot so
   making regular backups of this folder is ideal.
 - If you like Certbot, please consider supporting our work by:

   Donating to ISRG / Let's Encrypt:   https://letsencrypt.org/donate
   Donating to EFF:                    https://eff.org/donate-le

 - We were unable to subscribe you the EFF mailing list because your
   e-mail address appears to be invalid. You can try again later by
   visiting https://act.eff.org.
You can now access the Moodle website using the URL http://moodle.example.com
Conclusion
Congratulations! you have successfully installed Moodle with Nginx and Let's Encrypt SSL on Ubuntu 22.04. You can now explore Moodle features and create your own online own Learning Management System easily. Feel free to ask me if you have any questions

