How to Install MongoDB on Debian 12
MongoDB is an open-source, cross-platform, and distributed NoSQL (non-SQL or Non-Relational) database system. Instead of storing data in tables like traditional SQL databases, MongoDB uses flexible documents to store various data forms. MongoDB uses the binary JSON format, BSON, for storing data.
MongoDB is a distributed NoSQL database with built-in high availability, automatic failover and data redundancy, and horizontal scaling via sharding across distributed clusters, and it supports multi-region geographic deployment. MongoDB also provides query API that supports CRUD operations (read and write), data aggregation pipeline, text search, and geospatial queries.
In this tutorial, you'll learn how to install MongoDB on a Debian 12 server. You'll also learn how to enable MongoDB authentication, use the 'mongosh' MongoDB client, and use basic queries to create a new user and database in MongoDB.
Prerequisites
To begin with this tutorial, make sure you have the following:
- A Debian 12 server
- A non-root user with administrator privileges
Preparing Debian server
Before installing MongoDB to your Debian server, it is recommended to apply the following settings:
- Disable transparent huge pages (THP) via the systemd script
- Increase the default limits for the MongoDB user
- Enable swapiness and increase max_mmap memory via the '/etc/sysctl.conf' file
Now let's configure the Debian server.
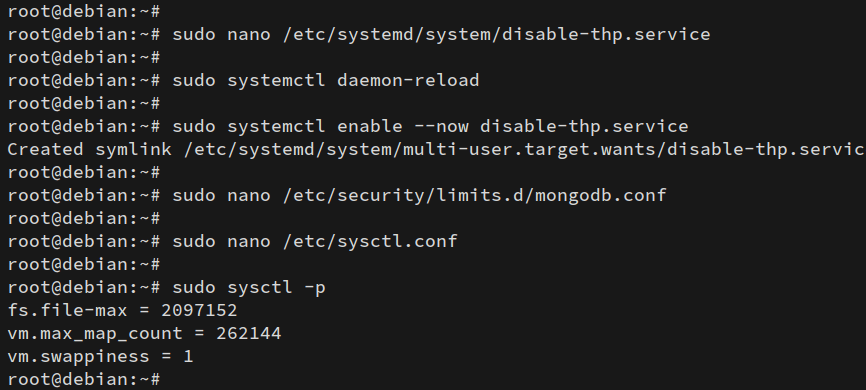
First, run the 'nano' command below to create a new service file /etc/systemd/system/disable-thp.service.
sudo nano /etc/systemd/system/disable-thp.service
Paste the following service script to set up the 'transparent_hugepage' to 'never'.
[Unit]
Description=Disable Transparent Huge Pages (THP)

[Service]
Type=simple
ExecStart=/bin/sh -c "echo 'never' > /sys/kernel/mm/transparent_hugepage/enabled && echo 'never' > /sys/kernel/mm/transparent_hugepage/defrag"

[Install]
WantedBy=multi-user.target
Save the file and exit.
Now run the following 'systemctl' command to reload the systemd manager. Then, start and enable the 'disable-thp' service. With this, the 'transparent_hugepage' will be disabled at every system startup.
sudo systemctl daemon-reload
sudo systemctl enable --now disable-thp.service
Next, create a new file /etc/security/limits.d/mongodb.conf with the 'nano' editor.
sudo nano /etc/security/limits.d/mongodb.conf
Insert the configuration below to set up the max limits process and file to '64000' for user 'mongod'.
mongod soft nproc 64000
mongod hard nproc 64000
mongod soft nofile 64000
mongod hard nofile 64000
When finished, save the file and exit.
After that, edit the '/etc/sysctl.conf' file with the following.
sudo nano /etc/sysctl.conf
Insert the configuration below to the bottom of the line.
fs.file-max = 2097152
vm.max_map_count = 262144
vm.swappiness = 1
Save the file and exit.
Lastly, run the 'sysctl' command below to apply the changes on the '/etc/sysctl.conf' file immediately.
sudo sysctl -p
Installing MongoDB server on Debian
Now that you've configured your Debian server, let's start MongoDB installation. In this case, you'll install MongoDB 7.0 through the official MongoDB repository to your Debian server.
Install the 'gnupg' and 'curl' packages to your Debian system with the following:
sudo apt install gnupg curl

Now add the MongoDB GPG key and repository for Debian with the command below. In this case, you'll set up a repository for MongoDB 7.0.
curl -fsSL https://www.mongodb.org/static/pgp/server-7.0.asc | \
sudo gpg -o /usr/share/keyrings/mongodb-server-7.0.gpg \
--dearmor
echo "deb [ signed-by=/usr/share/keyrings/mongodb-server-7.0.gpg ] http://repo.mongodb.org/apt/debian bookworm/mongodb-org/7.0 main" | sudo tee /etc/apt/sources.list.d/mongodb-org-7.0.list
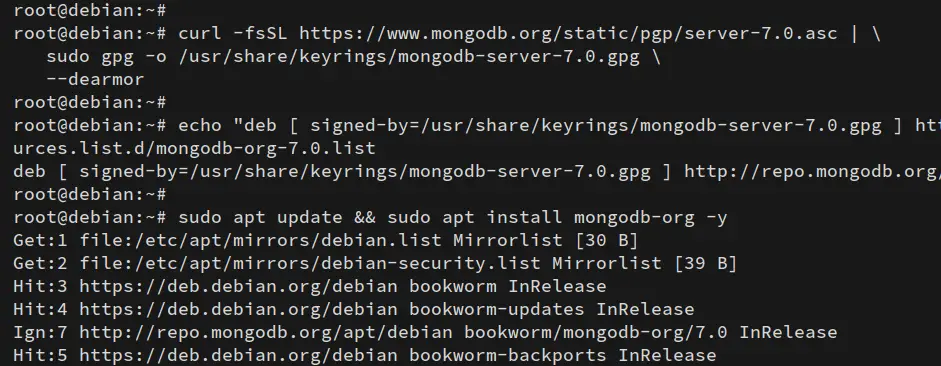
Next, run the 'apt' command below to refresh your package list and install the 'mongodb-org' package.
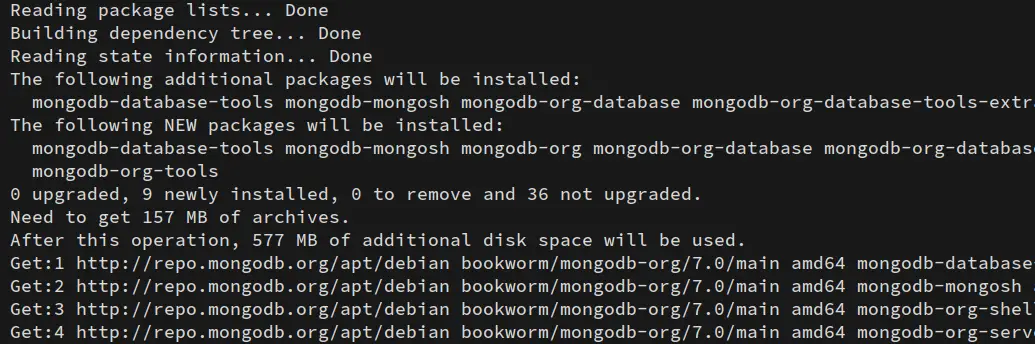
sudo apt update && sudo apt install mongodb-org -y
In the following output, you can see the MongoDB installation.
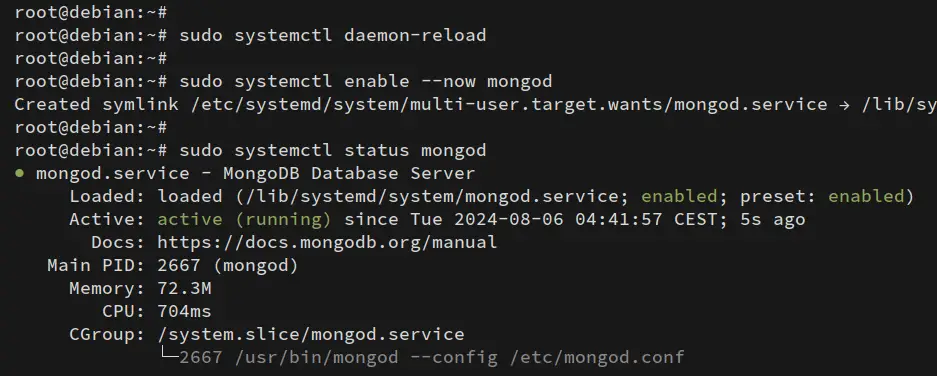
After the installation is finished, reload the systemd manager with the 'systemctl' command.
sudo systemctl daemon-reload
Start and enable the 'mongod' service, then verify it to ensure that the service is running.
sudo systemctl enable --now mongod
sudo systemctl status mongod
If MongoDB is running, you'll see an output like the following:
Securing MongoDB server with authentication
With MongoDB installed, you need to secure your installation by enabling the MongoDB authentication. In this section, you'll set up MongoDB authentication and create a new administrator user for MongoDB. This will show you how to use 'mongosh' or MongoDB client and basic MongoDB queries.
Log in to the MongoDB server with the 'mongosh' command below. There is no password for the default MongoDB installation.
mongosh
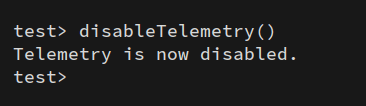
Run the command 'disableTelemetry()' to disable anonymous data collection from MongoDB.
disableTelemetry()
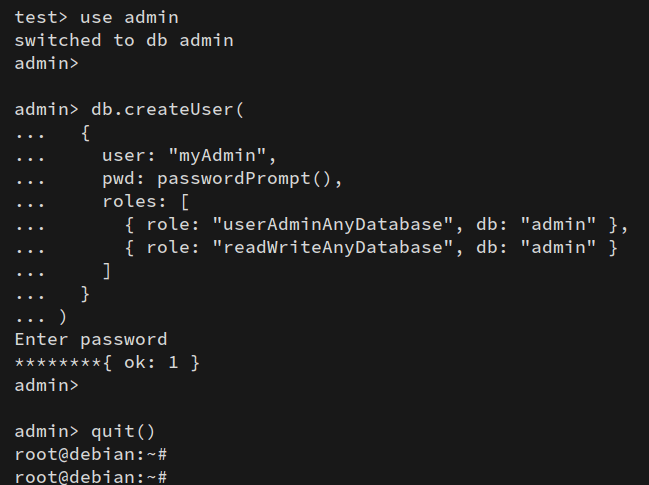
Switch to the database 'admin' with the 'use' query.
use admin
Now run the following query to create a new user 'myAdmin' that will be used as the administrator for your MongoDB server. Enter your password when asked.
db.createUser(
{
user: "myAdmin",
pwd: passwordPrompt(),
roles: [
{ role: "userAdminAnyDatabase", db: "admin" },
{ role: "readWriteAnyDatabase", db: "admin" }
]
}
)
Type the 'quit()' command to exit from the MongoDB server.
quit()
Next, edit the '/etc/mongod.conf' file with the 'nano' editor.
sudo nano /etc/mongod.conf
Uncomment the 'security' option and add the 'authorization: enabled' to enable authentication on MongoDB.
security:
  authorization: enabled
Save the file and exit the editor.
Now run the 'systemctl' command below to restart the MongoDB server and apply your modifications.
sudo systemctl restart mongod
Test MongoDB Authentication
Now that you've created an admin user and enabled authentication on your MongoDB server. Let's verify your configuration by logging in to the MongoDB server through the 'myAdmin' user.
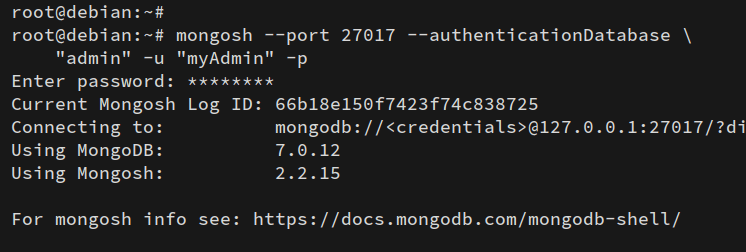
Run the 'mongosh' command below to log in to the MongoDB server as a user of 'myAdmin' and input your password when prompted.
mongosh --port 27017 --authenticationDatabase \
"admin" -u "myAdmin" -p
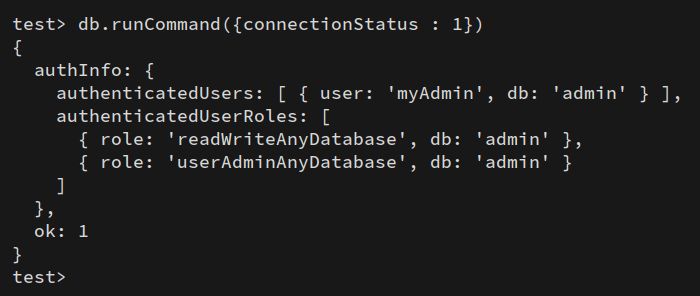
After logging in, run the following query to check the connection status to the MongoDB server.
db.runCommand({connectionStatus : 1})
You can see below that you've connected as user 'myAdmin' to the MongoDB server.
Creating the first database and user
In this section, you'll create a new database and user that will be used for your application through the 'mongosh' MongoDB client. So make sure that you're in the 'mongosh' environment.
First, run the 'use' query to create and switch the target database. In this example, you'll create a new database 'mydb'. Your MongoDB prompt will changed to 'mydb'.
use mydb
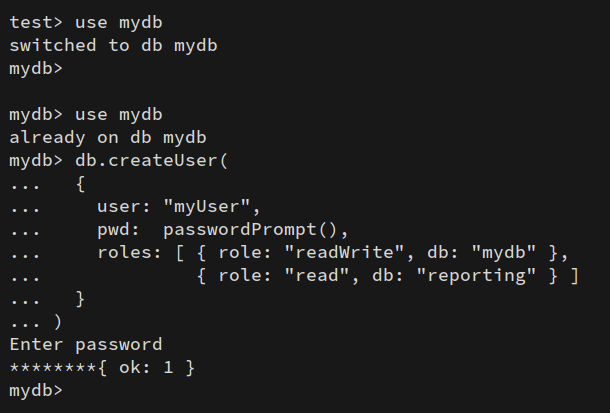
Now run the following query to create a new user 'myUser' with privileges to read and write to the database 'mydb'. Input a new password when asked.
use mydb
db.createUser(
{
user: "myUser",
pwd: passwordPrompt(),
roles: [ { role: "readWrite", db: "mydb" },
{ role: "read", db: "reporting" } ]
}
)
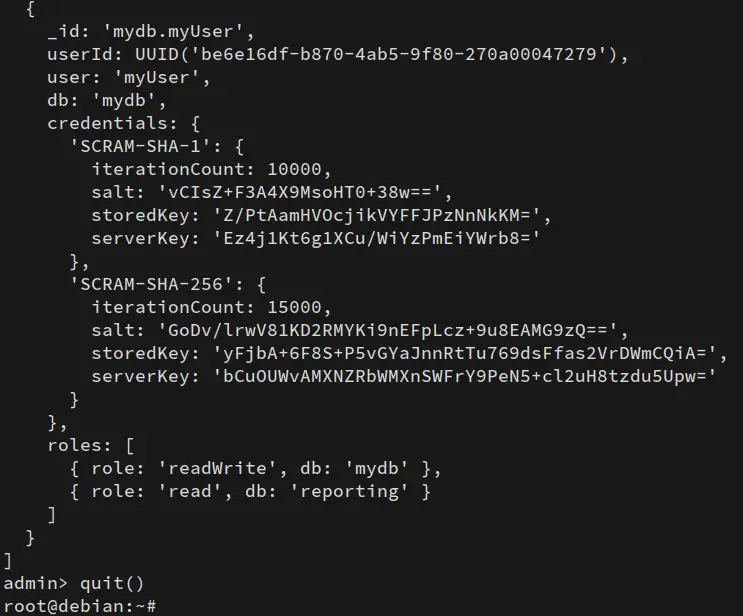
Next, run the following queries to switch the 'admin' database and verify the list of users on your MongoDB server.
use admin
db.system.users.find()
You should see the user 'myAdmin' and 'myUser' created like the following:
Now type 'quit()' to exit from the MongoDB server.
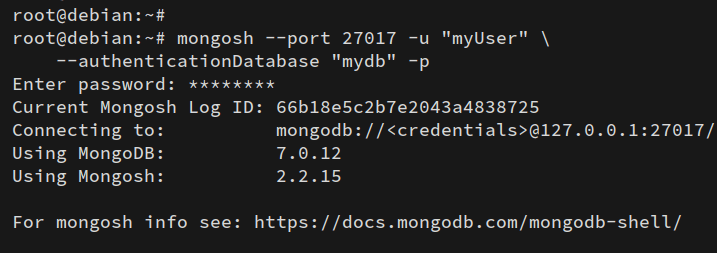
Lastly, log in to the MongoDB server as a new user 'myUser' to the database 'mydb' with the command below. Enter your password when prompted.
mongosh --port 27017 -u "myUser" \
--authenticationDatabase "mydb" -p
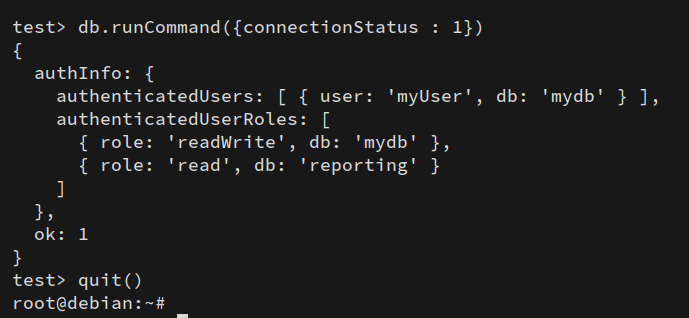
Run the query below to check your current connection
db.runCommand({connectionStatus : 1})
In the 'authInfo' section, you can see that you've authenticated as user 'myUser' and database 'mydb'.
Conclusion
Congratulations! You've completed the installation of MongoDB 7.0 on Debian 12 server. You also learned how to secure the MongoDB server by enabling the authentication, and then creating a new administrator user for MongoDB. Lastly, you've learned how to create a new MongoDB database and user for your applications.

