How to Install MinIO Storage on Rocky Linux
On this page
- Prerequisites
- Installing MinIO Manually
- Setting up Storage for MinIO Object Storage
- Configuring MinIO Object Storage
- Running MinIO as a Systemd Service
- Setting up Firewalld
- Securing MinIO with SSL Certificates
- Creating First Bucket and Uploading Files
- Setting up MinIO Client CLI
- Creating Bucket via MinIO Command Line
- Conclusion
MinIO is a free and open-source object storage server written in Go. It's compatible with Amazone S3 object storage and is one of the best and most free solutions for object storage. With MinIO, you can store photos, videos, log files, backups, and container/VM images.
On the server side, MinIO provides highly scalable architecture with the simplicity of the application that makes the application server easy to install and configure. And n the client side, it provides a binary client application that allows you to manage object storage from the terminal. Also, MinIO provides a powerful and easy-to-use web administration dashboard for users that preferred using the web browser.
MinIO is a self-hosted object storage solution that is suitable for multiple deployment architectures. You can deploy MinIO as object storage on a large infrastructure with continuous data replication or deploy it on a small environment such as a home server.
In this tutorial, we'll walk you through the process of installing MinIO Object Storage on a Rocky Linux server. You will also create a new object storage with MinIO and configure the Linux client machine to manage the MinIO Object Storage server.
In the end, you will have the MinIO Object Storage installed on the Rocky Linux server and secured with SSL certificates. You will also have the client machine for managing MinIO.
Prerequisites
To begin with this tutorial, you will need some following requirements:
- A server running Rocky Linux - You can use the Rocky Linux v8 or v9.
- A non-root user with sudo/root privileges.
- An additional disk or directory will be used as object storage.
- For production, you will need a domain name pointed to the Rocky Linux server IP address.
Now let's jump to the MinIO installation.
Installing MinIO Manually
MinIO is the next-generation object storage that is easy to install and configure on both servers and clients. MinIO provides multiple versions of packages for both containerized and traditional virtual machines.
You can install MinIO on Kubernetes, RedHat OpenShift, or using Docker. for the virtual machine, you can install MinIO on any Linux distribution, or using Windows and macOS.
In this example, you will be installing MinIO manually on the Rocky Linux server.
Run the following curl command to download the binary file for MinIO to '/usr/local/bin/minio'.
curl -o /usr/local/bin/minio https://dl.min.io/server/minio/release/linux-amd64/minio
Now make the MinIO binary file executable via the chmod command below.
sudo chmod +x /usr/local/bin/minio
To ensure that you can execute the MinIO binary file, you should add the '/usr/local/bin' directory to the $PATH environment variable.

Run the following command to add the '/usr/local/bin' directory to the $PATH environment variable via the file '~/.bashrc' configuration.
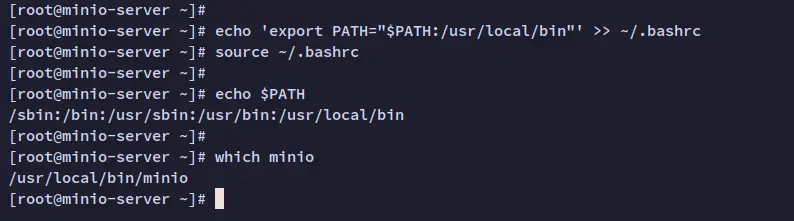
echo 'export PATH="$PATH:/usr/local/bin"' >> ~/.bashrc
Next, reload the '~/.bashrc' configuration file and verify the $PATH environment variable via the following command.
source ~/.bashrc
echo $PATH
You should see the '/usr/local/bin' directory added to the $PATH environment variable.
Following this, run the following command to verify to ensure that the 'minio' command is available. With this, you should get the full path of the MinIO binary file '/usr/local/bin/minio'.
which minio
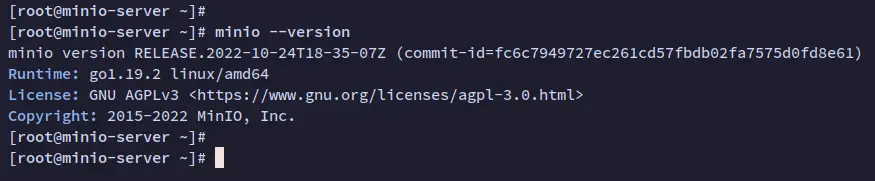
Lastly, verify the current MinIO version that is installed on your system, using the 'minio' command below.
minio --version
You will see the MinIO is installed on the Rocky Linux.
Now that you are installed MinIO. Before setting up an object storage, you will need to prepare the disk or directory that will be used as an object storage.
Setting up Storage for MinIO Object Storage
To set up MinIO object storage, you will need to set up a directory or use an additional disk that will be used as object storage. In this example, you will learn how to set up additional disk '/dev/vdb' as MinIO object storage.
First, run the following command to check the list of available partitions on the '/dev/vdb' disk. In this example, there is only one partition '/dev/vdb1'.
fdisk -l /dev/vdb
Now create a new directory '/minio-data' that will be used as the mount point for the partition '/dev/vdb1'.
mkdir -p /minio-data
Next, mount the partition '/dev/vdb1' to the target directory '/minio-data'.
sudo mount /dev/vdb1 /minio-data
This will mount the '/dev/vdb1' partition temporarily and the setting will be gone after restart. To make the setting permanent, you mount the partition via the '/etc/fstab' file that allows you to automatically mount partitions on boot.
Run the following nano editor to edit the file '/etc/fstab'.
sudo nano /etc/fstab
Add the following configuration to the file and be sure to change the detail partition, target mount, and the filesystem format.
/dev/vdb1 /minio-data ext4 defaults 0 0
Save the file and exit the editor when you are done.
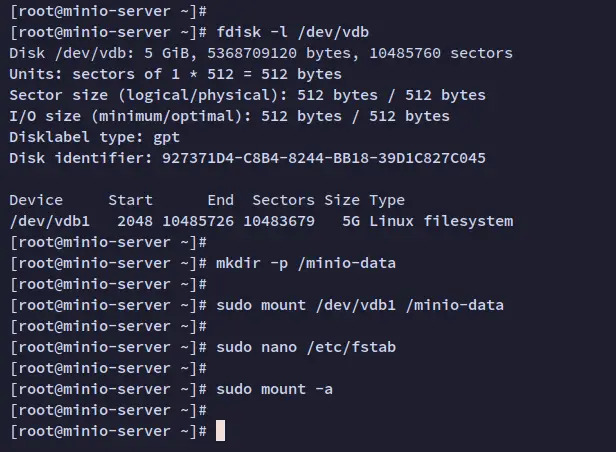
Now run the following command to mount available partitions on the '/etc/fstab' file. Ensure that you have no error message, which means partitions are mounted to each target directory.
sudo mount -a
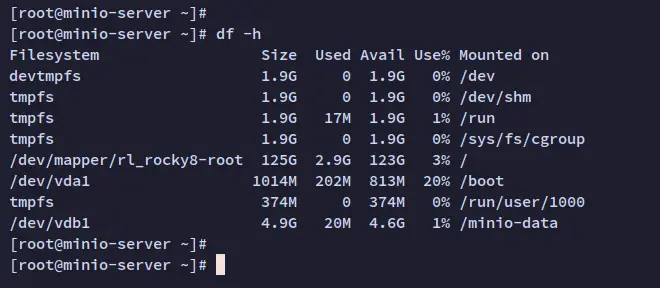
Lastly, run the following command to verify the configuration of your partition.
sudo df -h
You should see the partition '/dev/vdb1' is mounted to the target directory '/minio-data', which will be used as the MinIO object storage.
Now that you have configured the partition for the object storage. Next, you will start configuring the MinIO installation.
Configuring MinIO Object Storage
In this step, you will create a new configuration for MinIO and create the new configuration file that will be used to run the MinIO service. The MinIO configuration should be at '/etc/minio', and the configuration for running the MinIO service should be located at '/etc/default/minio'.
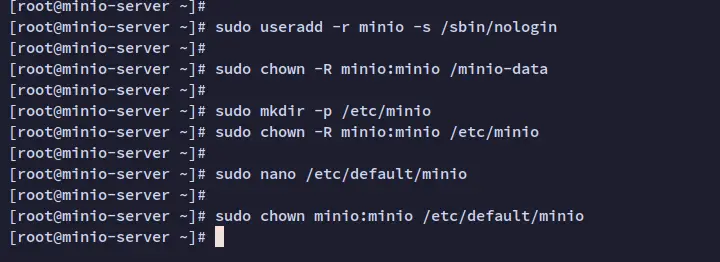
To begin with, run the following command to create a new dedicated system user for MinIO. This user will be used to run the MinIO service.
sudo useradd -r minio -s /sbin/nologin
Next, run the below command to change the ownership of the object storage directory '/minio-data' to the user and group 'minio'.
sudo chown -R minio:minio /minio-data
After changing the ownership of the object storage directory, you will need to create a new configuration directory '/etc/minio', and the default config file for running the MinIO service '/etc/default/minio'.
Run the following command to create a configuration directory '/etc/minio' and change the ownership of the new directory to user 'minio'.
sudo mkdir -p /etc/minio
sudo chown -R minio:minio /etc/minio
Create a new MinIO configuration file '/etc/default/minio' using the following nano editor.
sudo nano /etc/default/minio
Add the following configuration to the file. Also, make sure to change the details of the storage directory, MinIO admin user, and password.
MINIO_ROOT_USER="minio"
MINIO_VOLUMES="/minio-data"
MINIO_OPTS="-C /etc/minio --address :9000 --console-address :9001"
MINIO_ROOT_USER=admin
MINIO_ROOT_PASSWORD="PassMinioStorage"
Save the file and exit the editor when you are done.
Lastly, run the following command to change the ownership of the MinIO configuration file '/etc/default/minio' to the correct user 'minio'.
sudo chown minio:minio /etc/default/minio
You have now successfully created the configuration directory and configuration for MinIO installation. With this in mind, you can now start the MinIO. But, to make it easier, you will be running MinIO as a systemd service.
Running MinIO as a Systemd Service
After creating the configuration directory and file for MinIO, you will now be setting up MinIO as a systemd service. This allows you to manage MinIO easily via the systemctl command on your terminal server.
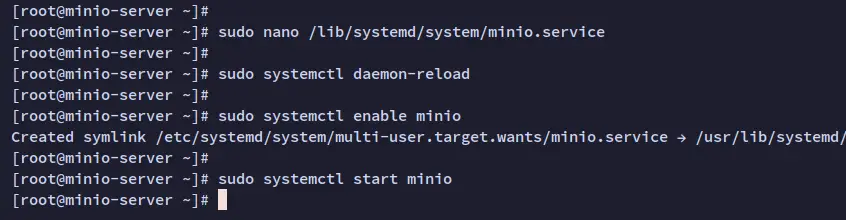
Run the following nano editor to create a new systemd service file '/lib/systemd/system/minio.service'.
sudo nano /lib/systemd/system/minio.service
In your editor, add the following configuration.
[Unit]
Description=Minio
Documentation=https://docs.minio.io
Wants=network-online.target
After=network-online.target
AssertFileIsExecutable=/usr/local/bin/minio

[Service]
WorkingDirectory=/usr/local/

User=minio
Group=minio

EnvironmentFile=-/etc/default/minio
ExecStartPre=/bin/bash -c "if [ -z \"${MINIO_VOLUMES}\" ]; then echo \"Variable MINIO_VOLUMES not set in /etc/default/minio\"; exit 1; fi"

ExecStart=/usr/local/bin/minio server $MINIO_OPTS $MINIO_VOLUMES

# Let systemd restart this service always
Restart=always

# Specifies the maximum file descriptor number that can be opened by this process
LimitNOFILE=65536

# Disable timeout logic and wait until the process is stopped
TimeoutStopSec=infinity
SendSIGKILL=no

[Install]
WantedBy=multi-user.target
Save the file and exit the editor when you are finished.
After you have created the systemd service for MinIO, run the following command to reload the systemd manager.
sudo systemctl daemon-reload
Now start and enable the 'minio' service using the below command.
sudo systemctl start minio
sudo systemctl enable minio
The 'minio' service should now be running and enabled. verify the 'minio' service via the systemctl command below.
sudo systemctl status minio
You should now receive the output of the 'minio' service running. You will also see that the service is enabled and will be run automatically at system boot, especially after the networking is running.
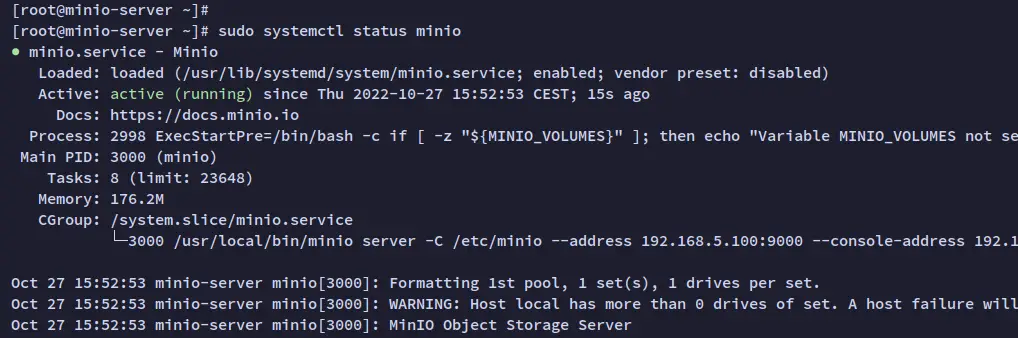
At this point, the MinIO is running on the default port 9000, you can verify it by visiting your server IP address followed by the TCP port 9000. But before that, you must open ports on firewalld and secure your MinIO deployment with SSL certificates.
Setting up Firewalld
In this step, you will be setting up the firewalld for opening ports for the MinIO object storage. The default MinIO installation uses port 9000 for the user web administration dashboard and port 9001 for the API.
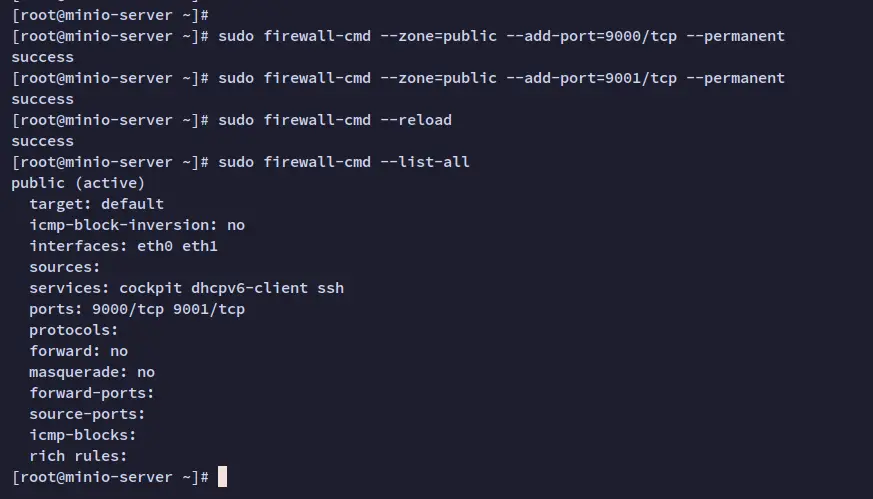
Run the following firewall-cmd command to open ports 9000 and 9001 on your firewalld.
sudo firewall-cmd --zone=public --add-port=9000/tcp --permanent
sudo firewall-cmd --zone=public --add-port=9001/tcp --permanent
Next, run the following command to reload firewalld rules and apply new changes to it. Then, verify the list of enabled rules on firewalld.
sudo firewall-cmd --reload
sudo firewall-cmd --list-all
You should see ports 9000 and 9001 added to the firewalld.
Securing MinIO with SSL Certificates
After setting up ports on firewalld, you will next be securing the MinIO installation with SSL certificates.
Before you start securing MinIO with SSL, ensure that you have generated SSL certificates. and If you are installing MinIO on production, you should have the domain name pointed to your server IP address.
Run the following cp command to copy SSL certificates to the '/etc/minio/certs' directory. This example uses SSL certificates generated with Letsencrypt and uses the domain 'minio.howtoforge.local'.
sudo cp /etc/letsencrypt/live/minio.howtoforge.local/privkey.pem /etc/minio/certs/private.key
sudo cp /etc/letsencrypt/live/minio.howtoforge.local/fullchain.pem /etc/minio/certs/public.crt
Next, open the MinIO configuration file '/etc/default/minio' using the following nano editor.
sudo nano /etc/default/minio
Add the option 'MINIO_SERVER_URL' configuration and change the domain name with your domain.
MINIO_SERVER_URL="https://minio.howtoforge.local:9000"
When you are finished, save the file and exit the editor.
Whenever you make changes to the '/etc/default/minio' file, restart the 'minio' service using the systemctl command below to apply the changes you have made.
sudo systemctl restart minio
The MinIO object storage is now running and secured with SSL certificates.

Now open your web browser and visit the domain name of your MinIO installation followed by the default port 9000 (i.e: https://minio.howtoforge.local:9000/). And you should see the MinIO login page.
Input the user and password configured on the file '/etc/default/minio' and click Login.
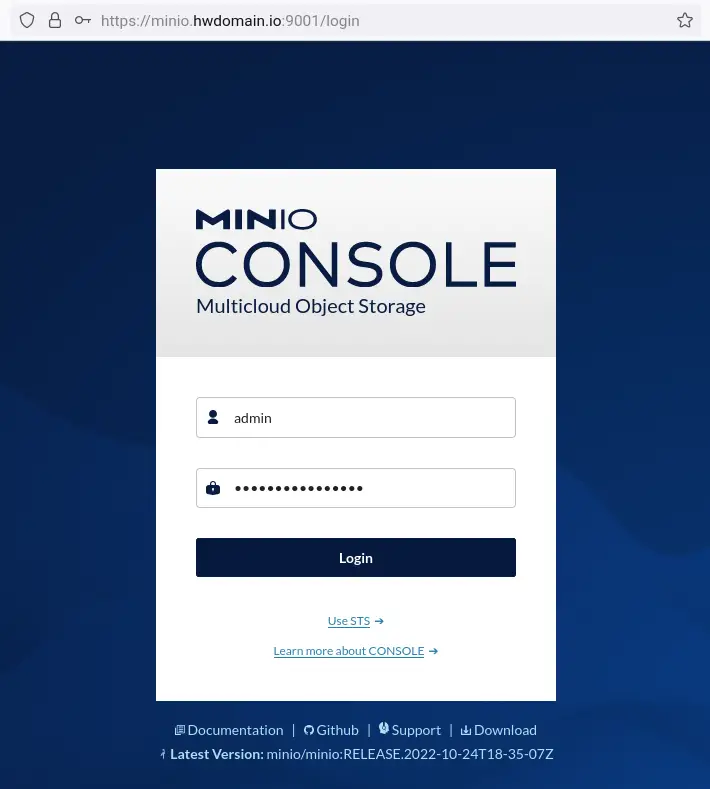
If you have the correct user and password, you should get the MinIO user dashboard screen as below.
You have now everything configured and MinIO installed and secured. In the next step, you will learn how to set up a bucket and set up the client machine with the MinIO command line.
Creating First Bucket and Uploading Files
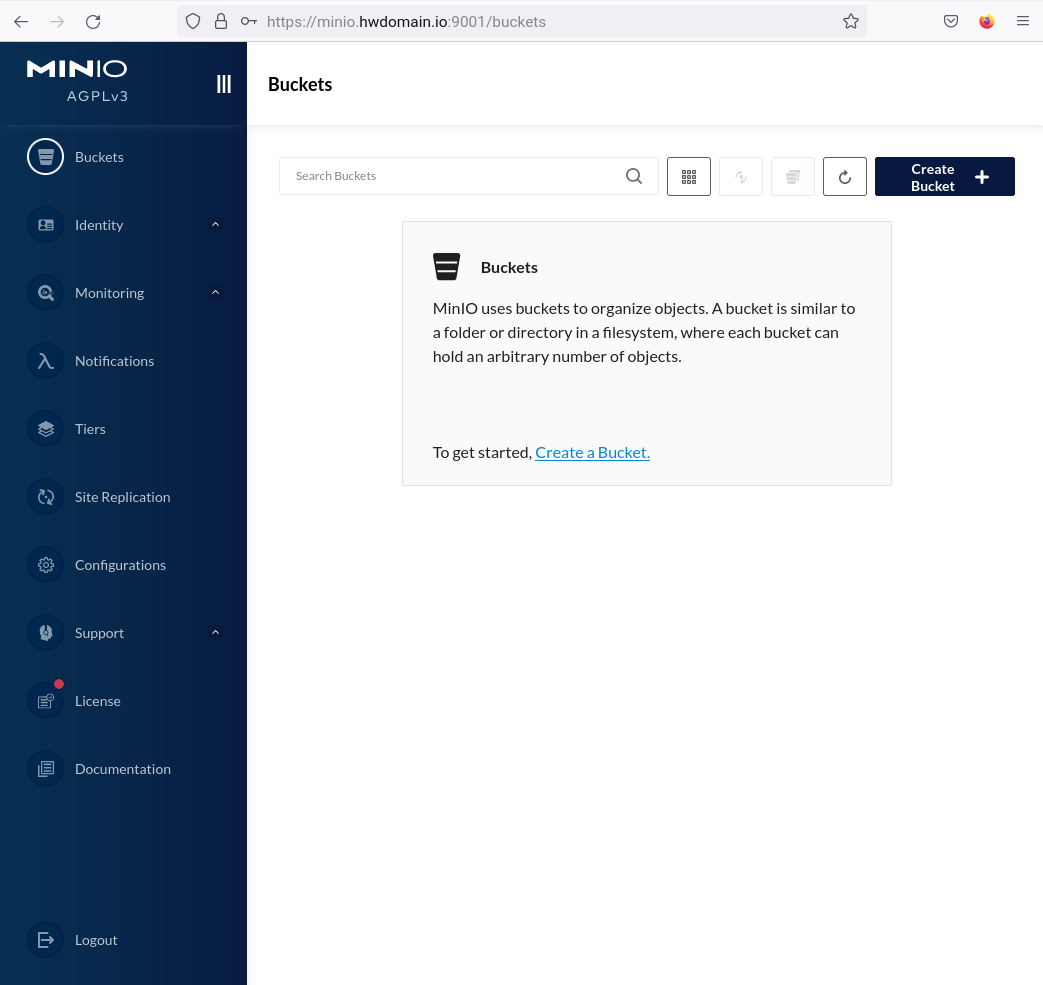
In this step, you will learn how to create a bucket on MinIO via the web administration dashboard. Before you get started, ensure that you have logged in to the MinIO dashboard with your user.
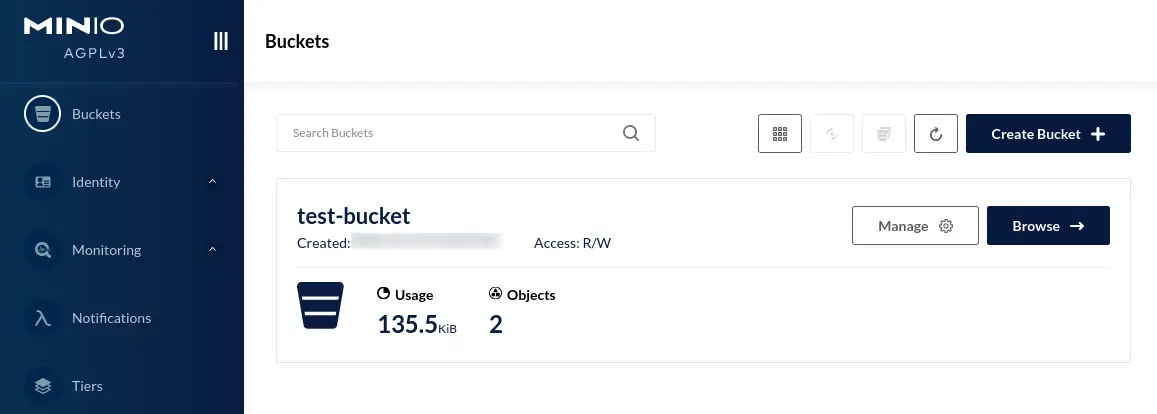
To create a bucket on MinIO, click the "Buckets" menu and click the "Create Bucket" button.
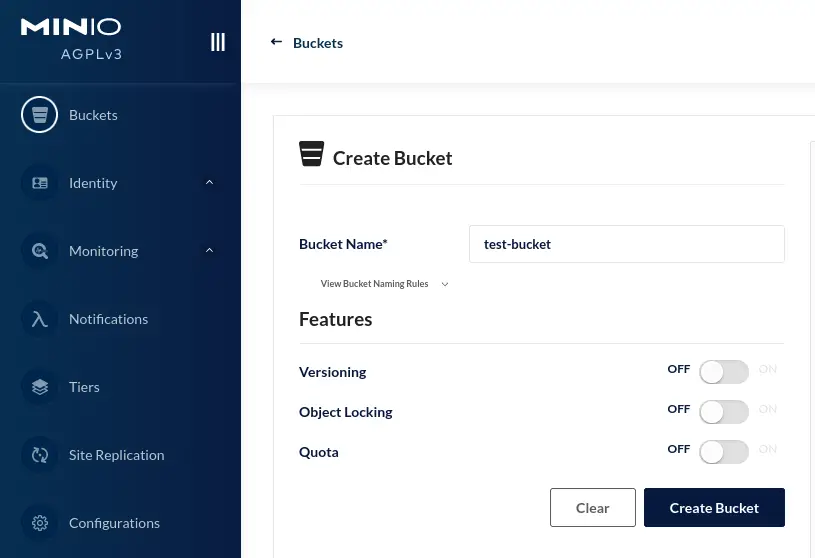
Now input the name and details about your bucket and click "Create Bucket" to confirm. In this example, you will create a new bucket 'test-bucket'.
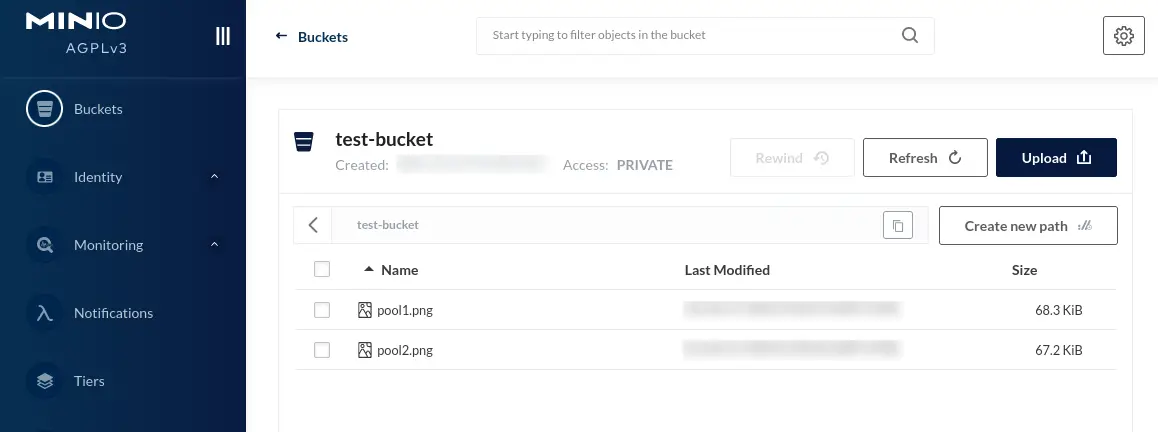
After the bucket is created, you can upload new files or create directories inside the 'test-bucket'.
In the following screen, you can see new uploaded files 'pool1.png' and 'pool2.png' to the 'test-bucket'.
Setting up MinIO Client CLI
MinIO provides a client application that allows you to manage MinIO object storage via the command line. In this example, you will install the MinIO client CLI to the client machine, add the MinIO server, and then verify the list bucket and files via the command line.
On your local machine, run the following command to download the MinIO client CLI to '/usr/local/bin/mc'.
curl -o /usr/local/bin/mc https://dl.min.io/client/mc/release/linux-amd64/mc
After downloading, make the MinIO client CLI '/usr/local/bin/mc' executable.
sudo chmod +x /usr/local/bin/mc
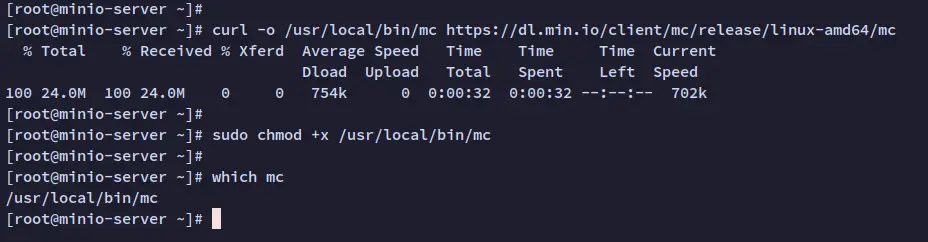
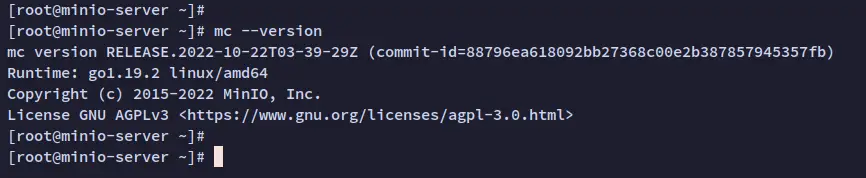
Now run the following command to verify the version of the MinIO client CLI. You should see the MinIO client installed on your system.
which mc
mc --version
After configuring the MinIO client CLI, you will next add your MinIO server.
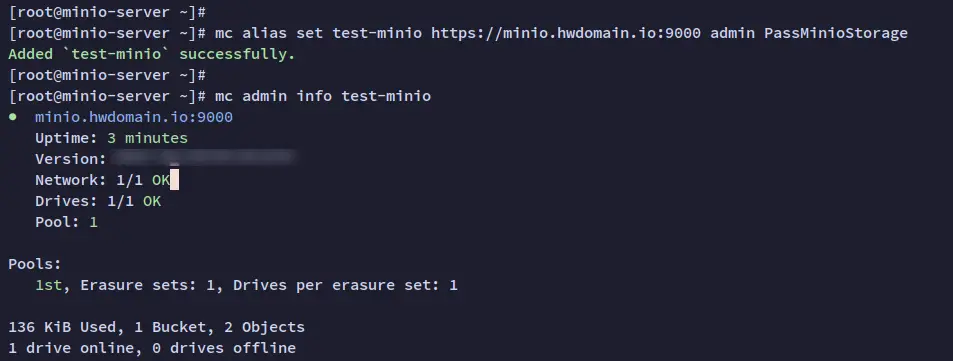
Run the following command to add the MinIO server to your local machine. And be sure to change the alias name 'test-minio', the domain name of your MinIO object storage, and the user and password.
mc alias set test-minio https://minio.howtoforge.local:9000 admin PassMinioStorage
After adding, you should see the output message such as 'Added test-minio successfully'.
Now run the following command to verify the 'test-minio'. And you should now get detailed information about the 'test-minio' server.
mc admin info test-minio
Next, check the list of an available buckets on the 'test-minio' server. You should get the 'test-bucket' available on the 'test-minio' server.
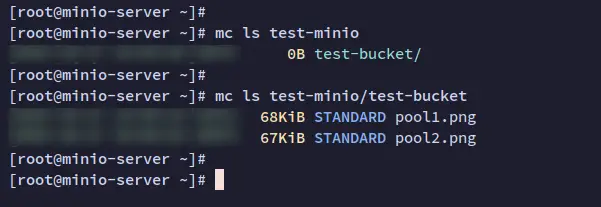
mc ls test-minio
Lastly, run the following command to check the list of files on the 'test-bucket'.
mc ls test-minio/test-bucket
In the following screen, you can see the file 'pool1.png' and 'pool2.png' is available on the 'test-bucket'. That file is the same file that was uploaded on the top example.
Creating Bucket via MinIO Command Line
In this last step, you will learn how to manage the bucket via the MinIO client command line. You will create a new bucket, upload a file, and verify the list of files on the MinIO bucket via the client command line.
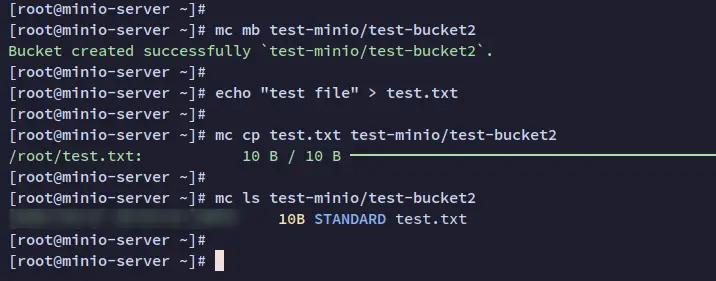
Run the following command to create a new bucket 'test-bucket2' on the 'test-minio' server.
mc mb test-minio/test-bucket2
Create a new file 'test.txt' using the below command. This file will be uploaded to the 'test-bucket2'.
echo "test file" > test.txt
Next, upload the file 'test.txt' to the 'test-bucket2' via the 'mc cp' command below.
mc cp test.txt test-minio/test-bucket2
After the file is uploaded, run the following command to verify the list of files on the 'test-bucket2'.
mc ls test-minio/test-bucket2
You should now receive the output as the following screenshot. The file 'test.txt' is uploaded to the 'test-bucket2'.
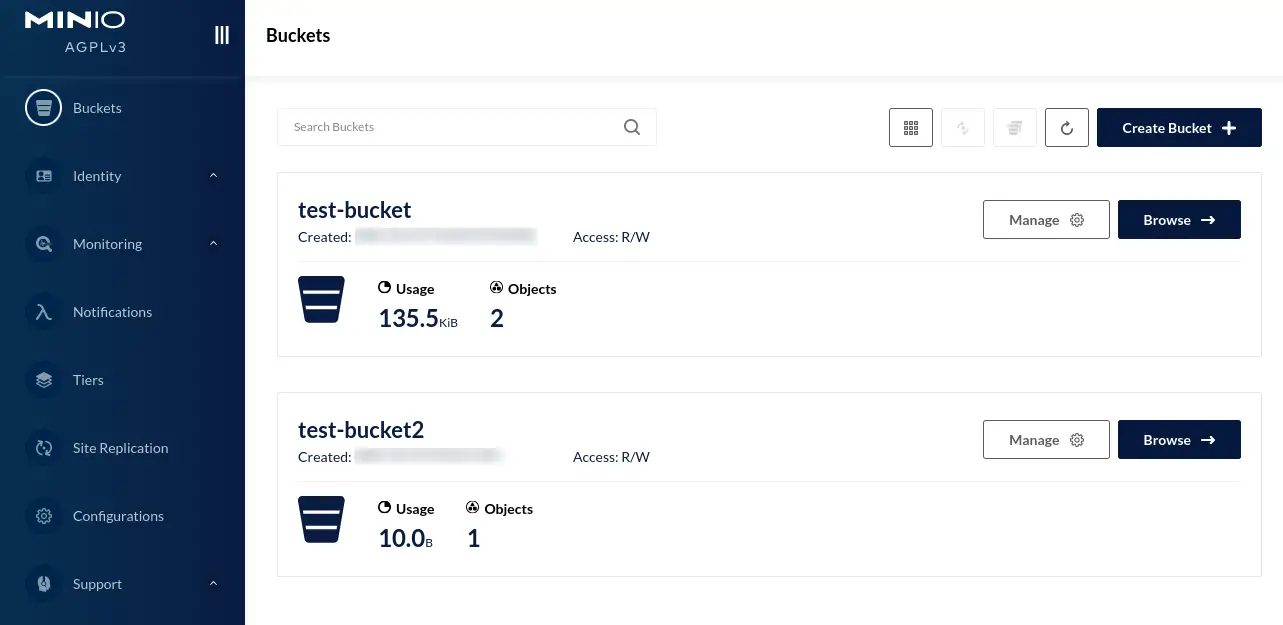
Now back to the MinIO user dashboard and click 'Buckets' menu. You should see the 'test-bucket2' is created.
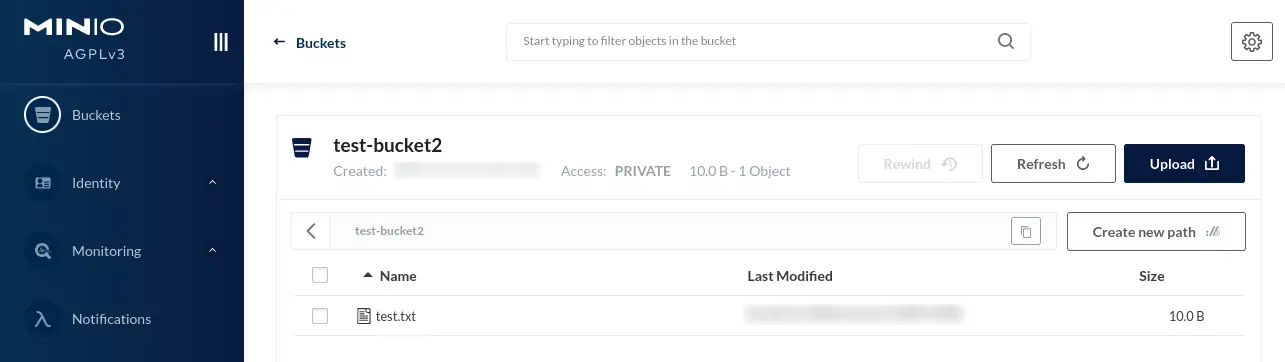
Click on the 'test-bucket2' and you should see the file 'test.txt' that uploaded via the MinIO command line.
Conclusion
In this guide, you have installed and configured MinIO Object Storage on the Rocky Linux server. You also have learned the basic configuration for setting up the disk on Linux and securing the MinIO via SSL certificates and running MinIO as a systemd service.
In the end, you have learned the basic usage of MinIO by creating buckets and uploading files via the MinIO web administration dashboard. You also learned how to install the MinIO client command line and its basic usage of it for adding a MinIO server, creating buckets, checking the list files on the bucket, and uploading files to a specific bucket.

