How to Install Metabase Business Analytics on Ubuntu 18.04 LTS
This tutorial exists for these OS versions
- Ubuntu 20.04 (Focal Fossa)
- Ubuntu 18.04 (Bionic Beaver)
On this page
Metabase is a free and opensource data analytics and Bussiness intelligence tool. It allows you and your company to as questions and learns from your data.
Sometimes, the Metabase also called Metadatabase or Metadata Repository. Supports for multiple data sources, including RDBMS such as MySQL, PostgreSQL, NoSQL such as MongoDB, and Cloud database services such as Amazon Redshift and Google BigQuery.
In this tutorial, we will show you how to Install Metabase Data Analytics on Ubuntu 18.04.
Prerequisites
For this guide, we will install Metabase on the Ubuntu 18.04 with 4GB of RAM, 4 CPUs, and 50GB free disk space.
What we will do
- Install Java
- Install and Configure the MariaDB Database
- Add User and Set Up Metabase Directory and Log Files
- Download Metabase
- Set Up Metabase as a Systemd Services
- Set Up Rsyslog for Metabase
- Metabase Post-Installation
Step 1 - Install Java
First of all, the Metabase was created with Java, so we will install Java OpenJDK to the Ubuntu system.
Install the Java OpenJDK to the Ubuntu system using the apt command below.
sudo apt install default-jre
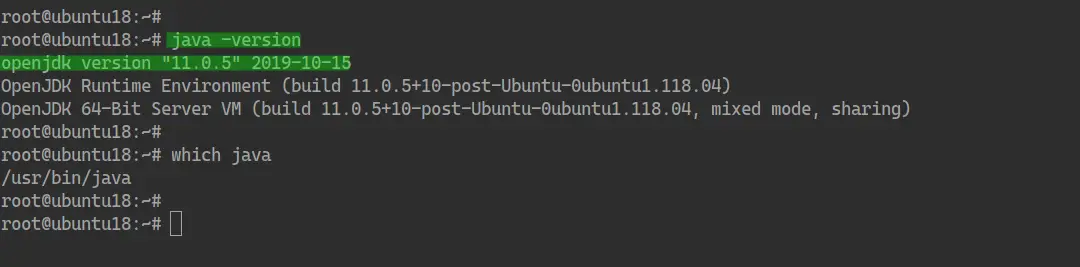
Once the installation is complete, check the java version with the command below.
java -version
As a result, you've installed the Java OpenJDK 11 on Ubuntu 18.04 Server.
Step 2 - Install MariaDB Database
In this step, we will install the MariaDB database server and set up a new database as a sample of Metabase data source.
Install the MariaDB database server using the apt command below.
sudo apt install mariadb-server mariadb-client
Once the installation is complete, start the MariaDB service and add it to the system boot.
systemctl start mariadb
systemctl enable mariadb
And the MariaDB service is up and running.
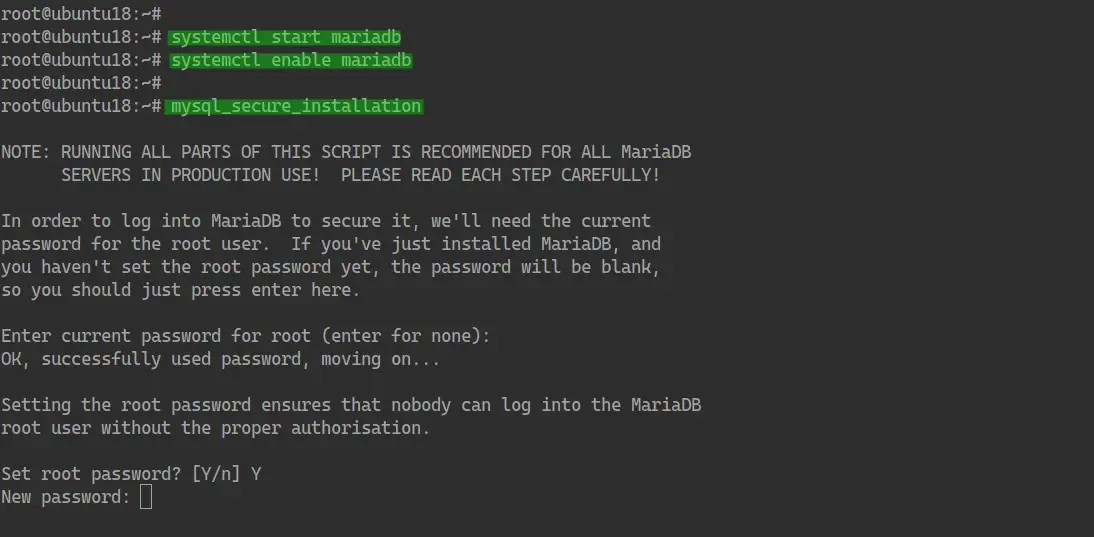
Now we will configure the root password for MariaDB with the mysql utility 'mysql_secure_installation'.
mysql_secure_installation
Type your root password and type 'Y' for the rest configuration.
Set a root password? [Y/n] Y
Remove anonymous users? [Y/n] Y
Remove test database and access to it? [Y/n] Y
Reload privilege tables now? [Y/n] Y
And the MariaDB root password has been configured.
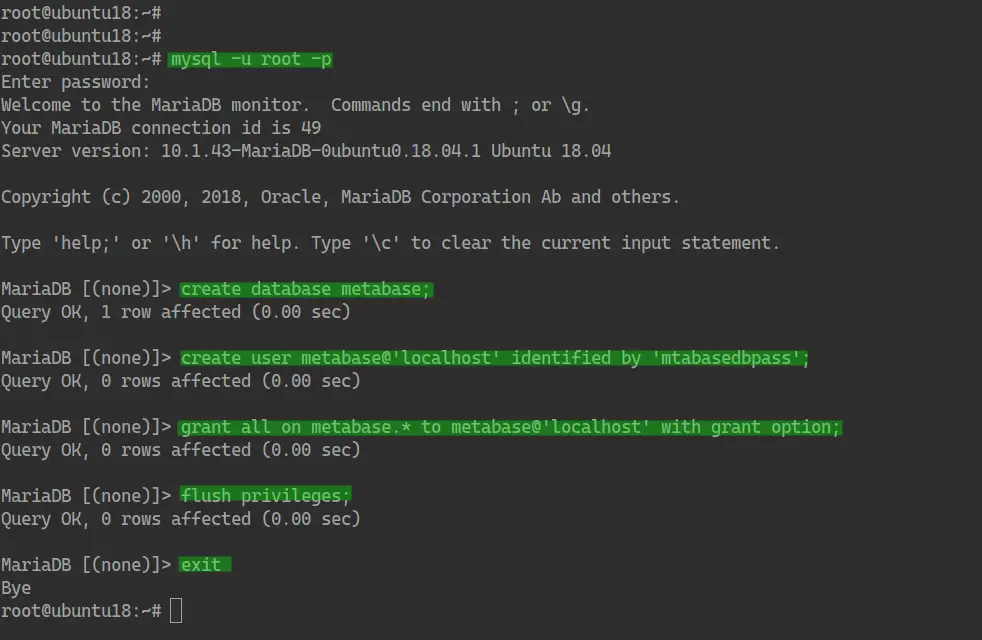
Now log in to the MySQL shell using the mysql command below.
mysql -u root -p
TYPE YOUR ROOT PASSWORD
Now create a new database 'metabase' and create a new user 'metabase' with the password 'mtabasedbpass' using the queries below.
create database metabase;
create user metabase@'localhost' identified by 'mtabasedbpass';
grant all on metabase.* to metabase@'localhost' with grant option;
flush privileges;
exit
And you've created the database and user for Metabase installation.
Step 3 - Add New User and Metaase Installation Directory
In this step, we will add a new user and group Metabase, then set up the Metabase installation directory.
- Add New User
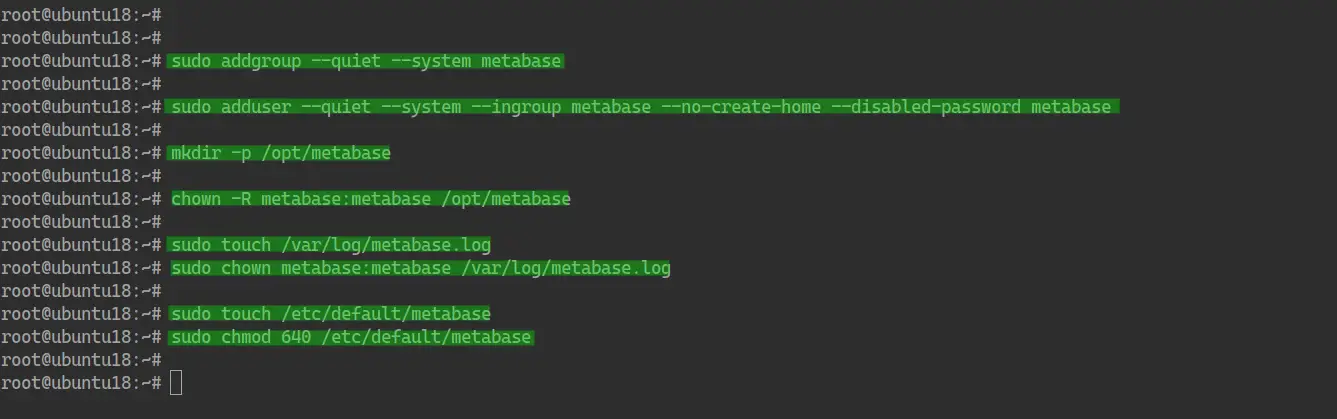
We will run the Metabase service as a user and group called 'metabase'. Create a new user and group 'metabase' using the following command.
sudo addgroup --quiet --system metabase
sudo adduser --quiet --system --ingroup metabase --no-create-home --disabled-password metabase
Now you've created 'metabase' user and group.
- Setup Metabase Installation Directory
We will create a new directory for the metebase and will be located at the '/op/metabase' directory.
Create a new directory '/opt/metabase' and change the owner of that directory to the 'metebase' user.
mkdir -p /opt/metabase
chown -R metabase:metabase /opt/metabase
Now you've created the Metabase installation directory.
- Add Default Environment file for Metabase
Create a new environment file on the '/etc/default' directory using the following command.
sudo touch /etc/default/metabase
sudo chmod 640 /etc/default/metabase
And the environment file for Metabase has been created.
Step 4 - Set Up Metabase Log with Rsyslog
In this step, we will set up the Metabase log to be processed to the specific log on the '/var/log' directory using the rsyslog.
First, create the Metabase log on the '/var/log' directory and change the owner of the log file to 'metabase' user.
sudo touch /var/log/metabase.log
sudo chown metabase:metabase /var/log/metabase.log
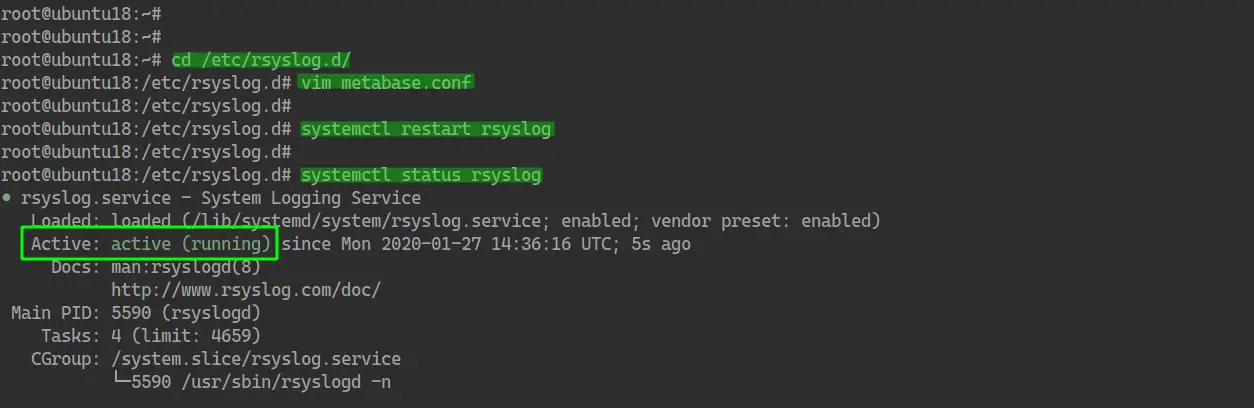
Now go to the '/etc/rsyslog.d' directory and create a new configuration 'metabase.log' using vim editor.
cd /etc/rsyslog.d/
vim metabase.conf
Paste the following configuration into it.
:msg,contains,"metabase" /var/log/metabase.log
& stop
Save and close.
After that, restart the rsyslog service.
systemctl restart rsyslog
And the configuration of the Metabase log with Rsyslog has been completed.
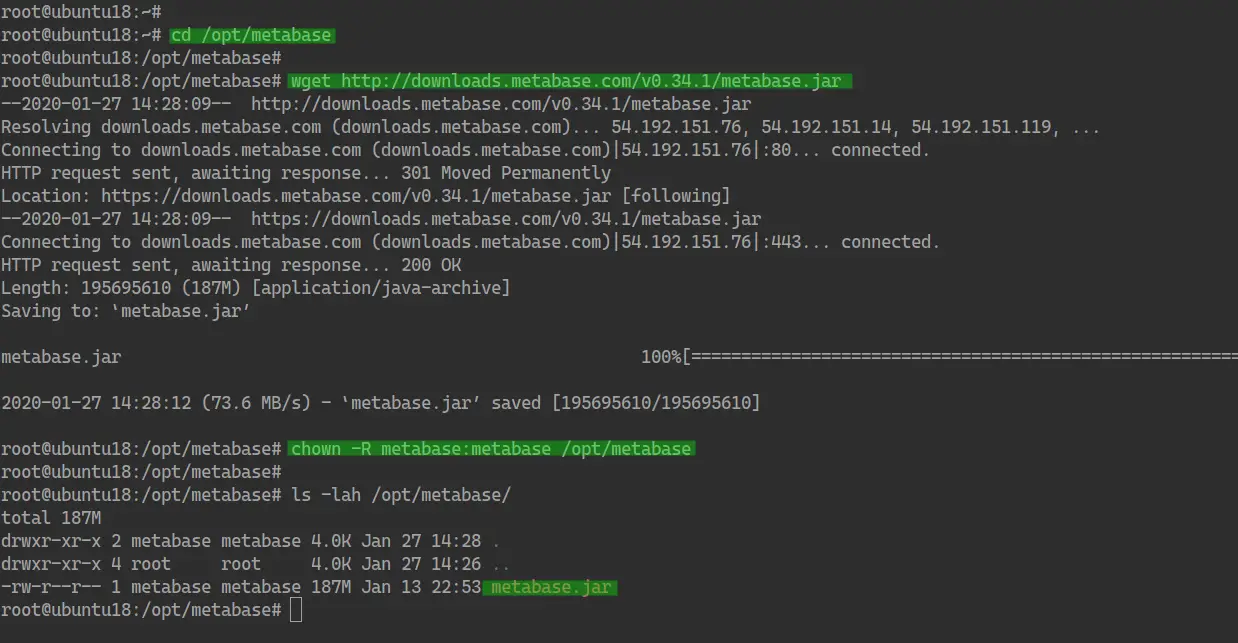
Step 5 - Download Metabase
Now go to the '/opt/metabase' directory.
cd /opt/metabase
Download the Metabase Jar file using the wget command.
wget http://downloads.metabase.com/v0.34.1/metabase.jar
Now change the owner of the '/opt/metabase' directory and all its file to the 'metabase' user and group.
chown -R metabase:metabase /opt/metabase
And the Metabase jar file has been downloaded.
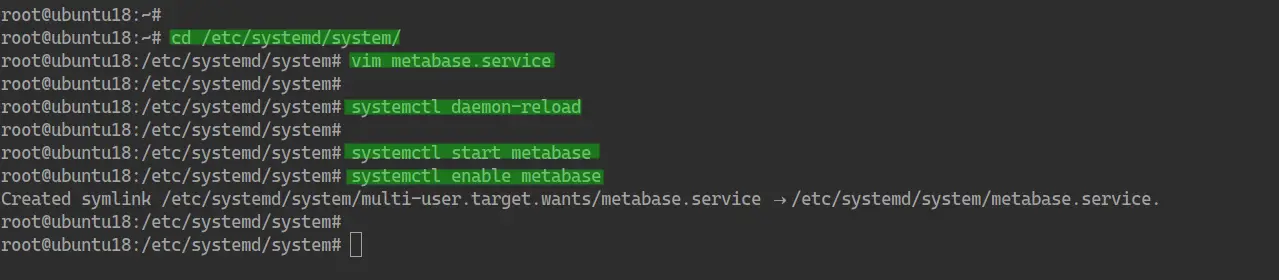
Step 6 - Running Metabase as a Systemd Service
In this step, we will create a new service file for Metabase.
Go to the '/etc/systemd/system' directory and create a new systemd service file 'metabase.service'.
cd /etc/systemd/system/
vim metabase.service
Paste the following configuration into it.
[Unit]
Description=Metabase server
After=syslog.target
After=network.target

[Service]
WorkingDirectory=/opt/metabase/
ExecStart=/usr/bin/java -jar /opt/metabase/metabase.jar
EnvironmentFile=/etc/default/metabase
User=metabase
Type=simple
StandardOutput=syslog
StandardError=syslog
SyslogIdentifier=metabase
SuccessExitStatus=143
TimeoutStopSec=120
Restart=always

[Install]
WantedBy=multi-user.target
Save and close.
Now reload the systemd manager.
systemctl daemon-reload
After that, start the metabase service and add it to the system boot.
systemctl start metabase
systemctl enable metabase
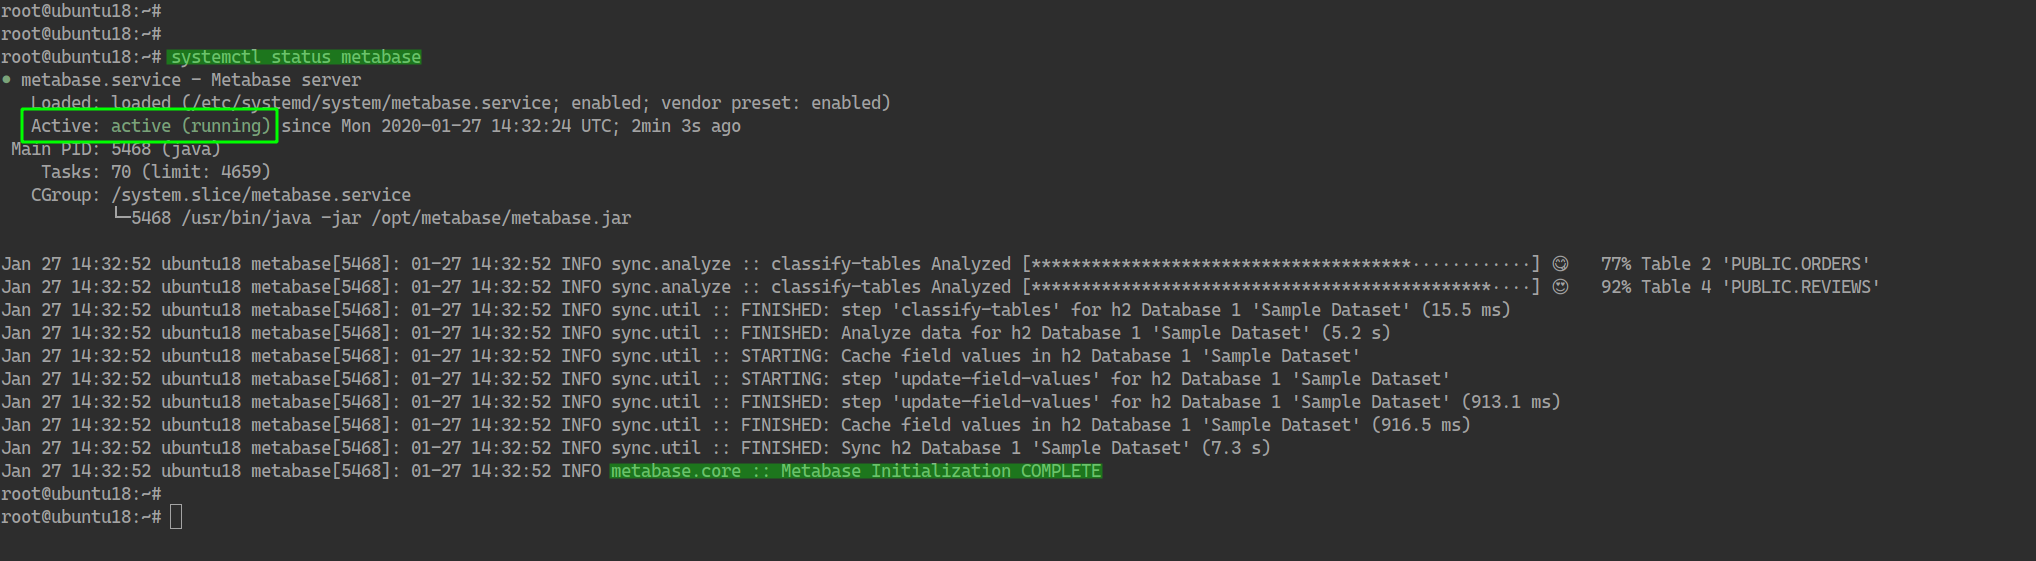
As a result, the metabase service is up and running. Check using the following command.
systemctl status metabase
Below is the result you will get.
Step 7 - Post Installation
By default, the Metabase is running on port '3000'. Open your web browser and type the server IP address with port '3000'.
http://10.10.10.100:3000/
Now you will get the Metabase installation as below.
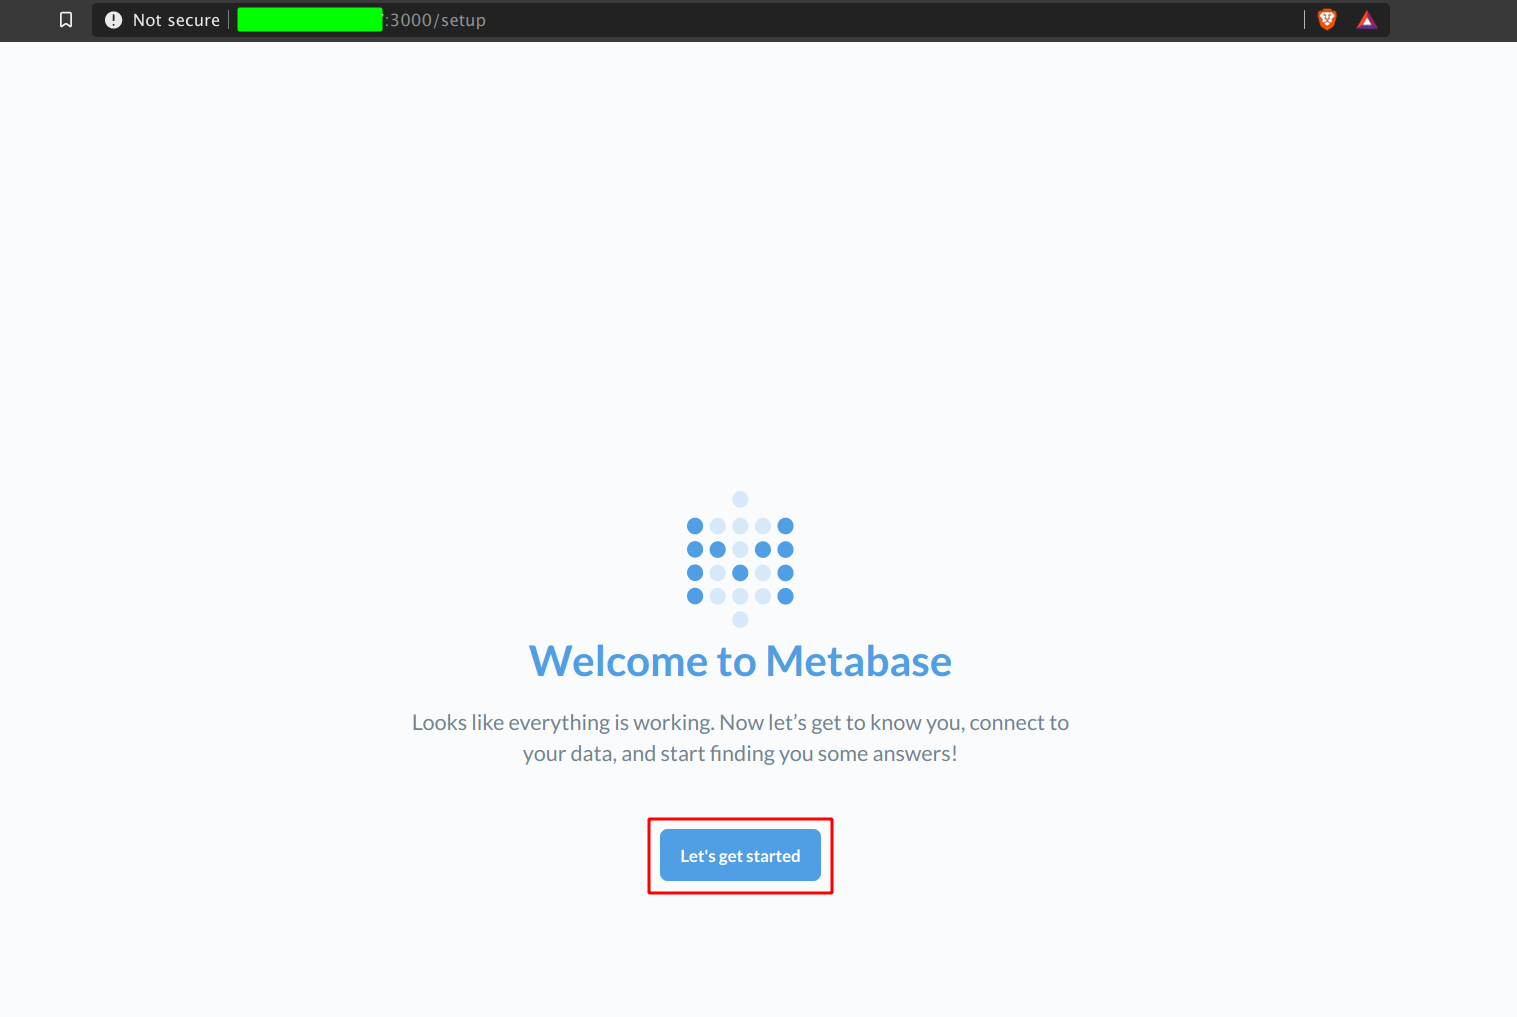
Click the 'Let's get started' button.
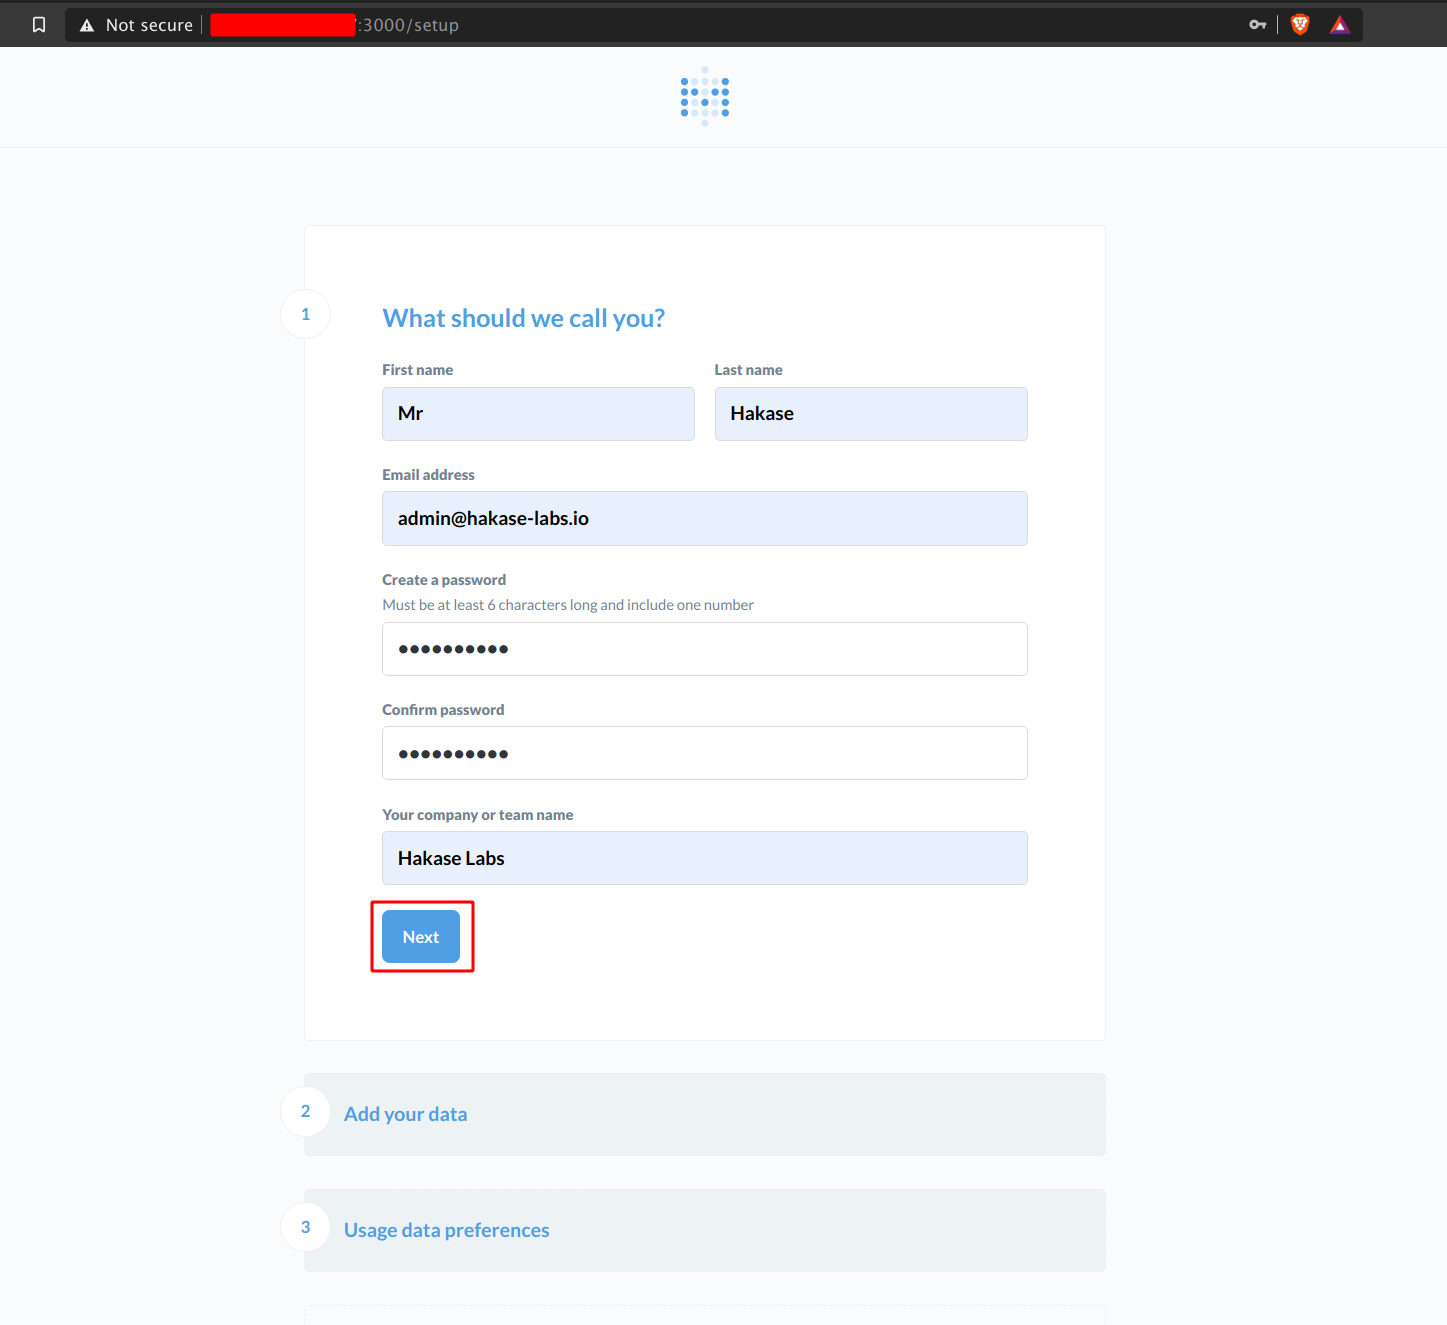
Now type your details admin account and click 'Next'.
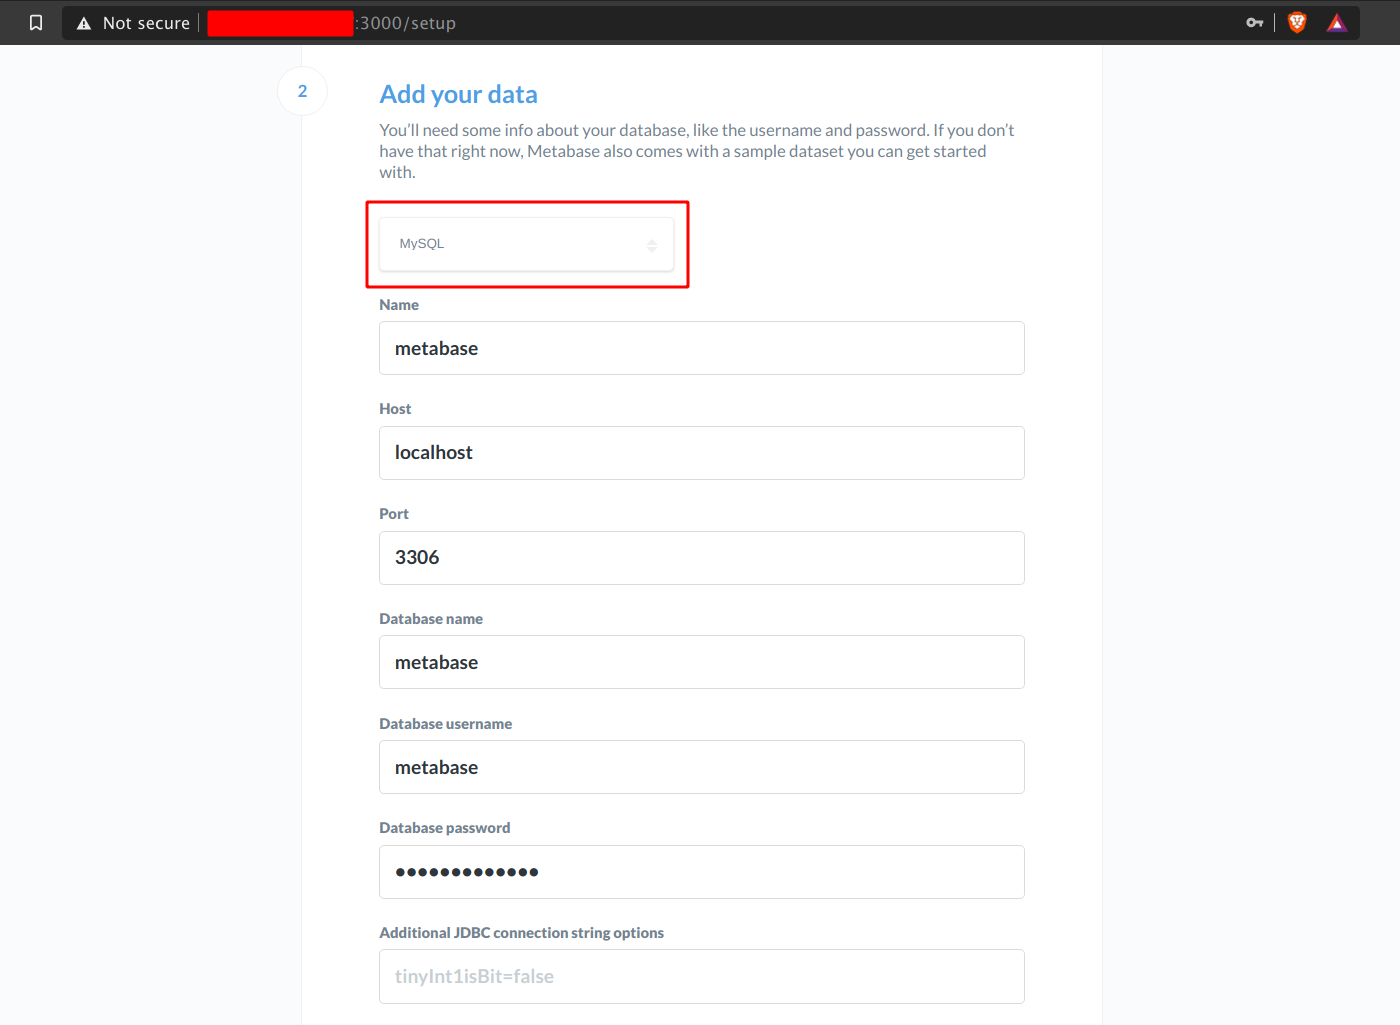
After that, add your data source and type details about your database information, then click the 'Next' button.
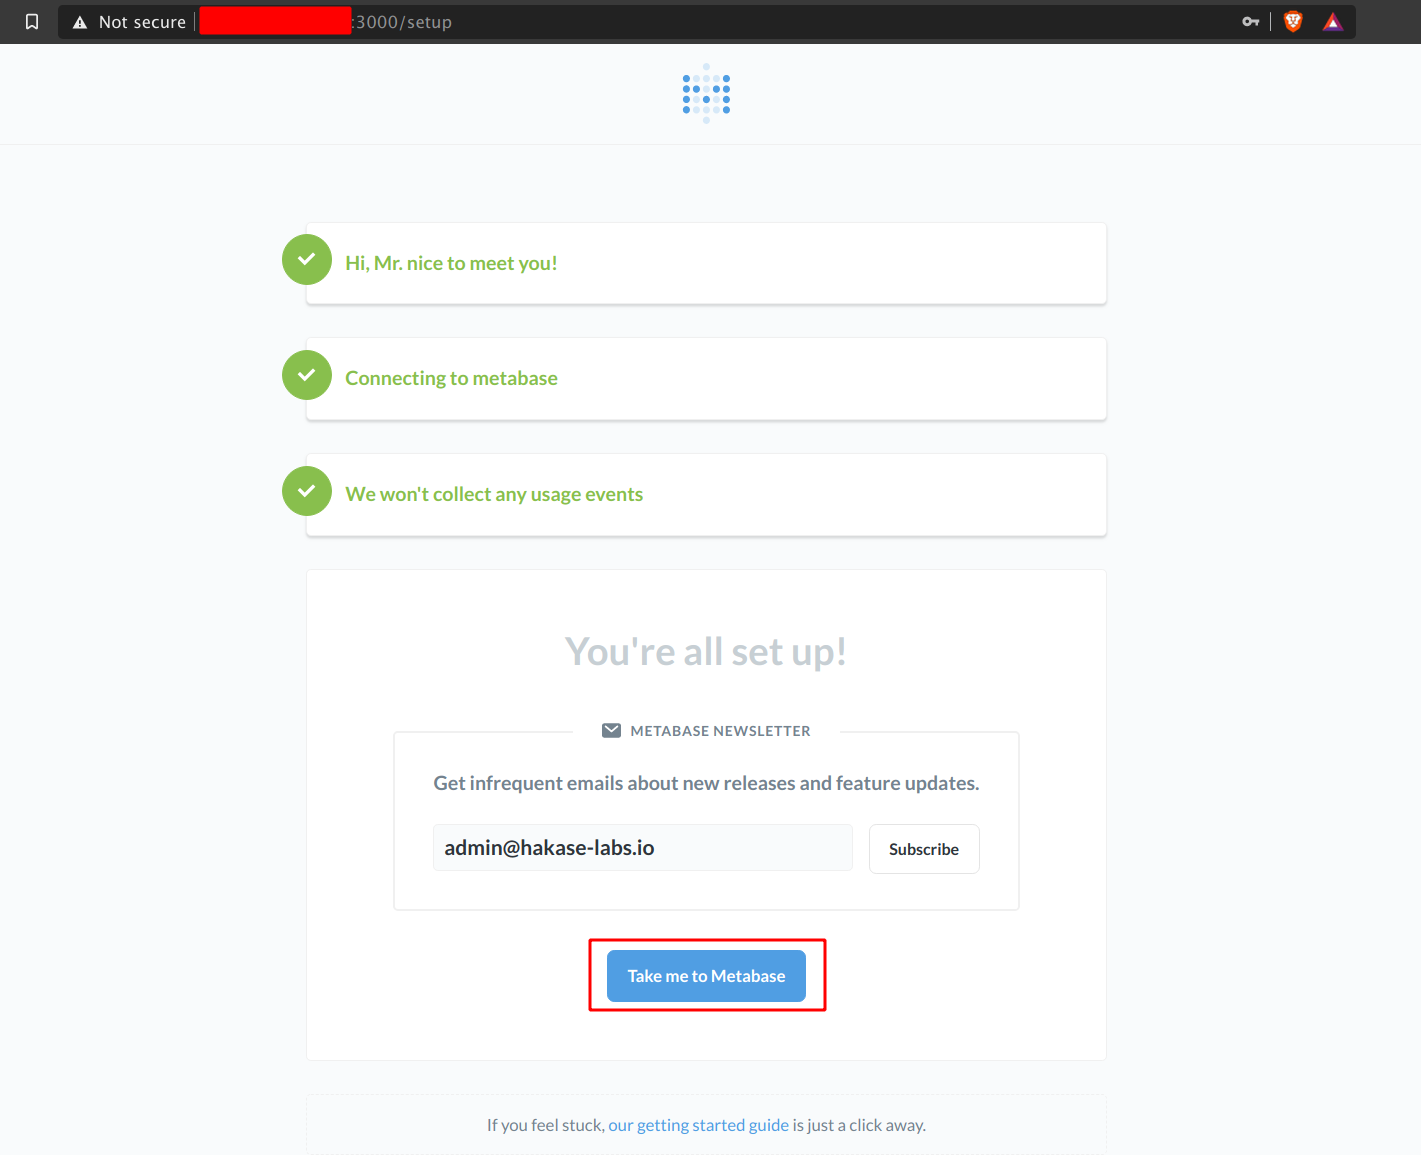
For the 'Usage data preferences' section, leave it as default and click 'Next' again.

And the Metabase post-installation has been completed. Click the button 'Take me to Metabase' and you will be redirected to the Metabase Dashboard.
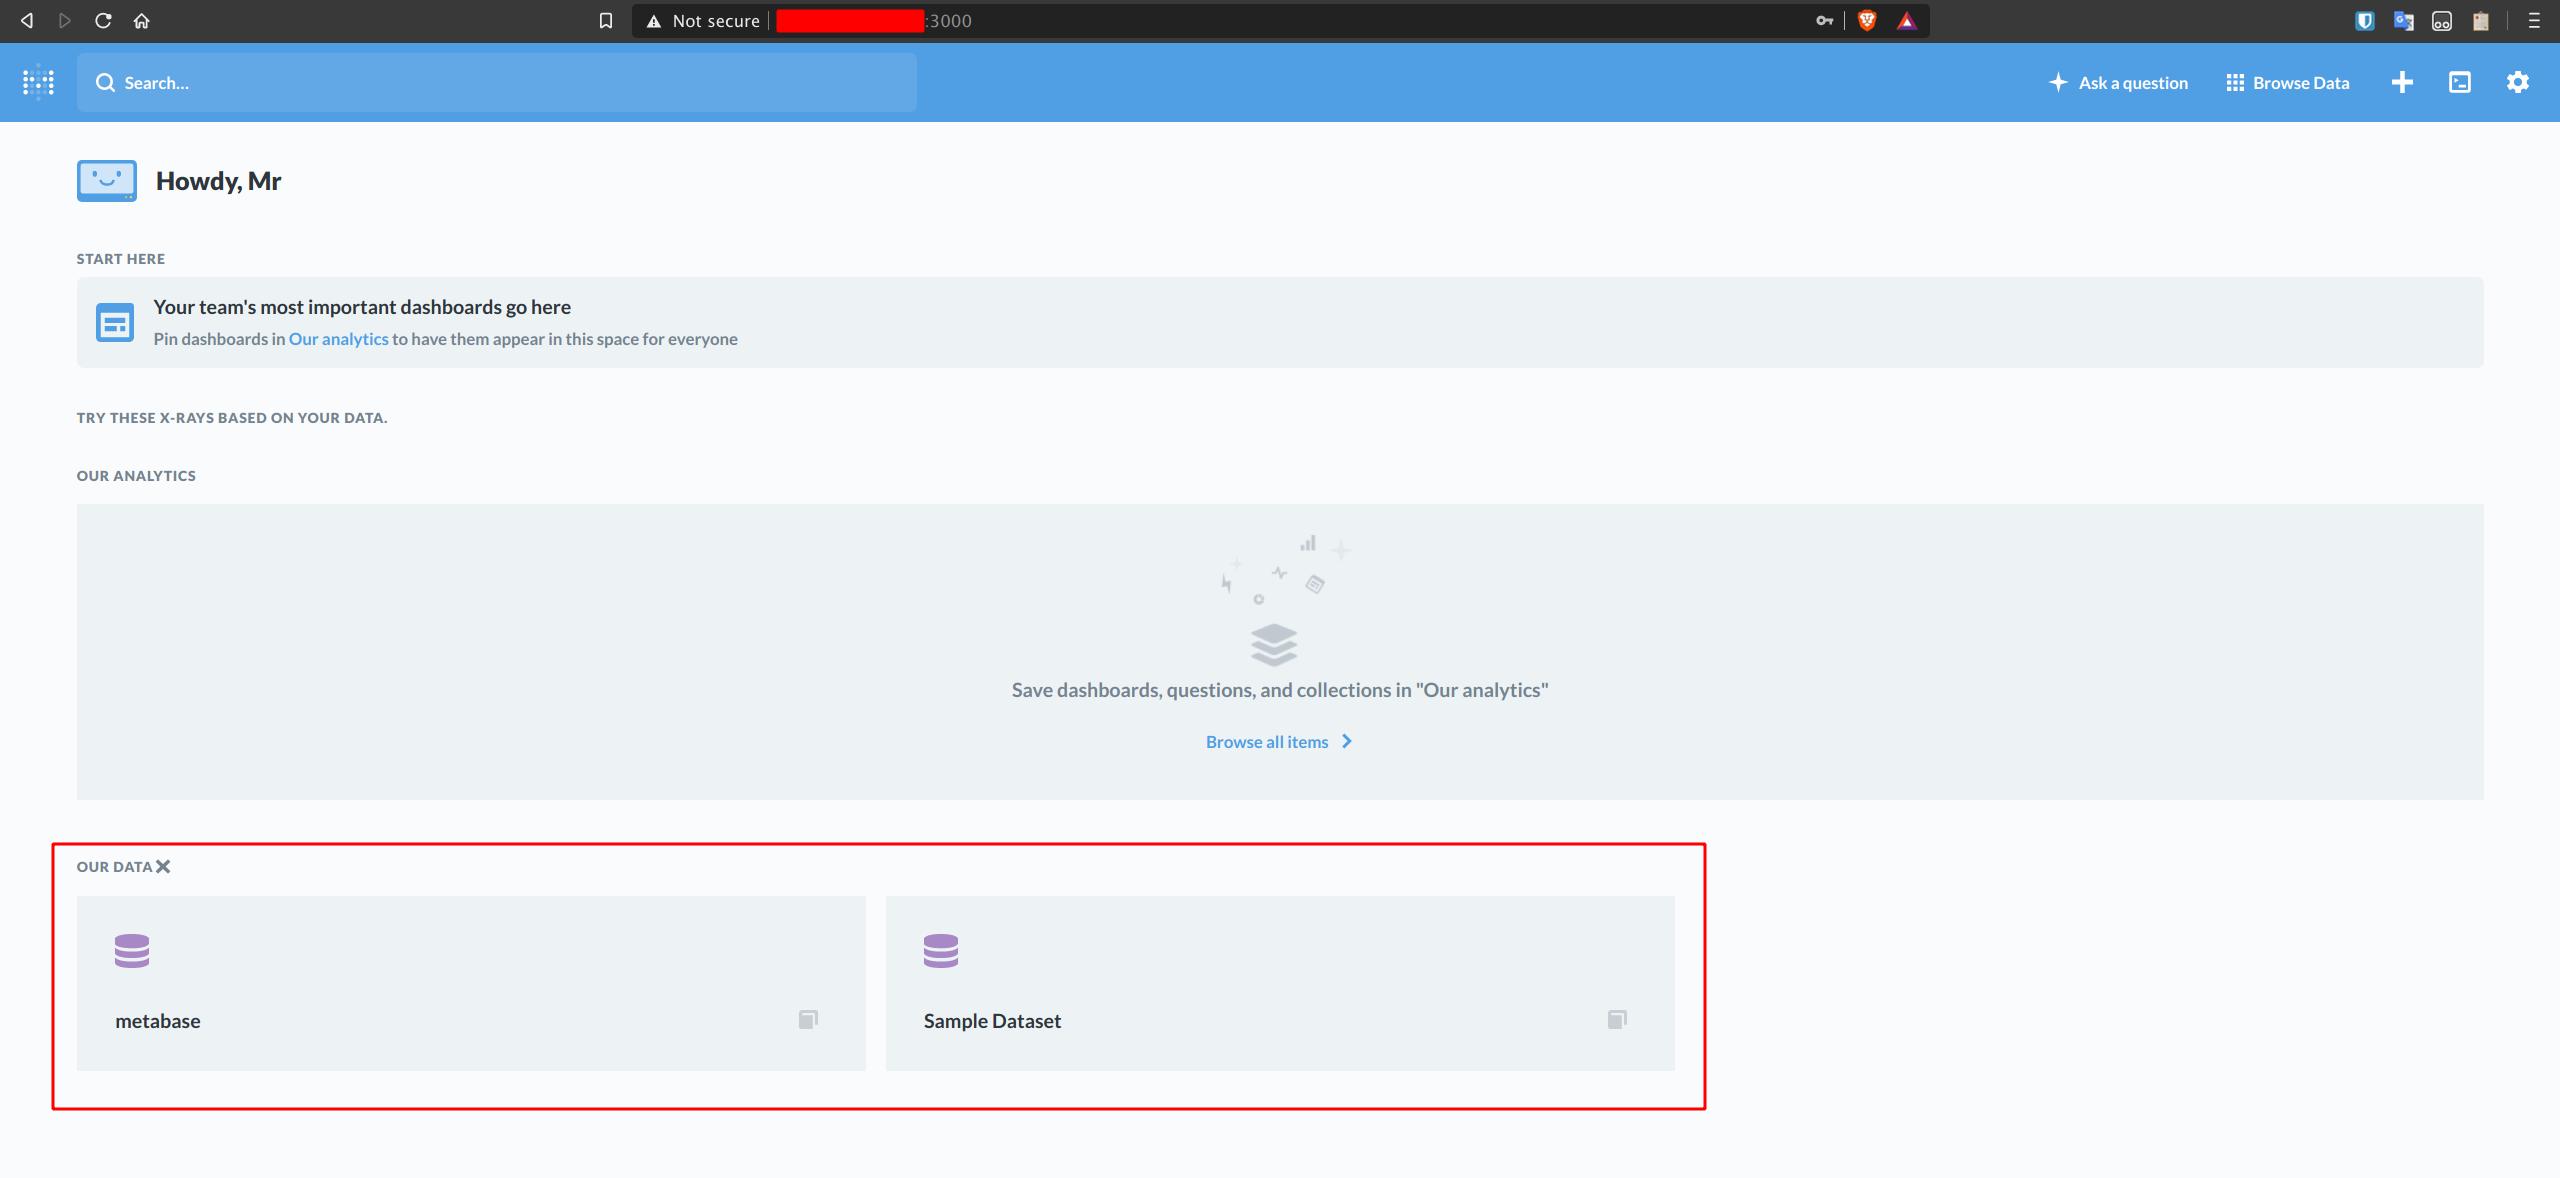
Below is the default Metabase dashboard.
As a result, the installation of Metabase on Ubuntu 18.04 has been completed successfully.

