How to Install JupyterLab on Ubuntu 24.04
JupyterLab is an open-source web-based interactive development environment that extends the classic Jupyter Notebook experience, providing a more flexible and powerful interface for data science and scientific computing tasks. It supports various programming languages, with a strong focus on Python, and offers features like code editing, data visualization, and interactive output in a single, integrated workspace. JupyterLab allows users to create and manage notebooks, text editors, terminals, and other custom components in a tabbed layout, enhancing productivity and collaboration. On Ubuntu, it can be easily installed via package managers like apt or through Python's package installer pip, making it an accessible tool for developers and researchers using this popular Linux distribution.
In this guide, you’ll learn how to install Jupyter on Ubuntu 24.04. You’ll install and secure Jupyter with password authentication. Then you’ll install Nginx and configure it as a reverse proxy.
Prerequisites
Before you start, make sure you have the following requirements:
- An Ubuntu 24.04.
- A non-root user with administrator privileges.
- A domain name pointed to a server IP address (public or private domain).
Installing Dependencies
In this section, you’ll install dependencies for Jupyter, which includes Python, Pip, venv, and Node.js. Those packages are available by default on the Ubuntu repository, and you’ll install them through the APT package manager.
To start, run the command below to update your Ubuntu package index.
sudo apt update
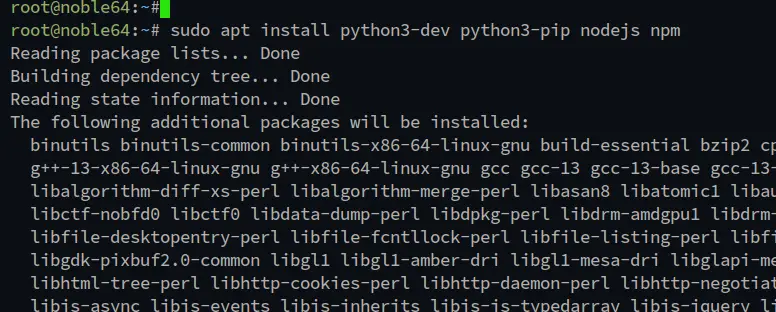
Now install Python3 and Node.js through the Ubuntu repository with the following - Enter Y to confirm the installation:
sudo apt install python3-dev python3-pip python3-venv nodejs npm
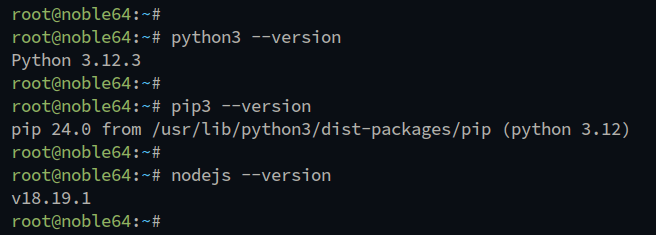
After the installation is complete, check the Python, Node.js, and Pip version with the following:
python3 -v
pip3 -v
node -v
You can see below Python 3.12, Node.js 18, and Pip 24 are installed.
Installing Jupyter
After installing dependencies, you’ll install Jupyter through Pip in the Python virtual environment. You’ll run Jupyter as a non-root user, so make sure you’ve created it.
Log in to your user with the command below - The following example will be using user alice:
su - alice
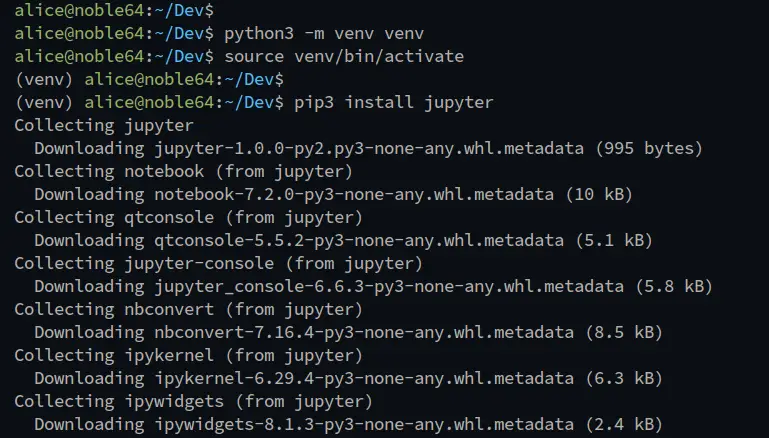
Run the command below to create a new directory ~/Dev and move into it. Then, create a new Python venv virtual environment.
mkdir -p ~/Dev; cd ~/Dev
python3 -v venv venv
Now activate the venv virtual environment with the following command. Once activated, your shell will become like (venv) user@hostname.
source venv/bin/activate
Next, run the pip3 command below to install Jupyter through PyPi repository:
pip3 install jupyter
Below you can see the jupyter installation through the pip3 command:
After the process is finished, check the Jupyter version with the following command:
jupyter --version
You will see the version of each Jupyter component, such as jupyterlab, jupyter_server, jupyter_client, jupyter_core, and iPython.
Configuring Jupyter
In this section, you’ll configure two main components Jupyter, which are jupyter_server and jupyterlab. You’ll generate configuration and set up password authentication for both components. Then, you’ll run Jupyter through the command line.
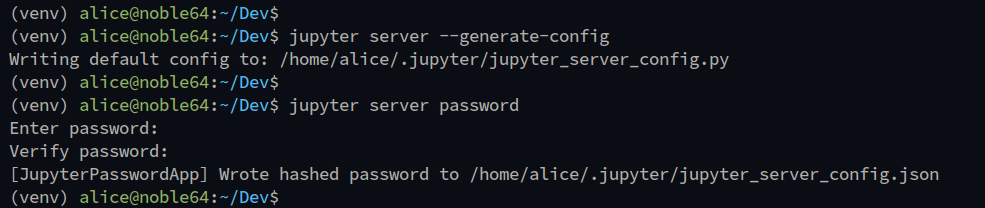
First, run the jupyter command below to generate the jupyter_server configuration and password. Enter your password when prompted and repeat.
jupyter server --generate-config
jupyter server password
You can see below the jupyter_server configuration is generated to ~/.jupyter/jupyter_server_config.py, and the password file is written to ~/.jupyter/jupyter_server_config.json.
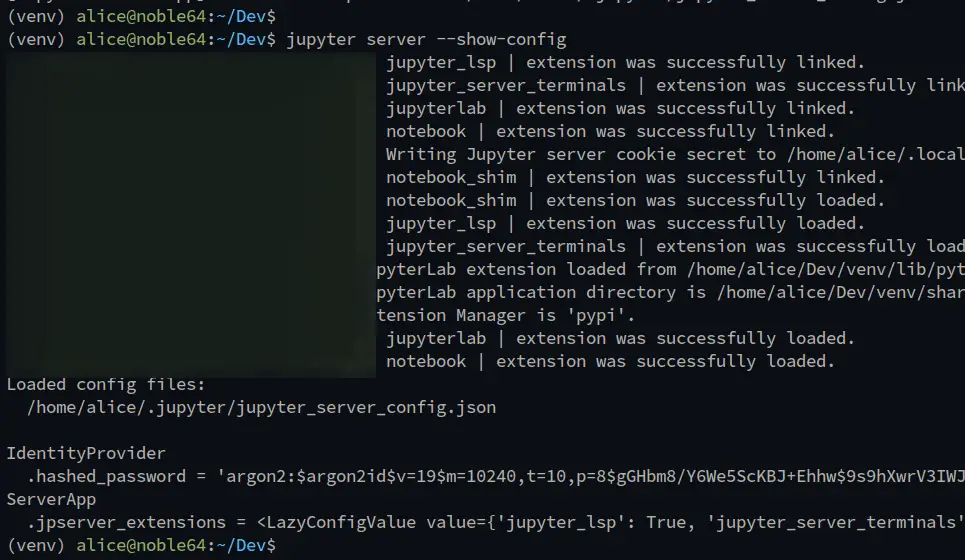
Check the jupyter_server configuration with the command below.
jupyter server --show-config
And you will see the similar output like the following:
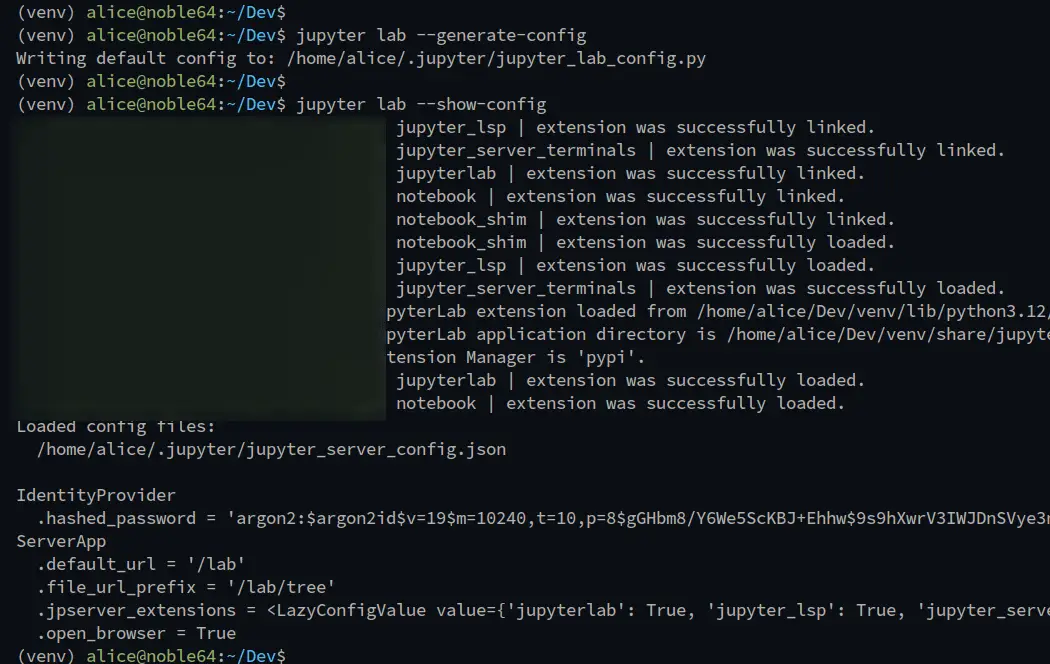
Next, run the jupyter command below to generate the jupyterlab configuration to ~/.jupyter/jupyter_lab_config.py. Then, check the jupyterlab configuration.
jupyter lab --generate-config
jupyter lab --show-config
In the following output, the default URL path for jupyterlab is /lab.
Now run the jupyter command below to start jupyterlab from the command line. The jupyterlab should be running on port 8888 and the URL path lab.
jupyter lab --ip 0.0.0.0
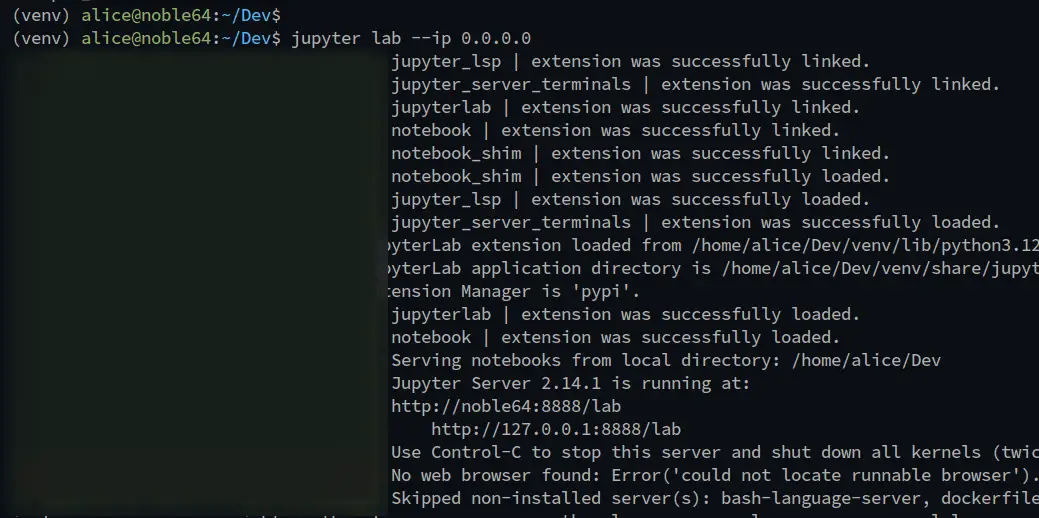
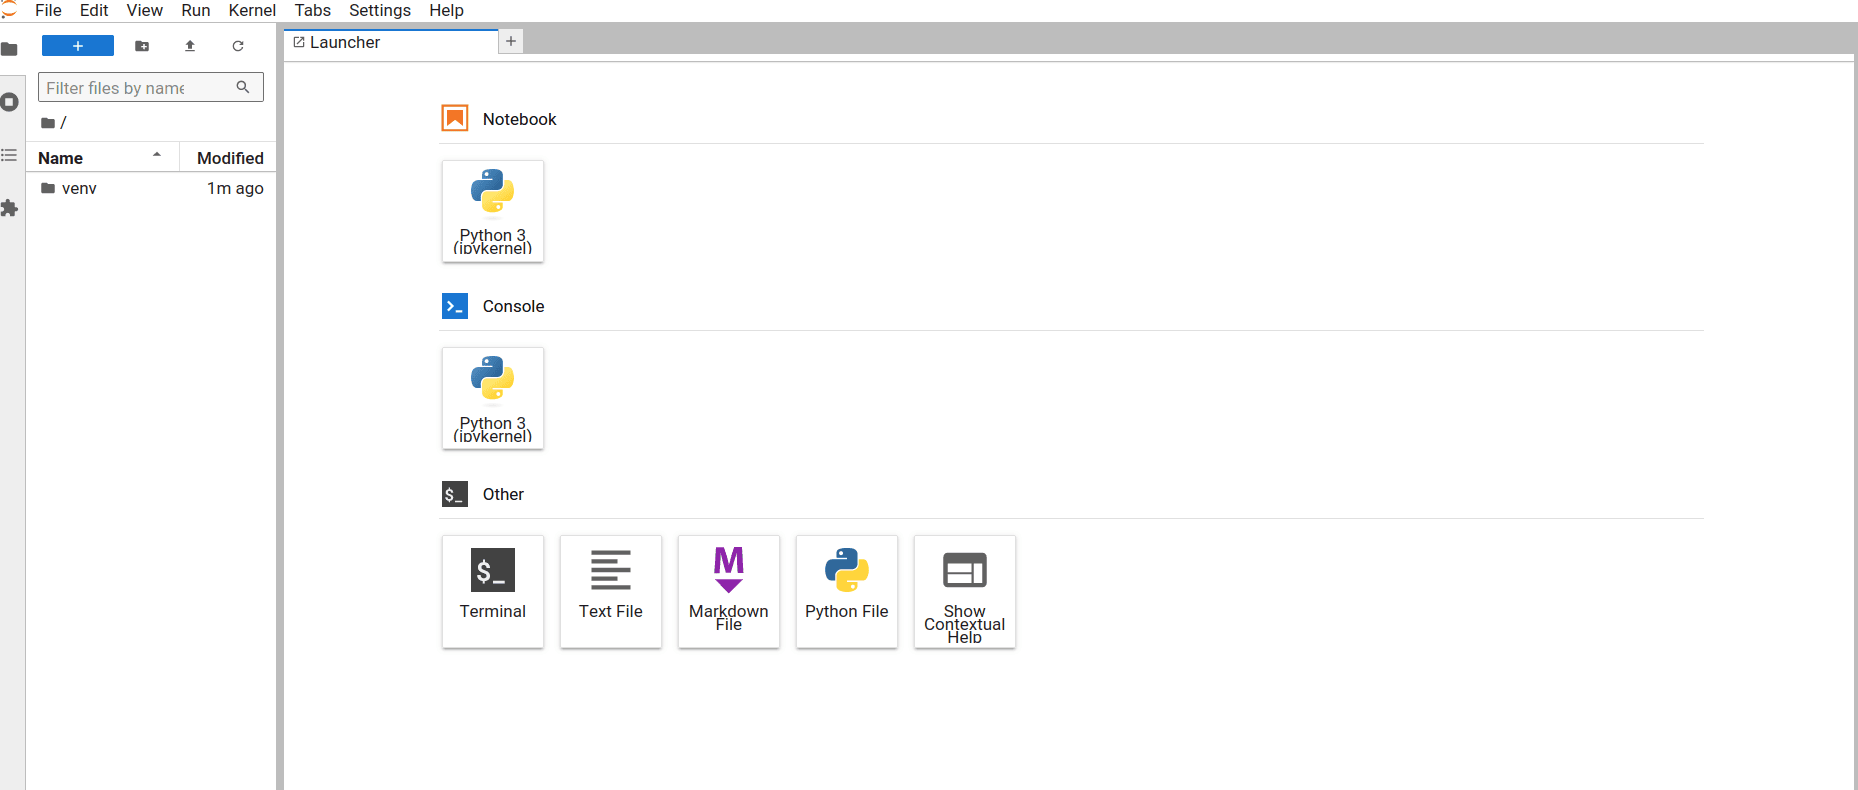
Visit http://server-ip:8888/lab to access your jupyterlab installation. You will see the following Jupyter dashboard.
Now press Ctrl+c and type yes to terminate the jupyterlab process.
Running JupyterLab as a service
In this guide, you’ll run Jupyter in the background as a service. So now you need to create a new systemd service file for Jupyter.
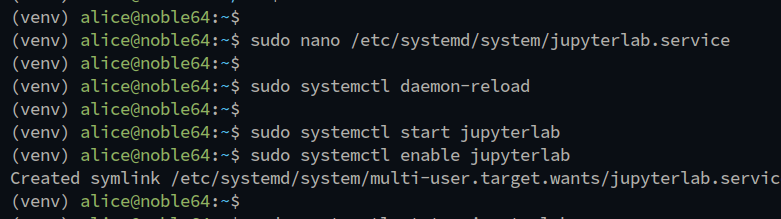
Create a new systemd service file /etc/systemd/system/jupyterlab.service with the following nano editor command.
sudo nano /etc/systemd/system/jupyterlab.service
Input the following configuration and make sure to change user alice with your username.
[Unit]
Description=JupyterLab Service

[Service]
Type=simple
PIDFile=/run/jupyter.pid
ExecStart=/home/alice/Dev/venv/bin/jupyter lab --config=/home/alice/.jupyter/jupyter_lab_config.py
User=alice
Group=alice
WorkingDirectory=/home/alice/Dev
Restart=always
RestartSec=10

[Install]
WantedBy=multi-user.target
Save the file and exit the editor when finished.
Now run the command below to reload the systemd manager and activate your new service file.
sudo systemctl daemon-reload
Next, start and enable the jupyterlab service with the command below.
sudo systemctl start jupyterlab
sudo systemctl enable jupyterlab
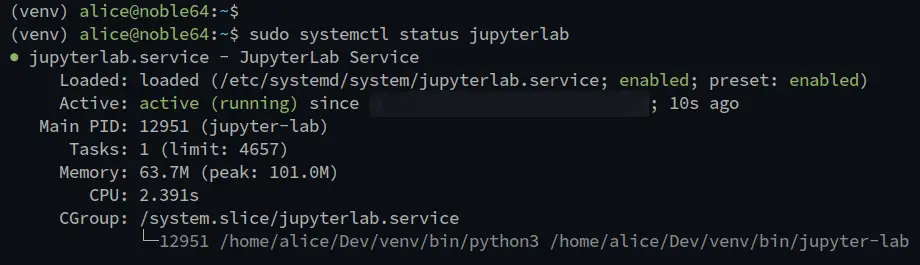
Lastly, run the command below to check the jupyterlab service status. You will see the jupyterlab service is running and enabled on your system.
sudo systemctl status jupyterlab
Allowing remote access to Jupyter
Before setting up Nginx as a reverse proxy, you need to allow remote access on the jupyterlab. Now you’ll modify the file ~/.jupyter/jupyter_lab_config.py and enable remote access.
First, open the jupyterlab configuration ~/.jupyter/jupyter_lab_config.py with the following nano editor.
nano ~/.jupyter/jupyter_lab_config.py
Uncomment the c.ServerApp.allow_remote_access option and change it to True. This will enable remote access for jupyterlab.
c.ServerApp.allow_remote_access = True
Save and exit the file when finished.
Now run the command below to restart the jupyterlab service and apply your changes. After remote access is enabled in Jupyter, a new token for setting up a password will be generated.
sudo systemctl restart jupyterlab
Take a look at the bottom of the message, and copy the generated token for Jupyter.

Setting up Nginx as a reverse proxy
In this section, you’ll install and configure Nginx as a reverse proxy for your Jupyter installation. So make sure you’ve your domain name, whether public or private domain name.
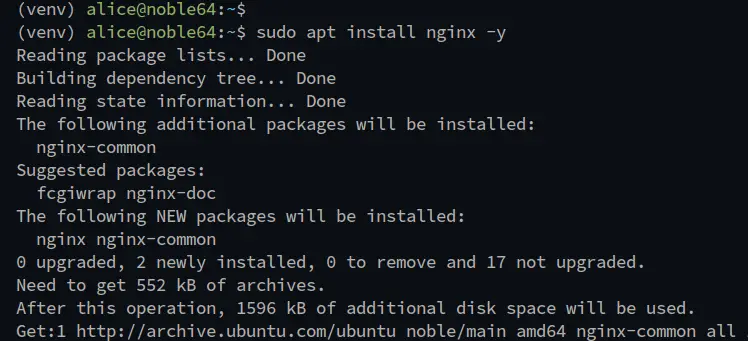
Install the Nginx web server with the command below - Input Y to proceed with the installation.
sudo apt install nginx
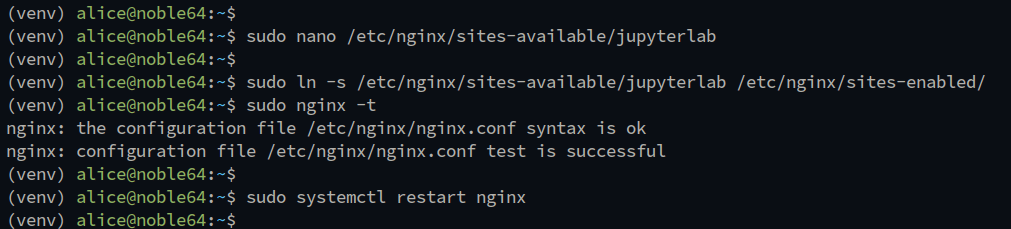
After the installation is complete, create a new Nginx server block configuration /etc/nginx/sites-available/jupyterlab with the following nano editor.
sudo nano /etc/nginx/sites-available/jupyterlab
Add the following configuration to the file and make sure to change the domain name within the server_name option.
server {
    listen 80;
    server_name lab.howtoforge.local;

    access_log /var/log/nginx/howtoforge.local.access.log;
    error_log /var/log/nginx/howtoforge.local.error.log;

    location / {
        proxy_pass http://127.0.0.1:8888;
        proxy_set_header X-Forwarded-For $proxy_add_x_forwarded_for;
        proxy_set_header X-Real-IP $remote_addr;
        proxy_set_header Host $http_host;
        proxy_http_version 1.1;
        proxy_redirect off;
        proxy_buffering off;
        proxy_set_header Upgrade $http_upgrade;
        proxy_set_header Connection "upgrade";
        proxy_read_timeout 86400;
    }
}
When done, save and exit the file.
Now run the command below to activate the jupyterlab server block and verify your Nginx syntax. If you have the correct configuration, you will get an output syntax is ok ... test is successful.
sudo ln -s /etc/nginx/sites-available/jupyterlab /etc/nginx/sites-enabled/
sudo nginx -t
Lastly, run the command below to restart Nginx and apply your new jupyterlab server block configuration. After the command is executed, your Jupyter is running under the Nginx reverse proxy.
sudo systemctl restart nginx
Accessing Jupyter
If you’re using Linux or MacOS, edit the /etc/hosts file. For Windows users, edit the C:\System32\drivers\etc\hosts file as administrator.
Add your server IP address and the domain name Jupyter like the following:
192.168.5.65 lab.howtoforge.local
Save and exit the file.
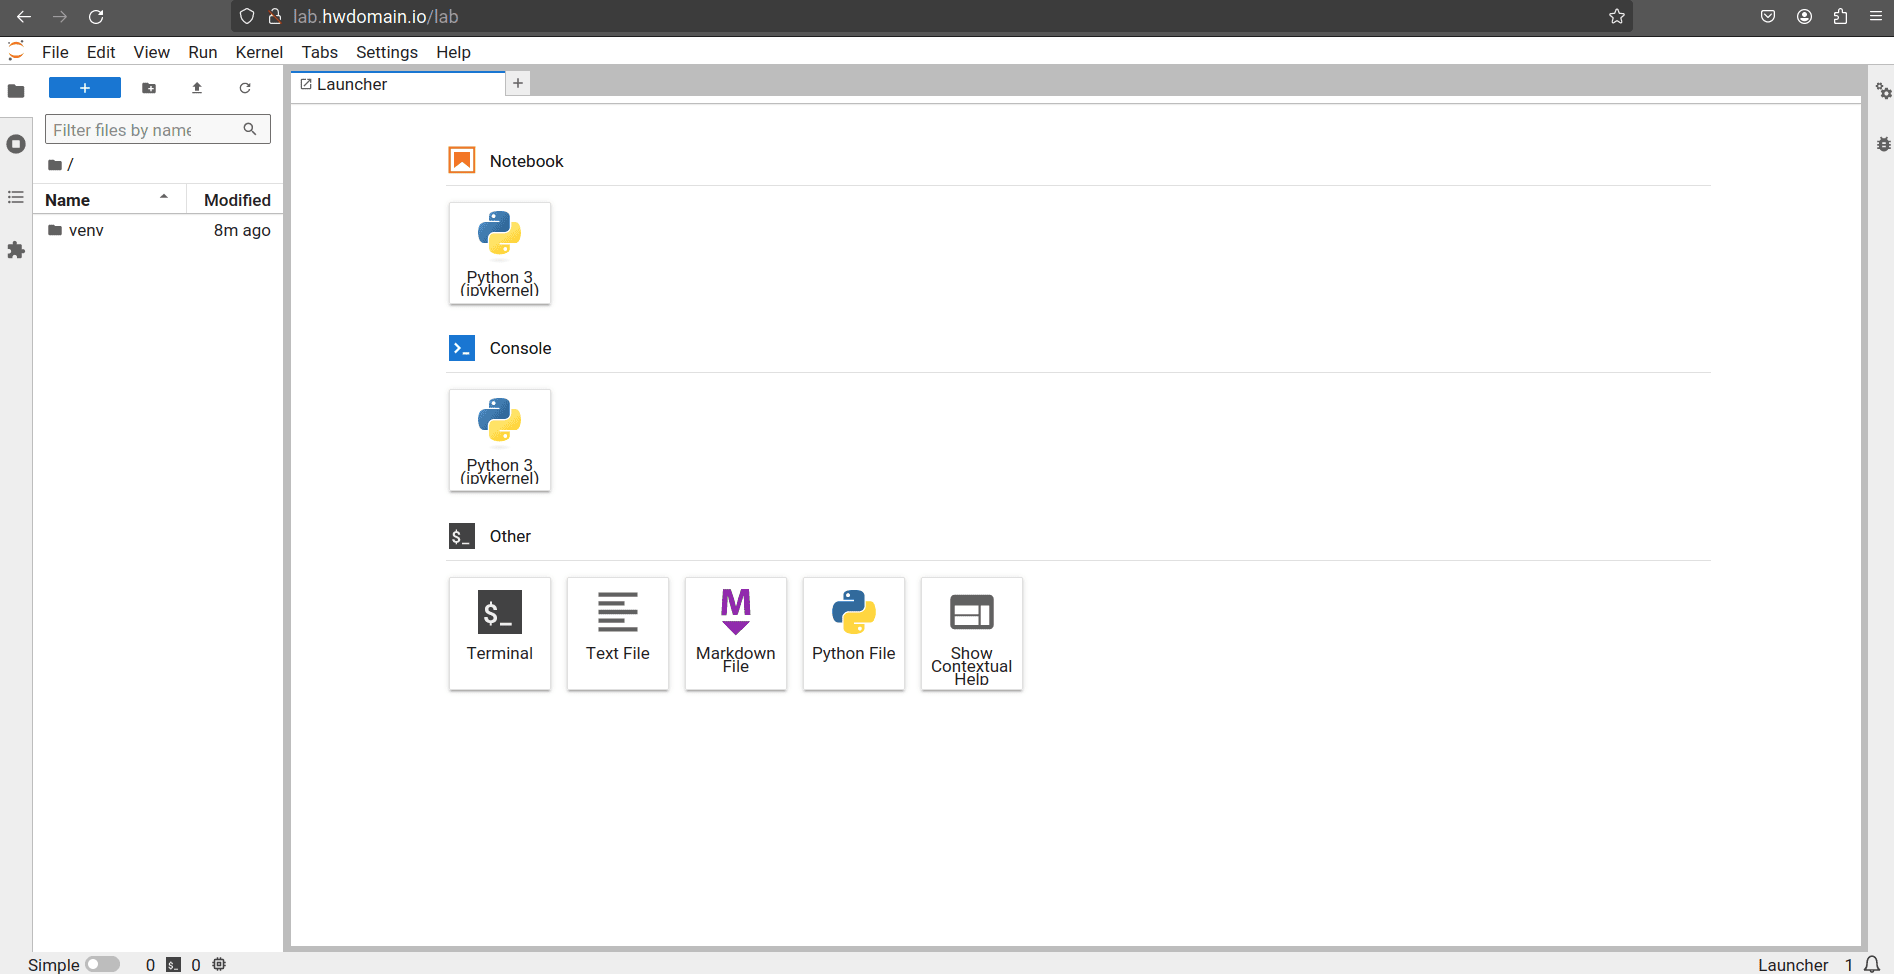
Now open your web browser and visit your Jupyter domain name such as http://lab.howtoforge.local/. If your configuration is successful, you will see the Jupyter login page.
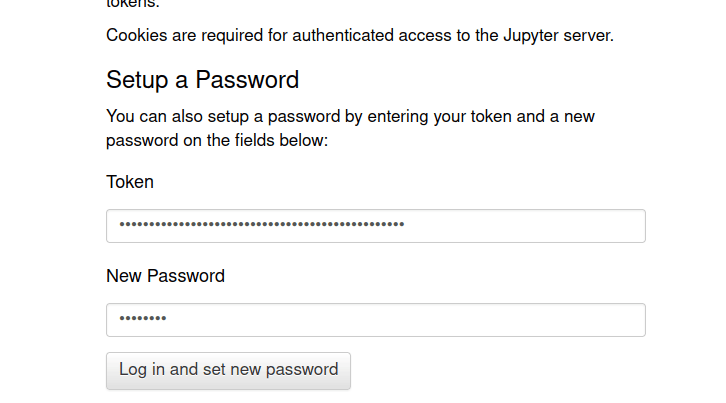
Scroll down to the bottom and paste the token for your Jupyter installation. Then, input the new password for Jupyter and click Log in and set new password.
If successful, you’ll see the Jupyter dashboard like the following - And your password for Jupyter also changed.
Conclusion
Congratulations! You’ve completed the installation of Jupyter on Ubuntu 24.04. You now have Jupyter running with Nginx as a reverse proxy and secured with password authentication. If you’re running Jupyter on a public server or VPS (Virtual Private Server), you must implement HTTPS on top of your Nginx reverse proxy. You can achieve that through Certbot and Letsencrypt.

