How to Install Jira Agile Project Management Tool on Ubuntu 22.04
This tutorial exists for these OS versions
- Ubuntu 22.04 (Jammy Jellyfish)
- Ubuntu 20.04 (Focal Fossa)
On this page
JIRA is a commercial software application developed by Atlassian for issue tracking and project management. It is available as a Trial version for a limited time. It is used in Support and Customer Services to create tickets and track the status of the created tickets. It provides a web-based interface to track work progress and issues. Its features include Bug and defect management, Advanced Security, Advanced reporting, Customizable dashboards, Search and filtering, Customizable workflows and administration, and many more.
This tutorial will show you how to install the JIRA project management tool on Ubuntu 22.04 server.
Prerequisites
- A server running Ubuntu 22.04 with a minimum 4GB of RAM.
- A valid domain name pointed with your server IP.
- A root password is configured on the server.
Getting Started
First, updating your system package cache with the latest version is a good idea. You can update them using the following command:
apt-get update -y
Once all the packages are updated, install other required dependencies with the following command:
apt-get install unzip fontconfig -y
Once you are finished, you can proceed to the next step.
Install and Configure MySQL Database
JIRA uses MySQL/MariaDB as a database backend. So you will need to install the MySQL server on your server. You can install it with the following command:
apt-get install mysql-server -y
Once the MySQL server is installed, you can verify the status of the MySQL using the following command:
systemctl status mysql
You should see the following:
? mysql.service - MySQL Community Server
     Loaded: loaded (/lib/systemd/system/mysql.service; enabled; vendor preset: enabled)
     Active: active (running) since Sat 2022-06-25 15:06:03 UTC; 15s ago
    Process: 39046 ExecStartPre=/usr/share/mysql/mysql-systemd-start pre (code=exited, status=0/SUCCESS)
   Main PID: 39070 (mysqld)
     Status: "Server is operational"
      Tasks: 38 (limit: 4579)
     Memory: 359.3M
        CPU: 1.047s
     CGroup: /system.slice/mysql.service
             ??39070 /usr/sbin/mysqld

Jun 25 15:06:02 ubuntu2204 systemd[1]: Starting MySQL Community Server...
Jun 25 15:06:03 ubuntu2204 systemd[1]: Started MySQL Community Server.
Next, log in to the MySQL shell with the following command:
mysql
Once login, create a database and user for JIRA with the following command:
mysql> CREATE DATABASE jira CHARACTER SET utf8mb4 COLLATE utf8mb4_bin;
mysql> CREATE USER 'jira'@'localhost' IDENTIFIED BY 'password';
Next, grant all the privileges to the jiradb with the following command:
mysql> GRANT ALL ON jira.* TO 'jira'@'localhost' WITH GRANT OPTION;
Next, flush the privileges and exit from the MariaDB shell with the following command:
mysql> FLUSH PRIVILEGES; mysql> EXIT;
Once you are finished, you can proceed to the next step.
Install JIRA Ubuntu 22.04
First, visit the Jira official download page and download the latest version of JIRA with the wget command as shown below:
wget https://www.atlassian.com/software/jira/downloads/binary/atlassian-jira-software-9.0.0-x64.bin
Once the download is completed, change the permission of the downloaded file with the following command:
chmod a+x atlassian-jira-software-9.0.0-x64.bin
Next, install the JIRA software by running the downloaded binary as shown below:
./atlassian-jira-software-9.0.0-x64.bin
You should see the following output:
This will install Jira Software 9.0.0 on your computer.
OK [o, Enter], Cancel [c]
Press Enter to continue. You should see the following output:
Click Next to continue, or Cancel to exit Setup.

Choose the appropriate installation or upgrade option.
Please choose one of the following:
Express Install (use default settings) [1], Custom Install (recommended for advanced users) [2, Enter], Upgrade an existing Jira installation [3]
2
Type 2 and hit Enter for custom install. You should see the following output:
Select the folder where you would like Jira Software to be installed.
Where should Jira Software be installed?
[/opt/atlassian/jira]
Select the Jira installation path and hit Enter. You should see the following output:
Default location for Jira Software data
[/var/atlassian/application-data/jira]
Now, press Enter to continue. You should see the following output:
Configure which ports Jira Software will use.
Jira requires two TCP ports that are not being used by any other
applications on this machine. The HTTP port is where you will access Jira
through your browser. The Control port is used to startup and shutdown Jira.
Use default ports (HTTP: 8080, Control: 8005) - Recommended [1, Enter], Set custom value for HTTP and Control ports [2]
1
Type 1 and hit Enter to use default HTTP port. You should see the following output:
Jira can be run in the background.
You may choose to run Jira as a service, which means it will start
automatically whenever the computer restarts.
Install Jira as Service?
Yes [y, Enter], No [n]
y
Type y and hit Enter to install Jira as a Service. You should see the following output:
Details on where Jira Software will be installed and the settings that will be used.
Installation Directory: /opt/atlassian/jira
Home Directory: /var/atlassian/application-data/jira
HTTP Port: 8080
RMI Port: 8005
Install as service: Yes
Install [i, Enter], Exit [e]
i
Type i and hit Enter to start the installation. You should see the following output:
Please wait a few moments while Jira Software is configured.

Installation of Jira Software 9.0.0 is complete
Start Jira Software 9.0.0 now?
Yes [y, Enter], No [n]
y
Type y and hit Enter to start Jira software. Once the installation has been finished successfully, you should see the following output:
Please wait a few moments while Jira Software starts up.
Launching Jira Software ...

Installation of Jira Software 9.0.0 is complete
Your installation of Jira Software 9.0.0 is now ready and can be accessed
via your browser.
Jira Software 9.0.0 can be accessed at http://localhost:8080
Finishing installation ...
At this point, Jira is installed and listens on port 8080. You can check it with the following command.
ss -antpl | grep java
You should see the following output:
LISTEN 0      100                     *:8080            *:*    users:(("java",pid=36245,fd=187))
LISTEN 0      1      [::ffff:127.0.0.1]:8005            *:*    users:(("java",pid=36245,fd=414))
Configure JIRA
Next, you will need to download the MySQL JDBC driver and copy it to the Jira installation directory. First, download it with the following command:
wget https://dev.mysql.com/get/Downloads/Connector-J/mysql-connector-java-8.0.18.zip
Next, unzip the downloaded file with the following command:
unzip mysql-connector-java-8.0.18.zip
Next, copy the MySQL connector with the following command:
cp mysql-connector-java-8.0.18/mysql-connector-java-8.0.18.jar /opt/atlassian/jira/lib
Next, stop and start the Jira service to apply the changes:
/etc/init.d/jira stop
/etc/init.d/jira start
Access Jira Web UI
Now, open your web browser and access the Jira web interface using the URL http://your-server-ip:8080. You will be redirected to the following screen:
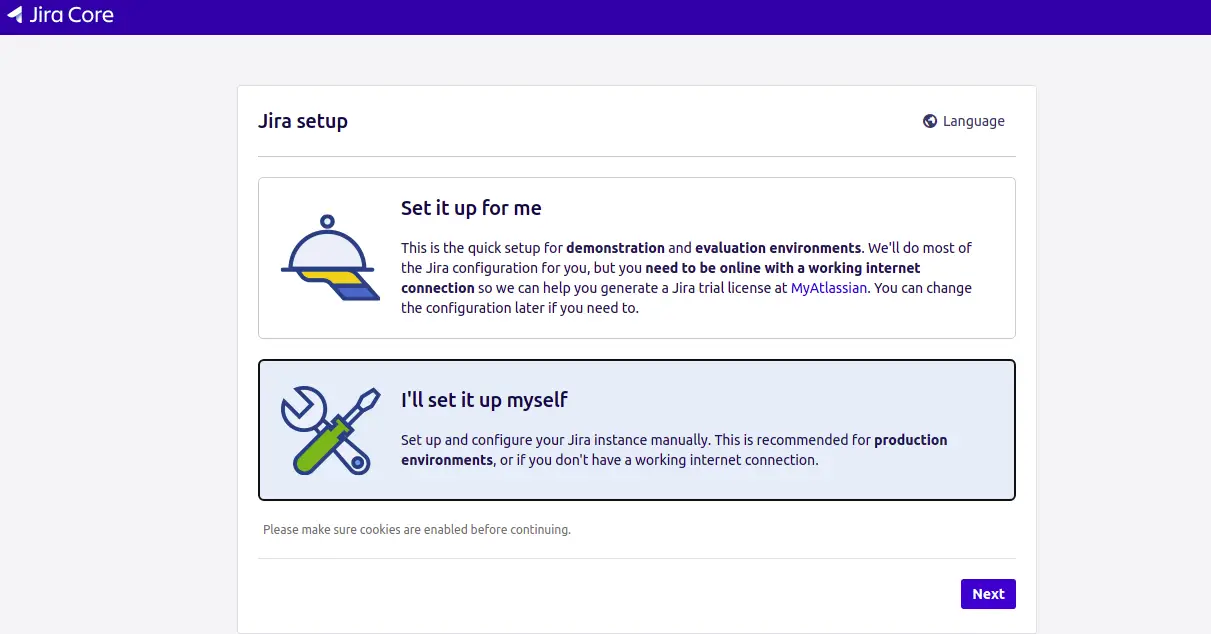
Select "i'will set it up myself" and click on the Next button. You should see the following screen:
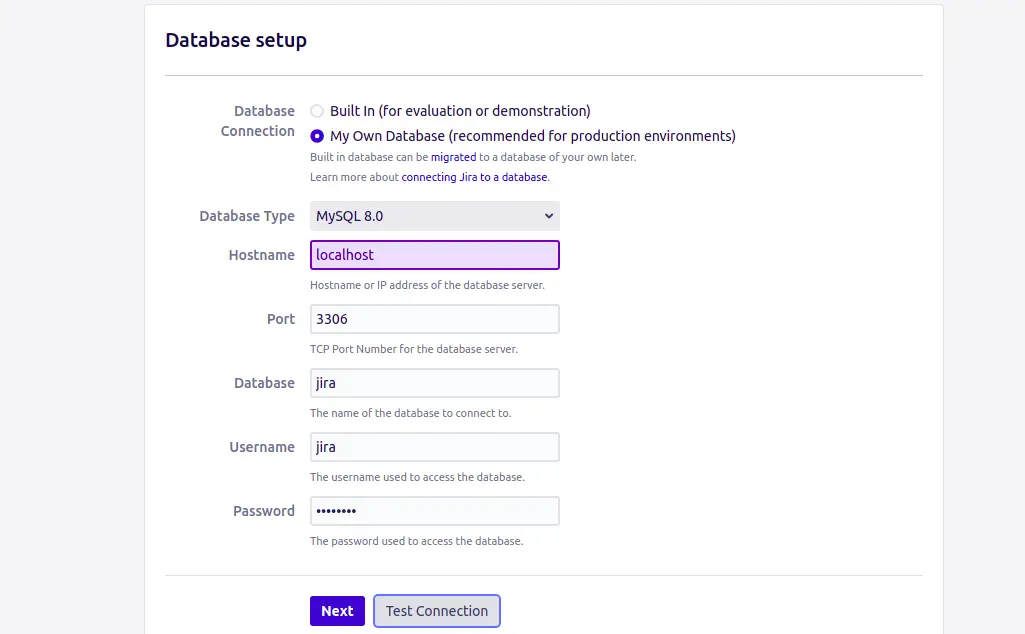
Select "My Own Database", provide your database details and click on the Next button. You should see the following screen:
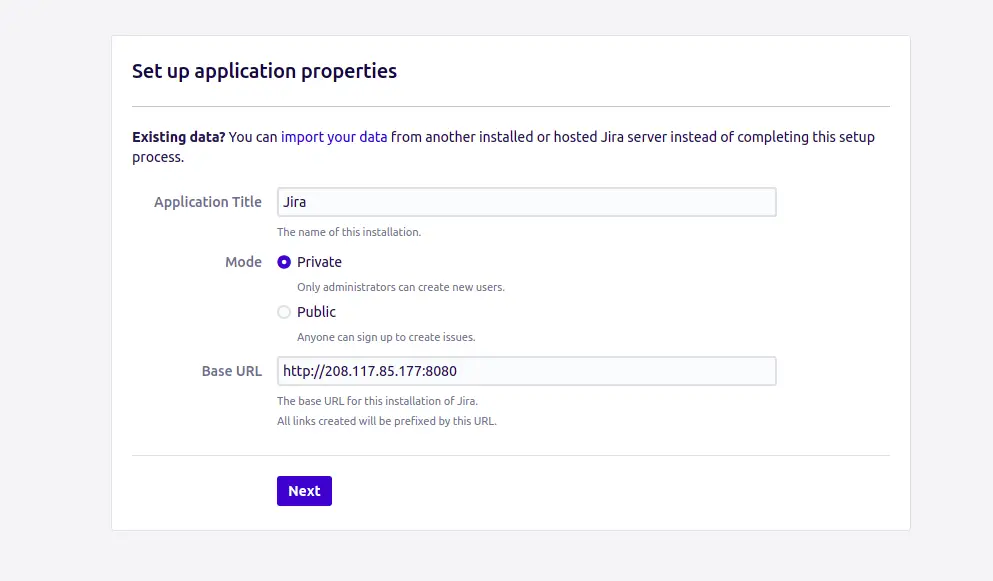
Provide your application title, Mode, URL, and click on the Next button. You should see the following screen:
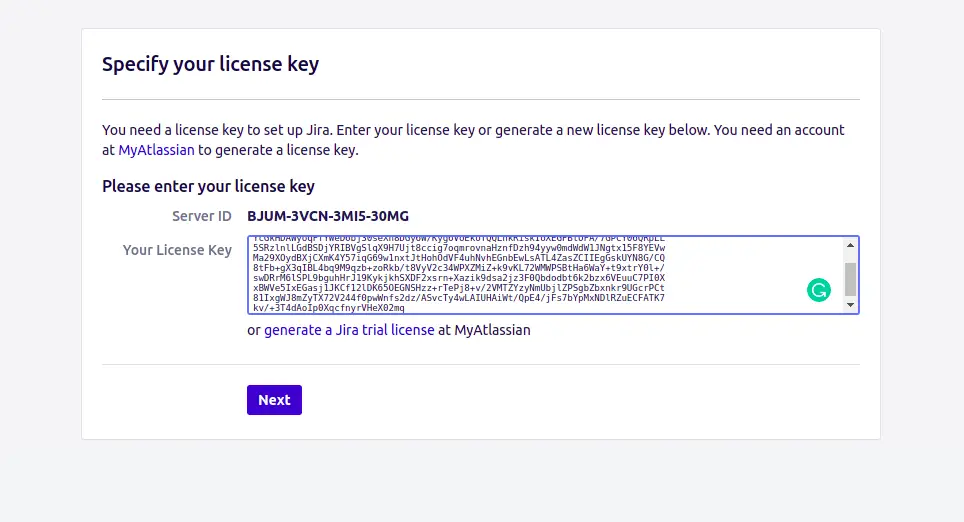
Provide your trial license key and click on the Next button. You should see the following screen:
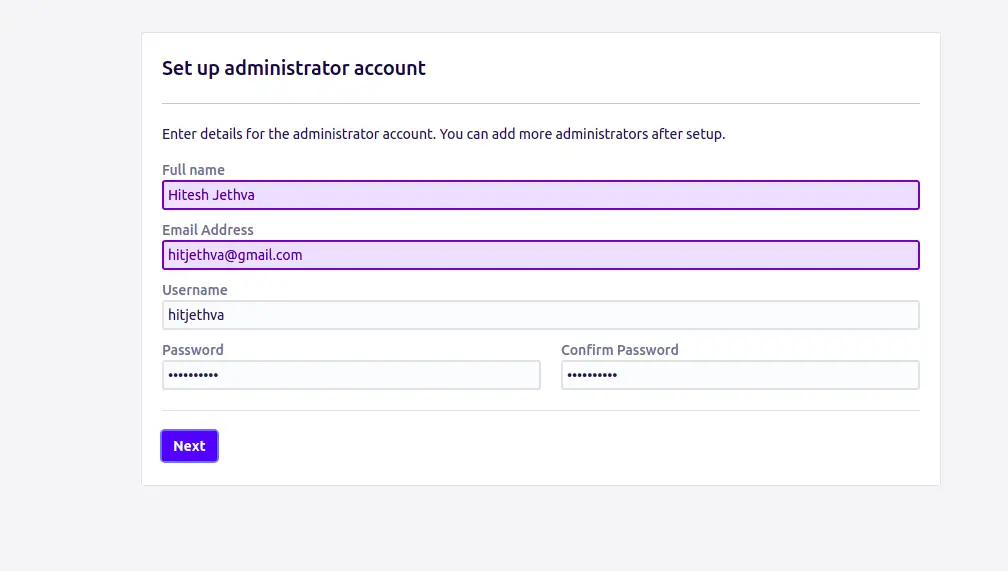
Provide your administrator account details and click on the Next button. You should see the following screen:

Click on the Finish button to complete the installation. You should see the language selection screen:

Select your desired language and click on the Continue button. You should see the following screen:
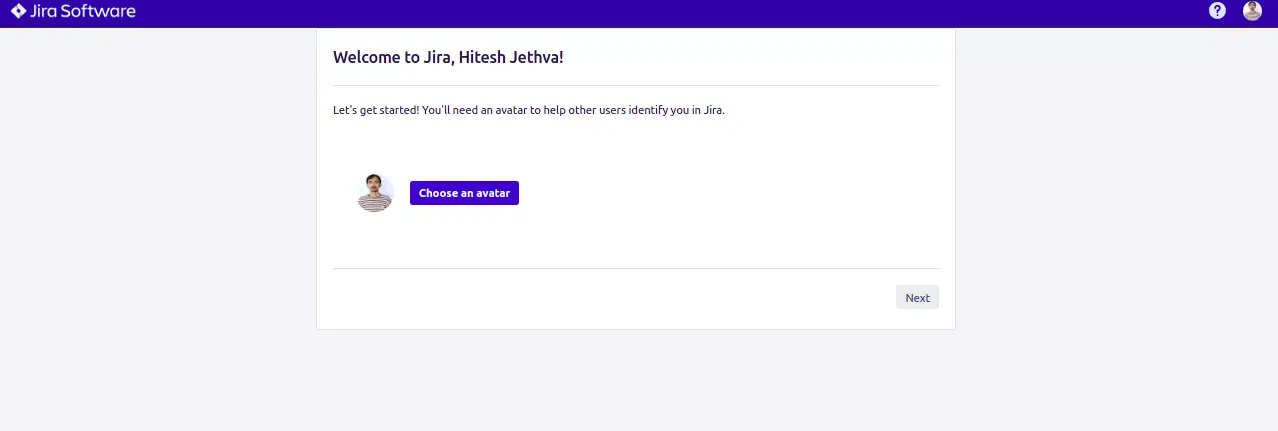
Choose your avatar and click on the Next button. You should see the following screen:
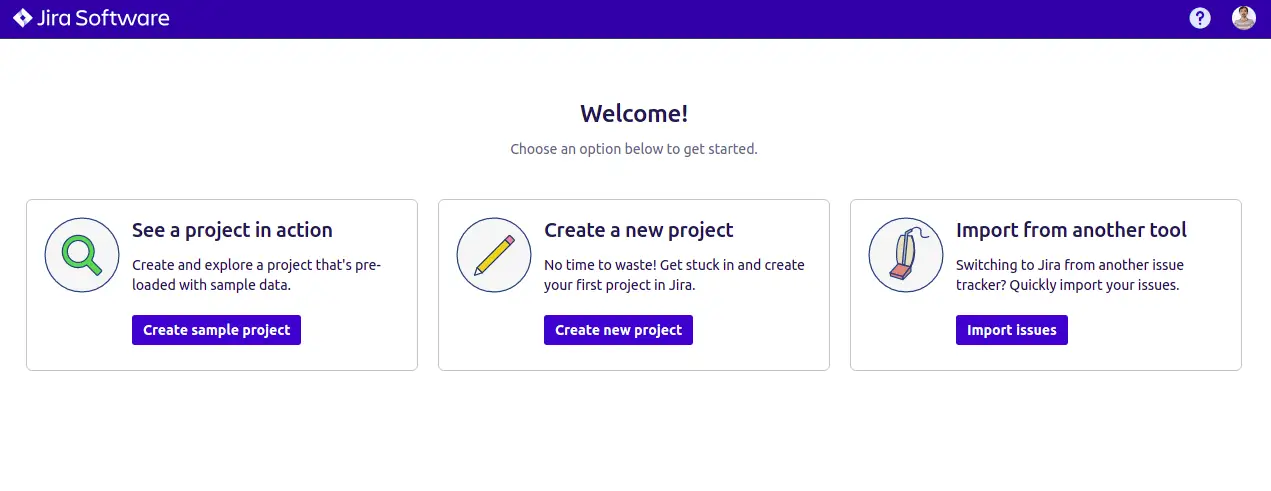
Click on "Create new project" to create your first project. You should see the following screen:
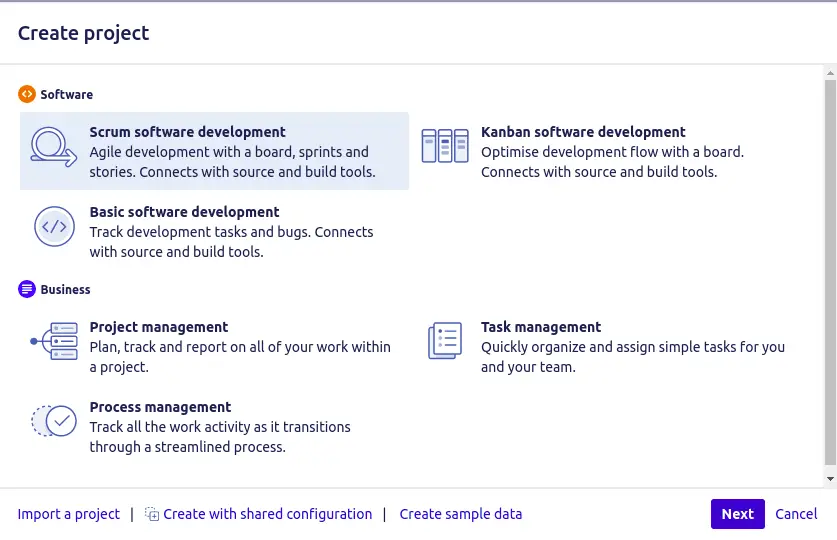
Select "Scrum software development" and click on the Next button. You should see the following screen:
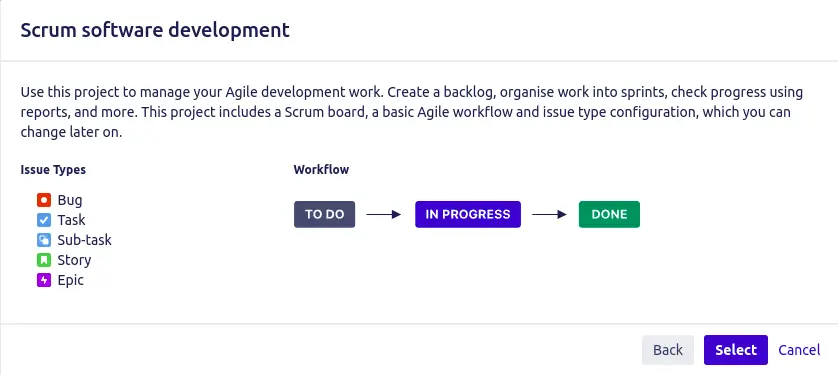
Click on the Select button to select your Workflow. You should see the following screen:
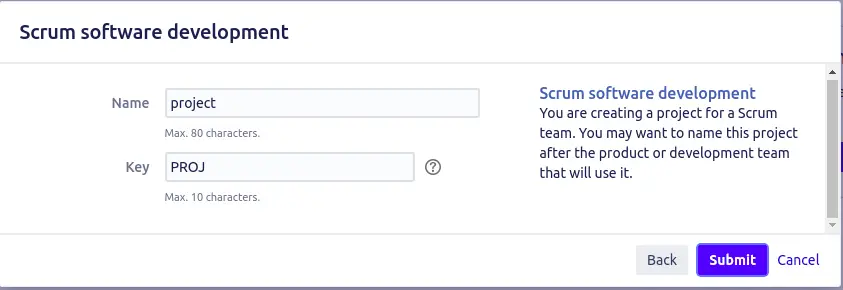
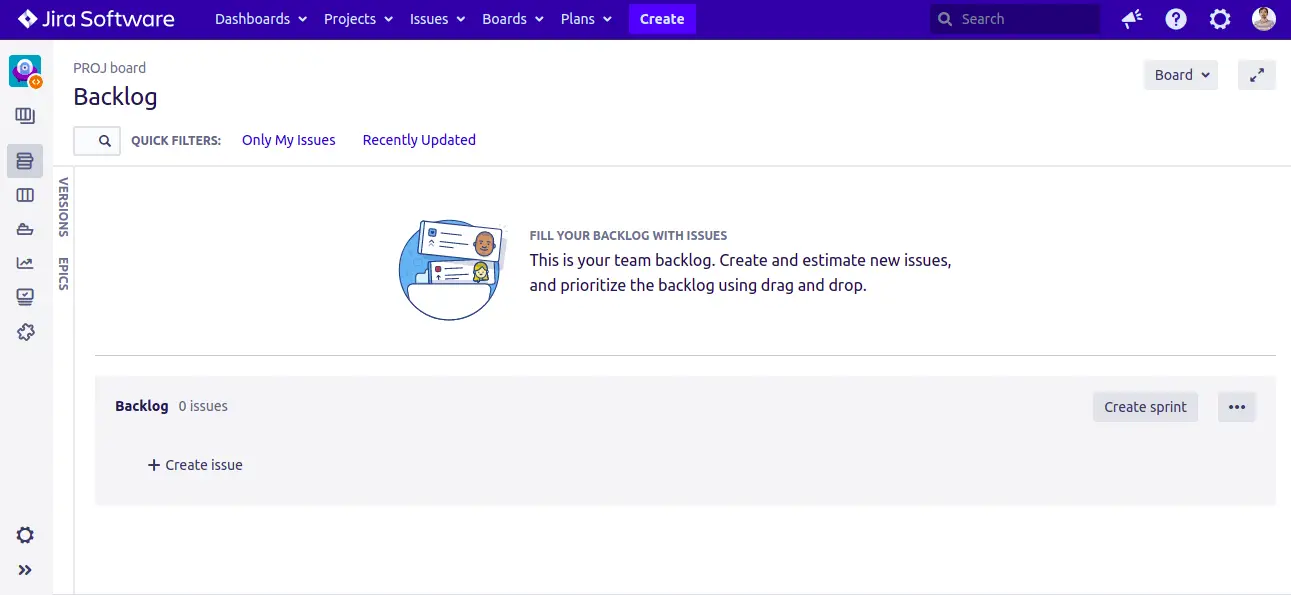
Provide your project name and key, then click on the Submit button. You should see the Jira dashboard on the following screen:
Conclusion
Congratulations! you have successfully installed JIRA on Ubuntu 22.04. You can now implement Jira in your organization and start managing your project from the central place. I hope this guide will help you to install JIRA without any problem.

