How to Install FreeRADIUS and Daloradius on Ubuntu 20.04
This tutorial exists for these OS versions
- Ubuntu 20.04 (Focal Fossa)
- Ubuntu 18.04 (Bionic Beaver)
On this page
FreeRADIUS is a free open source server for UNIX and Unix-like operating systems that allows one to set up a RADIUS protocol server. You also need a correctly configured client that communicates with the server when you want to use it, which could be used for authentication or accounting various types of network access. Sample applications are hotspots, VPN protocols such as OpenVPN, Strongswan, or SoftEther (Wireshark) on an Android smartphone.
Back in 1992, FreeRADIUS--an open-source software project which protects networks from unauthorized access and intrusion--started with small advancement for authentication. Nowadays, FreeRADIUS supports various cryptographically secured methods (EAP-TLS/ -TTLS, PEAP, LEAP). And the method used for authentication is username/password or certificates.
Clients who want to access a network must first log on to the RADIUS server before being granted access. This increases security and makes it easier for networks to be managed. The client uses an IEEE 802.1X protocol for authentication, which is why this term is often used as a synonym for this type of network login method.
FreeRADIUS most often refers either to the RADIUS server, or components from the FreeRADIUS suite like BSD-licensed RADIUS client libraries, a PAM library, and an Apache RADIUS module. And other related libraries include additional utilities and development libraries
What is the RADIUS Protocol?
Remote Authentication Dial-In User Service (RADIUS) is a networking protocol that manages user authentication, authorization, and accounting by providing centralized AAA management.
These are some short descriptions of what each term in AAA means, but they do not all mean the same thing:
- Authentication: The process of determining whether the client (which can be a user, device or process) is authorized to utilize the system.
- Authorization: The process of determining how much usage and when to provide this information so that power usage costs may be calculated.
- Accounting: This is the sum-up report on activity on the network for billing purposes.
The command-line interface for managing FreeRADIUS can be confusing even for expert system administrators. To ease their problem, we can use daloRADIUS which is a web-based GUI version of FreeRADIUS.
What is daloRADIUS?
daloRADIUS is a web-based GUI for managing FreeRADIUS and enables you to manage multiple servers from your browser with ease. And it works with major Linux distributions--CentOS, Red Hat Enterprise Linux, Ubuntu, OpenWrt etc., as long as they are running the latest version of Redis or Memcached and have SSL support.
The daloRADIUS software suite offers extra functionalities when compared to the traditional way of managing FreeRADIUS using its command-line interface.
In this tutorial, we'll install FreeRADIUS on a server running Ubuntu 20.04, configure it to work with MySQL/MariaDB, and then install daloRADIUS, a RADIUS web management panel that is basically a GUI for FreeRADIUS. We will perform a simple test on the RADIUS server to make sure it works.
Prerequisites
- A server running an Ubuntu 20.04, with a minimum of 512MB RAM, a minimum of 300MB storage space and minimum of 1.4 GHz 64-bit CPU
- Being logged in as a root user or user with sudo privileges.
Getting Started
Updating your System
To keep your system up-to-date, start by running the update command on your terminal to download and install the latest packages and security updates:
sudo apt update -y
sudo apt upgrade -y
The -y flag is used by the update command to automatically answer yes when asked if you want to continue with the changes.
apt update command will update the list of available packages from their sources. apt upgrade command will download and install the updates.
Sample output:

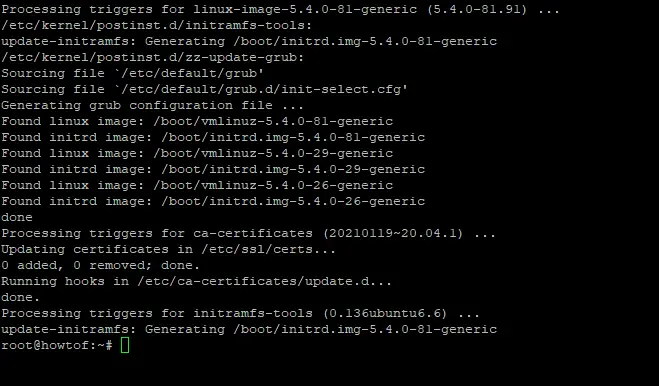
After the update process is complete, you might want to reboot your system. To do so, run the command below in your terminal:
sudo reboot now
Installing Dependencies
Dependencies are software requirements that need to be fulfilled in order for another program to work. The next thing to do is install the necessary dependencies. Ubuntu Server comes with Apache installed, but there are some related packages that must be added. To install the dependencies, run the command below in your terminal:
sudo apt-get install apache2 mariadb-server php libapache2-mod-php php-mail php-mail-mime php-mysql php-gd php-common php-pear php-db php-mbstring php-xml php-curl unzip wget -y
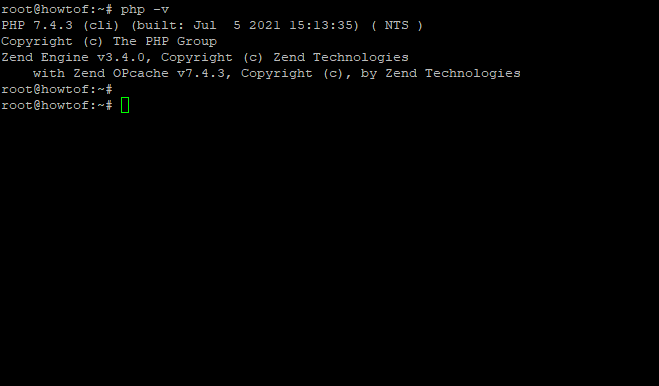
You can check the version of php installed on your system by running the command below in your terminal:
php -v
The output should be similar to one below:
Installing FreeRADIUS
Once all the prerequisites and dependencies are met, we can now install FreeRADIUS. You can view versions of FreeRADIUS available in your Ubuntu by typing the command below in your terminal:
sudo apt policy freeradius

To install FreeRADIUS and the various utilities that come with it on Ubuntu 20.04, execute the following command:
sudo apt -y install freeradius freeradius-mysql freeradius-utils
To quickly check that FreeRADIUS and up and running, we need to run FreeRADIUS in debug mode.
First stop the FreeRADIUS service by running the command below in your terminal:
sudo systemctl stop freeradius.service
Then run the following command to run FreeRADIUS debug mode:
sudo freeradius -X
The output should be similar to the one below:
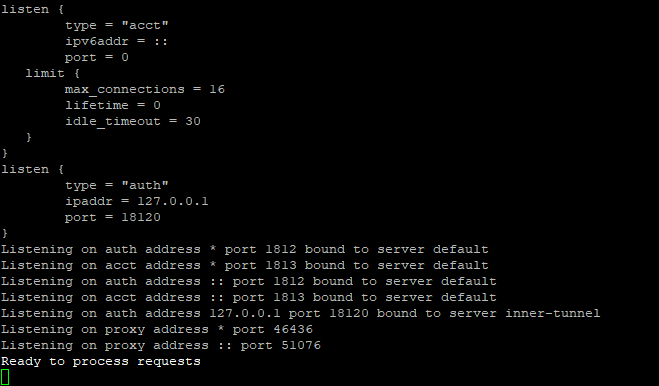
We can see the last line says "Ready to process requests", that means FreeRADIUS is now up and running on your server.
Creating a database
FreeRADIUS needs a database to store its settings and other information about users, clients and network connections. You can create a database for FreeRADIUS by logging into MariaDB server via the terminal:
sudo mysql -u root
Now create a database named radius:
CREATE DATABASE radius;
Next grant access to the radius database:
GRANT ALL ON radius.* TO radius@localhost IDENTIFIED BY "yourpassword ";
The flush privileges and quit MariaDB command to update your privileges:
FLUSH PRIVILEGES;
QUIT;
We can see the radius database is created by running the following command in terminal:
mysql -u root -p -e "show databases;"
You should be able to see the radius database listed as shown in the screenshot below:

Installing Daloradius
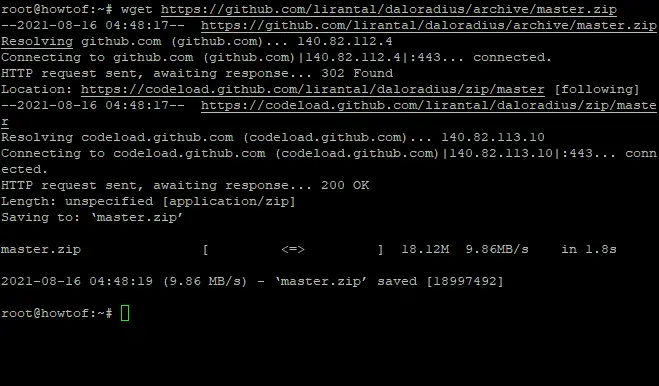
Daloradius is required to access FreeRADIUS's web administration interface. First we will download the latest version of daloRADIUS from the git repository usin the wget command:
wget https://github.com/lirantal/daloradius/archive/master.zip
After the download is complete, extract the zip archive using unzip utility as shown below:
unzip master.zip
Next move the daloradius-master folder using the mv utility as shown below:
mv daloradius-master daloradius
Next move into the daloradius directory for configuration:
cd daloradius
Now we need to populate the database with the daloRADIUS schema. The .sql file is located in the ‘/contrib/db/’ folder. You might have to change this path if you didn’t install it in the root destination.
To import, run:
sudo mysql -u root -p radius < contrib/db/fr2-mysql-daloradius-and-freeradius.sql
sudo mysql -u root -p radius < contrib/db/mysql-daloradius.sql
Next move out of the daloradius directory, and move the daloradius folder into the document root:
cd
sudo mv daloradius /var/www/html/
Then rename the sample file by removing the .example extension using the mv utility as shown below:
sudo mv /var/www/html/daloradius/library/daloradius.conf.php.sample /var/www/html/daloradius/library/daloradius.conf.php
Then run the following command to assign ownership of the daloRADIUS web configuration files to Apache:
sudo chown -R www-data:www-data /var/www/html/daloradius/
Next, configure the permissions of your main configuration file to 664 as shown below:
sudo chmod 664 /var/www/html/daloradius/library/daloradius.conf.php
To allow the DaloRADIUS web interface to access FreeRADIUS, we need to provide its database details in the configuration file for DaloRADIUS. Open the .daloradius.conf.php found in ./www/library/daloradius.conf.php and add the database details(username, password and db name):
sudo nano /var/www/html/daloradius/library/daloradius.conf.php
Change the following values to match your database details:
$configValues['FREERADIUS_VERSION'] = '2';
$configValues['CONFIG_DB_ENGINE'] = 'mysqli';
$configValues['CONFIG_DB_HOST'] = 'localhost';
$configValues['CONFIG_DB_PORT'] = '3306';
$configValues['CONFIG_DB_USER'] = 'howtoforge';
$configValues['CONFIG_DB_PASS'] = 'Str0ngpass@howtoforge';
$configValues['CONFIG_DB_NAME'] = 'howtoforge';
Save and exit the file to make sure that everything is correctly configured. Restarting FreeRADIUS and Apache will ensure that everything is working properly:
sudo systemctl restart freeradius
sudo systemctl restart apache2
Configuring Firewall
Since FreeRADIUS and Daloradius are listening on port 1812 for RADIUS packets, you might need to open the firewall ports to allow traffic through it:
sudo ufw enable
sudo ufw allow 1812
FreeRADIUS uses UDP ports 1813 for Access-Request packets and Accounting-Request packets, so we also need to open these ports.
sudo ufw allow 1813
Sample output:
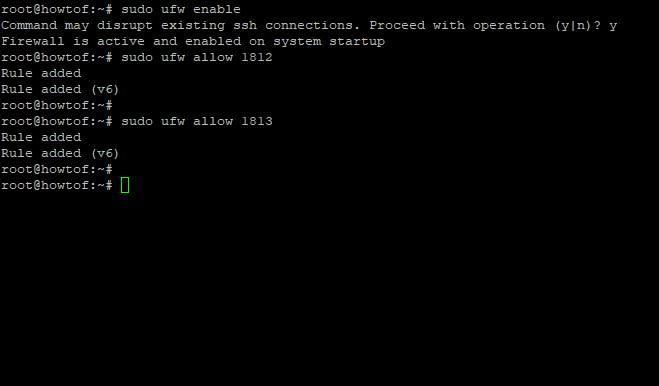
If you want to see the current state of UFW firewall, you can type the command shown below:
sudo ufw status
You should see similar output as below:

The screenshot of UFW above shows that it is active, and its status indicates a list of rules we just added.
Accessing daloRADIUS Web Interface
Now that you have installed DaloRADIUS and FreeRADIUS, its time to access the daloRADIUS Web Interface. Open up your browser of choice at http://ip-address/daloradius/login.php, remember to replace "ip-address" with your actual server's IP address.
You should see the default login screen:
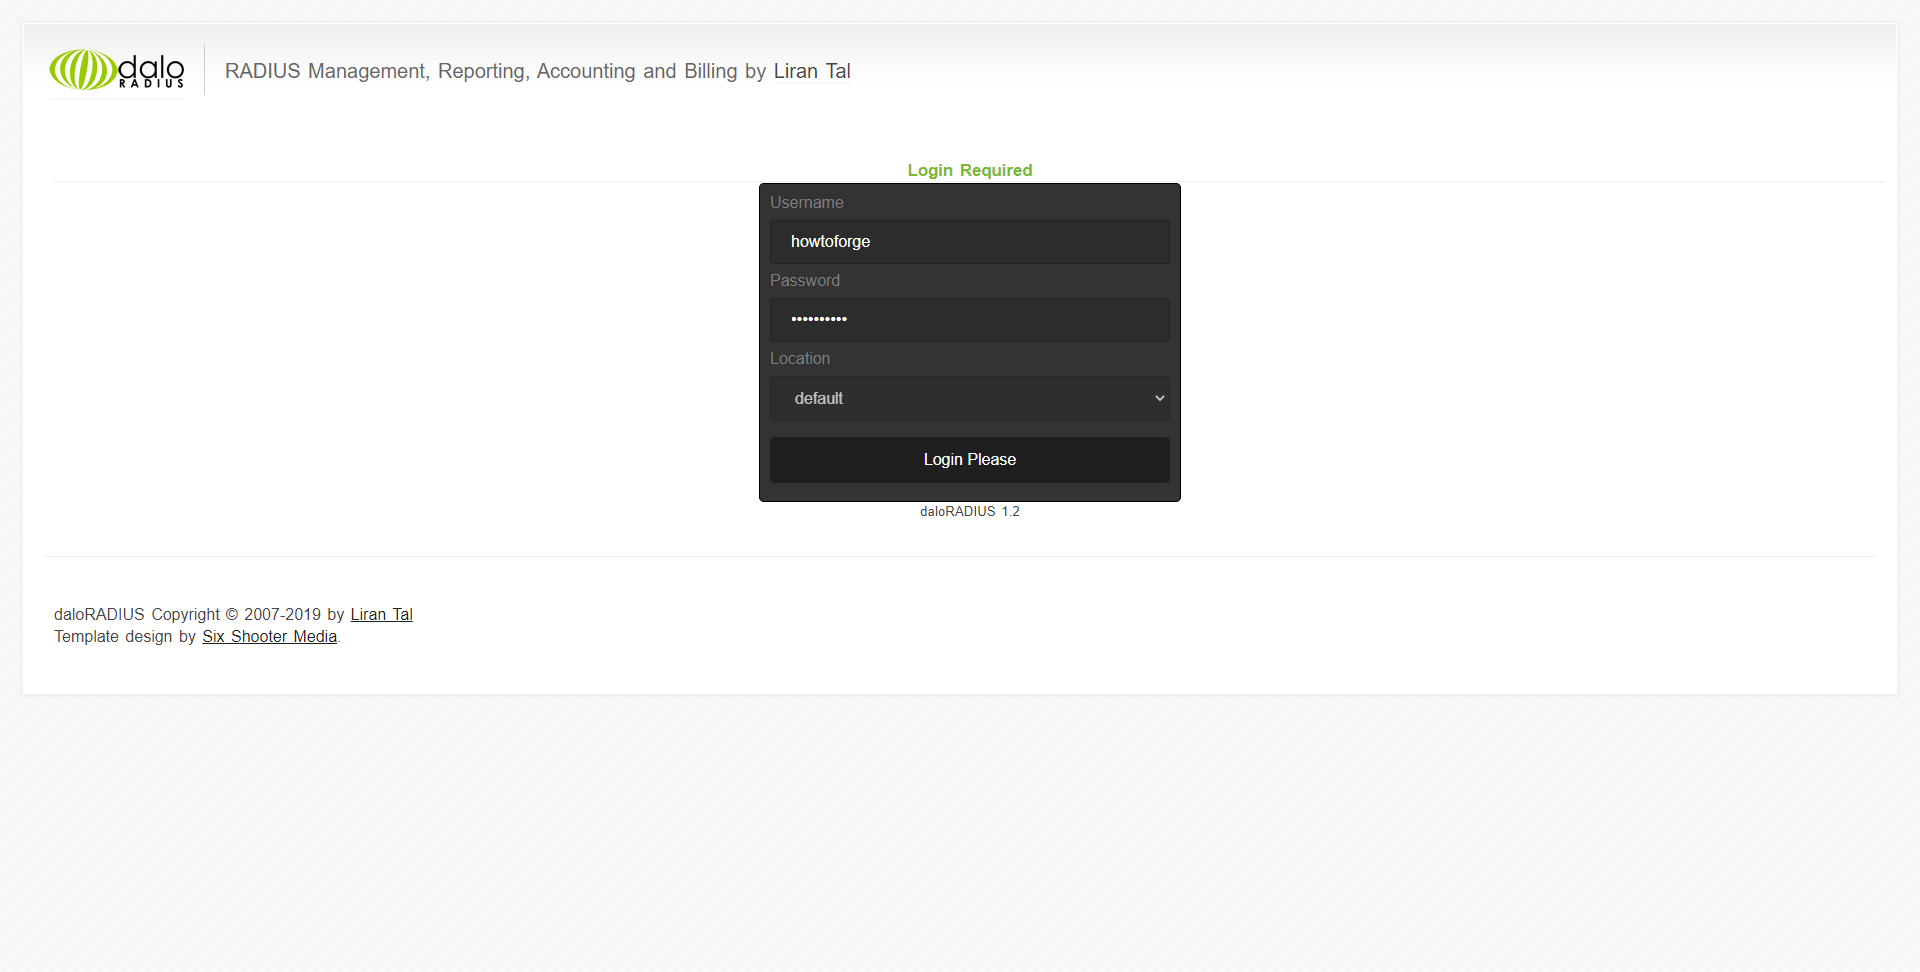
On the login screen, use default username and password "administrator" with the password of "radius" to log in. After logging in, you should see the default DaloRADIUS web interface:
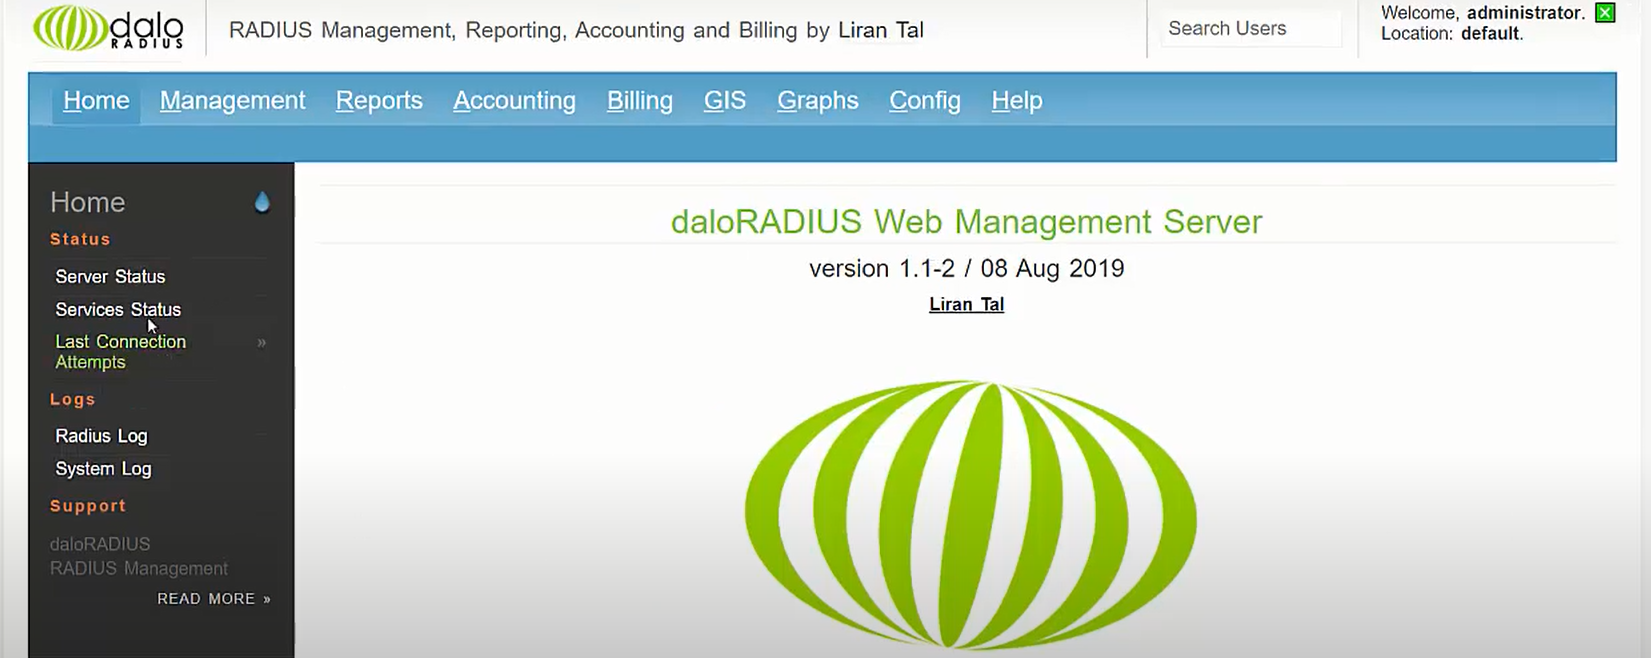
You can change a user password by logging into DaloRadius, then choosing the Config menu from the top bar. Choose Operators on the submenu and List Operators on the gray sidebar under the list of operators in your current folder. Right-click on administrator and select Change Password in this window. In this next screen, type a new password for Administrator's account and click Apply to save these changes."
Congratulations! You have successfully installed FreeRADIUS. Thank you for using this tutorial for installing FreeRADIUS on an Ubuntu 20.04 LTS system. For more help or useful information, we recommend you visit the official site of FreeRADIUS.
Troubleshooting
Here are some issues that could arise during the installation of FreeRADIUS/Daloradius and possible solutions to them:
1. Error installing freeradius
Problem: While following this tutorial, you may encounter a problem were "The package `freeradius` has no installation candidate." This error message indicates that there is no PPA available for your version of Ubuntu or Debian Linux system. Solution: It is usually recommended to use the latest version of Ubuntu when trying any new software or packages, since it will be more stable than older versions which are unsupported. If you have an older version installed on your server, try removing it first via Synaptic Package Manager before proceeding with this tutorial.
2. Wrong database configuration
Problem : After installing FreeRADIUS, the command "radiusd -X" may return a message like above. This means that MySQL is not able to connect to your databases because of wrong password or user name.
Solution: To fix this problem, open the "mysql-daloradius.sql" configuration file and edit it using a text editor like nano. Then change the password to your actual password. Save and close the file after editing. Then restart FreeRADIUS: sudo service freeradius restart
3. No connection after installing FreeRADIUS and Daloradius
Problem: After you have installed FreeRADIUS and daloRADIUS, the web interface will not show up. You might not be able to connect to your server using SSH because of this.
Solution: The most likely reason for this problem is that something in the Apache or Nginx configuration files are blocking port 80 (for HTTP) or 443 (for HTTPS). Check these configuration files for any references to DaloRADIUS web directory path (/var/www/html/daloradius) and remove them.
4. No Daloradius icon in DaloRADIUS web interface
Problem: After following this tutorial, you do not see the Daloradius icon in DaloRADIUS web interface. This is a common problem that occurs on some versions of Ubuntu and Debian systems.
Solution: To fix this problem, edit the "daloradius/includes/config_vars.php" file and add the following line to it: define('DALORADIUS_ENABLED', true); Then restart your Apache Web Server via sudo service apache2 restart. You should now be able to see the Daloradius icon appear in the left pane before the Operator Menu.
This list is incomplete and may not be 100% accurate. If you come across any errors or missing information, please leave a comment below and we will update the list accordingly.
Conclusion
FreeRADIUS and Daloradius are a great combination of open-source software that will help you create a full-featured FreeRADIUS server that will be perfect for your home or small business network.
With its growing community and a large number of features that can be configured within the software, Daloradius is an excellent choice for users who want to set up their own FreeRADIUS server.
If you found this article useful, please share it with your friends on social media. We would also love to hear back from you regarding any issues or suggestions that you may have. You can leave a comment or send a message using the contact form at the bottom of this page. Thank you for reading.

