How to Install Fork CMS in Ubuntu Server 22.04
This tutorial exists for these OS versions
- Ubuntu 22.04 (Jammy Jellyfish)
- Ubuntu 20.04 (Focal Fossa)
- Ubuntu 18.04 (Bionic Beaver)
On this page
Fork is an open-source content management system for beginners and professionals. It is designed to create a user-friendly environment to build, monitor, and update your website. It was primarily launched as a CMS that provides extra modules like blogs, pages, and users. Its powerful apps and themes help you customize your website as required. It has a user-friendly user interface helps users create websites quickly and easily.
This tutorial will show you how to install Fork CMS with Apache and Let's Encrypt SSL on Ubuntu 22.04.
Prerequisites
- A server running Ubuntu 22.04.
- A Valid domain name is pointed to your server IP.
- A root password is configured on the server.
Install Apache, MariaDB, and PHP
First, install the Apache web server and MariaDB server using the following command:
apt-get install apache2 mariadb-server -y
Next, you will need to install PHP version 7.4 and other extensions on your server. However, PHP 7.4 version is not included in the Ubuntu default repository. So you will need to add the Ondrej PHP repository to your server. You can add it with the following command:
apt install software-properties-common
add-apt-repository ppa:ondrej/php -y
Once the PHP repository is added, you can install PHP with other required extensions using the following command:
apt-get install php7.4 libapache2-mod-php7.4 php7.4-xml php7.4-cli php7.4-zip php7.4-common php7.4-sqlite3 php7.4-curl php7.4-intl php7.4-mbstring php7.4-xmlrpc php7.4-mysql php7.4-gd wget unzip -y
After installing all those packages, edit the PHP configuration file and change default settings:
nano /etc/php/7.4/apache2/php.ini
Change the following settings as per your needs:
memory_limit = 256M
upload_max_filesize = 100M
max_execution_time = 360
file_uploads = On
date.timezone = UTC
Save and close the file then restart the Apache service to apply the configuration changes:
systemctl restart apache2
Create Fork CMS Database
First, you will need to secure the MariaDB and set the MariaDB root password. You can run the following script to secure the MariaDB installation:
mysql_secure_installation
This script will set a root password, remove anonymous users, disallow root login remotely and remove the test database as shown below:
Set root password? [Y/n] n
Remove anonymous users? [Y/n] y
Disallow root login remotely? [Y/n] y
Remove test database and access to it? [Y/n] y
Reload privilege tables now? [Y/n] y
Once MariaDB is secured, log in to MariaDB shell:
Next, log in to the MariaDB shell with the following command:
mysql -u root -p
Enter your root password then create a database and user for Fork CMS:
MariaDB [(none)]> CREATE DATABASE forkdb;
MariaDB [(none)]> CREATE USER 'forkuser'@'localhost' IDENTIFIED BY 'password';
Next, grant privileges to the Fork CMS database with the following command:
MariaDB [(none)]> GRANT ALL PRIVILEGES ON forkdb.* TO 'forkuser'@'localhost';
Next, run the FLUSH PRIVILEGES command so that the privileges table will be reloaded by MariaDB:
MariaDB [(none)]> FLUSH PRIVILEGES;
Finally, exit from the MariaDB shell using the following command:
MariaDB [(none)]> EXIT;
Install Fork CMS
First, you will need to install the Composer to your system. You can install it with the following command:
curl -sS https://getcomposer.org/installer | php -- --install-dir=/usr/local/bin --filename=composer
You will get the following output:
All settings correct for using Composer
Downloading...

Composer (version 2.4.4) successfully installed to: /usr/local/bin/composer
Use it: php /usr/local/bin/composer
Next, navigate to the Apache web root directory and download the Fork CMS using the Composer:
cd /var/www/html/
composer create-project forkcms/forkcms
Next, set proper permission and ownership to the FOrk CMS directory:
chown -R www-data:www-data /var/www/html/forkcms
chmod -R 775 /var/www/html/forkcms
Once you are finished, you can proceed to the next step.
Create Apache Virtual Host for Fork CMS
Next, you will need to create an Apache virtual host configuration file to serve Fork CMS over the internet. You can create it with the following command:
nano /etc/apache2/sites-available/forkcms.conf
Add the following lines:
<VirtualHost *:80>
     ServerAdmin [email protected]
     DocumentRoot /var/www/html/forkcms
     ServerName forkcms.example.com

     <Directory /var/www/html/forkcms/>
          Options FollowSymlinks
          AllowOverride All
          Require all granted
     </Directory>

     ErrorLog ${APACHE_LOG_DIR}/error.log
     CustomLog ${APACHE_LOG_DIR}/access.log combined

</VirtualHost>
Save and close the file then activate the Fork CMS and enable the Apache rewrite module with the following command:
a2ensite forkcms.conf
a2enmod rewrite
Next, restart the Apache service to apply the changes:
systemctl restart apache2
You can also check the Apache service status using the following command:
systemctl status apache2
You will get the following output:
? apache2.service - The Apache HTTP Server
     Loaded: loaded (/lib/systemd/system/apache2.service; enabled; vendor preset: enabled)
     Active: active (running) since Tue 2022-12-13 05:35:24 UTC; 1s ago
       Docs: https://httpd.apache.org/docs/2.4/
    Process: 94668 ExecStart=/usr/sbin/apachectl start (code=exited, status=0/SUCCESS)
   Main PID: 94672 (apache2)
      Tasks: 6 (limit: 2238)
     Memory: 13.4M
        CPU: 45ms
     CGroup: /system.slice/apache2.service
             ??94672 /usr/sbin/apache2 -k start
             ??94673 /usr/sbin/apache2 -k start
             ??94674 /usr/sbin/apache2 -k start
             ??94675 /usr/sbin/apache2 -k start
             ??94676 /usr/sbin/apache2 -k start
             ??94677 /usr/sbin/apache2 -k start

Dec 13 05:35:24 ubuntu2204 systemd[1]: apache2.service: Deactivated successfully.
Dec 13 05:35:24 ubuntu2204 systemd[1]: Stopped The Apache HTTP Server.
Dec 13 05:35:24 ubuntu2204 systemd[1]: Starting The Apache HTTP Server...
Once you are finished, you can proceed to the next step.
Access Fork CMS Web Interface
Now, open your web browser and type the URL http://forkcms.example.com/install/2. You will be redirected to the following page:
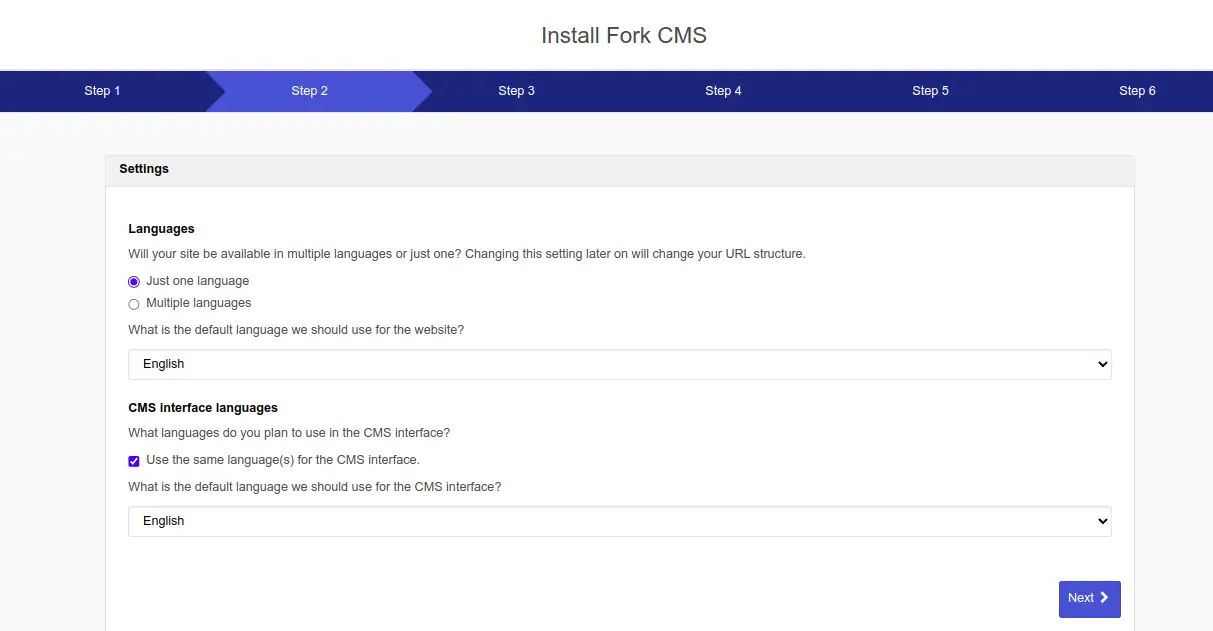
Here, select the language as you wish, then click on the Next button. You should see the following page:
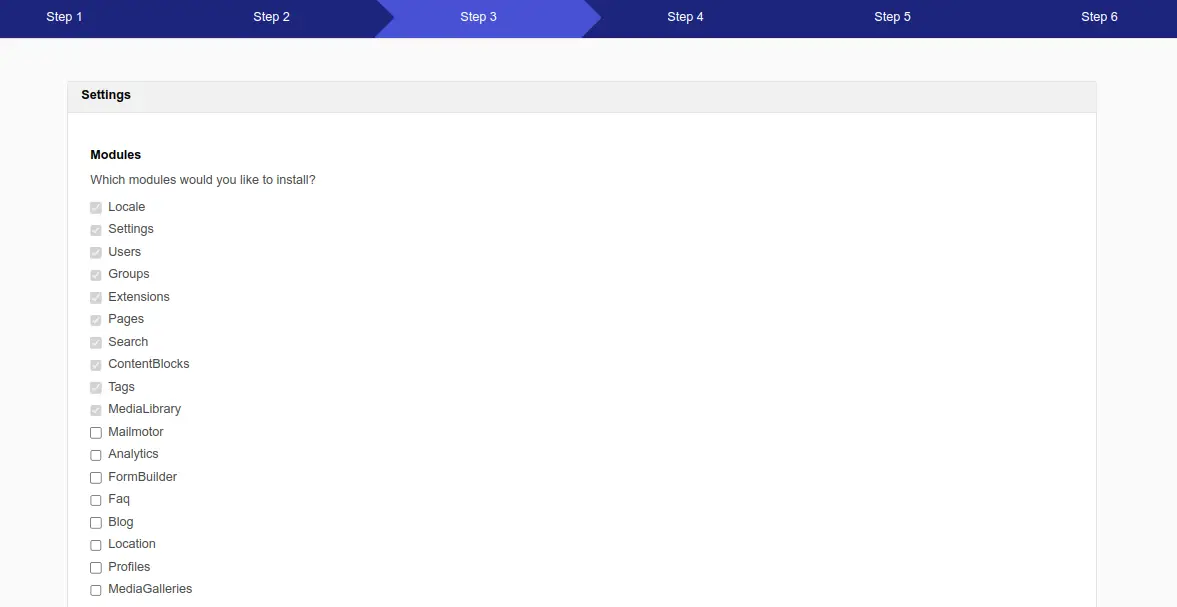
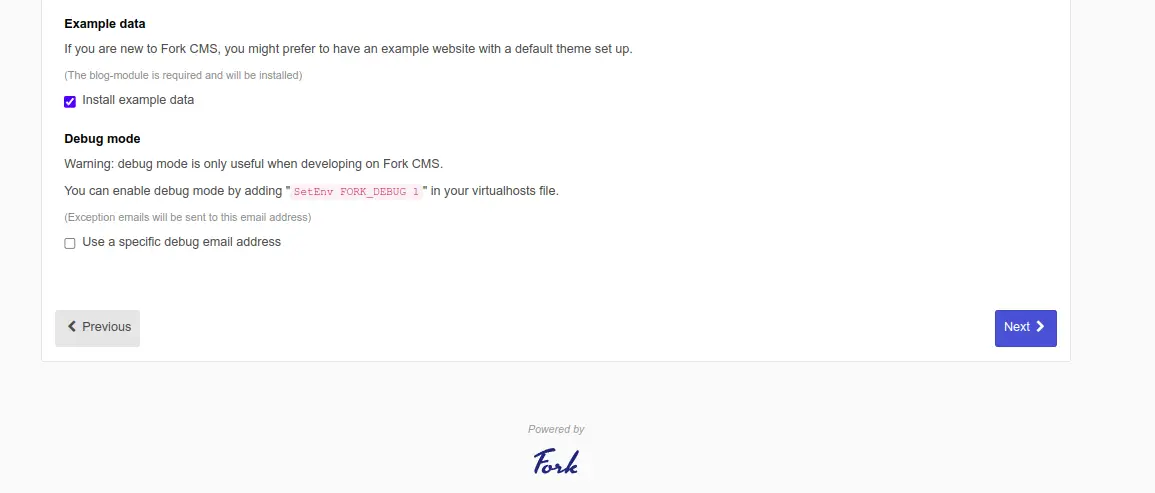
Here, select the module you want to install, then click on the Next button. You should see the following page:
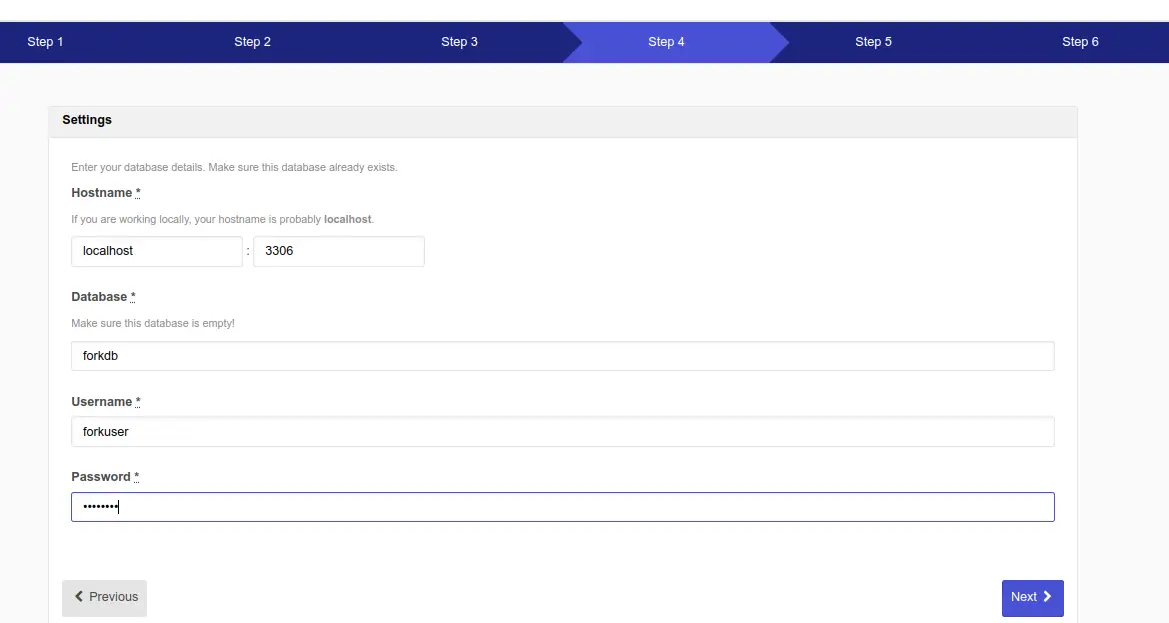
Here, provide your database details, then click on the Next button. You should see the following page:
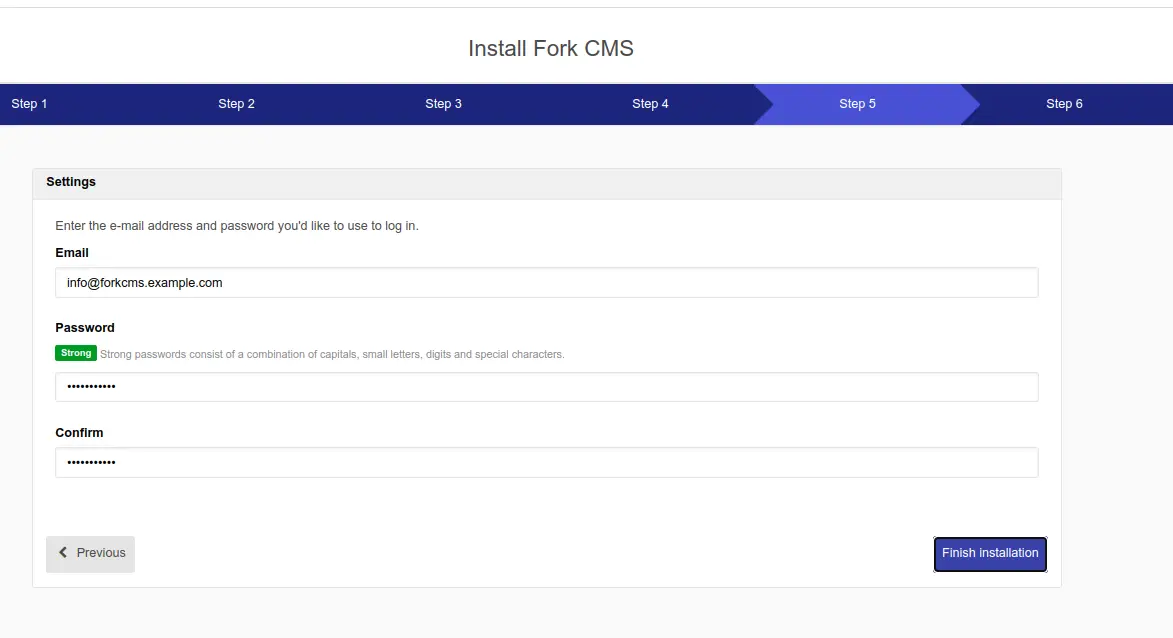
Here, provide your admin email address, username, and password, then click on the Finish Installation button. You should see the following page:
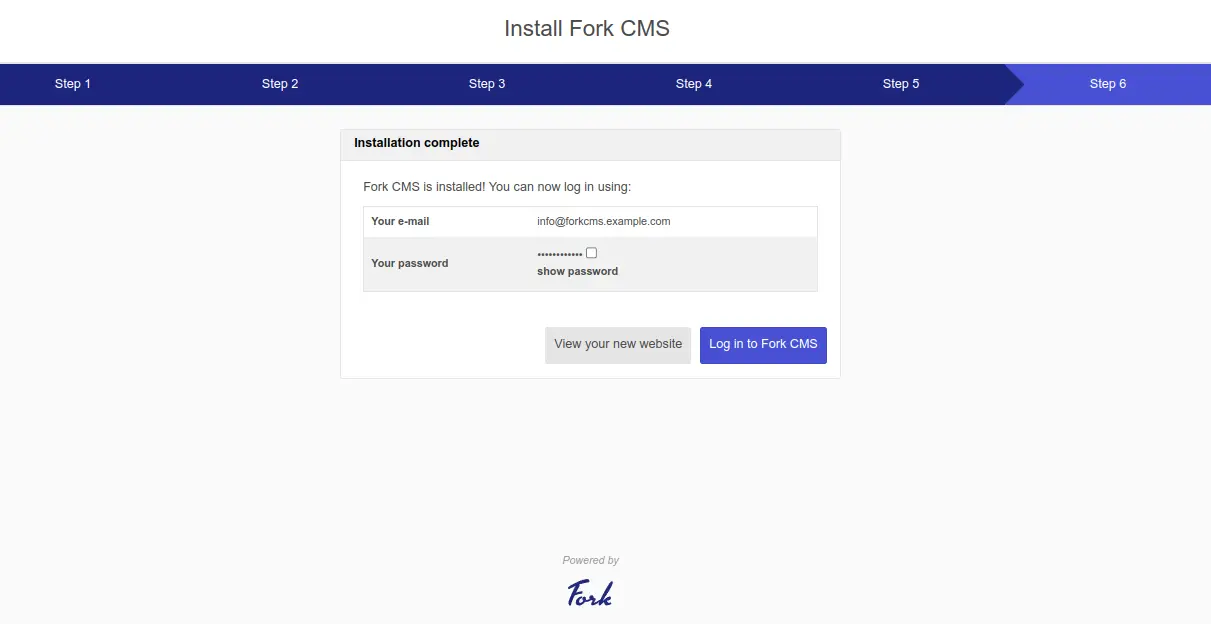
Now, click on the Log In To Fork CMS button. You should see the Fork CMS login screen on the following page:
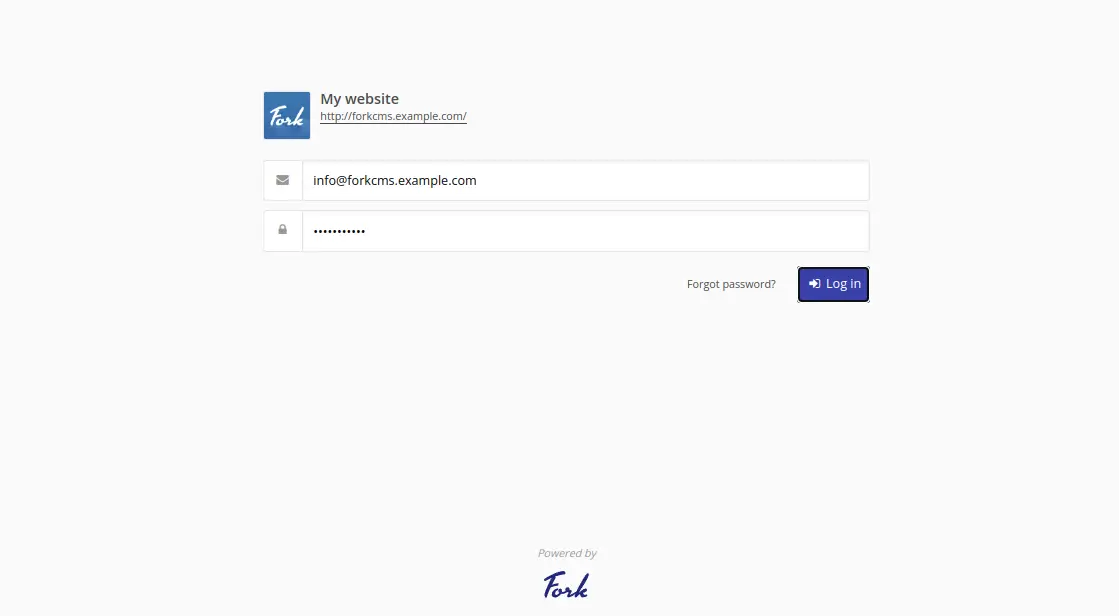
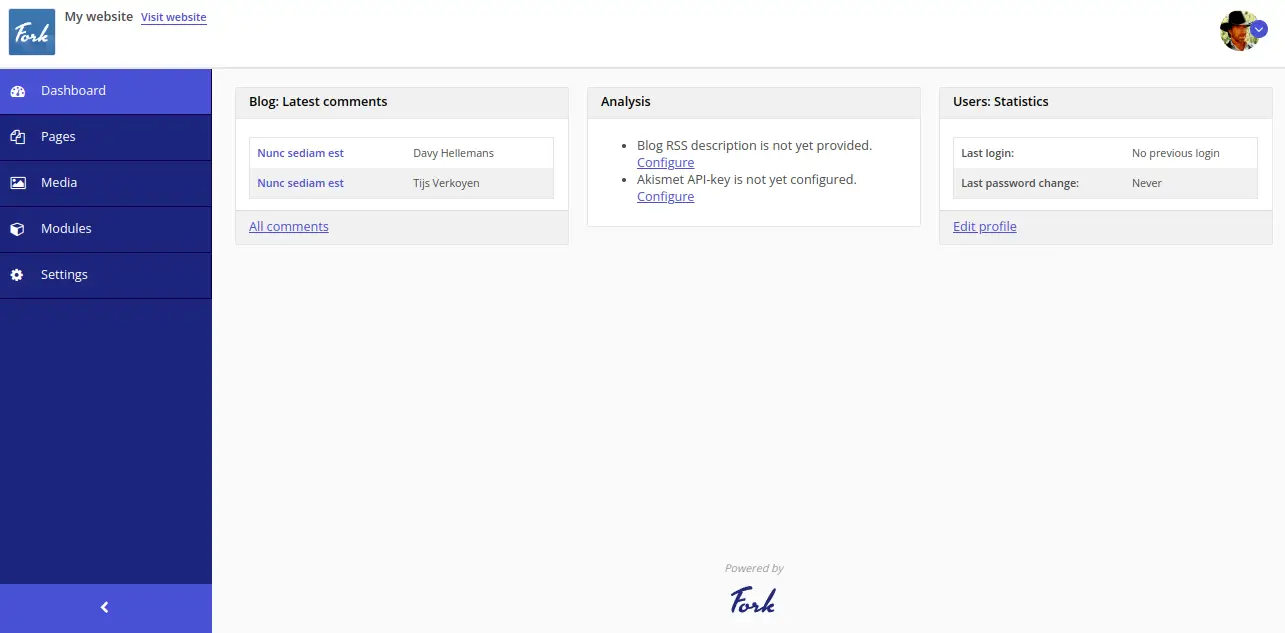
Now, provide your admin username and password, then click on the Log In button. You will be redirected to the Fork CMS dashboard as shown in the following image:
Secure ForkCMS with Let's Encrypt SSL
To install the Let's Encrypt SSL on the ForkCMS website, you will need to install the certbot package on your server.
First, install the Snap package manager with the following command:
apt install snapd
Next, update the Snap package to the latest version:
snap install core
snap refresh core
Next, install the certbot package using the following command:
snap install --classic certbot
Next, create a symbolic link for the Certbot binary to the system location:
ln -s /snap/bin/certbot /usr/bin/certbot
Next, run the following command to download and install Let's Encrypt SSL certificates:
certbot --apache -d forkcms.example.com
You will be asked to provide your email address and accept the term of service:
Saving debug log to /var/log/letsencrypt/letsencrypt.log
Enter email address (used for urgent renewal and security notices)
 (Enter 'c' to cancel): [email protected]

- - - - - - - - - - - - - - - - - - - - - - - - - - - - - - - - - - - - - - - -
Please read the Terms of Service at
https://letsencrypt.org/documents/LE-SA-v1.3-September-21-2022.pdf. You must
agree in order to register with the ACME server. Do you agree?
- - - - - - - - - - - - - - - - - - - - - - - - - - - - - - - - - - - - - - - -
(Y)es/(N)o: Y

- - - - - - - - - - - - - - - - - - - - - - - - - - - - - - - - - - - - - - - -
Would you be willing, once your first certificate is successfully issued, to
share your email address with the Electronic Frontier Foundation, a founding
partner of the Let's Encrypt project and the non-profit organization that
develops Certbot? We'd like to send you email about our work encrypting the web,
EFF news, campaigns, and ways to support digital freedom.
- - - - - - - - - - - - - - - - - - - - - - - - - - - - - - - - - - - - - - - -
(Y)es/(N)o: Y
Type Y and press the Enter key to download and install the SSL certificates for your domain:
Account registered.
Requesting a certificate for forkcms.example.com

Successfully received certificate.
Certificate is saved at: /etc/letsencrypt/live/forkcms.example.com/fullchain.pem
Key is saved at:         /etc/letsencrypt/live/forkcms.example.com/privkey.pem
This certificate expires on 2023-02-28.
These files will be updated when the certificate renews.
Certbot has set up a scheduled task to automatically renew this certificate in the background.

Deploying certificate
Successfully deployed certificate for forkcms.example.com to /etc/nginx/conf.d/mastodon.conf
Congratulations! You have successfully enabled HTTPS on https://forkcms.example.com

- - - - - - - - - - - - - - - - - - - - - - - - - - - - - - - - - - - - - - - -
If you like Certbot, please consider supporting our work by:
 * Donating to ISRG / Let's Encrypt:   https://letsencrypt.org/donate
 * Donating to EFF:                    https://eff.org/donate-le
- - - - - - - - - - - - - - - - - - - - - - - - - - - - - - - - - - - - - - - -
Conclusion
In this post, we explained how to install Fork CMS with Apache and Let's Encrypt SSL on Ubuntu 22.04 server. You can now build, monitor, and update your website from the Fork CMS intuitive web interface. Feel free to ask me if you have any questions.

