How to Install Emby Media Server on Debian 12
Emby is an open-source alternative to Plex Media Server. Emby supports multiple operating systems such as Linux, FreeBSD, Windows, and MacOS. As for clients, it supports almost every device, from smartphones to Desktop. This means that you can access your media files almost everywhere.
This guide will teach you how to install the Emby Media Server on Debian 12. You will install Emby with Nginx as a reverse proxy and enable UFW. Let's get started.
Prerequisites
To complete this guide, make sure you have the following:
- A Debian 12 server.
- A non-root user with sudo privileges.
- A domain name or public domain is needed to run Emby.
Installing Emby Media Server
Emby Media Server is an open-source media server that supports multiple operating systems such as FreeBSD, Linux, and Windows. You can easily install Emby Media Server by downloading specific packages for your operating systems.
To get started, run the following command to update your Debian repository and upgrade all packages to the latest version.
sudo apt update && sudo apt upgrade
sudo reboot
Now visit the Emby Download Page and copy the link to the latest version of Emby. Be sure to select your distribution as Debian. Then, download Emby using the wget command below.
wget https://github.com/MediaBrowser/Emby.Releases/releases/download/4.7.14.0/emby-server-deb_4.7.14.0_amd64.deb
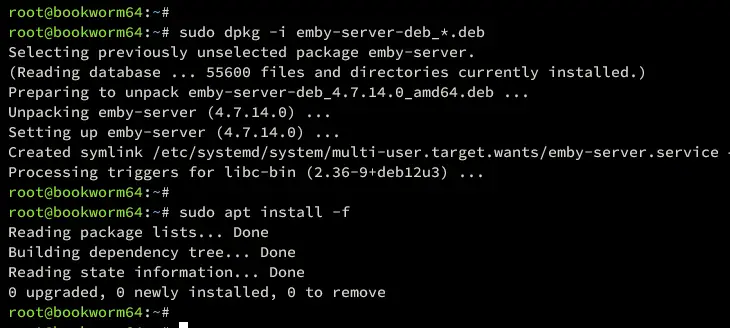
Once downloaded, run the dpkg command below to install Emby on your Debian machine.
sudo dpkg -i emby-server-deb_*.deb
sudo apt install -f
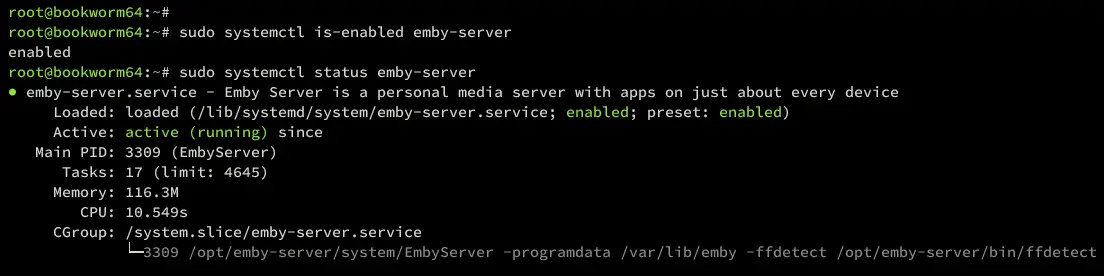
After Emby is installed, the service emby-server should be running and enabled automatically. Run the systemctl command below to verify it.
sudo systemctl is-enabled emby-server
sudo systemctl status emby-server
Be sure the emby-server service status is running and enabled like the following:
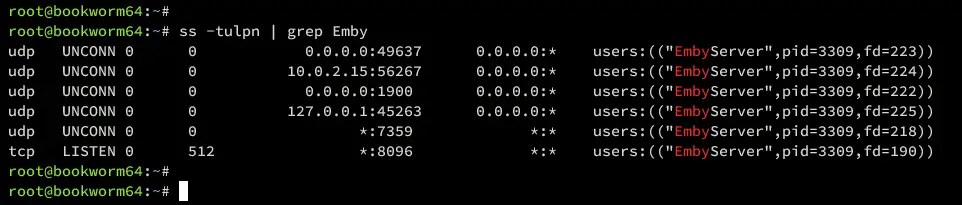
By default, emby-server is running on port 8096. Run the ss command below to verify LISTEN ports on your system.
ss -tulpn
Ensure that emby-server is running on both ports 8096.
Installing and Configuring Nginx as a Reverse Proxy
In this tutorial, you will run Emby with Nginx as a reverse proxy. Now, you will start the Nginx installation and create a new server block configuration that will be used as a reverse proxy. So before that, ensure you have a domain name pointed to your server IP address, whether local domain or public domain.
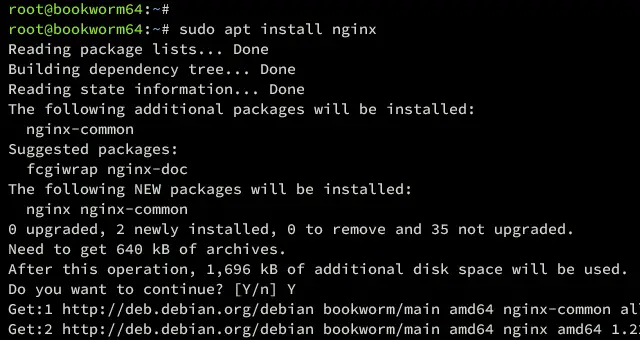
Install Nginx to your Debian server using the following apt command. Type y to confirm and press ENTER to proceed.
sudo apt install nginx
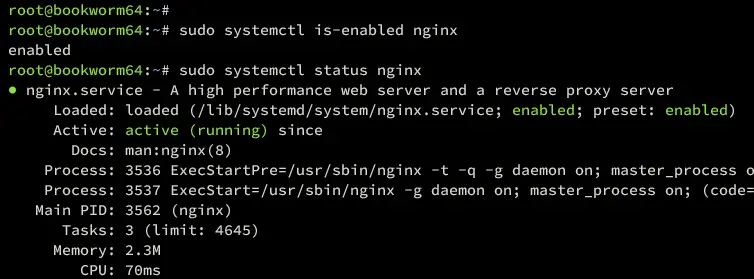
Now run the command below to verify the nginx service and ensure that the service is running and enabled.
sudo systemctl is-enabled nginx
sudo systemctl status nginx
If nginx is running, you should get an output active (running), while enabled, you will see an output such as enabled.
Next, create a new Nginx server block configuration /etc/nginx/sites-available/emby-server using the following nano editor command. This will be used as a reverse proxy for your Emby installation.
sudo nano /etc/nginx/sites-available/emby-server
Add the following configuration and be sure to change the domain name within the server_name and add_header Content-Security-Policy parameters.
server {
 listen 80;
 server_name emby.howtoforge.local; #your subdomain.domainname.com here

 proxy_hide_header X-Powered-By;
 add_header X-Xss-Protection "1; mode=block" always;
 add_header X-Content-Type-Options "nosniff" always;
 add_header Strict-Transport-Security "max-age=2592000; includeSubdomains" always;
 add_header X-Frame-Options "SAMEORIGIN" always;
 add_header 'Referrer-Policy' 'no-referrer';

 add_header Content-Security-Policy "frame-ancestors mydomain.com emby.mydomain.com;"; #add your domainname and all subdomains listed on your cert


 location / {
 proxy_pass http://127.0.0.1:8096; # Local emby ip and non SSL port

 proxy_hide_header X-Powered-By;
 proxy_set_header Range $http_range;
 proxy_set_header If-Range $http_if_range;
 proxy_set_header X-Real-IP $remote_addr;
 proxy_set_header Host $host;
 proxy_set_header X-Forwarded-For $proxy_add_x_forwarded_for;

 #Next three lines allow websockets
 proxy_http_version 1.1;
 proxy_set_header Upgrade $http_upgrade;
 proxy_set_header Connection "upgrade";
 }
}
Save the file and exit the editor when finished.
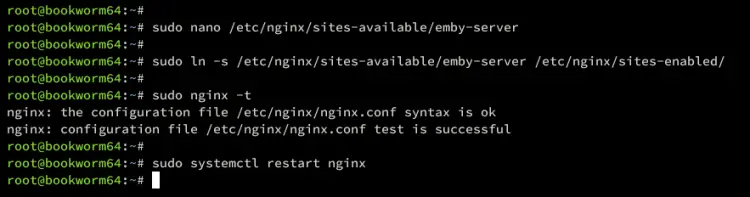
Now run the command below to enable the server block configuration /etc/nginx/sites-available/emby-server and verify the Nginx syntax configuration.
sudo ln -s /etc/nginx/sites-available/emby-server /etc/nginx/sites-enabled/
sudo nginx -t
If you have proper Nginx syntax, you should get an output such as 'syntax is ok - test is successful'.
Now restart the nginx service to apply your new server block configuration.
sudo systemctl restart nginx
Setting Up UFW (Uncomplicated Firewall)
In this guide, you will run Emby with UFW enabled. So make sure to complete this step to install UFW and add profiles for both OpenSSH and Nginx Full to open SSh, HTTP, and HTTPS traffic.
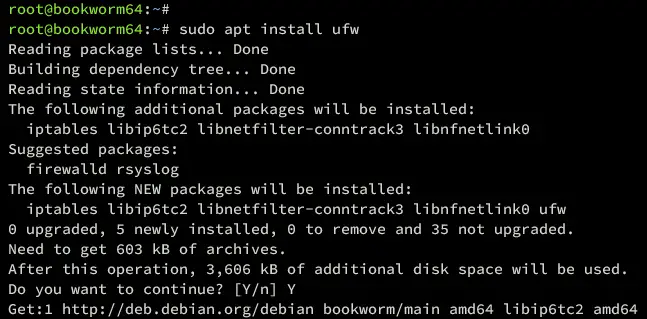
Install UFW (Uncomplicated Firewall) using the following apt command. Type y to confirm the installation.
sudo apt install ufw
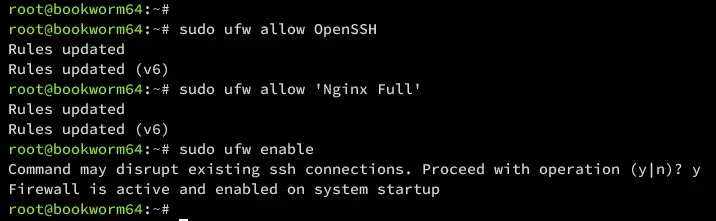
After the installation is finished, run the following ufw command to enable OpenSSH and Nginx Full profiles. This will open ports for SSH, HTTP, and HTTPS protocols.
sudo ufw allow OpenSSH
sudo ufw allow 'Nginx Full'
Now run the command below to start and enable UFW. Type y to confirm and run UFW.
sudo ufw enable
When enabled, you should get an output such as 'Firewall is active and enabled on system startup'.
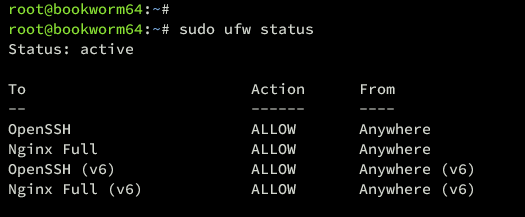
Now run the command below to verify your UFW installation.
sudo ufw status
You will see UFW with the status Active and profiles OpenSSH and Nginx Full are enabled.
Securing Emby with SSL/TLS Certificates
If you're running Emby on the local network, you can generate a Self-Signed certificate to secure your installation. For the public domain, it's better to use SSl/TLS certificates from Letsencrypt.
In this section, you will generate SSL/TLS certificates from letsencrypt via Certbot.
Install Certbot and the Certbot nginx plugin using the command below. Type y to confirm the installation.
sudo apt install certbot python3-certbot-nginx
Once the installation is finished, run the certbot command below to generate SSL/TLS certificates for your Emby installation. Be sure to change the information of the domain name and email address with your information.
certbot --nginx --agree-tos --redirect --hsts --staple-ocsp --email [email protected] -d emby.howtoforge.local
Once the process is finished, your SL certificate files will be available in /etc/letsencrypt/live/domain.com directory. Also, your Nginx server block configuration will automatically configured configured with HTTPS, which is completed by the Certbot Nginx plugin.
Installing Emby Media Server
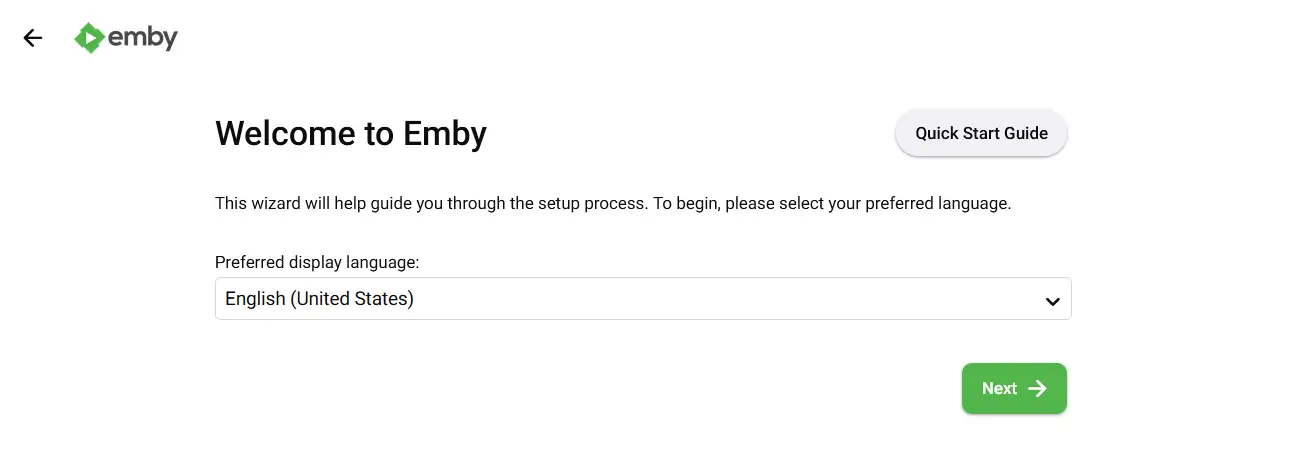
Launch your web browser and visit the domain name of your Emby Media Server installation (i.e: http://emby.howtoforge.local/).
If your installation is successful, you should get a welcome message such as 'Welcome to Emby'. Select your preferred language from the dropdown menu and click Next.
Create your first Emby user and be sure to input the strong password. Then click Next again to continue.

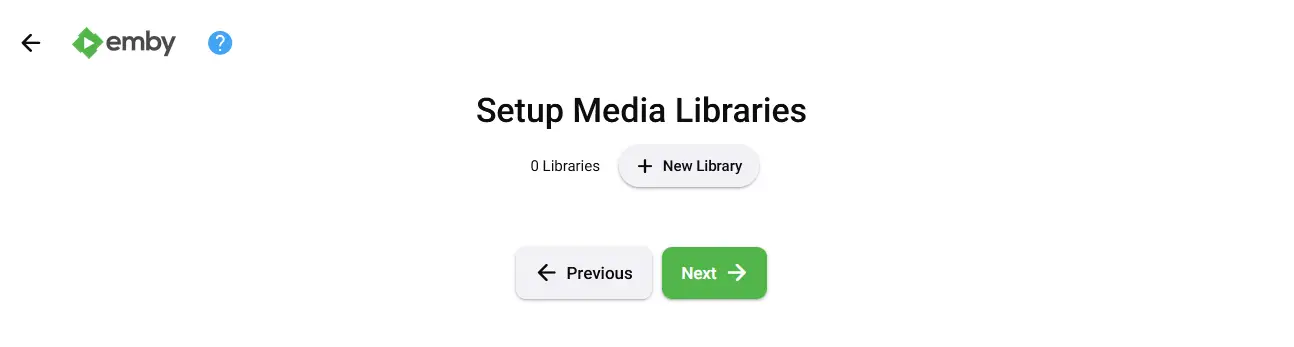
When asked to create a new Library, you can click the New Library button or just click Next to continue. You can add your media library later after the installation is complete.
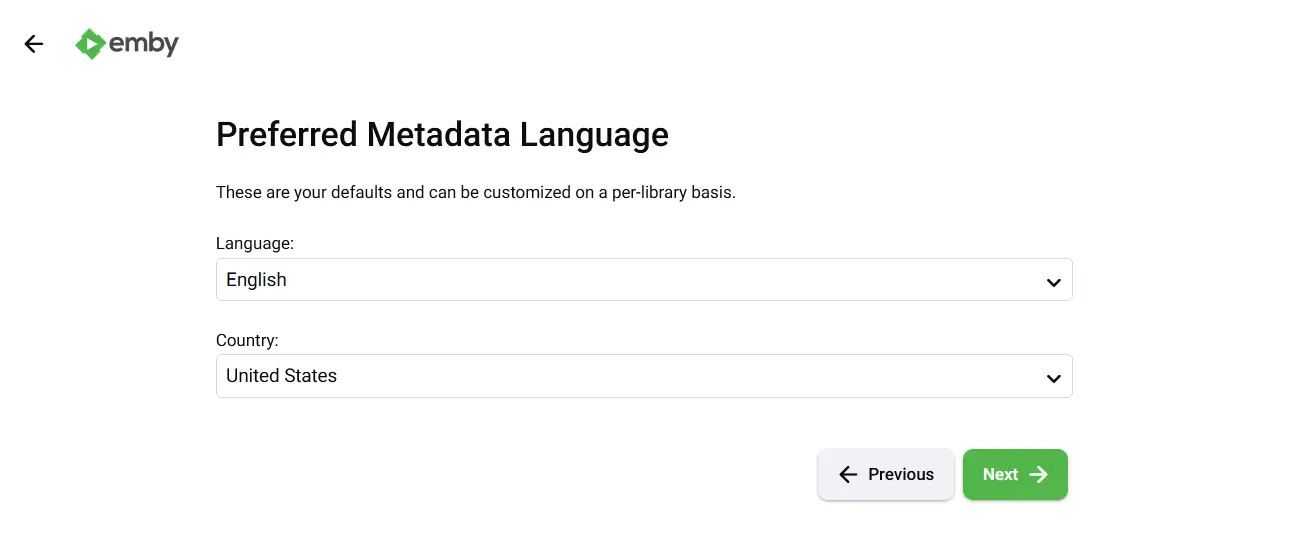
Select the Metadata data language that you prefer and click Next to continue.
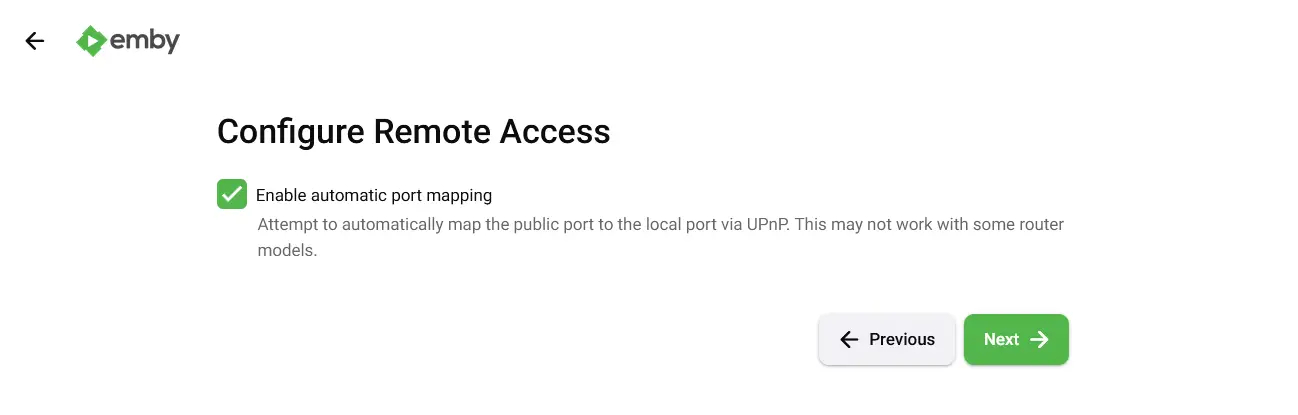
Be sure to check 'Enable automatic port mapping' to enable port mapping automatically. Click Next to continue.
Now check the option 'I accept the terms of service' and click Next.
After the process is finished, you will get the message You're Done!. Click Finish to complete the installation.

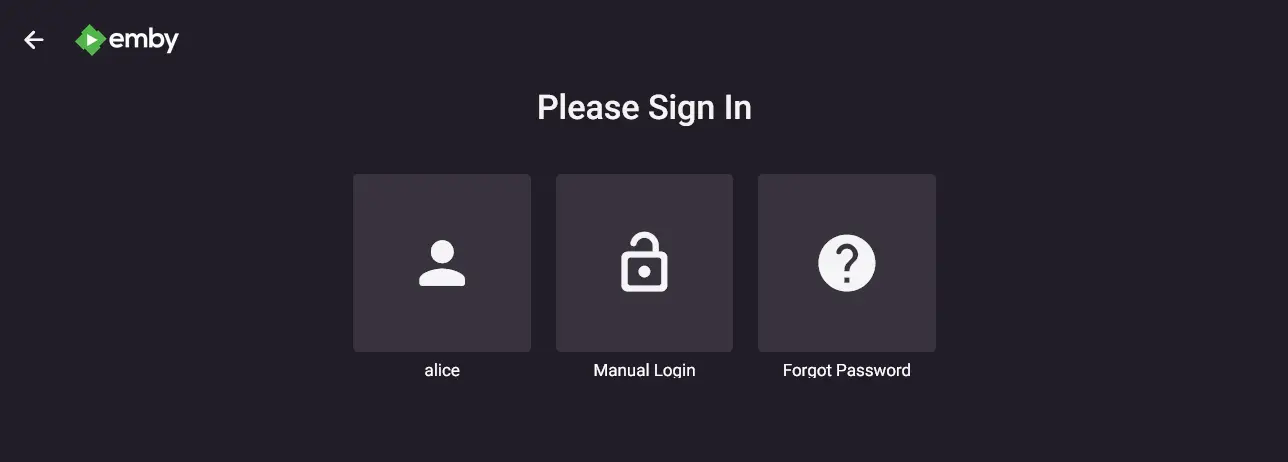
Now click your user to log in to Emby Media Server.
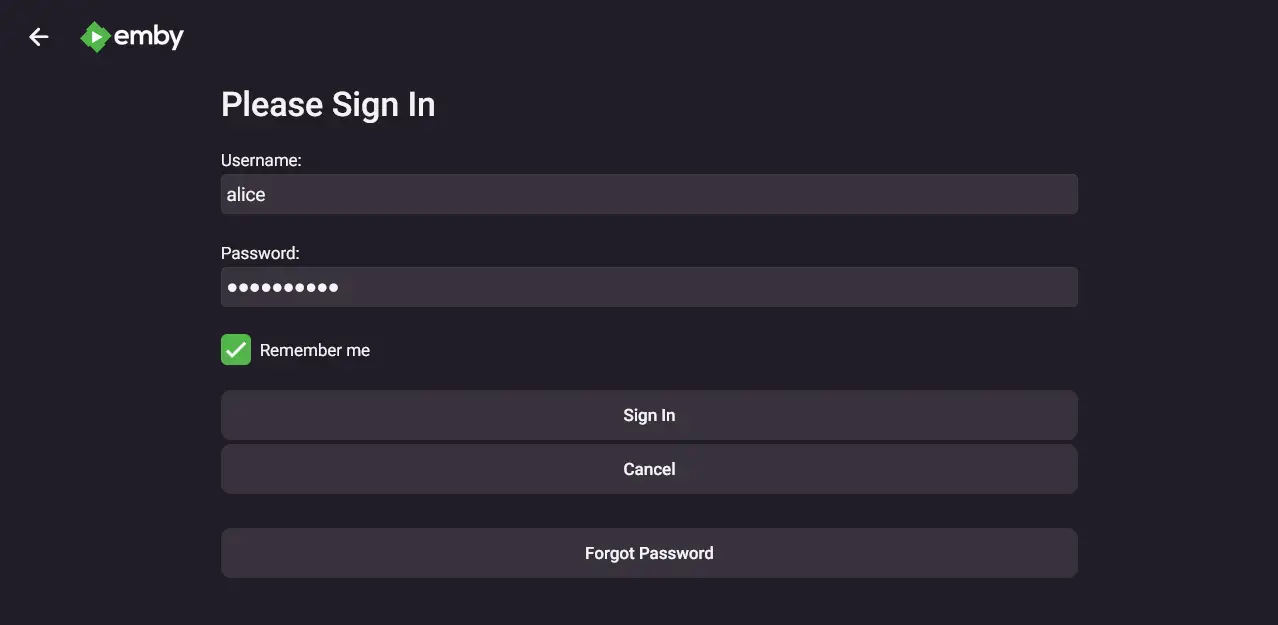
Input your admin user and password, then click Sign In.
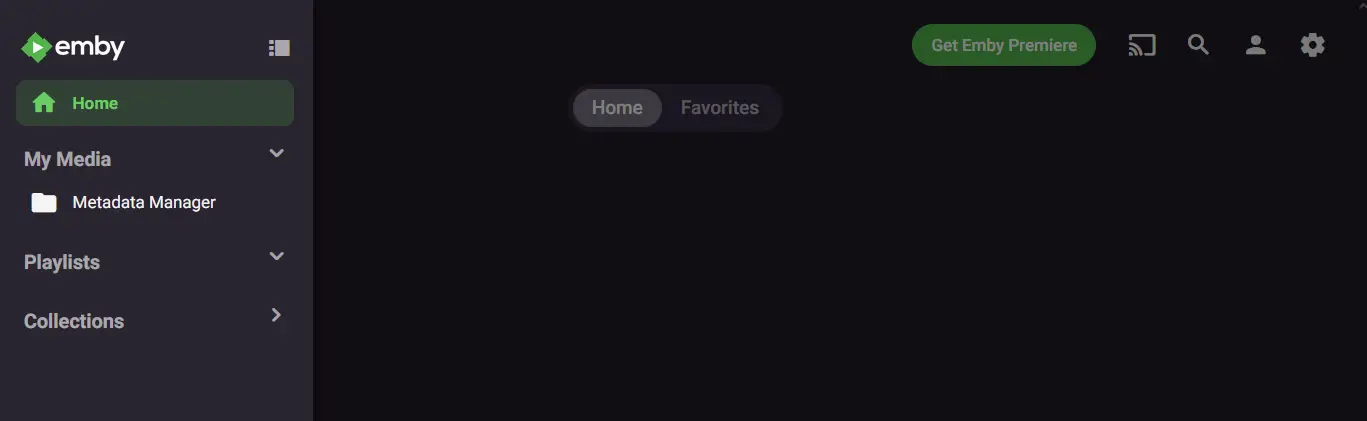
If you have the proper user and password, you will get the Emby dashboard like the following:
Conclusion
Congratulations! You have now installed the Emby Media Server on Debian 12 server. You have also configured Nginx as a reverse proxy for your Emby installation. In addition to that, you've configured UFW and secured Emby with SSL/TLS certificates from Letsencrypt.
Lastly, you have initialized the Emby installation and can add your media files here.

