How to Install Cockpit Web Console on Debian 12
Cockpit is a web-based Linux administration tool that allows you to manage multiple Linux servers from a single dashboard, especially for day-to-day operations. The Cockpit project mainly backed by RedHat provides a user-friendly interface that is good for people with less experience in a Linux environment.
This guide will show you how to install Cockpit on a Debian 12 server, and I will show you the basic usage of Cockpit for managing your Debian server. Stay tuned for this.
Prerequisites
To complete this guide, make sure you have prepared the following:
- A Debian 12 server.
- A non-root user with sudo/administrator privileges.
Install Cockpit on Debian
Cockpit is a web-based server management software for Linux distributions. RedHat developed the project but is available for major popular distributions, such as Debian/Ubuntu, CentOS/Rocky/Alma, and Fedora.
On Debian, you can install Cockpit easily via the official Debian repository.
Before installing Cockpit, run the following command to update your Debian repository to the latest version.
sudo apt update
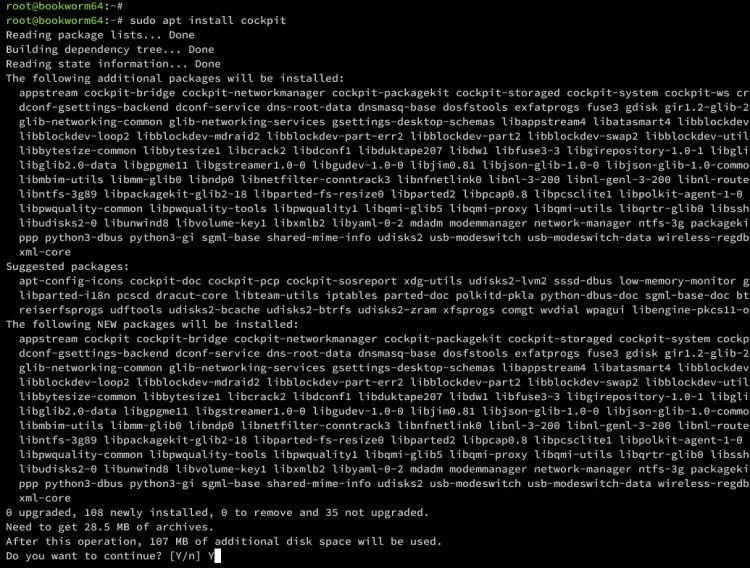
Once the repository is updated, install the cockpit package using the command below. With this, you will install Cockpit with some required packages, such as cockpit-networking plugins.
sudo apt install cockpit -y
After the installation is complete, start and enable cockpit service using the following command.
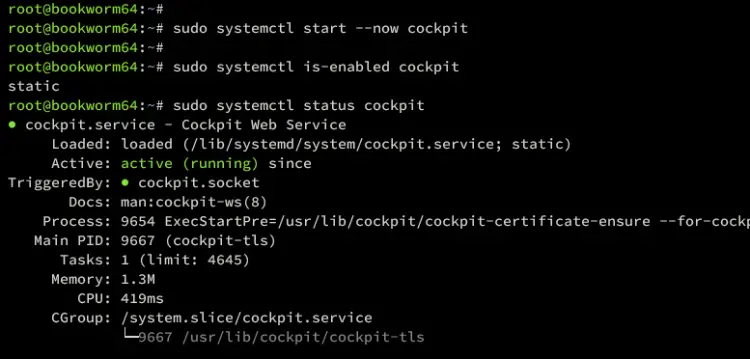
sudo systemctl start --now cockpit
Then verify cockpit installation to ensure that it's running and enabled on your Debian system.
sudo systemctl is-enabled cockpit
sudo systemctl status cockpit
If running, you should get an output such as active (running) on your screen.
Lastly, run the command below to check the cockpit port. By default, cockpit is running on TCP port 9090.
ss -tulpn
Setup UFW
After installing cockpit, let's configure the firewall via UFW (Uncomplicated Firewall). The following section will show you how to install UFW, open SSH port, and open cockpit port 9090/tcp.
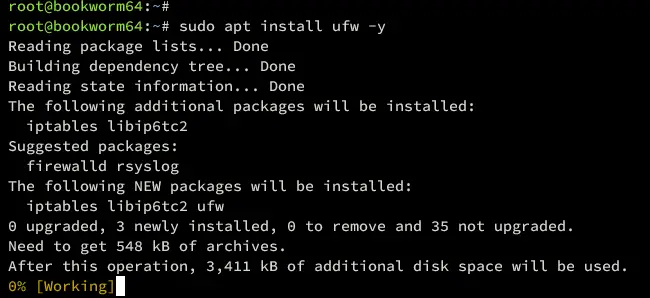
First, install UFW to your Debian machine using the apt command below.
sudo apt install ufw
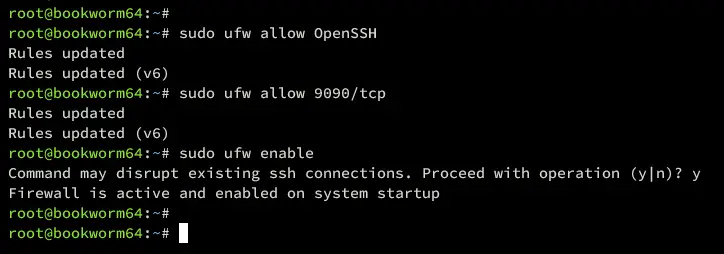
Once UFW is installed, run the following ufw command to open the OpenSSH profile and TCP port 9090. The OpenSSH profile by default will open port 22 for SSH traffic. If you're running SSH on a custom port, you can just add your port.
sudo ufw allow OpenSSH
sudo ufw allow 9090/tcp
Now run the command below to start and enable UFW. Type y to confirm when prompted, and you will get an output such as Firewall is active and enabled on system startup.
sudo ufw enable
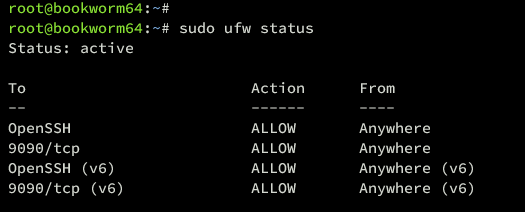
With UFW enabled, run the command below to verify it. You should see UFW with the status Active and enabled ports for OpenSSH and 9090/tcp.
sudo ufw status
Logging into Cockpit
With UFW enabled and port 9090/tcp opened, you can now access your cockpit installation from your local computer/desktop.
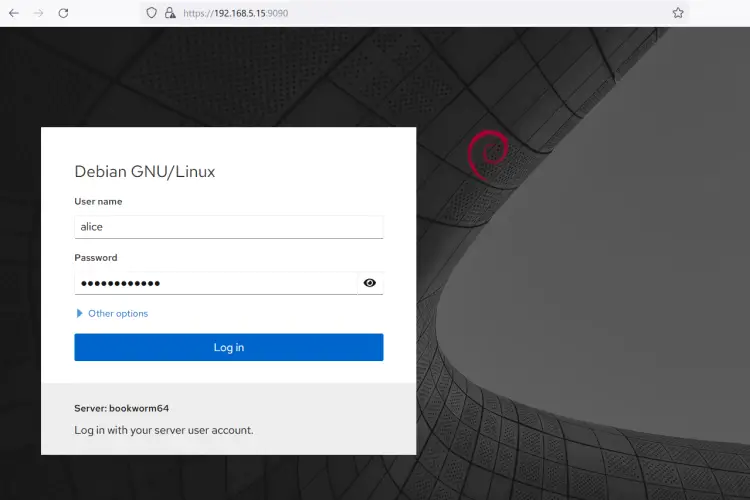
Launch your web browser and visit the server IP address with HTTPS protocol followed by port 9090 (i.e: https://192.168.5.15:9090/). If cockpit installation is successful, you will be shown the cockpit login page.
Input your username and password, then press Login. Be sure to use non-root that have privileges to access `su` or root privileges. It's not recommended to directly use the `root` user for this operation.
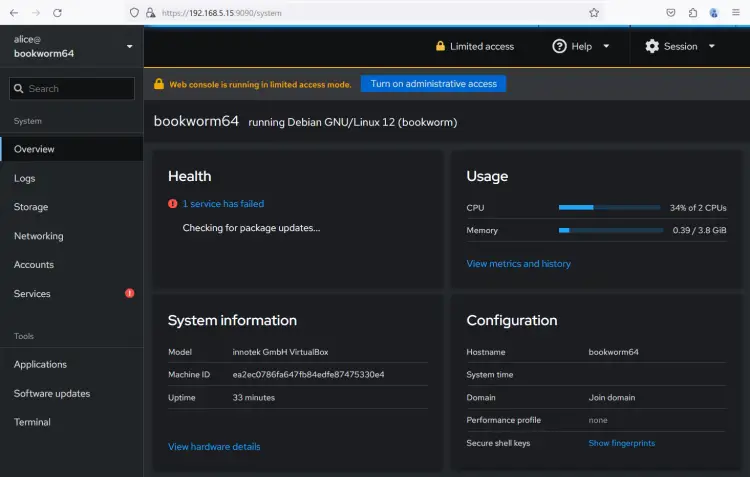
Once logged in, you will see the cockpit dashboard like the following. As you can see, we also have a Limited access mode.
Click on the button Turn on administrative access and you will be prompted for password. Input your password and click Authenticate. This action is similar to the 'sudo su' command when you need root privileges.
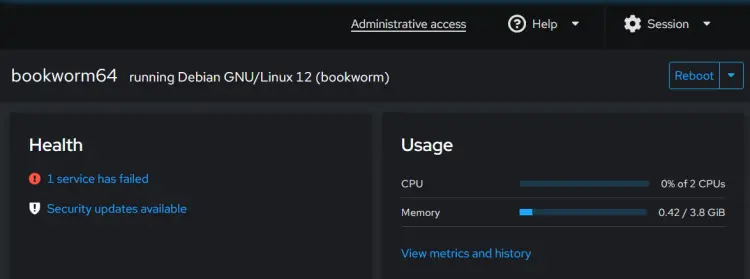
Once the authentication is successful, you will see the confirmation of Administrative access at the top menu. This means you have the privilege to do anything in cockpit.
Install an Additional Plugin for Cockpit
In addition to cockpit, you can also install additional cockpit applications. There limited, but when cockpit will help you manage your application via cockpit dashboard.
Run the command below to find cockpit applications available on your server.
sudo apt search cockpit
In the Debian repository, there is a cockpit-podman package for managing Podman, cockpit-389 for managing the 389 directory server, cockpit-pcp for the PCP integration, cockpit-machines for managing virtual machines, and many more.
If you want to install a cockpit application, use the following command.
sudo apt install cockpit-podman -y
After the installation is finished, restart the cockpit service using the command below.
sudo systemctl restart cockpit
Lastly, you can access your application via the Application menu on the cockpit dashboard.
Managing Debian System via Cockpit Dashboard
In this section, you will some functions of cockpit for managing your Debian system. This includes managing the network, disk, services, users, software updates, and accessing the terminal server via cockpit.
Manage Networking
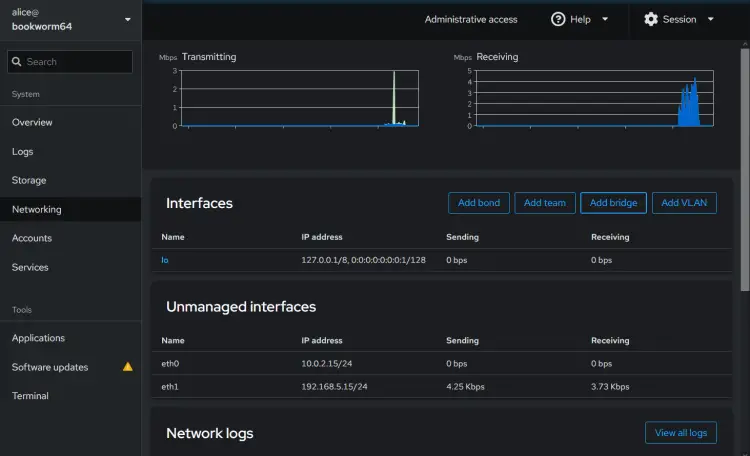
Click on the Networking menu and you will be presented with the cockpit networking dashboard. From there, you can check logs of your networking, set up bridge interface, set up networking on managed interfaces, add network bounding, etc.
Manage Disk/Storage
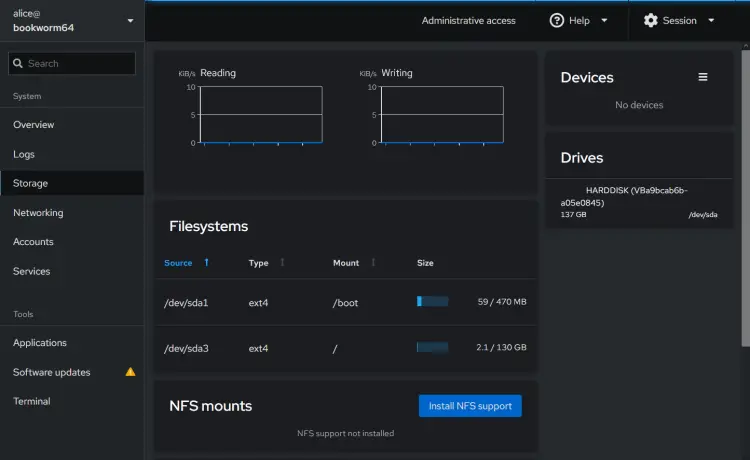
Cockpit also allows you to manage disk via the dashboard. Click on the Storage menu and you will see the dashboard like the following:
You can see the disk and drive information, read and write statistics, and current filesystems layout, also you can add the NFS support.
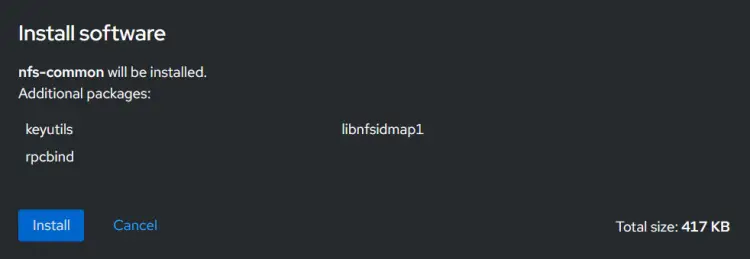
Click on the Install NFS support to enable NFS integration. This process will automatically update your Debian package index and you will be prompted for additional package installation. Click Install to confirm.
Once the installation is finished, your cockpit will now support NFS.
Managing Services
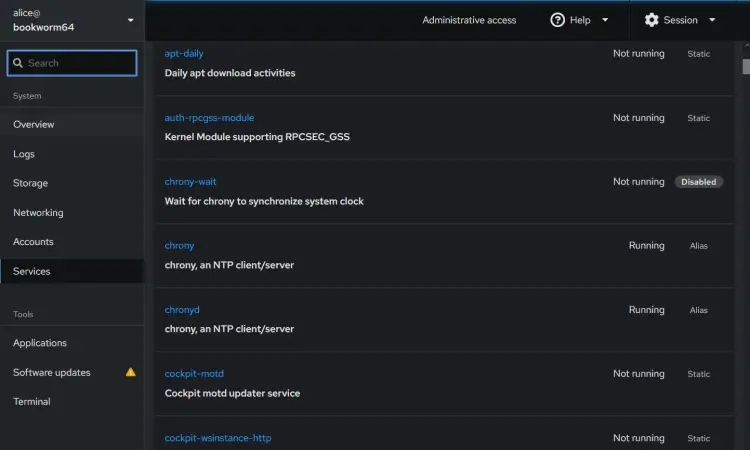
Click on the Services menu to get the list of available services on your server. You can see service status such as running, not running, and disabled.
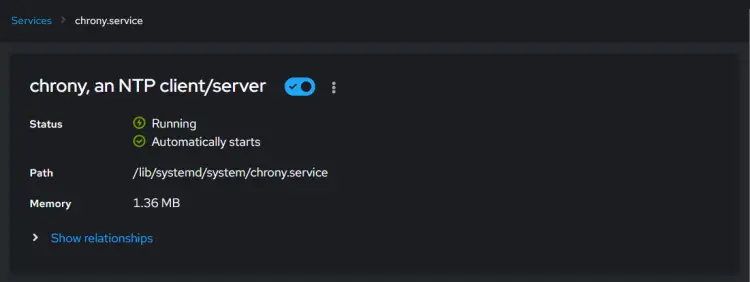
To start or restart services, click on the service name. In this example, we'll restart the chrony service.
Turn on the on button to start the service. If you want to restart the service, just turn on/off the button.
Managing User
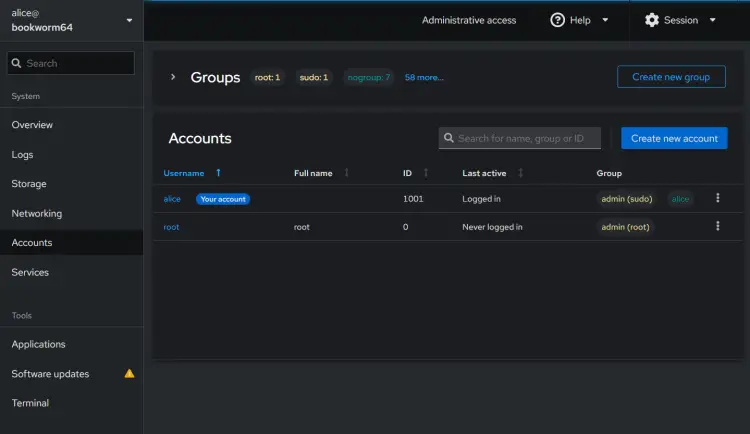
Now for managing users, click on the Users menu. You should get the list of users on your Debian machine.
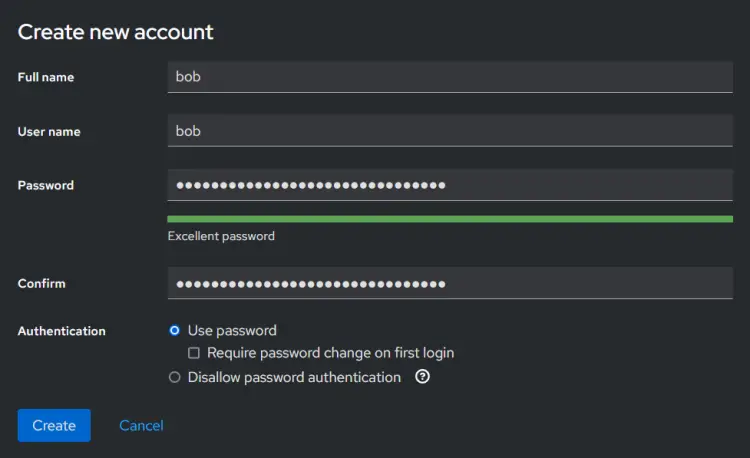
To create a new user, click on the Create new account. Then, input your username and password details and click Create to confirm.
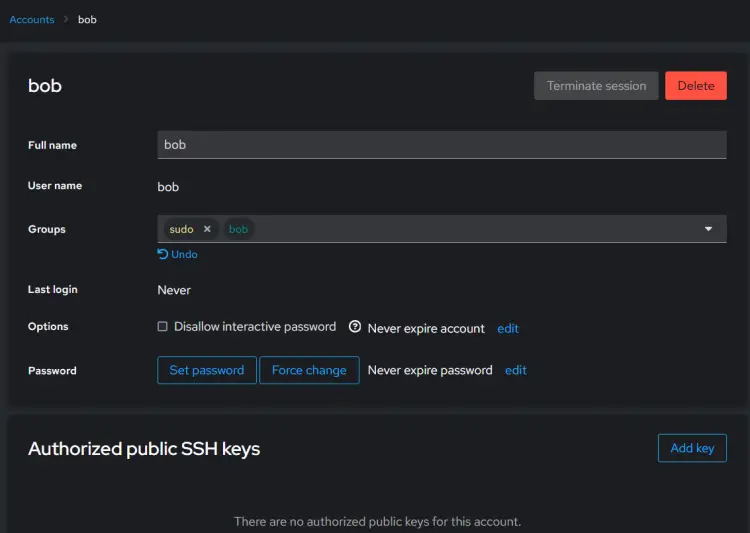
After the user is created, click on your user to assign a new group. In this example, we've created user bob and want to assign the sudo group to user bob.
Furthermore, you can also upload your SSH public key so you can log in via SSH key. Or if you want to remove the user, click the Delete button,
Updating Packages
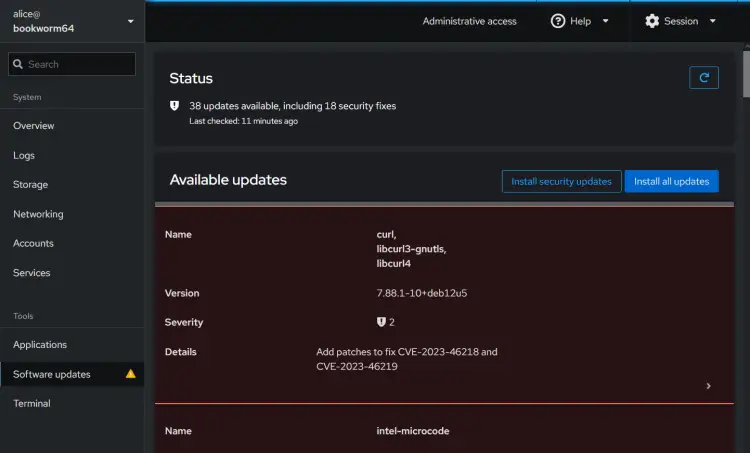
To update packages via cockpit, click on the Software updates menu. From there, you can update packages related to security, or install all available updates to the latest version.
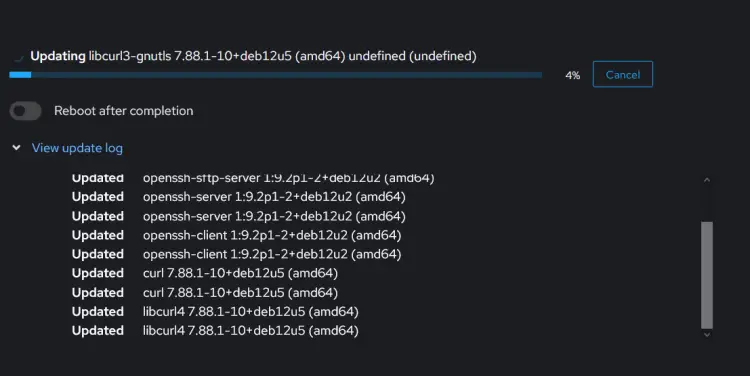
During the update process, you will see the process like the following:
Accessing Terminal
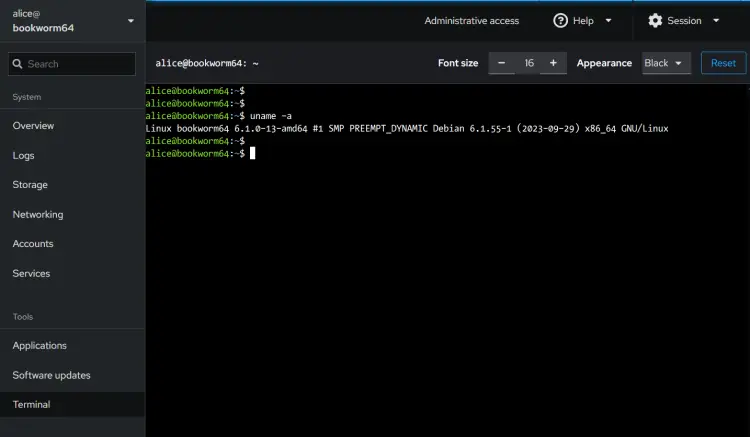
Cockpit also provides a terminal on the dashboard. This allows you to input commands directly to the server via the cockpit dashboard.
Click on the Terminal menu and you should get the server terminal. From there, you can now input commands for managing your server.
Conclusion
Congratulations! You have now successfully installed Cockpit on a Debian 12 server. You have also configured UFW on your Debian machine. In addition to that, you have also learned some basic usage of the cockpit for managing your server, which includes managing network, disk, services, users, software updates, and accessing the terminal server via Cockpit


