How to Install and Use Nessus Vulnerability Scanner on Ubuntu 24.04
This tutorial exists for these OS versions
- Ubuntu 24.04 (Noble Numbat)
- Ubuntu 22.04 (Jammy Jellyfish)
On this page
Nessus is a network scanning tool and vulnerability scanner developed by Tenable. It is used for vulnerability assessments, penetration testing, and ethical hacking. Nessus builds one of the most comprehensive vulnerability scanners on top of CVE (Common Vulnerabilities and Exposures) architecture. With Nessus, you can identify security weaknesses in devices, applications, and operating systems.
In this guide, you'll learn how to install Nessus on Ubuntu 24.04 server. You'll also learn how to set up Nessus using the installation wizard, add Nessus bin directories to the system PATH, create your first Nessus scan, and generate HTML reports of your scan result.
Prerequisites
To begin with this guide, make sure you have the following:
- An Ubuntu 24.04 Server
- A non-root user with administrator privileges
Installing Nessus via DEB File
To install Nessus on a Linux system, you can easily download the package (DEB or RPM), and then install it manually through the 'dpkg' command for Debian-based or 'rpm' for the RedHat operating system. Lastly, you can start the Nessus service via 'systemctl'.
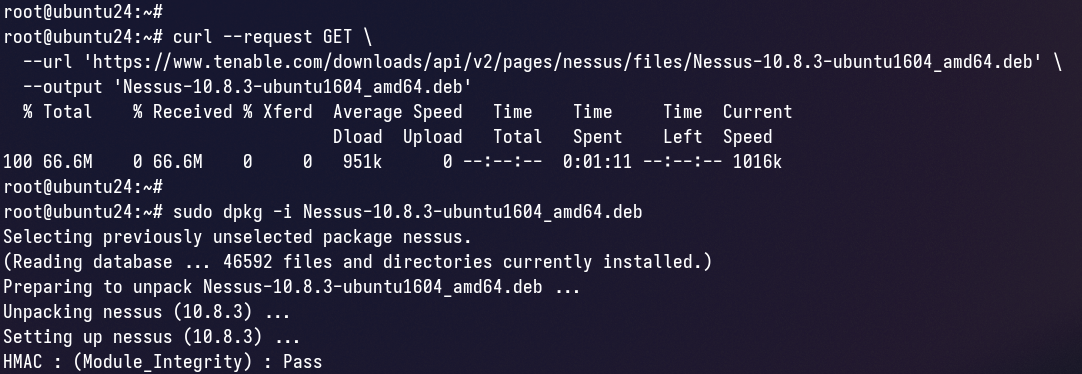
Download the Nessus DEB file using the 'curl' command below. Make sure to visit the Nessus download page to get the latest version.
curl --request GET \
--url '<https://www.tenable.com/downloads/api/v2/pages/nessus/files/Nessus-10.8.3-ubuntu1604_amd64.deb>' \
--output 'Nessus-10.8.3-ubuntu1604_amd64.deb'
Once downloaded, run the 'dpkg' command below to install Nessus via the DEB file.
sudo dpkg -i Nessus-10.8.3-ubuntu1604_amd64.deb
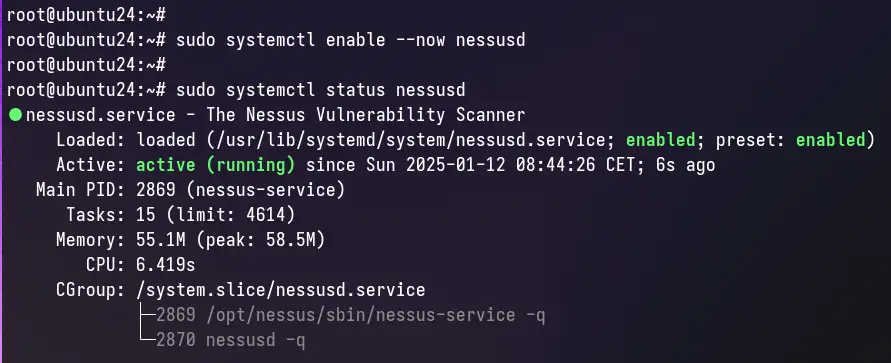
After the installation is finished, run the following 'systemctl' command to start and enable the 'nessusd' service. And then, check it to ensure the service is running.
sudo systemctl enable --now nessusd
sudo systemctl status nessusd
In the output below, you can see that 'nessusd' is enabled and running.
Setting up UFW (Uncomplicated Firewall)
Now that you've Nessus running, let's configure the UFW (Uncomplicated Firewall) and open ports for OpenSSH and port '8834/tcp' for the Nessus dashboard.
Run the 'ufw' command below to enable the 'OpenSSH' profile for allowing SSH access, then open port '8834/tcp' for the Nessus web application.
sudo ufw allow OpenSSH
sudo ufw allow 8834/tcp
Now run the command below to start and enable UFW, and then enter 'y' to confirm. You'll get an output such as 'Firewall is active and enabled on system startup'.
sudo ufw enable

Lastly, check the UFW with the following command. You'll see that UFW with the status 'active' and allowed access to the 'OpenSSH' and port '8834/tcp'.
sudo ufw status

Nessus Installation Wizard
Now that you've opened port '8834/tcp', you're ready to set up the Nessus installation wizard from your web browser.
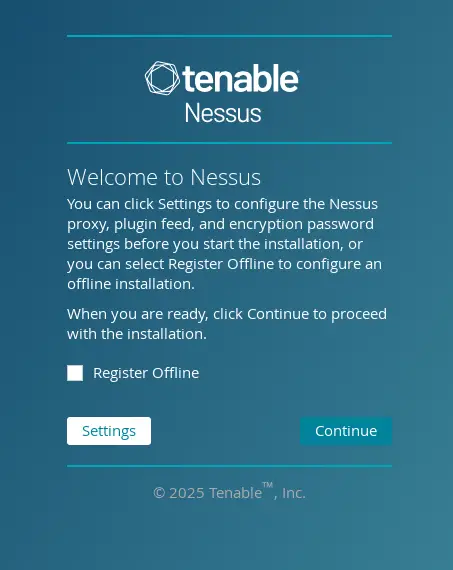
Open your web browser and visit https://192.168.10.60:8834. If your Nessus installation is successful, you'll get the Nessus installation wizard.
Click 'Continue' to start the Nessus configuration.
Register to Tenable by entering your first and last name, and email address. The activation code will be sent to your email, so make sure to use the proper email.

When activated, you'll see the following:

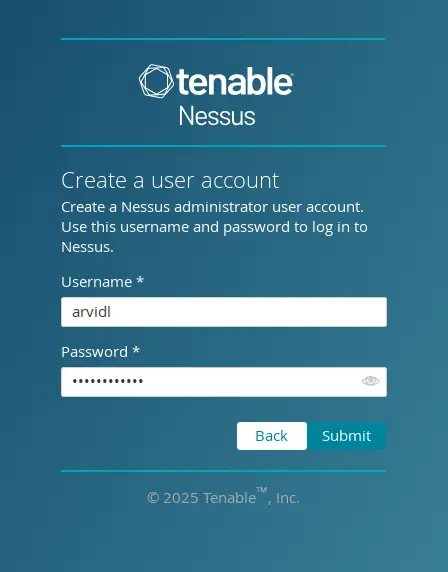
Now enter your username and password that will be used to log in to the Nessus dashboard.
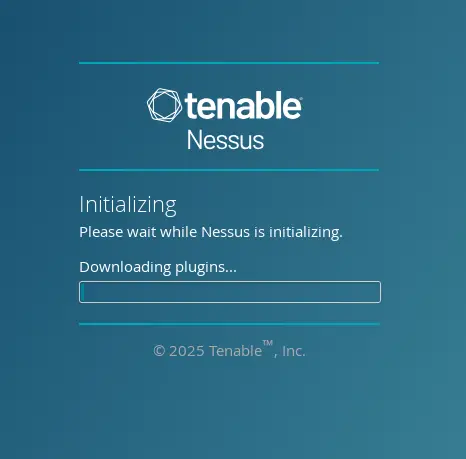
Next, the installation should begin. This Nessus downloads plugins that are needed.
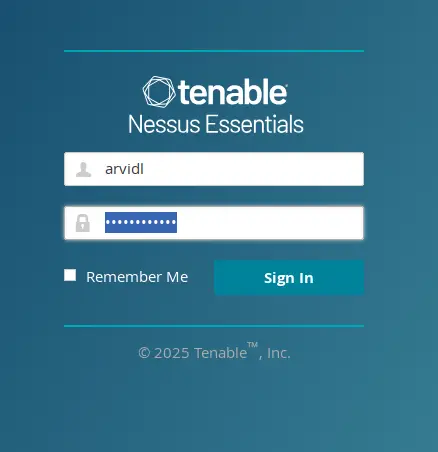
After the process is finished, you'll be prompted with the Nessus authentication page. Enter your username and password, then click 'Sign In'.
If you have the correct credentials, you'll see the following Nessus dashboard.

If the plugin installation fails, you can install Nessus plugins through the 'nessuscli' utility.
cd /opt/nessus/sbin
./nessuscli update
Adding Nessus to System PATH
By default, Nessus is installed in the '/opt/nessus' directory. There are also two bin directories for the Nessus command. In this section, you'll add the Nessus bin directory to the system PATH via the '~/.bashrc' file.
Open the '~/.bashrc' file with the 'vim' editor.
vim ~/.bashrc
Paste the following configuration to add Nessus binary path '/opt/nessus/bin' and '/opt/nessus/sbin' to the system PATH.
export $PATH:/opt/nessus/bin:/opt/nessus/sbin
Save the file and exit the editor.
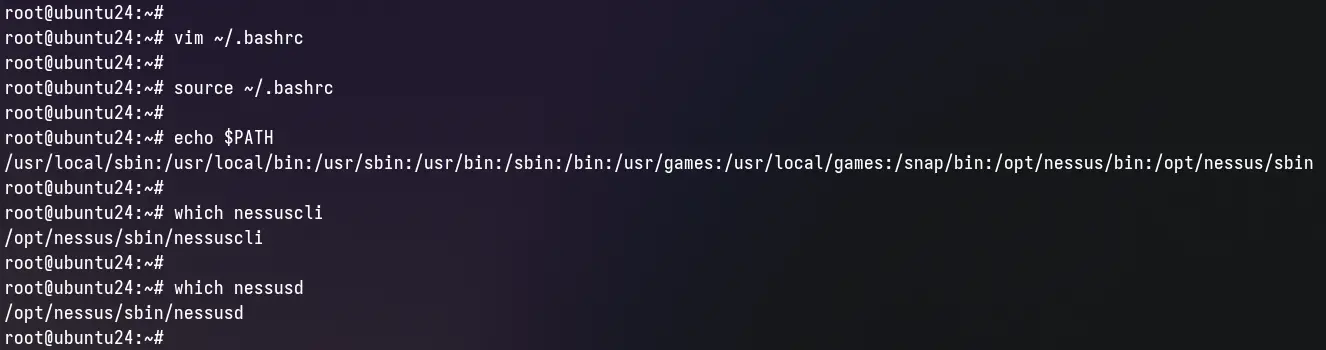
Now run the command below to reload the '~/.bashrc' file to the current session and check your system PATH. You'll see directories '/opt/nessus/bin' and '/opt/nessus/sbin' available in the PATH.
source ~/.bashrc
echo $PATH
You can now run the 'nessuscli' command like any other command. The below command will show your full path of the 'nessuscli' and 'nessusd' binary files.
which nessuscli
which nessusd
Scanning with Nessus
In this section, you'll learn how to scan with Nessus and generate HTML reports for your scanning. This section will be using the Nessus administration dashboard.
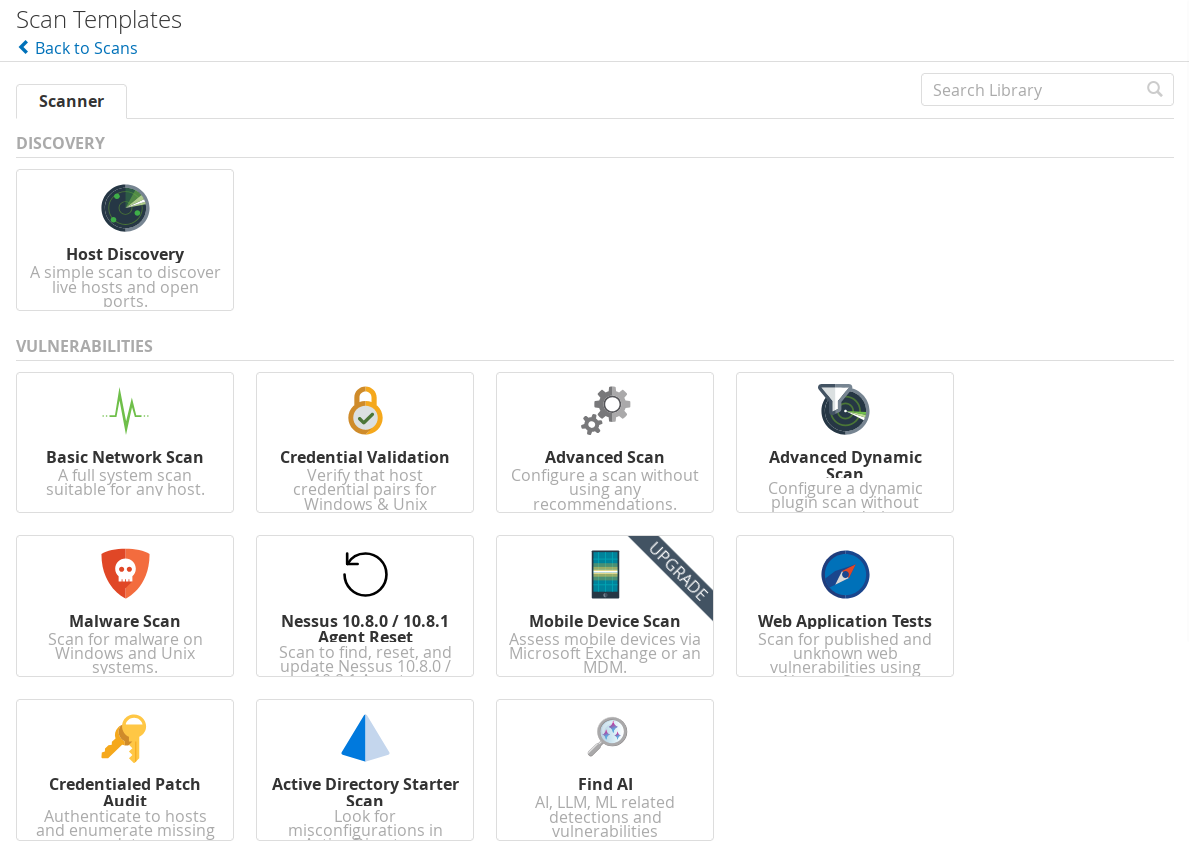
- On the Nessus dashboard, click the New Scan button.
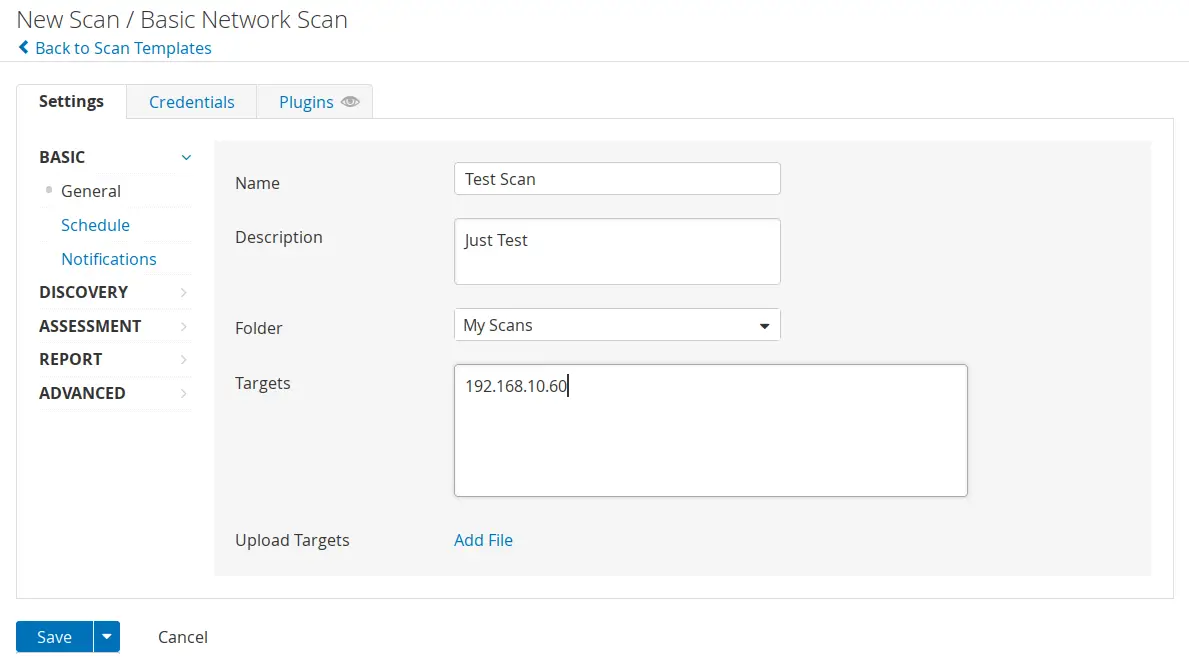
- Select the Basic Network Scan template.
- Enter your scan name, description, default folder to save your scan result, and the target IP address or hostname
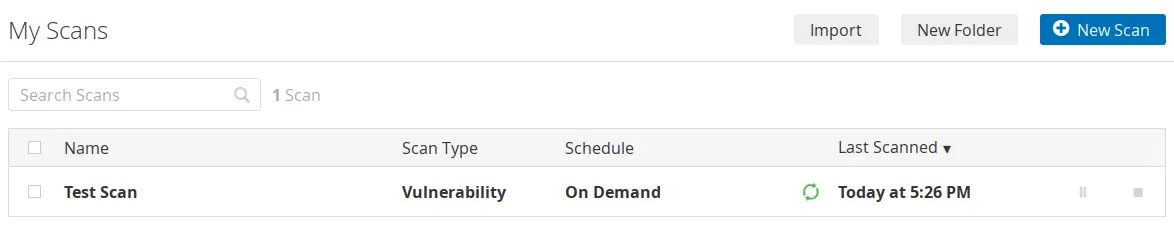
- Once created, click the play button to start the scan
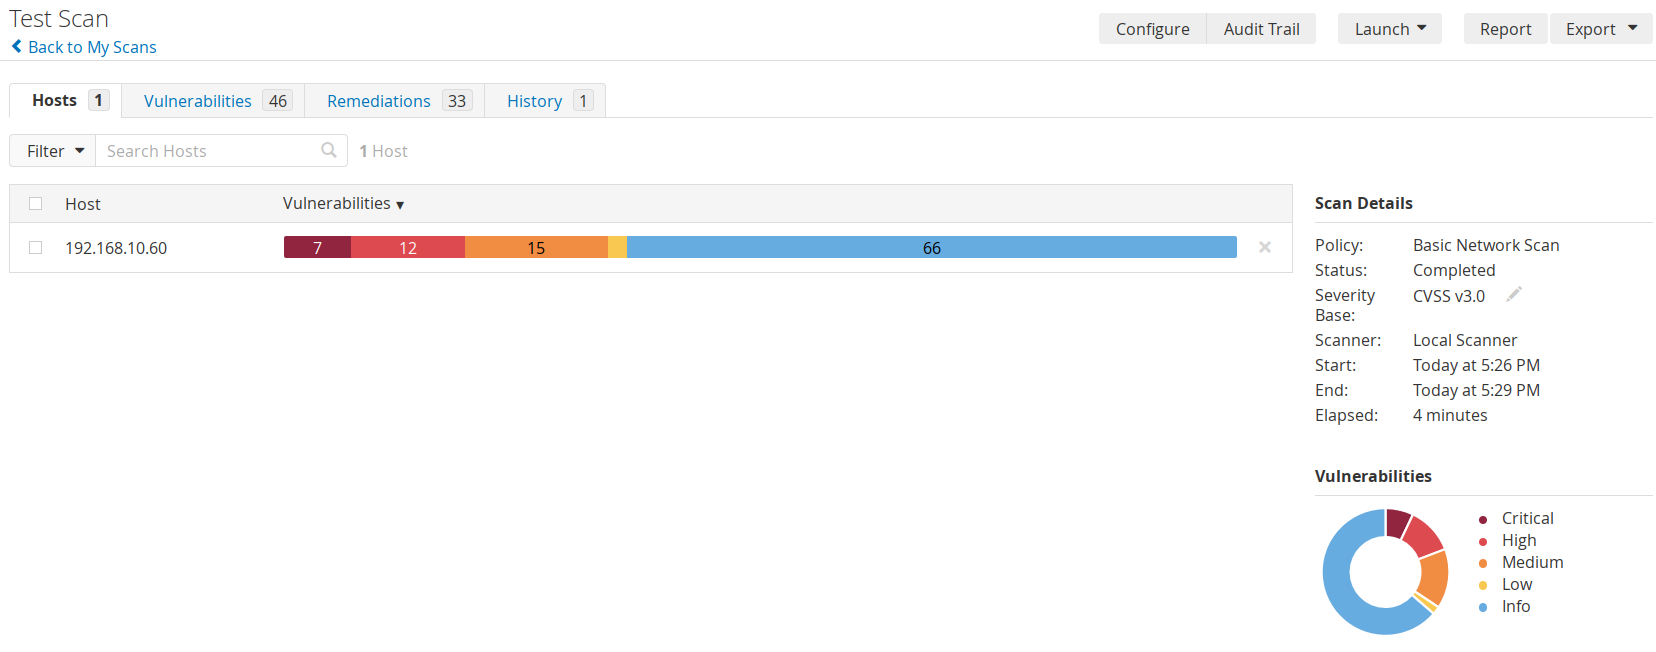
- After the scan, you can see the following result:
Click the 'Reports' menu to generate an HTML report of your scanning result. Below is our scanning result on the HTML page.

Conclusion
Congratulations! You've completed the installation of Nessus on the Ubuntu 24.04 server. You've also learned how to set up Nessus via the installation wizard and how to scan the host/system using Nessus. In addition to that, you've learned how to generate HTML reports of your scanning.

