How to Install Actual Budgeting Software on Debian 12 Server
Actual Budget is an open-source finance management software focused on privacy and built on top of "Envelope Style Budgeting". Actual is written in Node.js and can be installed locally in no time. It supports multi-device sync and optional end-to-end encryption.
In this tutorial, we'll show you how to install the Actual Budgeting System on the Debian 12 server. You'll install Actual with the Nginx as a reverse proxy, and secure it with HTTPS through Certbot and Letsencrypt.
Prerequisites
To begin with this tutorial, make sure you have:
- A Debian 12 server
- A non-root user with administrator privileges
- A domain name pointed to server IP address
Installing Node.js and Yarn
Before installing Actual, you must ensure that Node.js, Git, and Yarn package manager are installed on your system. At this time, Actual requires Node v18 or above, which can be installed from the official Debian repository.
First, run the 'apt' command below to update your Debian package index and install basic packages such as Node.js, NPM, and Git. Enter 'Y' to confirm the installation.
sudo apt update
sudo apt install nodejs npm git

After the installation is finished, install the Yarn package manager using the 'npm' command below. In this example, you'll install Yarn globally or system-wide.
npm install --global yarn
When finished, check the Node.js and Yarn version with the command below.
node --version
yarn --version
In the output below, you can see that Node.js 18 and Yarn 1.22 are installed.

Downloading Actual Budget Source Code
After the dependencies are installed, you're ready to download the Actual source code, install dependencies via Yarn, configure Actual with the 'config.json' file, and then run Actual via the command line. Also, you need a dedicated user to install and run Actual on your system.
Log in to your user with the command below.
su - username
Download the Actual Budget source code with the 'git' command below.
git clone https://github.com/actualbudget/actual-server.git

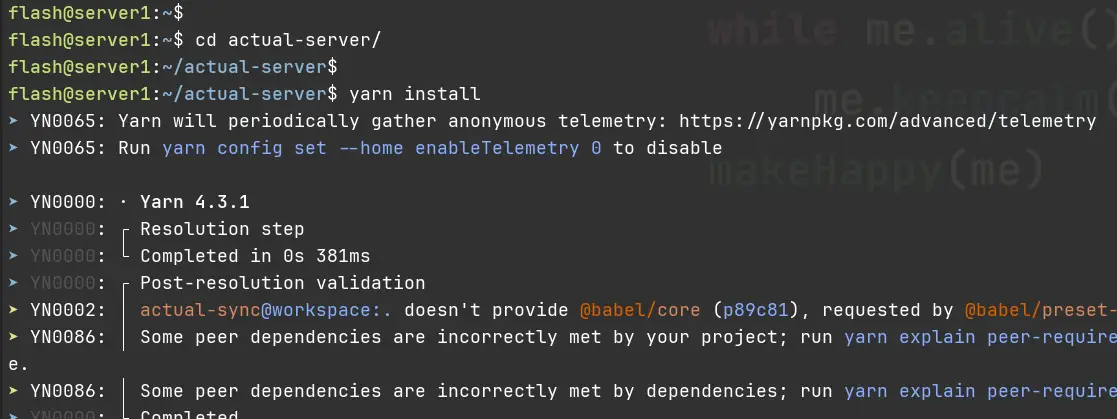
Go to the 'actual-server' directory and install JavaScript dependencies with the 'yarn' command below.
cd actual-server
yarn install
You can see below the installation of JavaScript dependencies via the Yarn package manager.
After the installation is complete, create a new file 'config.json' using the 'nano' editor.
nano config.json
Insert the configuration below to run Actual on the local IP address with the default port 5006.
{
 "hostname": "127.0.0.1",
 "port": 5006
}
Save the file and exit the editor.
Lastly, run the 'yarn start' command below to start the actual software. This will open port 5006 on your localhost or '127.0.0.1' address that will be used by the application.
yarn start
Press Ctrl+c to terminate the process.

Running Actual in the Background as a Systemd Service
Now that you've installed and configured Actual, let's create a new systemd service file for running Actual in the background as a systemd service.
Create a new systemd service file '/etc/systemd/system/actual.service' with the following 'nano' editor.
sudo nano /etc/systemd/system/actual.service
Insert the configuration below to run Actual in the background as a systemd service. Make sure to change the default 'User' and 'Group' with your username, then change the 'WorkingDirectory' with your proper path.
[Unit]
Description=Actual-Server (https://actualbudget.org)
After=network.target

[Service]
User=flash
Group=flash
WorkingDirectory=/home/flash/actual-server/
ExecStart=/usr/local/bin/yarn start
Restart=on-watchdog

[Install]
WantedBy=multi-user.target
Save the file and exit the editor when done.
Now run the 'systemctl' command below to reload the systemd manager and apply your changes.
sudo systemctl daemon-reload
And then, start and enable the 'actual.service' using the following command. This will start the 'actual.service' in the background and enable it to run automatically at system boot.
sudo systemctl enable --now actual.service

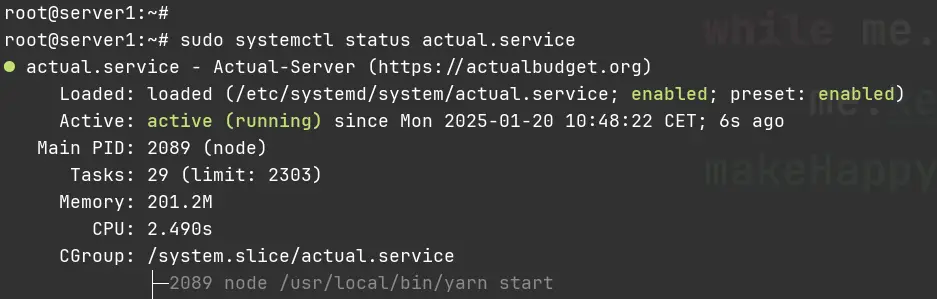
Check the 'actual.service' status with the command below. You should see that the 'actual.service' is running and enabled on your system.
sudo systemctl status actual.service
Setting up Nginx as a Reverse Proxy
At this point, Actual is up and running in the background as a systemd service. In this section, you'll install Nginx and configure it as a reverse proxy for Actual. After that, you'll generate SSL certificates for your Actual deployment via Certbot and Letsencrypt.
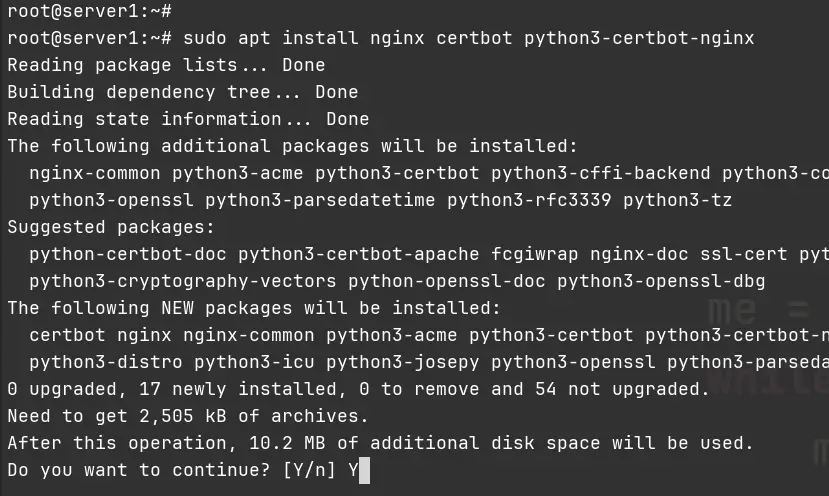
First, run the 'apt' command below to install Nginx, Certbot, and Python3 Certbot Nginx plugin. Enter 'Y' to proceed with the installation.
sudo apt install nginx certbot python3-certbot-nginx -y
After the installation is finished, create a new Nginx server block file '/etc/nginx/sites-available/actual-budget' with the 'nano' editor.
sudo nano /etc/nginx/sites-available/actual-budget
Insert the configuration below and make sure to change the 'server_name' parameter with your domain name.
server {
listen 80;
server_name budget.howtoforge.local;

location / {
include /config/nginx/proxy.conf;
include /config/nginx/resolver.conf;

proxy_set_header X-Forwarded-For $proxy_add_x_forwarded_for;
proxy_set_header Host $host;

set $upstream_app 127.0.0.1;
set $upstream_port 5006;
set $upstream_proto http;
proxy_pass $upstream_proto://$upstream_app:$upstream_port;
}
}
When finished, save the file and exit the editor.
Now run the command below to activate the 'actual-budget' server block and verify your Nginx configurations. If no error, you'll get an output such as 'syntax is ok - test is successful'.
sudo ln -s /etc/nginx/sites-available/actual-budget /etc/nginx/sites-enabled/
sudo nginx -t

Next, run the command below to restart and verify the Nginx service status. Make sure that the Nginx web server is running.
sudo systemctl restart nginx
sudo systemctl status nginx

Lastly, run the 'certbot' command below to generate SSL certificates and secure your Actual software installation. Make sure to change the domain name and email address in the following command.
sudo certbot --nginx --agree-tos --redirect --hsts --staple-ocsp --email <[email protected]> -d budget.howtoforge.local
When the process is finished, your Actual installation should be secured with HTTPS via Certbot and Letsencrypt. Your SSL certificates are available in the '/etc/letsencrypt/live/domain.com' directory and HTTPS is automatically enabled on your server block file.
Accessing Actual Budget via Web Browser
Visit the domain name of your Actual installation such as https://budget.howtoforge.local. If successful, you'll see the welcome message to Actual and asked to set up a password.
Enter your new password and repeat, then click 'OK'.

Once the password is configured, input your password to log in to the Actual Dashboard.

For the first time, you'll be asked to view demo data or start fresh.
If you're familiar with Actual, you can click the 'Start fresh', but if you're new to Actual, click the 'View demo' to get a grasp of the Actual basic usage.

Below is an example of demo data from the Actual Budgeting System.

Conclusion
Congratulations! You've completed the installation of Actual, a privacy-focused finance software, on a Debian 12 server. You've Actual up and running as a systemd service in the background, which is running on top of the Nginx reverse proxy. Furthermore, you've also secured Actual with HTTPS through Certbot and Letsencrypt.

