How to create a VPC Peering between 2 VPCs on AWS
A VPC peering connection is a connection between two VPCs that enables you to route traffic between them. We can create a VPC peering connection between our VPCs, or with a VPC in another AWS account. The VPCs can also be in different regions.
We can peer the VPCs across accounts to create a network filesystem and we can also use a VPC peering connection to allow other VPCs to access resources we have in one of our VPCs.
Before we create a VPC Peering connection, let's understand its steps in brief.
- The VPC from which we create a Peering connection is called a Requester VPC.
- The VPC in which we accept the Peering connection is called the Accepter VPC.
- The one who created or accepts the Peering connection is called the Owner.
- To create a VPC Peering connection, the owner of the requester VPC sends a request to the owner of the accepter VPC.
- To accept the connection, the owner of the accepter VPC accepts the VPC peering connection request sent by the requester.
- To allow the flow of traffic between the VPCs using private IP addresses, the owner of each VPC in the VPC peering connection must manually add a route to one or more of their VPC route tables.
In this article, I shall be creating an inter-region VPC Connection. I have one VPC in the Paris region and another in the N. Virginia region. Both of them have different CIDR blocks.
Note: We cannot create a VPC peering connection between VPCs that have matching or overlapping IPv4 or IPv6 CIDR blocks.
Pre-requisites
- AWS Account (Create if you don’t have one).
- 2 VPCs in 2 different regions. (Click here if you want to learn to create VPC)
What will we do?
- Login to AWS.
- Create a VPC Peering Connection
- Add Routes in Route Tables
Login to AWS
Click here to go to AWS Login Page.
When we hit the above link, we will see a web page as follows where we are required to login using our login details.

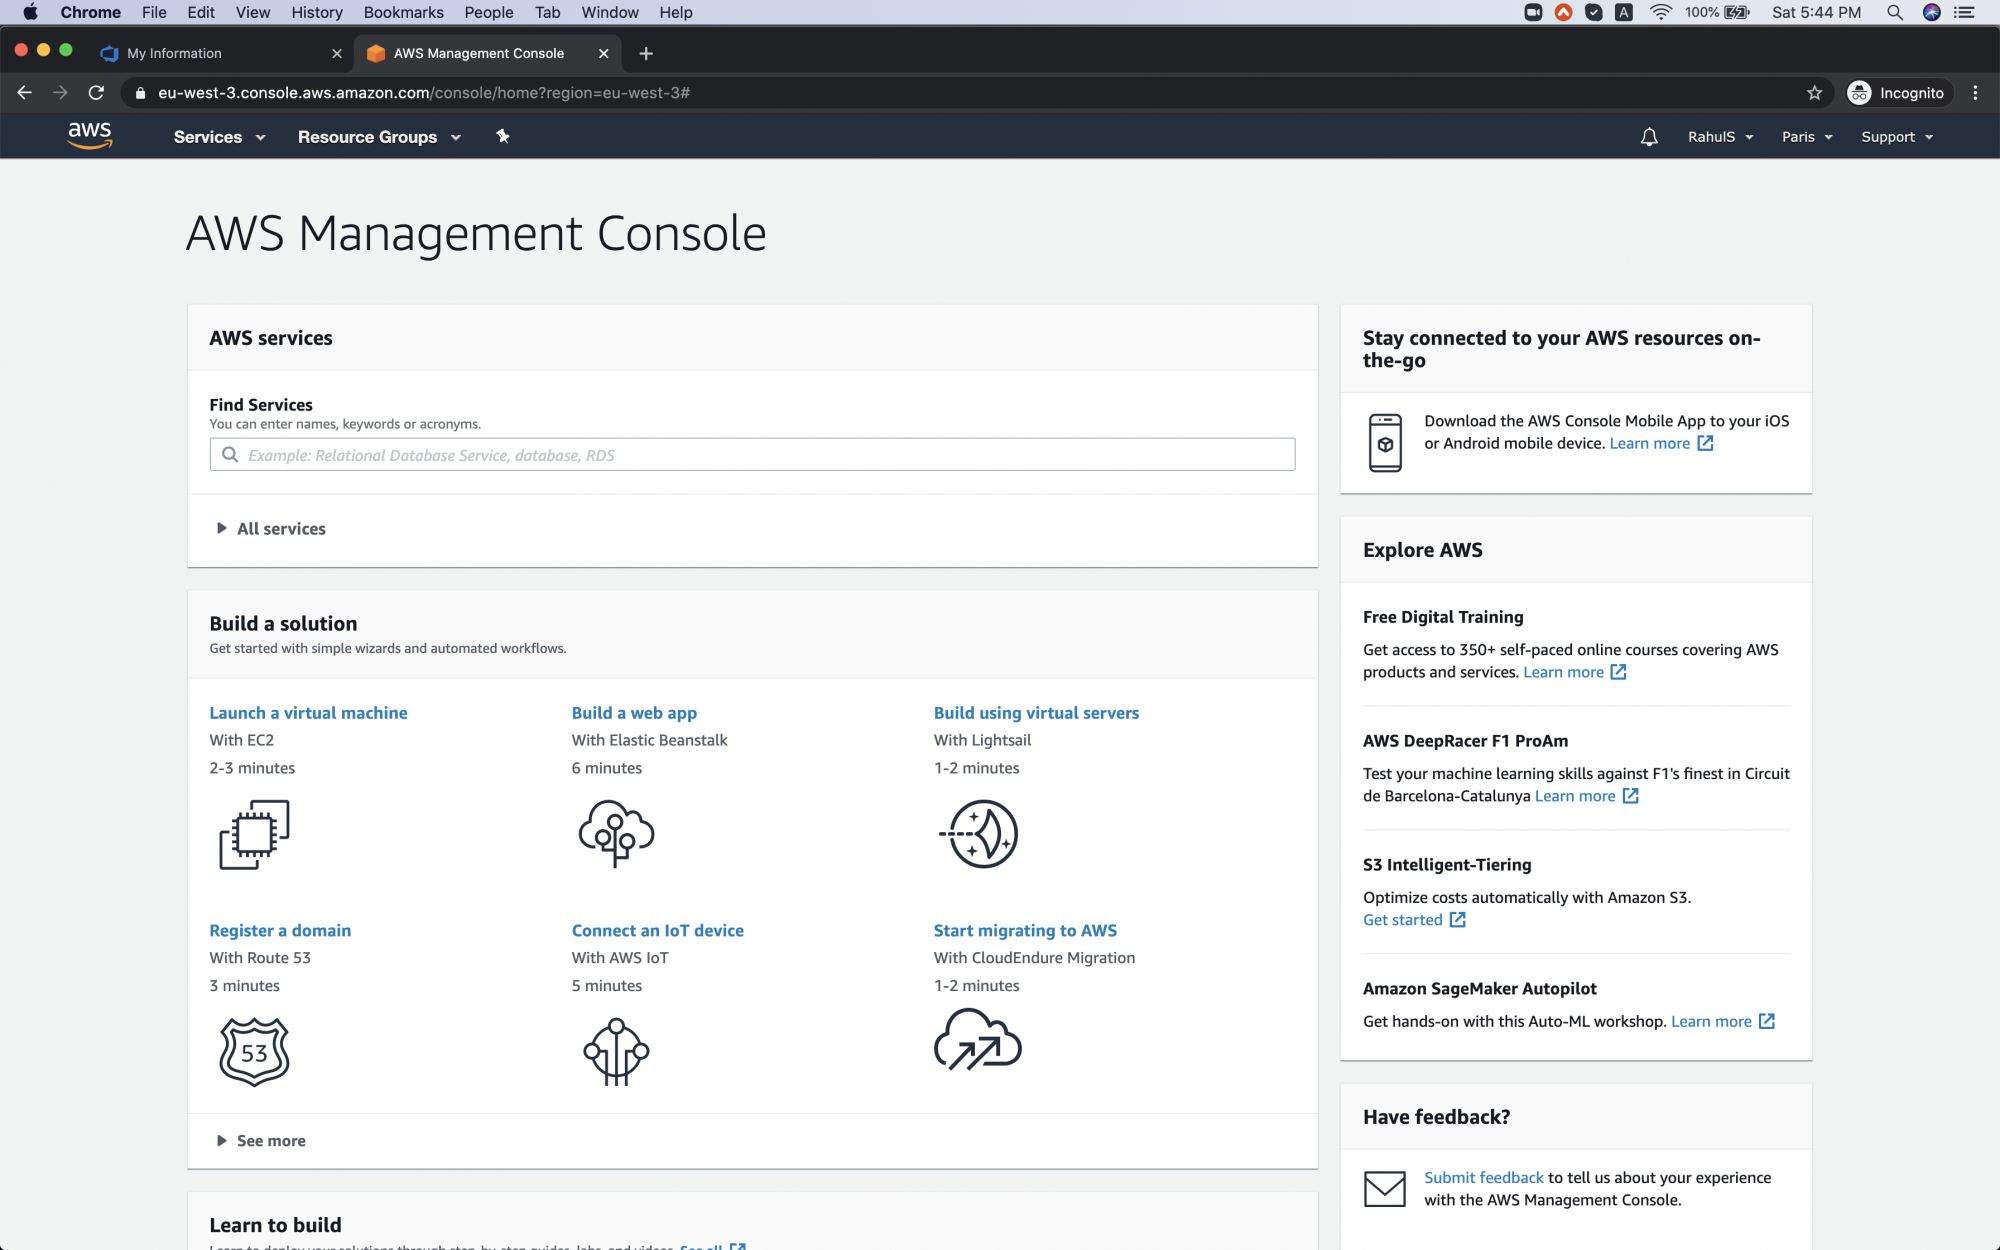
Once we login into AWS successfully, we will see the main console with all the services listed as follows.
Create a VPC Peering Connection
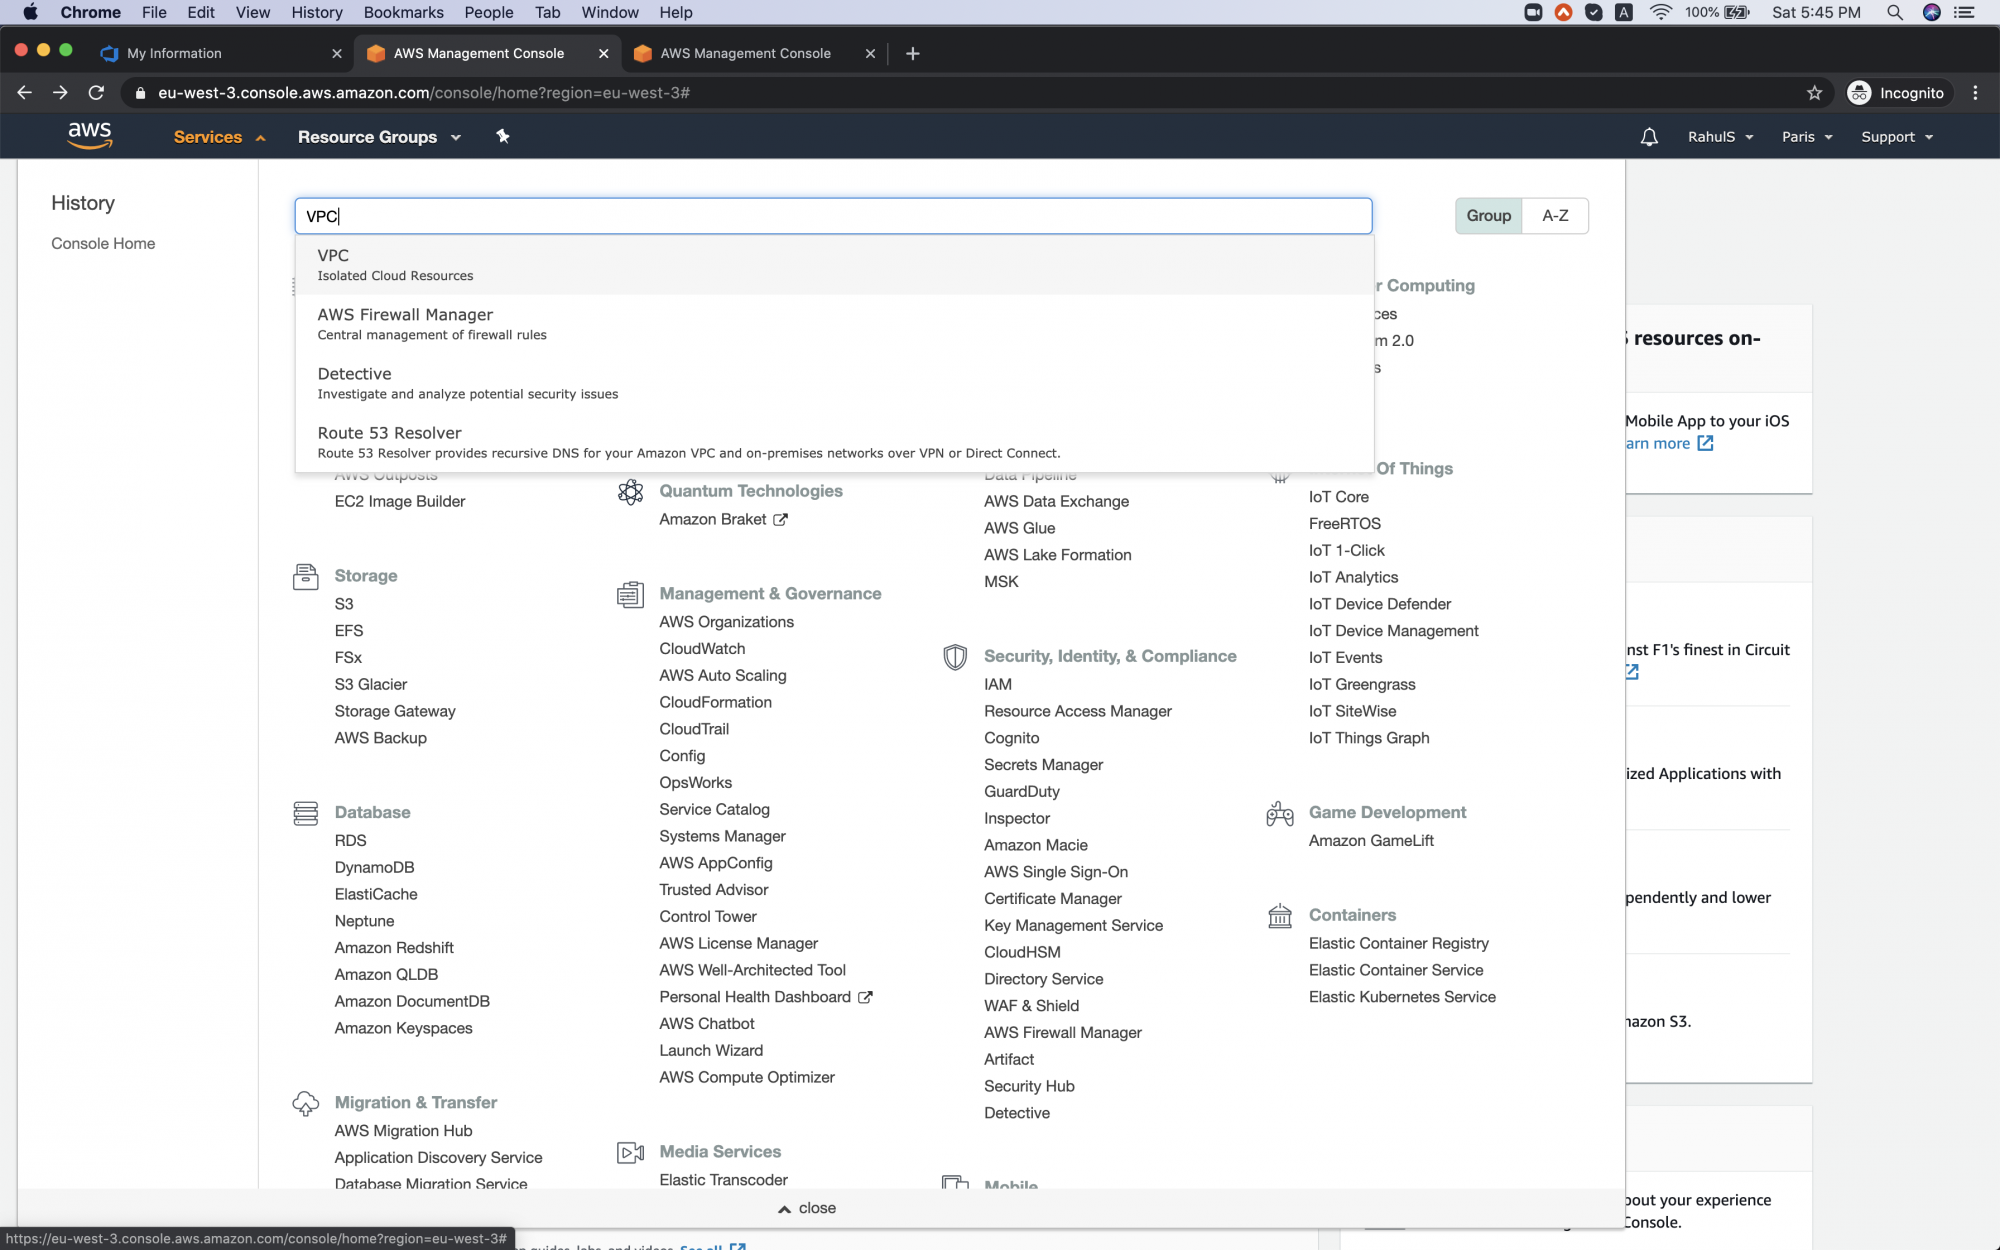
To create a VPC Peering connection between 2 VPCs, click on Services in the top left of the screen and search for VPC and open it.
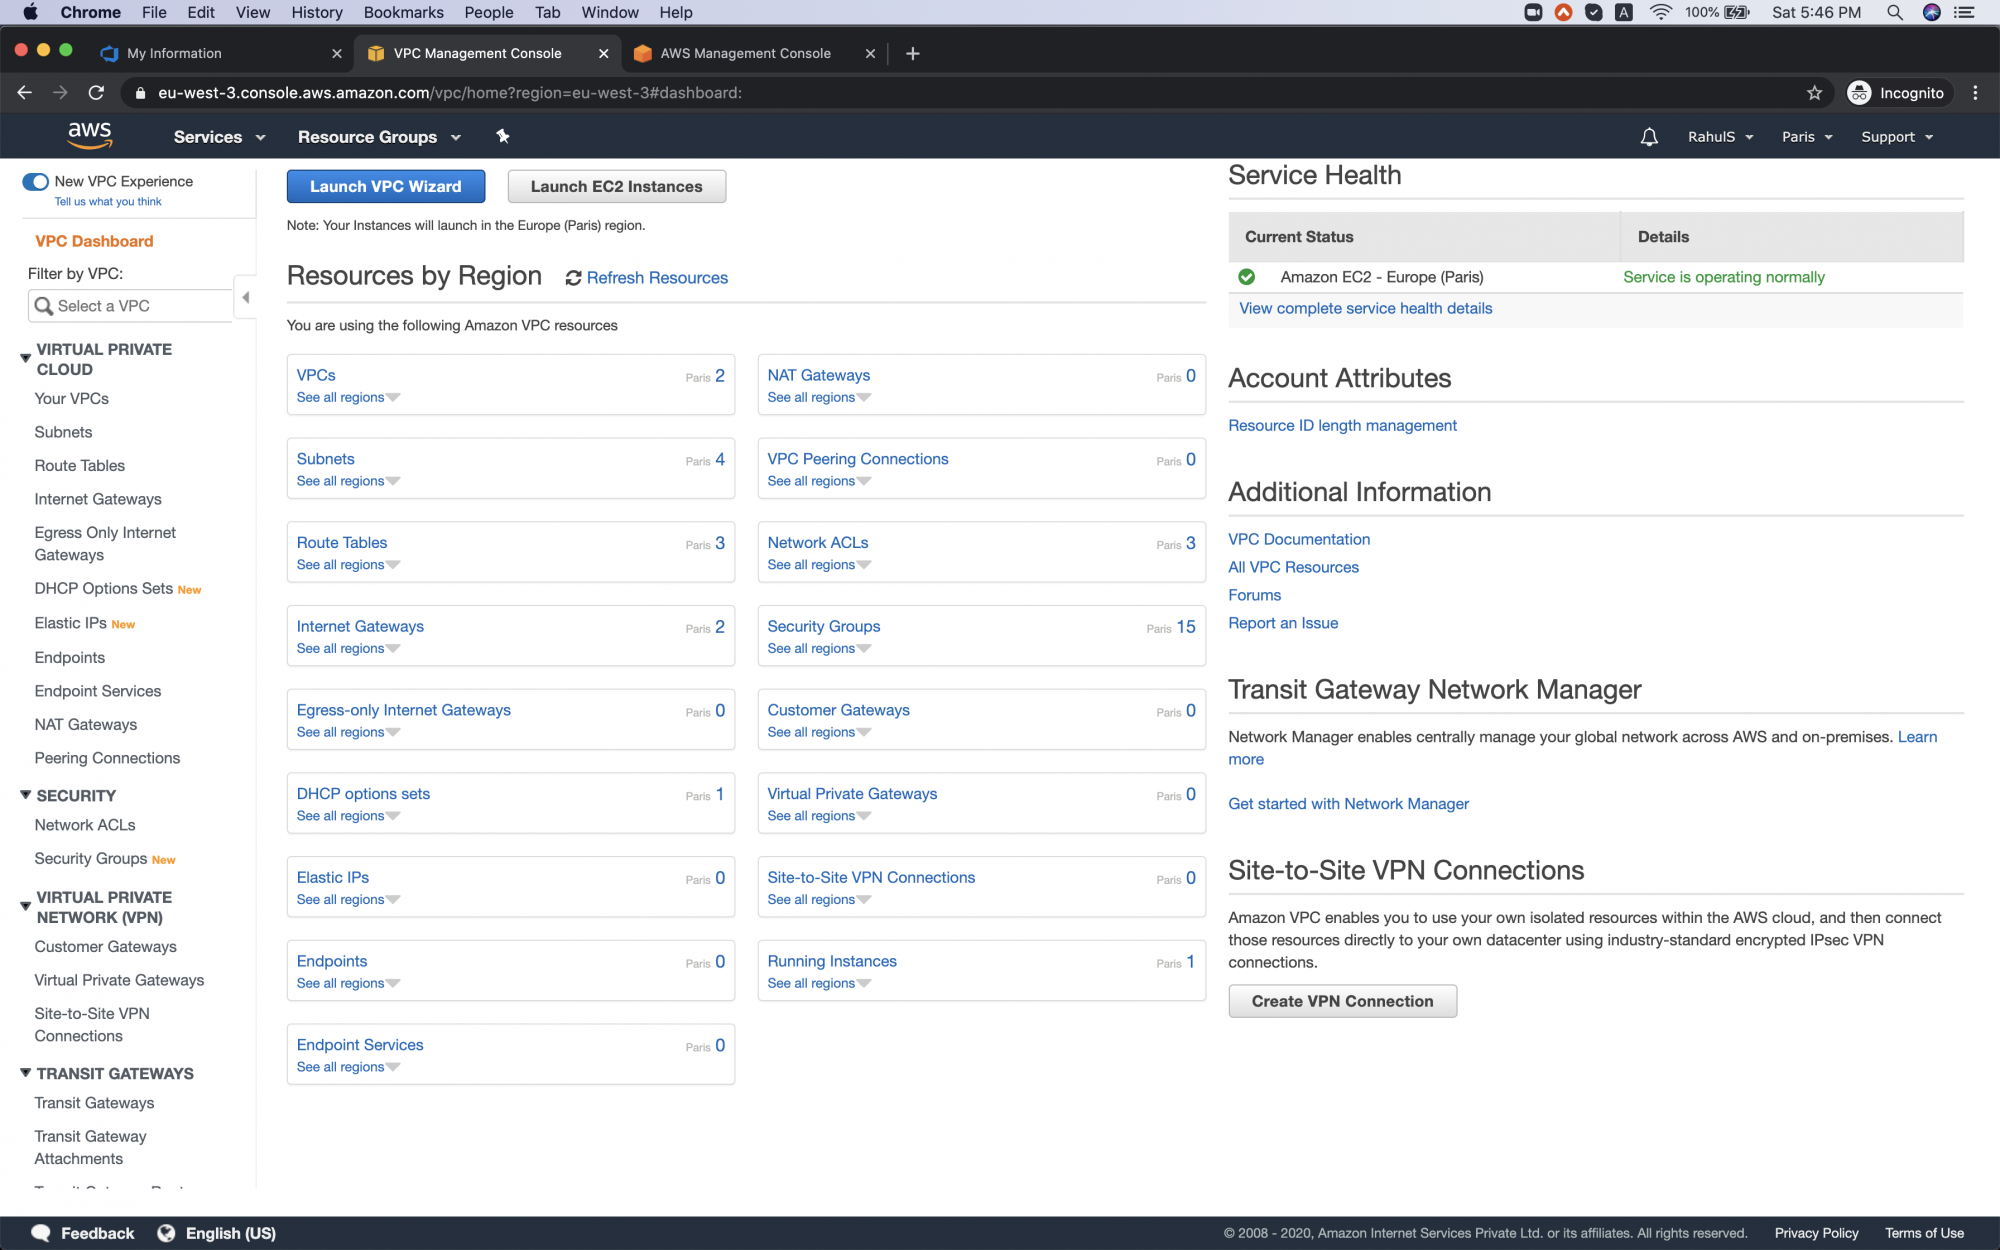
You see the VPC Dashboard for the region Paris. Click on VPCs to see the VPCs available in the current region i.e. Paris region.
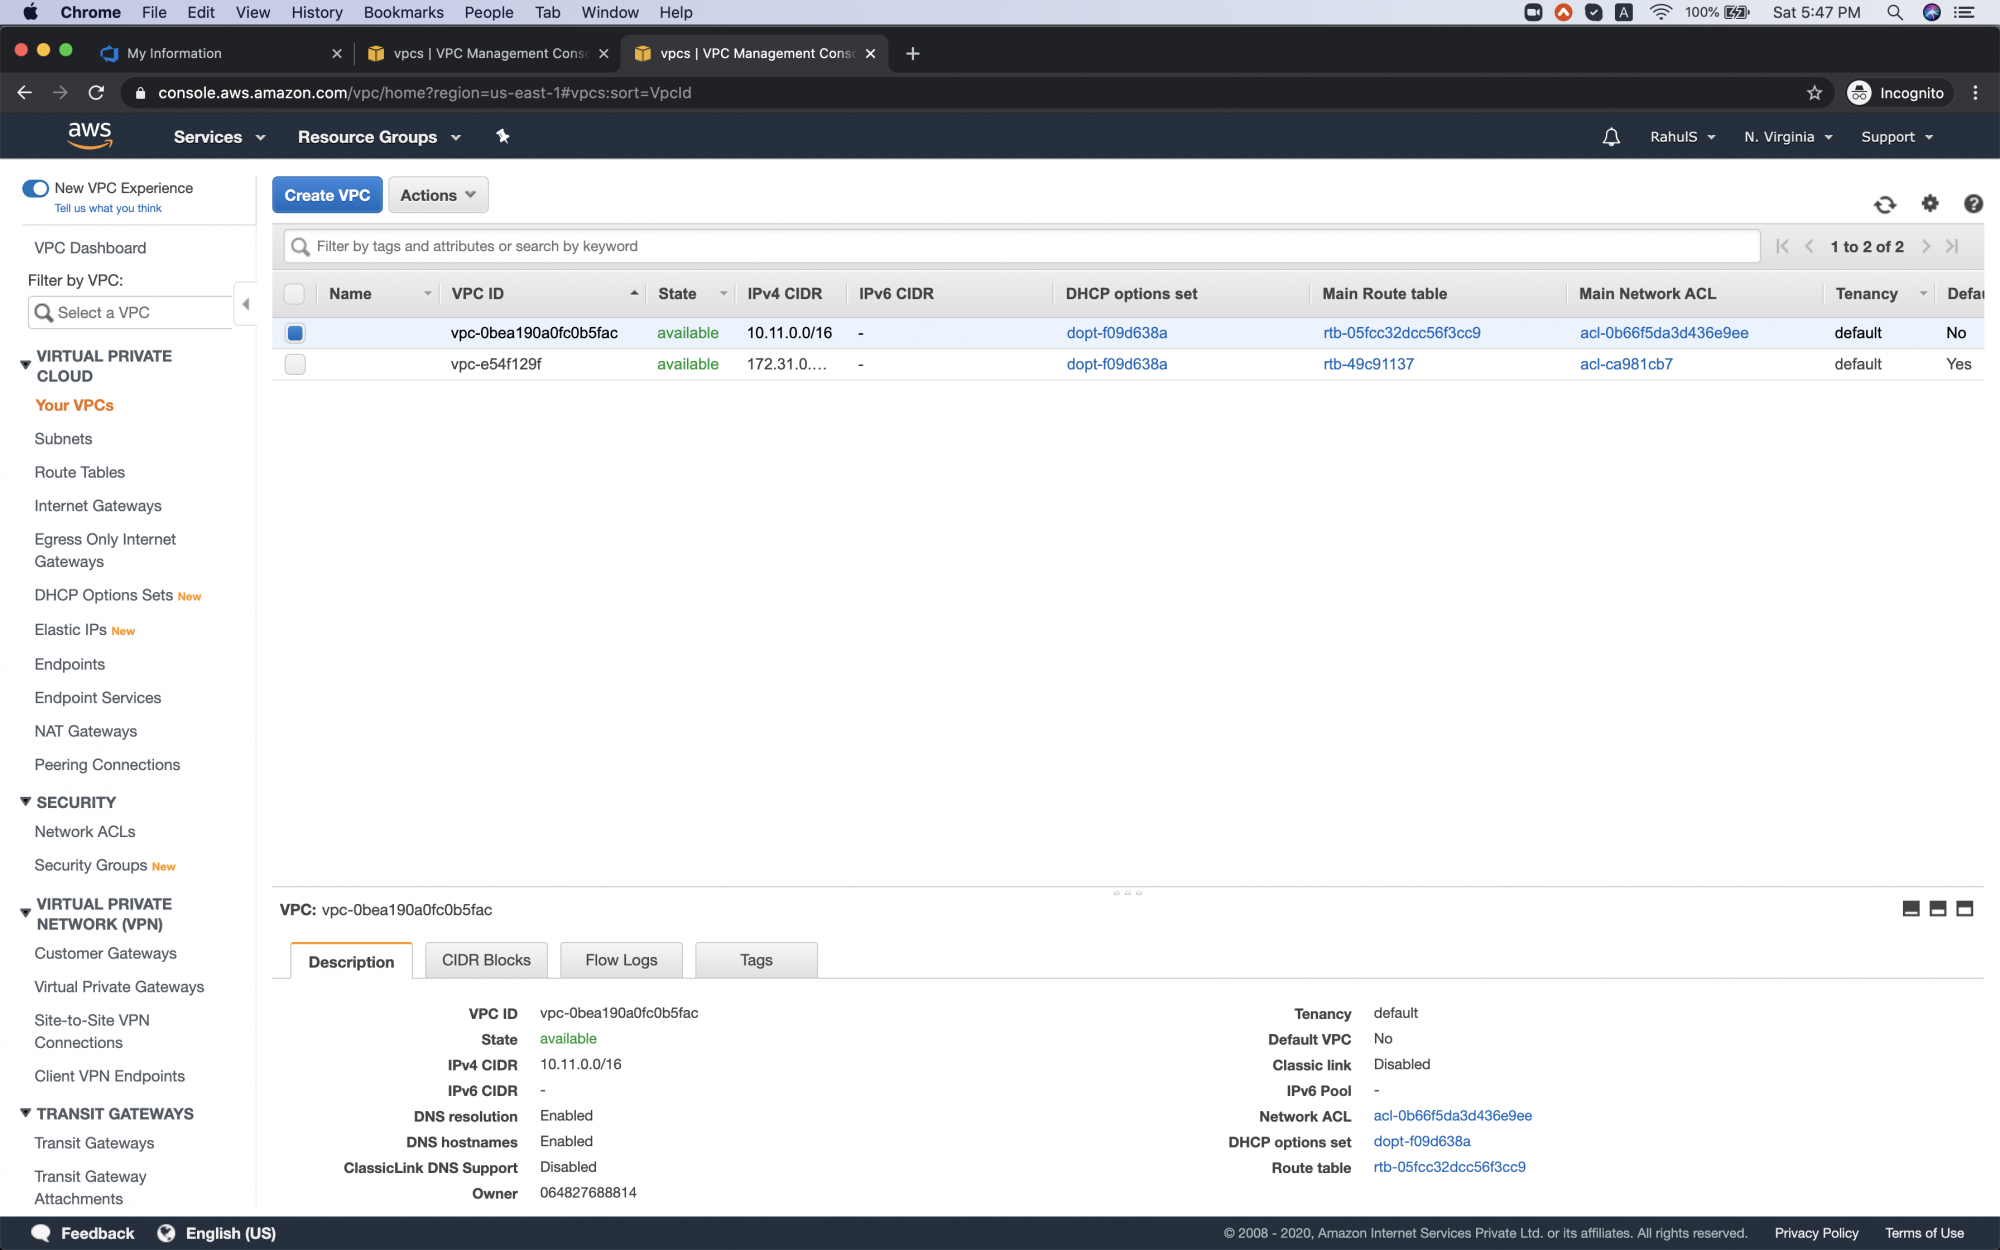
You see that there are 2 VPCs available, 1 is the default VPC and the other one is created by me. You should also have your VPC created. Keep the default VPC untouched.

Now, open the VPCs in the other region in a new tab, here I have another VPC in the N. Virginia region that needs to peer with the one in the Paris region.
So now, we have two tabs with VPCs in 2 different regions.
Go back to the 1st tab to create a VPC Peering connection in Paris region and click Peering Connection in the left panel and then click on "Crete Peering Connection"

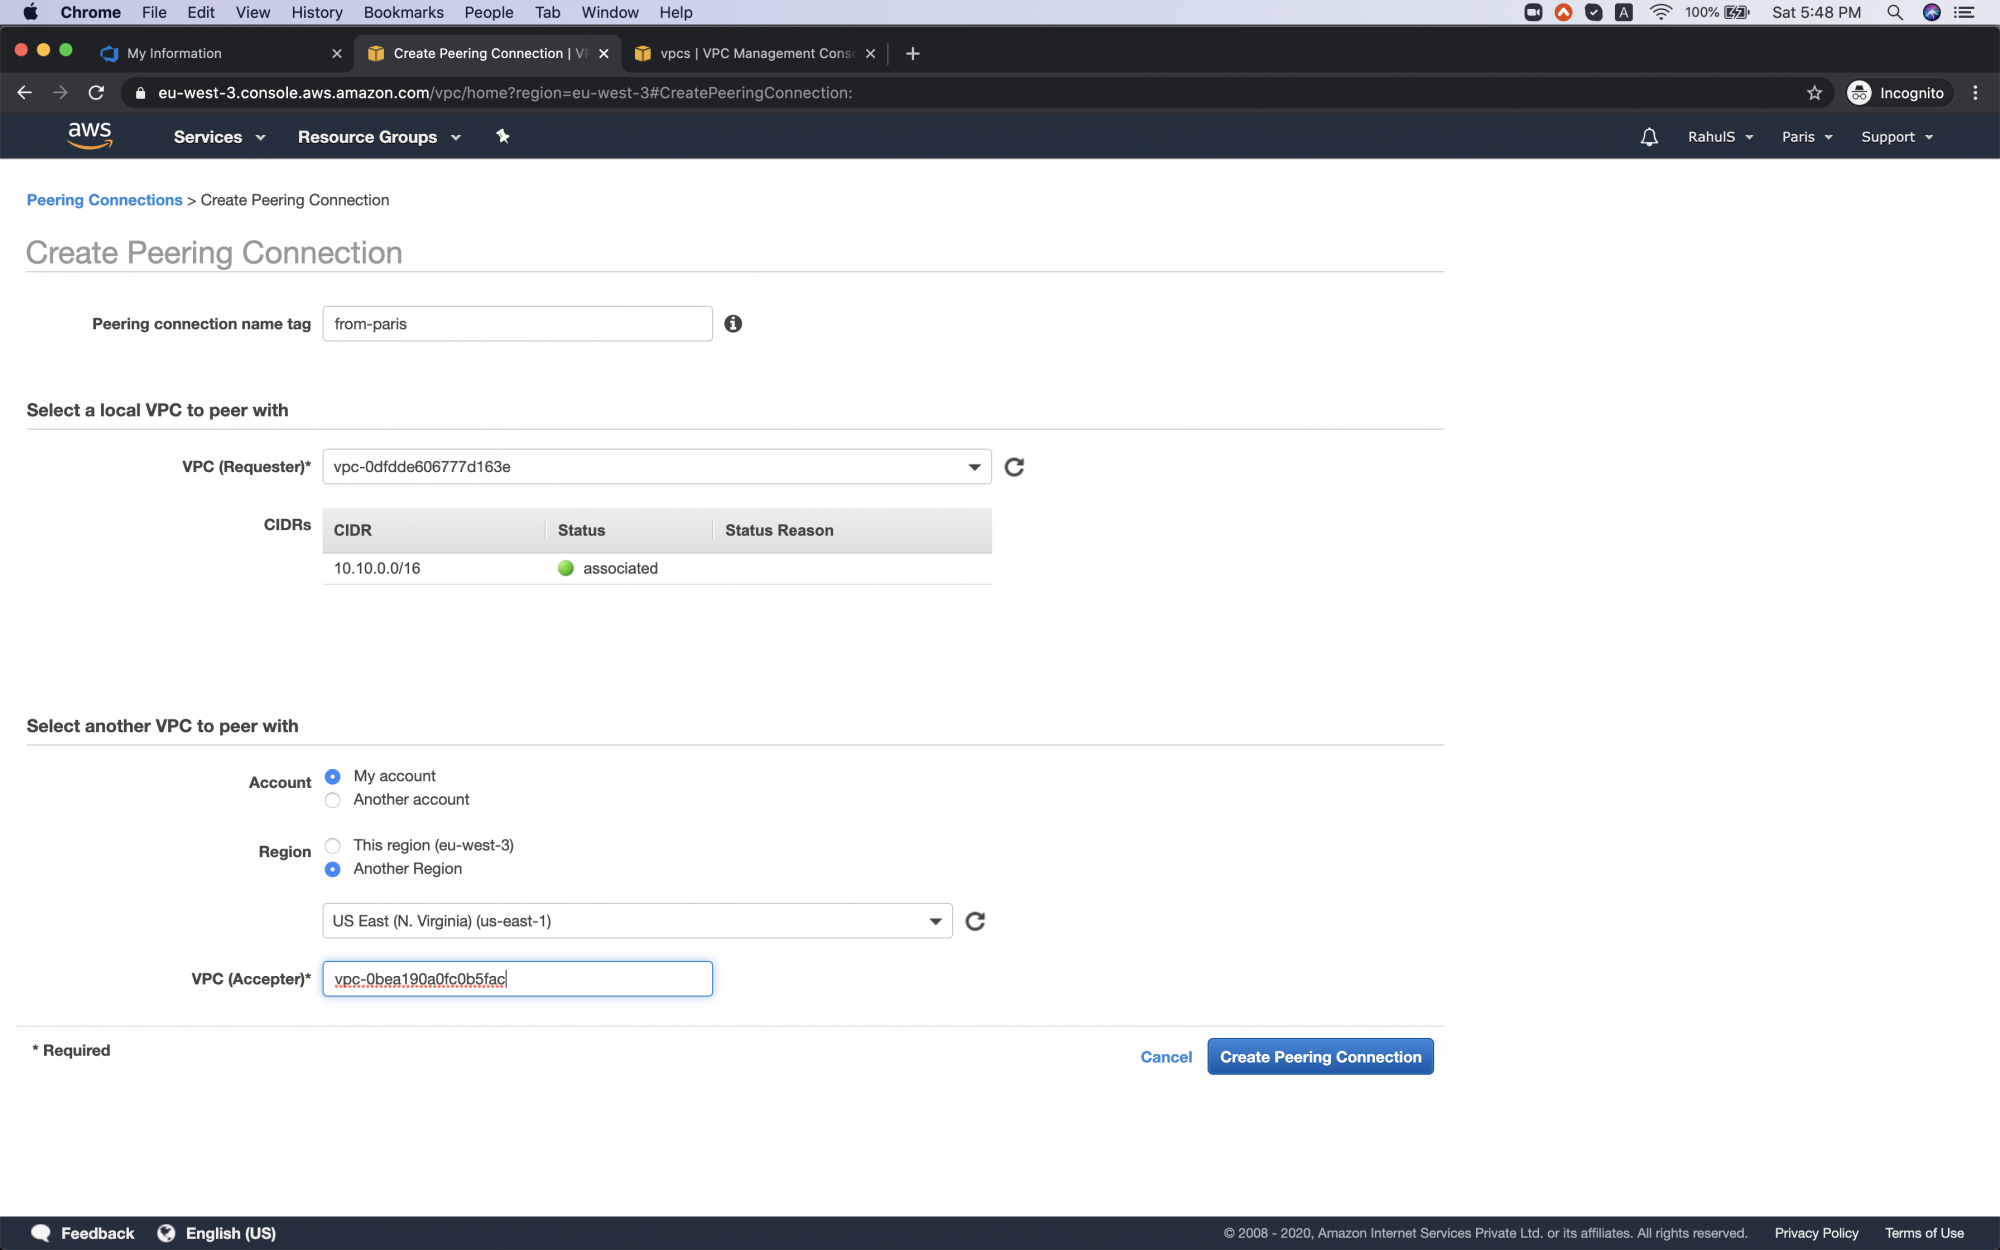
Add a name to the peering connection, select a local VPC from the Paris region, and select a VPC from another Region. Click on "Create Peering Connection" to proceed.
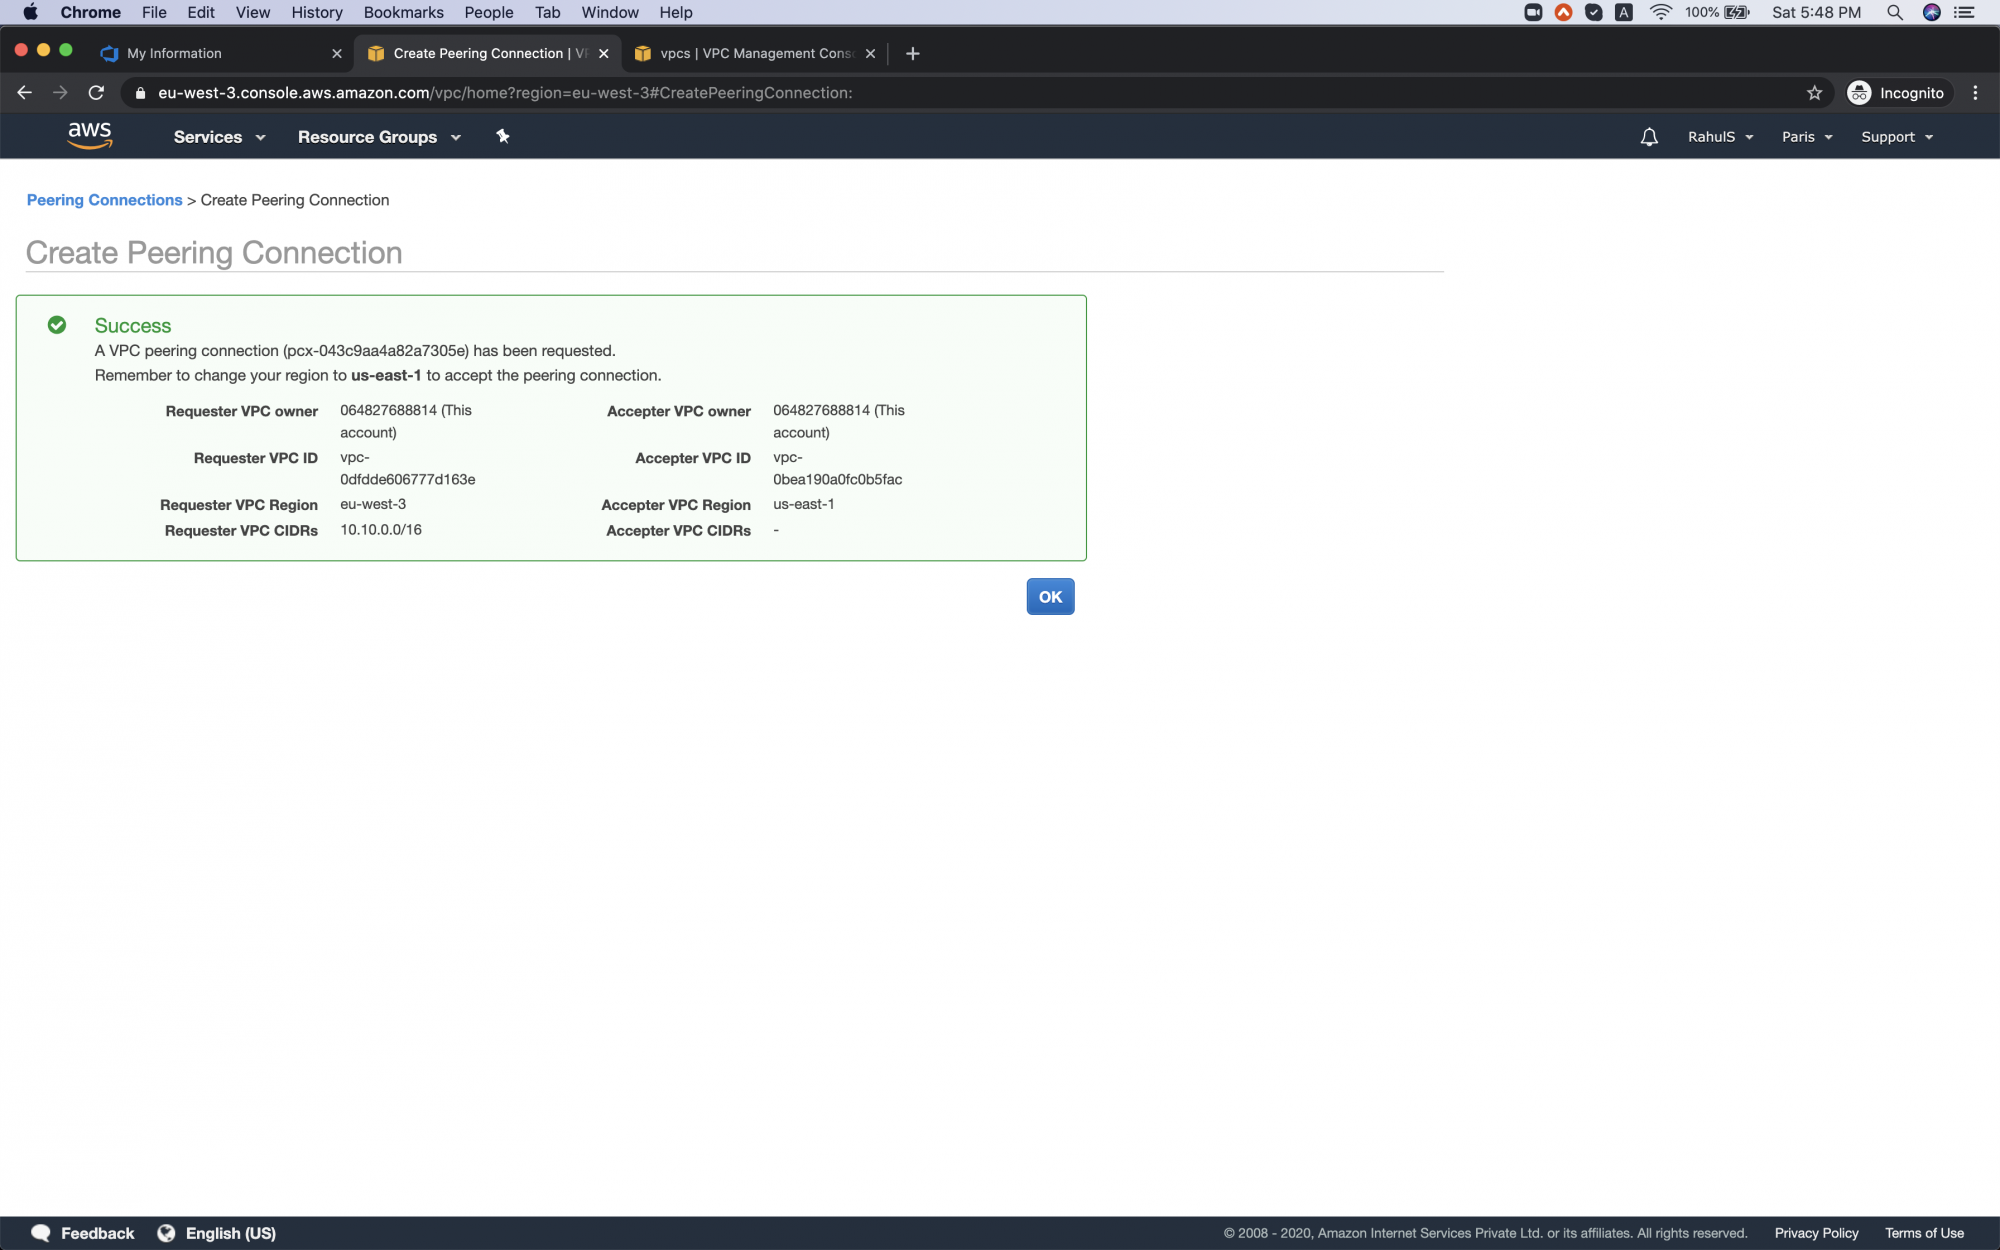
You will get a message that the VPC Peering Connection has been created. But this is not enough.
Now we need to accept the connection from the VPC in another region.
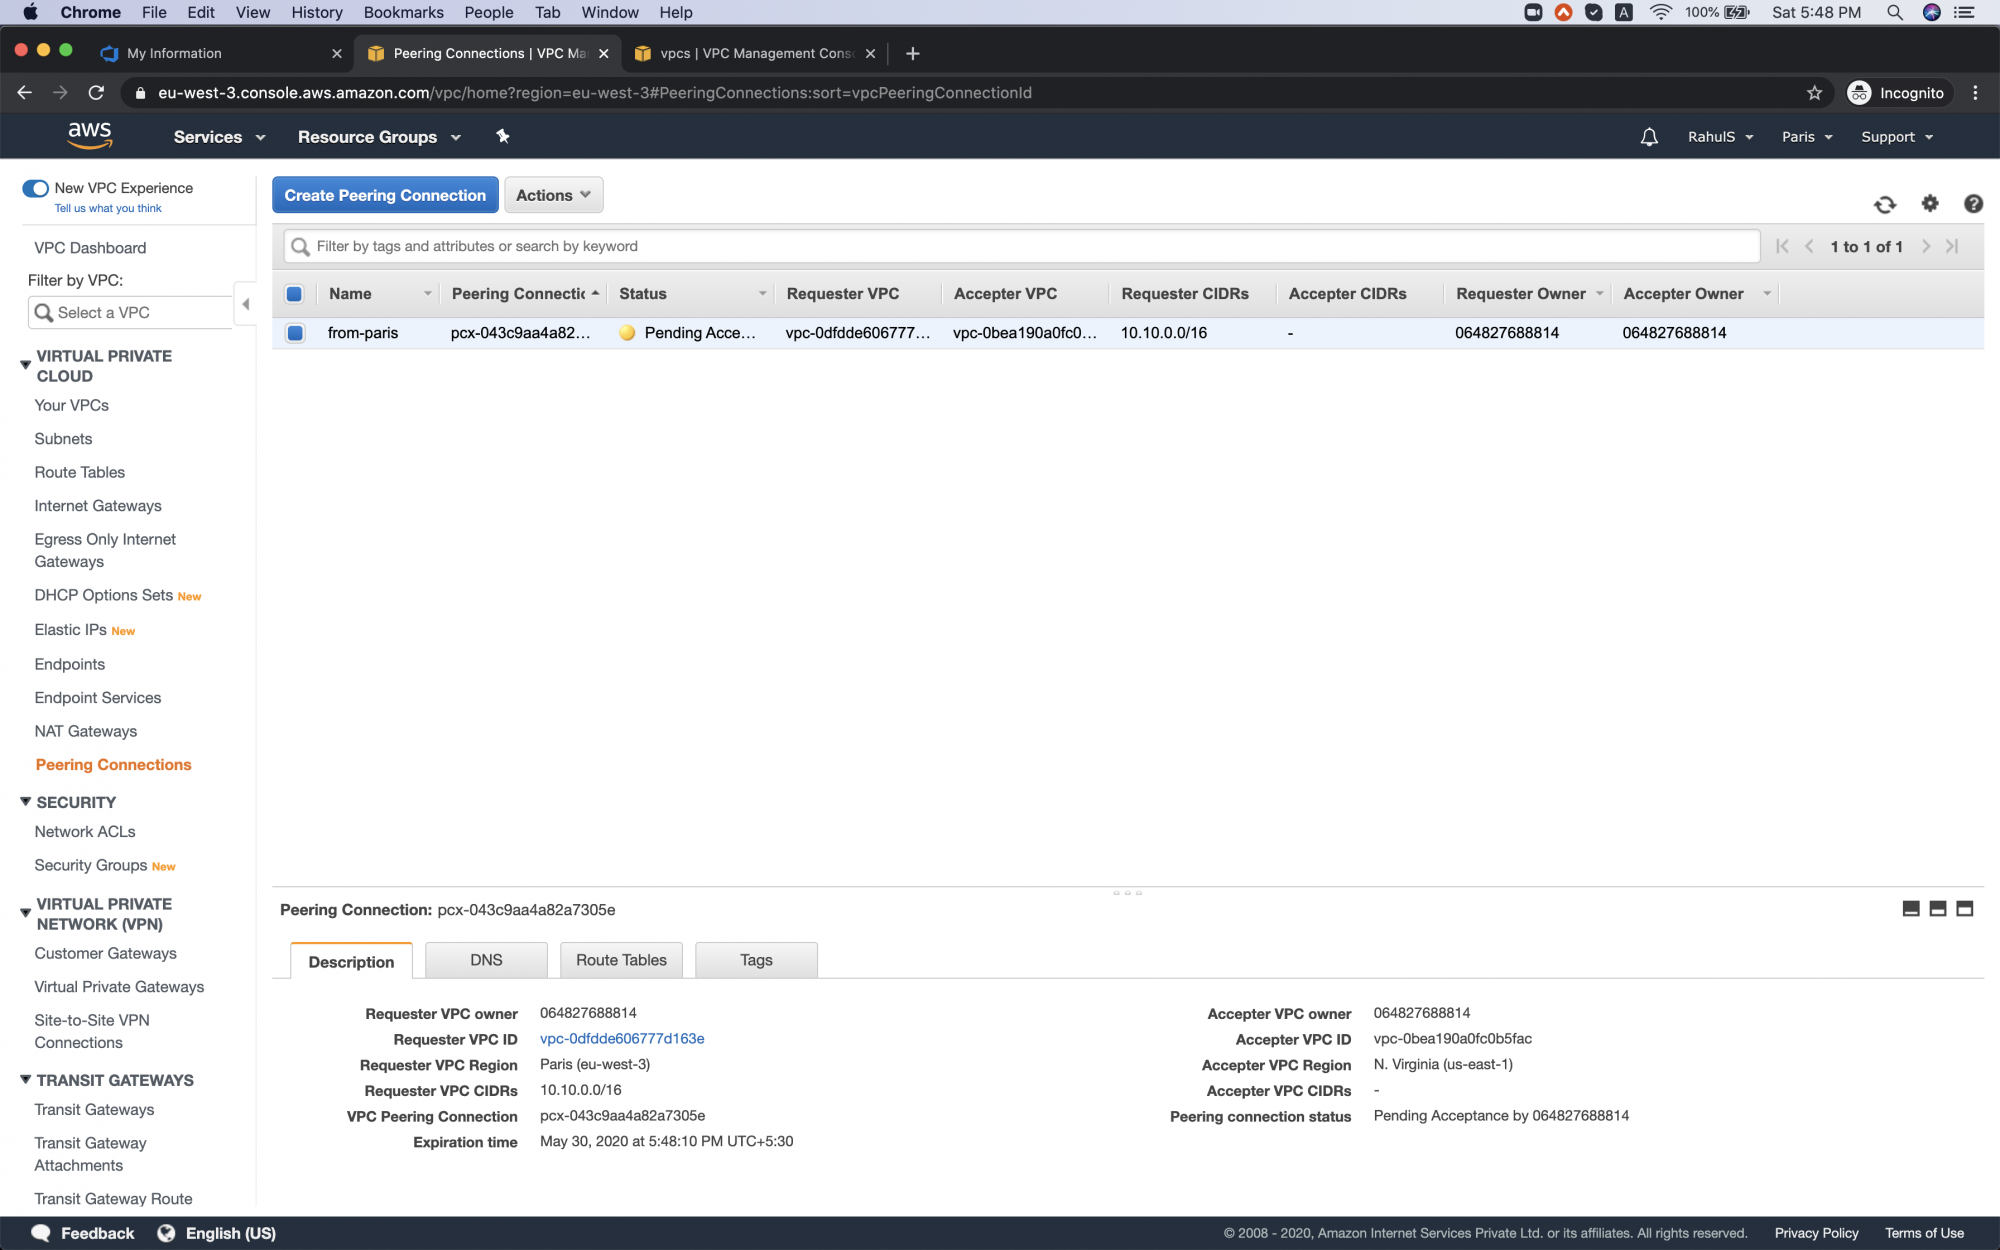
See the status of the connection in the Paris region, it is Pending Acceptance. Now we need to accept the peering connection in another region.
Switch the tab, go to N. Virginia region, under Peering Connection select the Peering Connection request and click on Actions -> Accept Request.

Here on the confirmation dialogue box, click on "Yes, Accept" to accept the connection.

The request has been accepted successfully, but this is not enough.
Now we need to add routes in the Route Tables of both the VPCs.

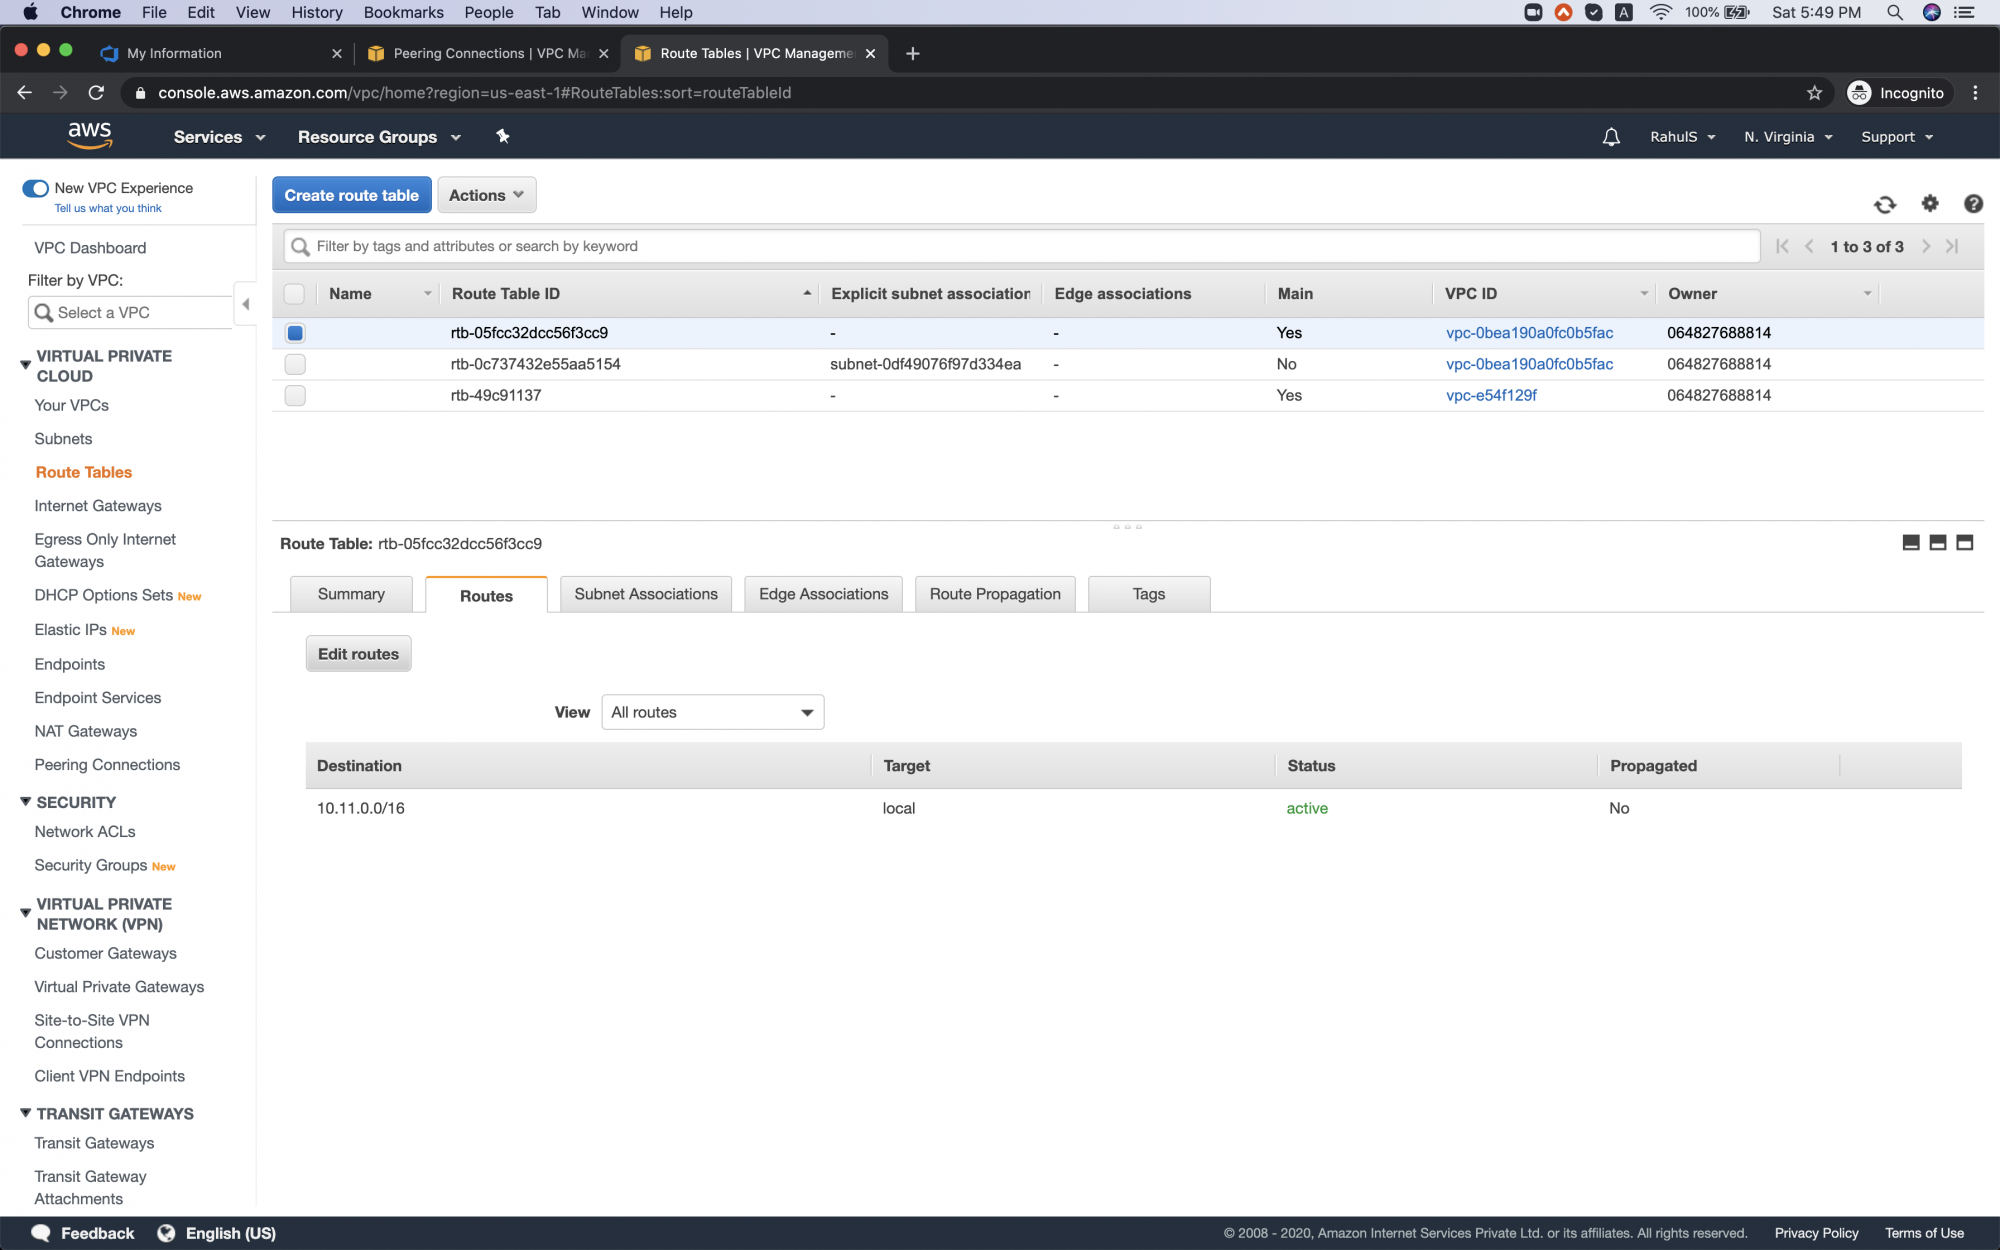
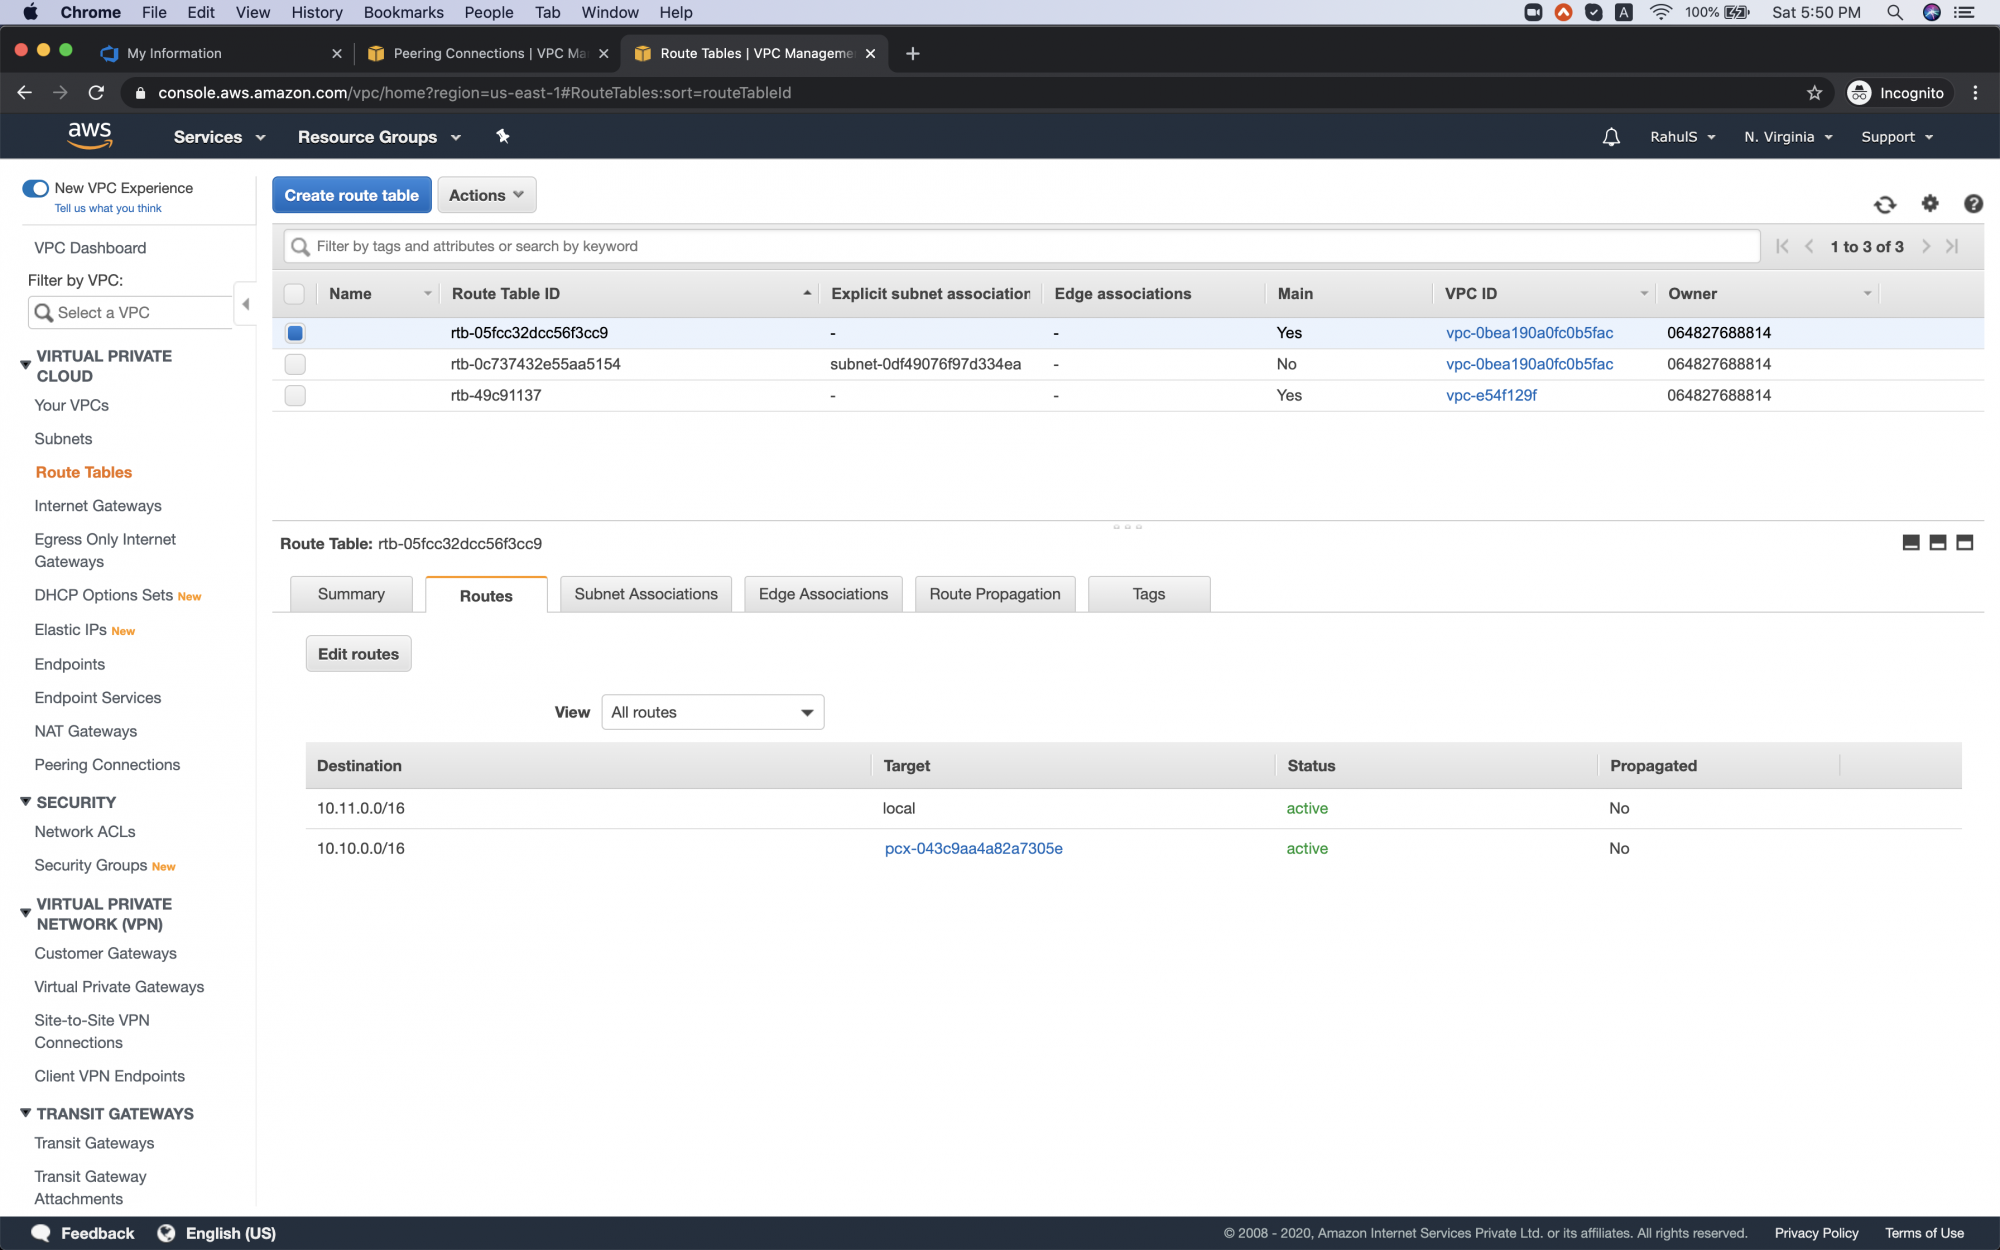
Stay in the N. Virginia Region, click on Route Table in the left panel. You will see the Route Tables.

Select the route table which has VPC ID of the VPC which has just been peered.
Click on Routes tab and Edit Routes.
Enter the CIDR of the VPC from Paris Region, select the VPC Peering Connection which we have just created and click on "Save routes"

Perform the same steps for other route tables in the same region which belong to our VPC.

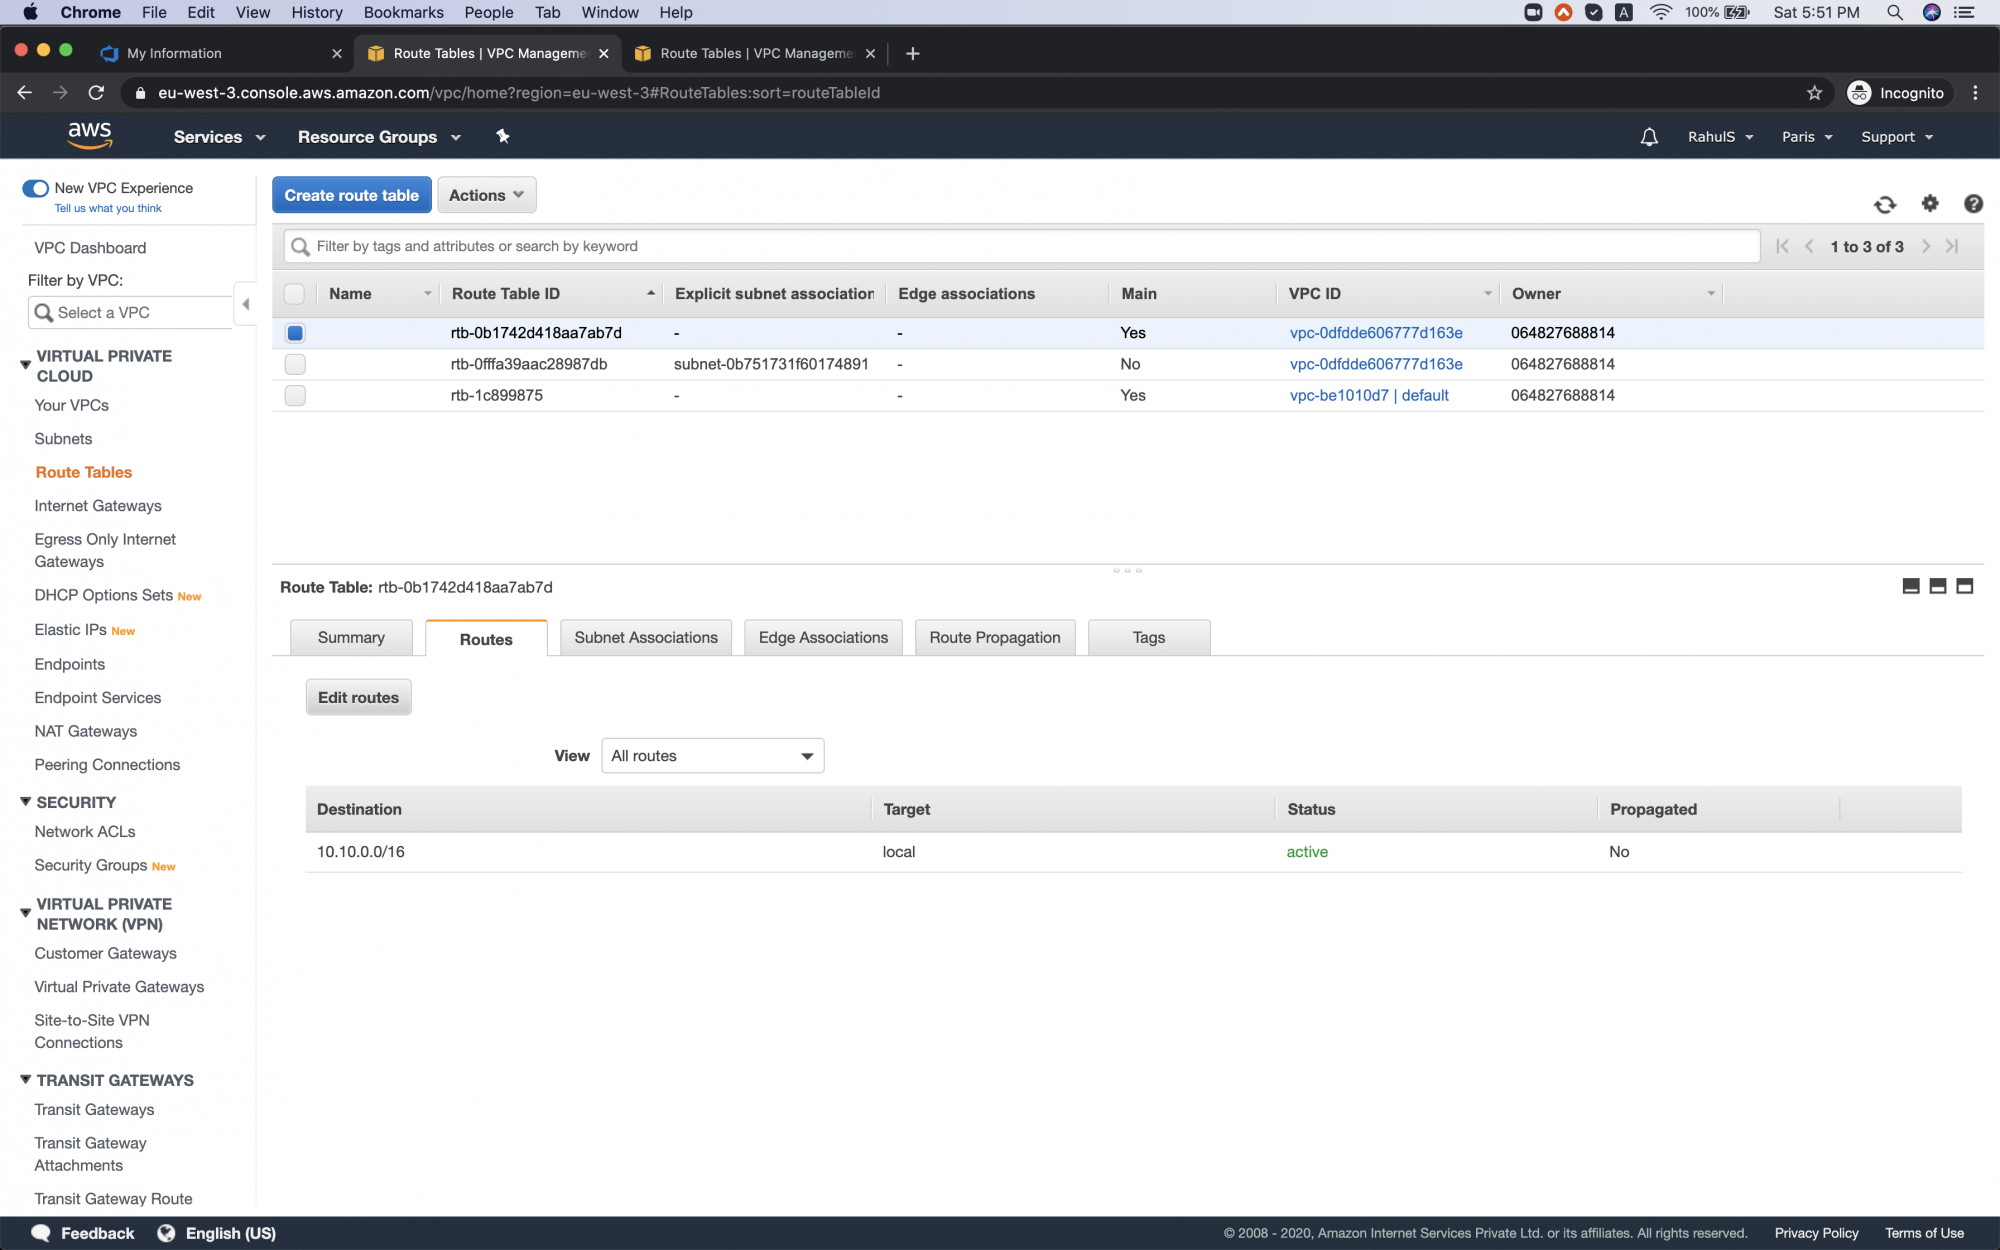
Now, go to the Paris region and click on the Route Table to see the Route tables.
Select the Route Table with VPC ID from which we created a VPC Peering Connection. Click on Route tabs --> Edit Routes
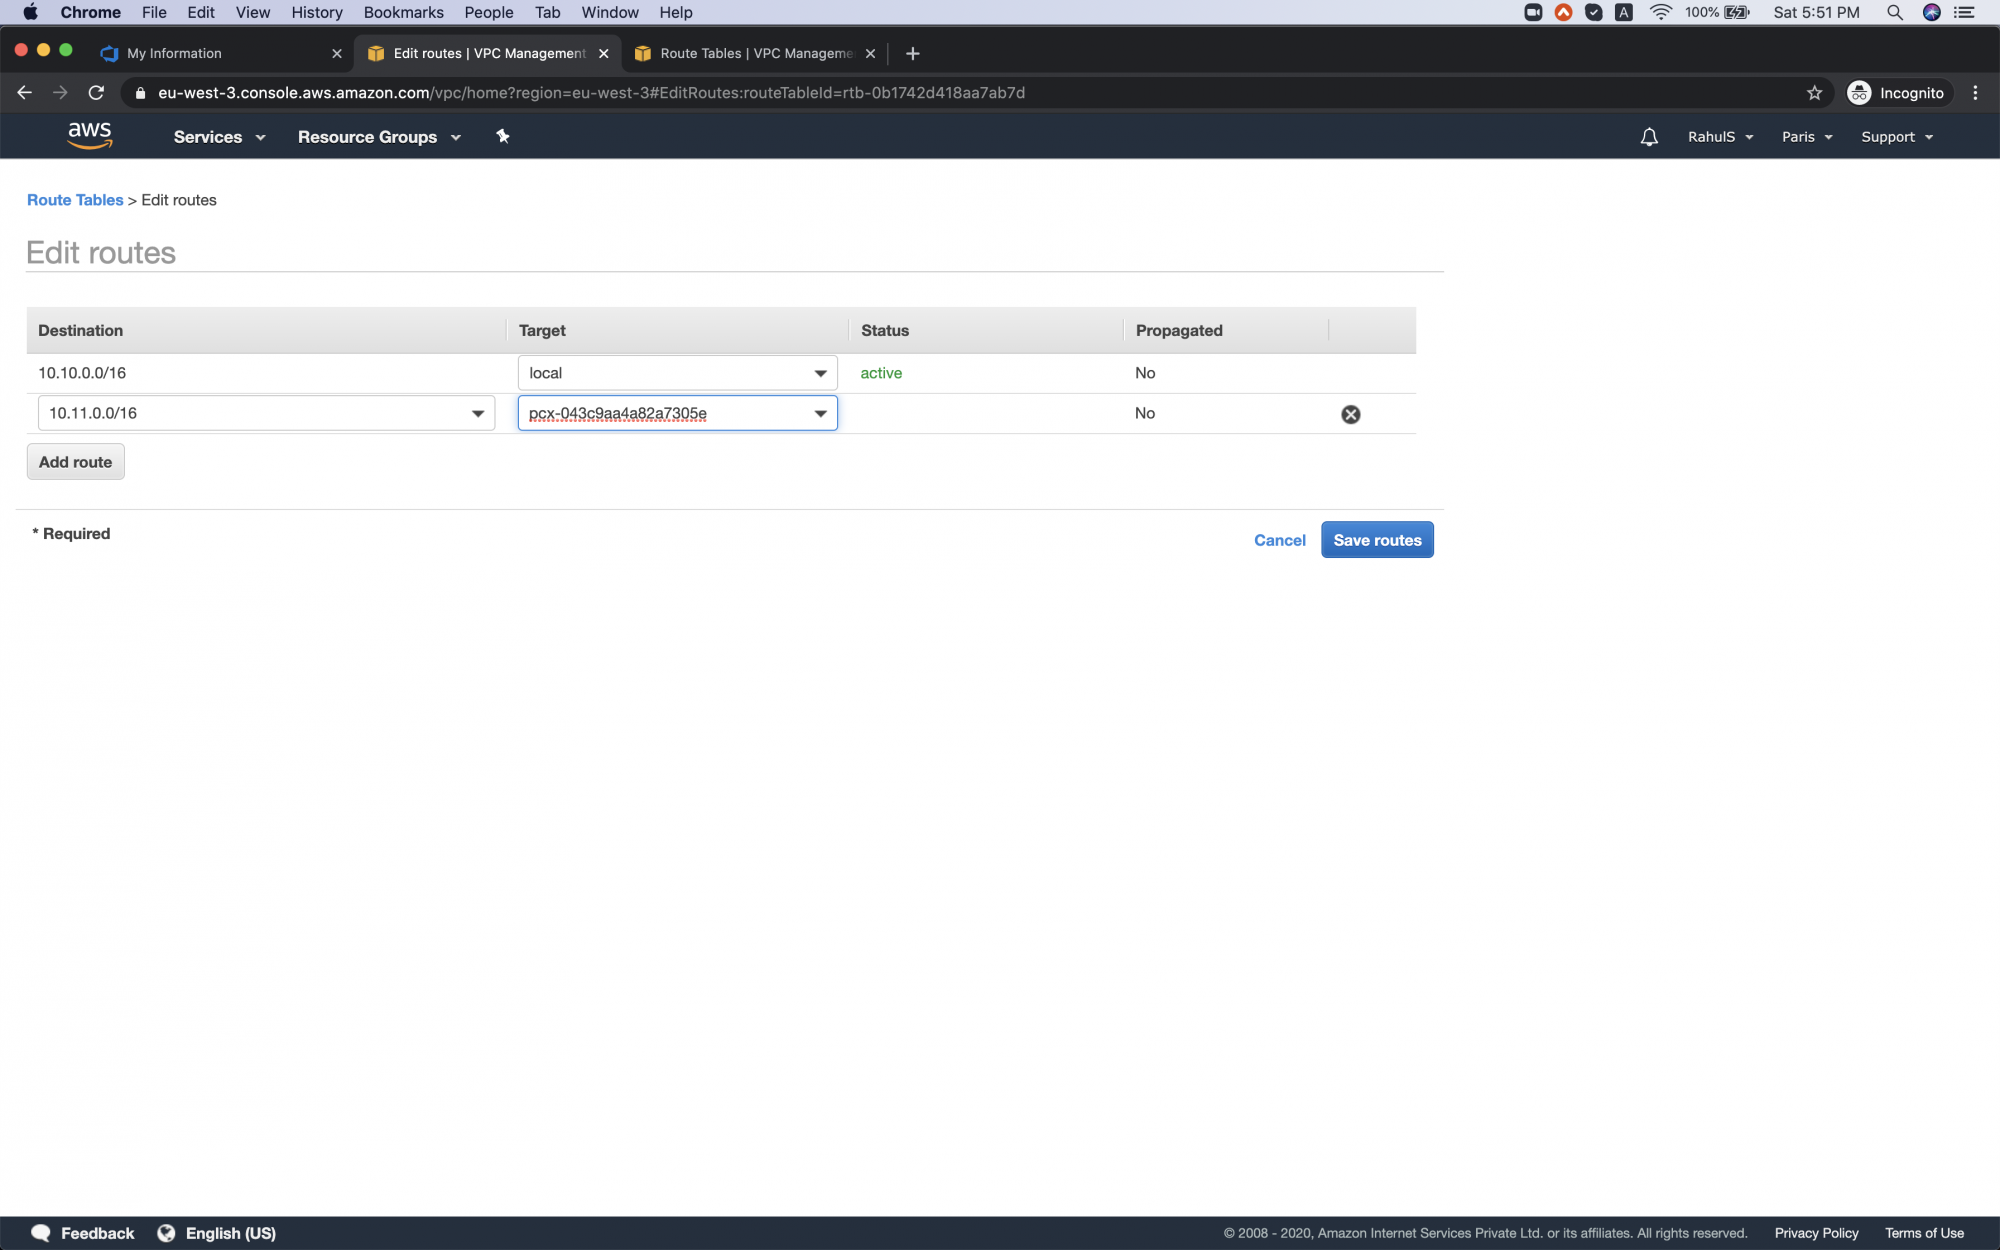
Add CIDR of the VPC in N. Virginia region and select the VPC Peering connection we created in Paris and click on "Save Routes"
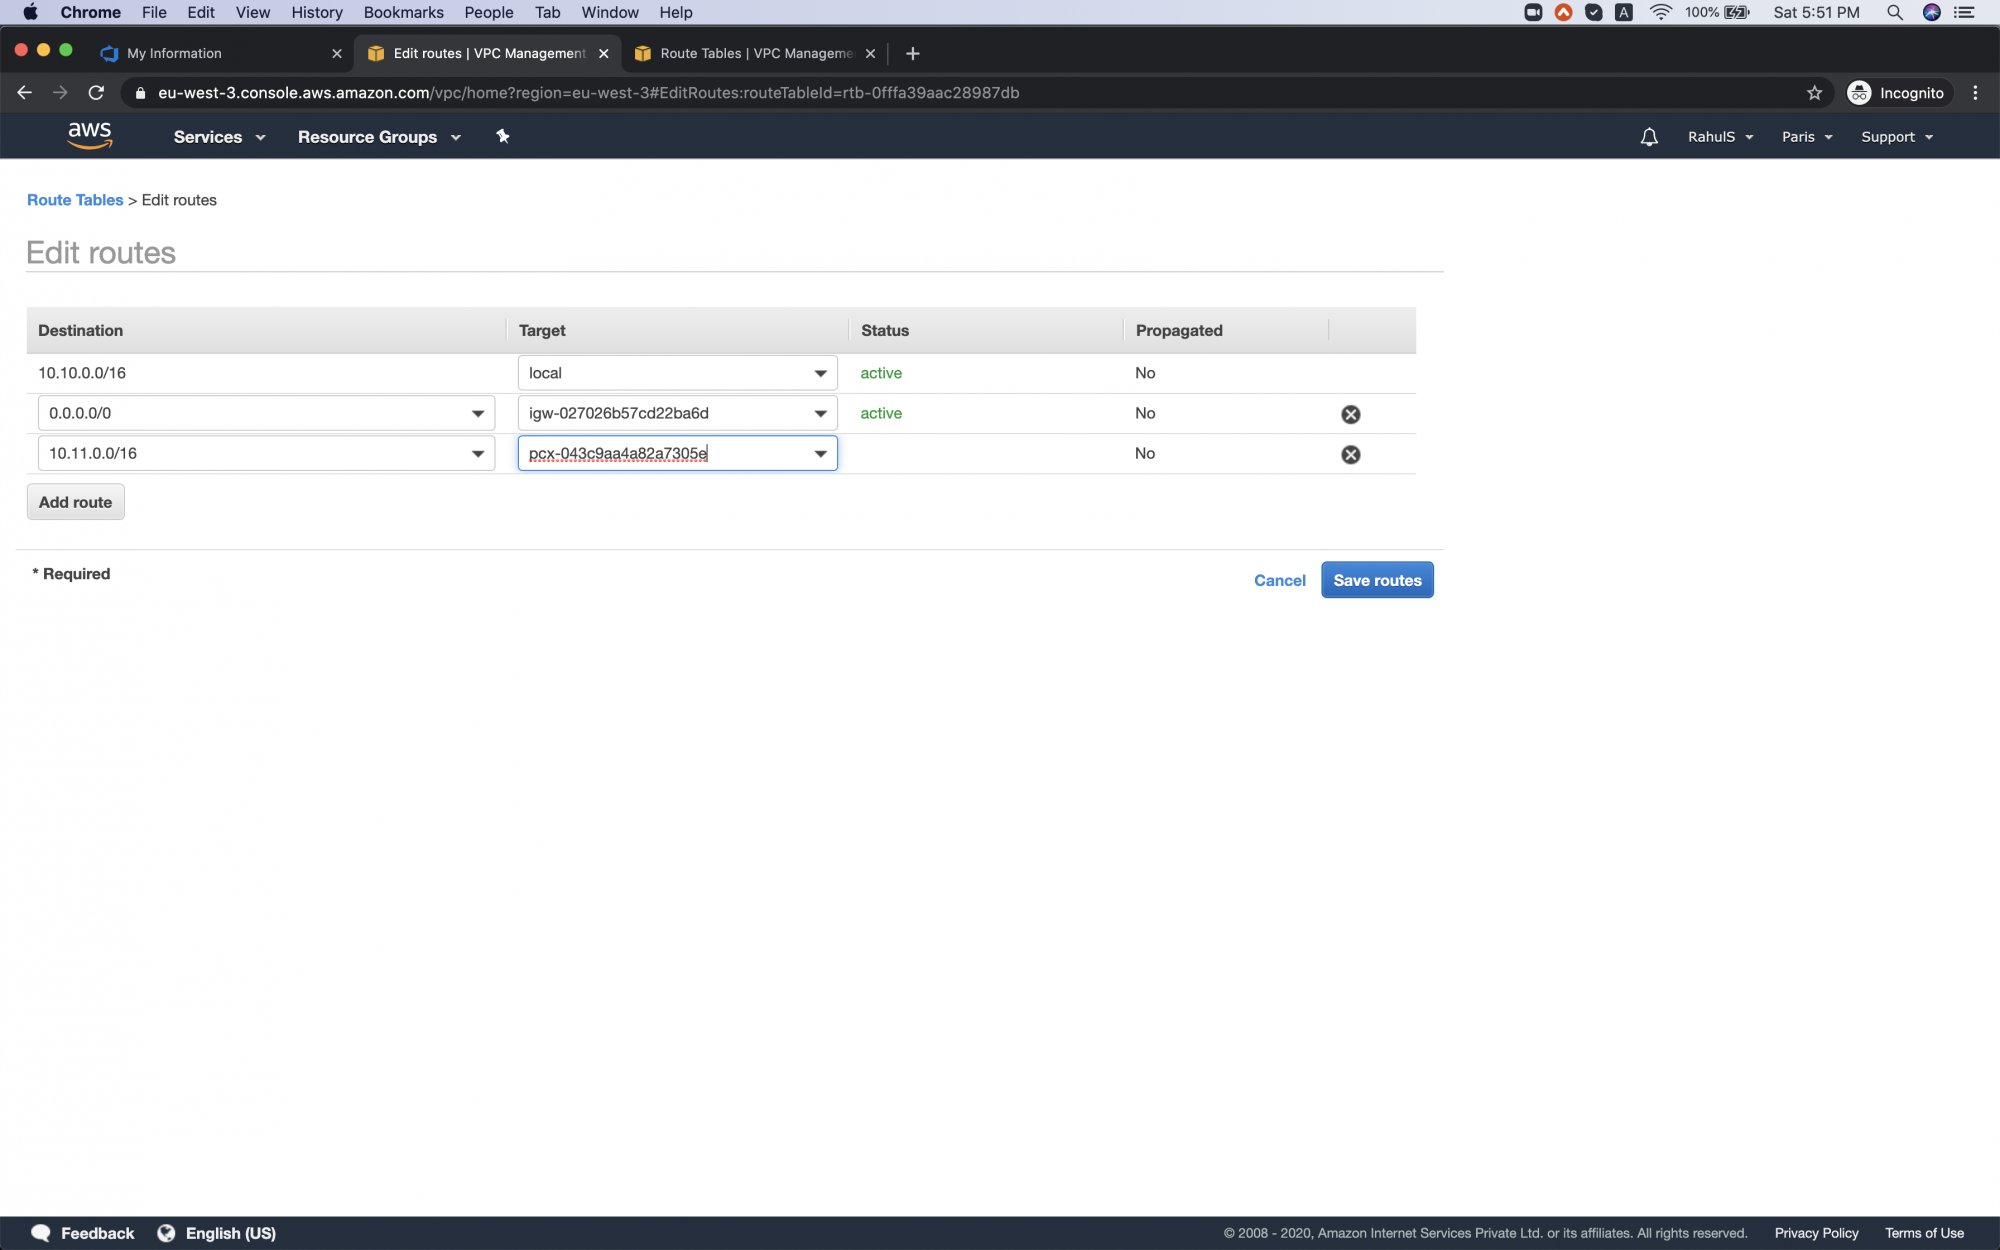
Perform the same steps with the route table which belongs to our VPC and click on Save Route.
Once you have done this, added routes in each route table of the VPC we used to create a VPC Peering Connection, our task is done and Peering has been completed.
Conclusion
In this article, we saw how to create a VPC Peering Connection in one region and accept the peering request in another region. We saw how routes need to be added in each route table associated with our VPC in both regions.

