How to use Cloudformation to create an SNS topic on AWS
AWS SNS is a Simple Notification Service. It can be used by Cloudwatch to send alert emails. First, an SNS topic needs to be created and then an endpoint needs to be subscribed to it.
In this article, we will create an SNS topic using Cloudformation and subscribe to an email endpoint. We will also see how to delete the SNS topic and subscription using the Cloudformation stack itself. It is assumed that you have a basic understanding of SNS and it's working. This article is focused on creating SNS using Cloudformation stack.
Pre-requisites
- AWS Account (Create if you don’t have one).
- Basic understanding of SNS.
- Basic understanding of Cloudformation.
What will we do?
- Login to AWS.
- Create a Template.
- Create a Stack.
- Confirm the subscription.
- Delete the Stack.
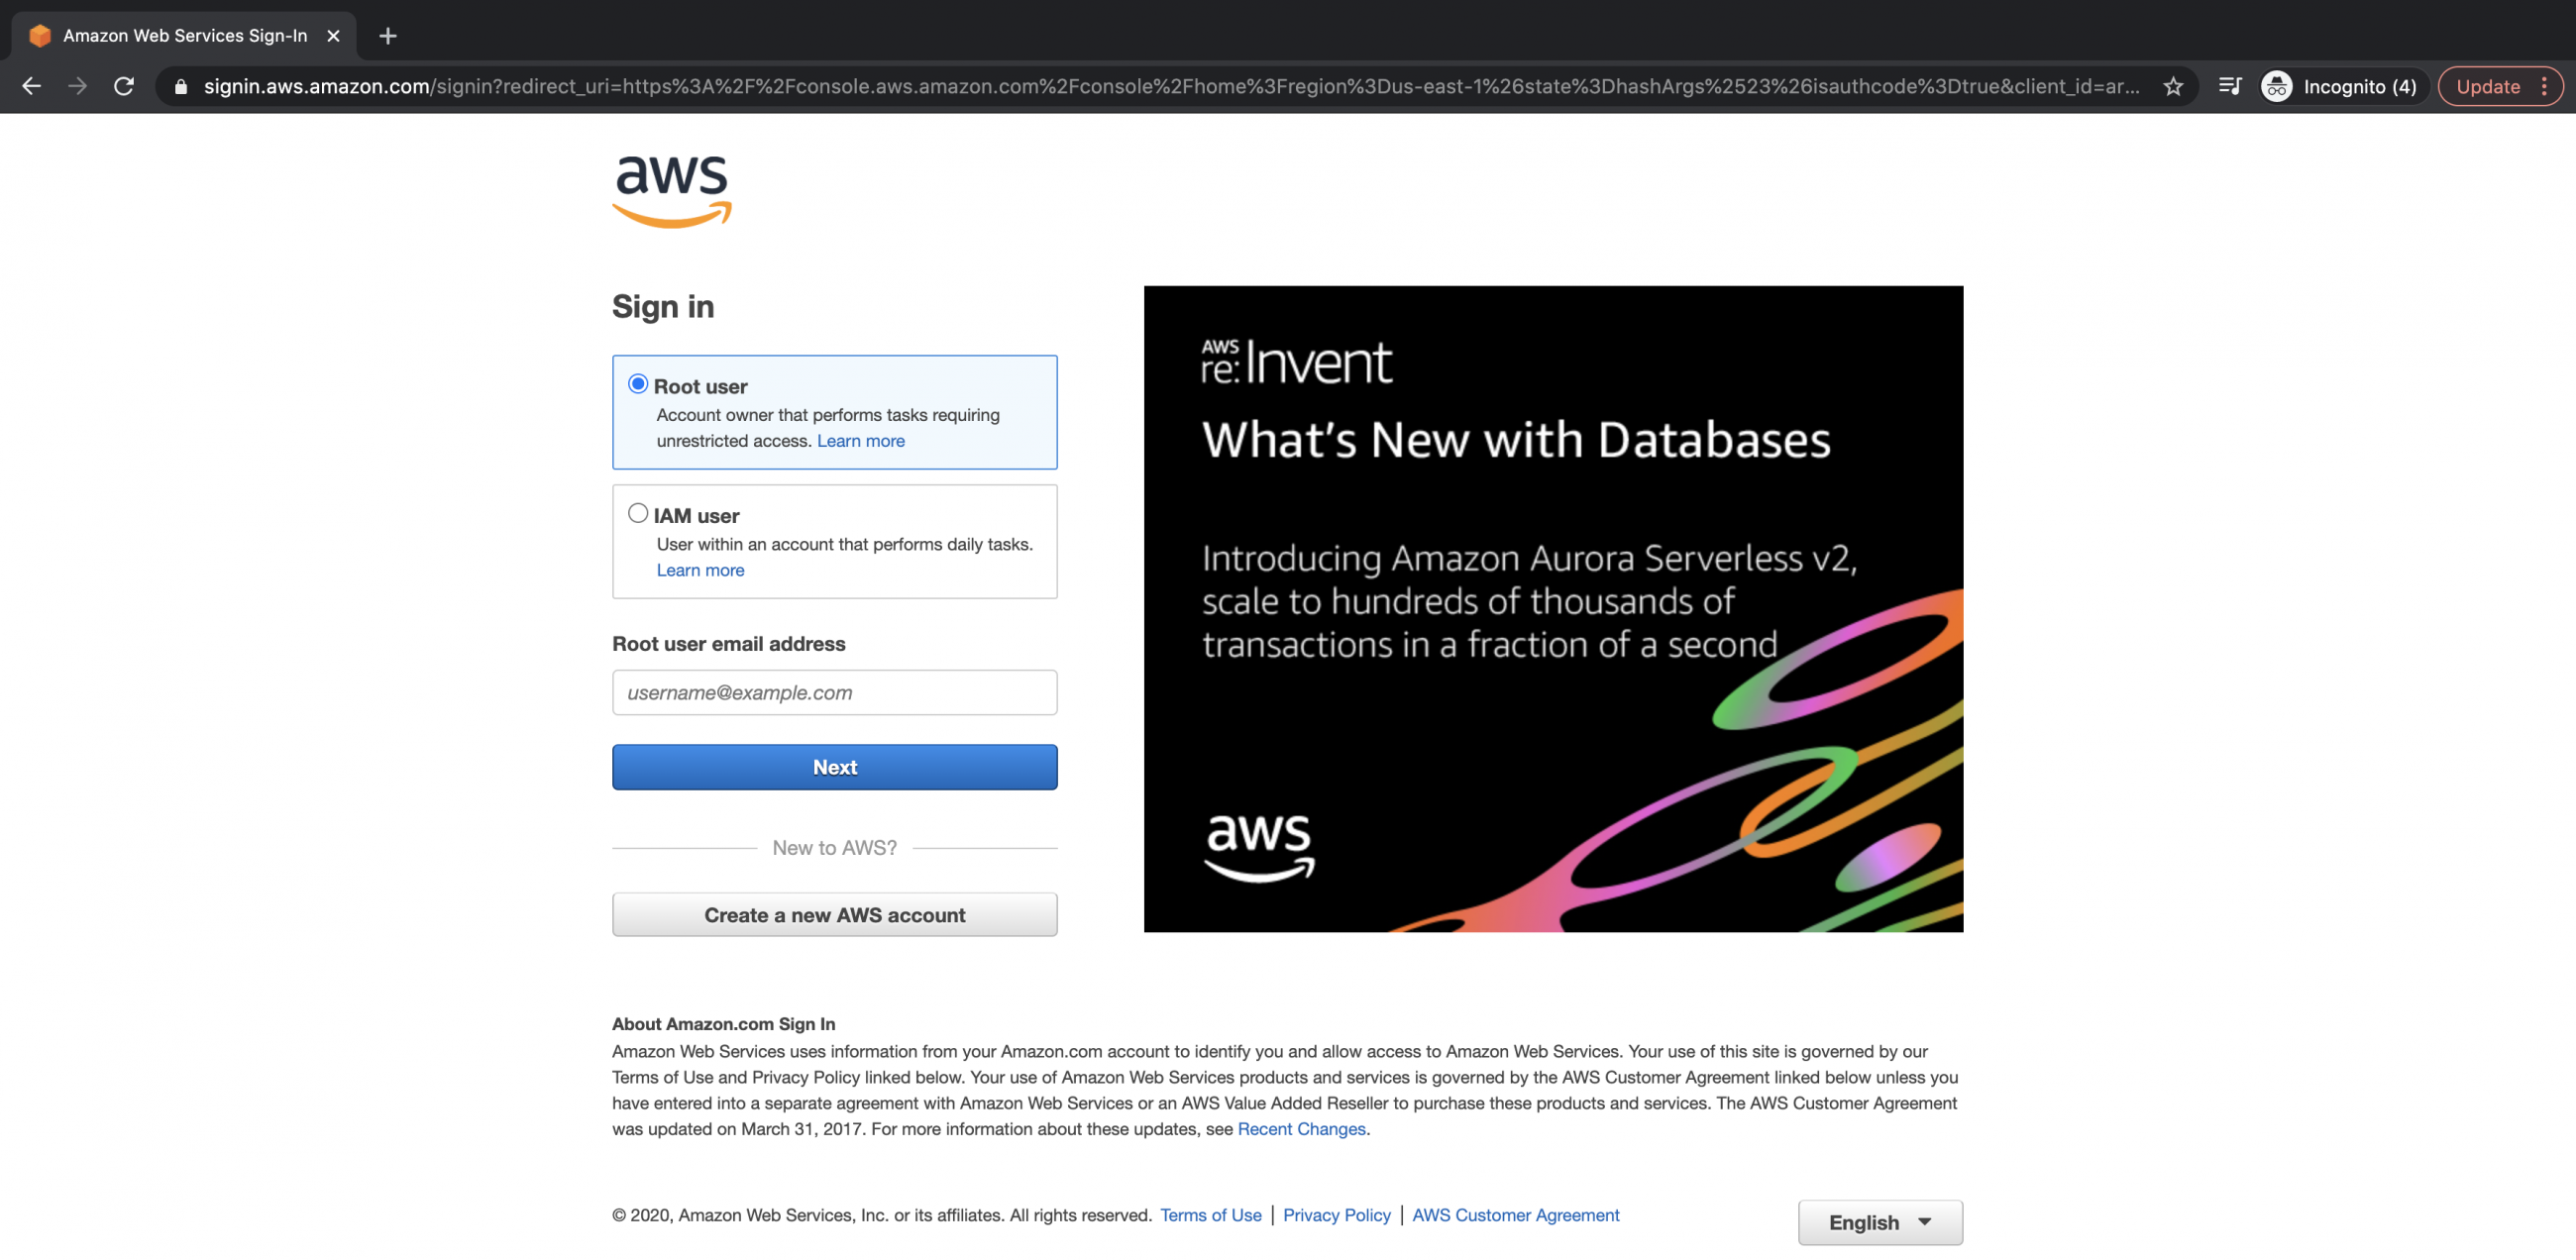
Login to AWS
Click here to go to AWS Login Page. Enter your user credentials to login into your AWS account.
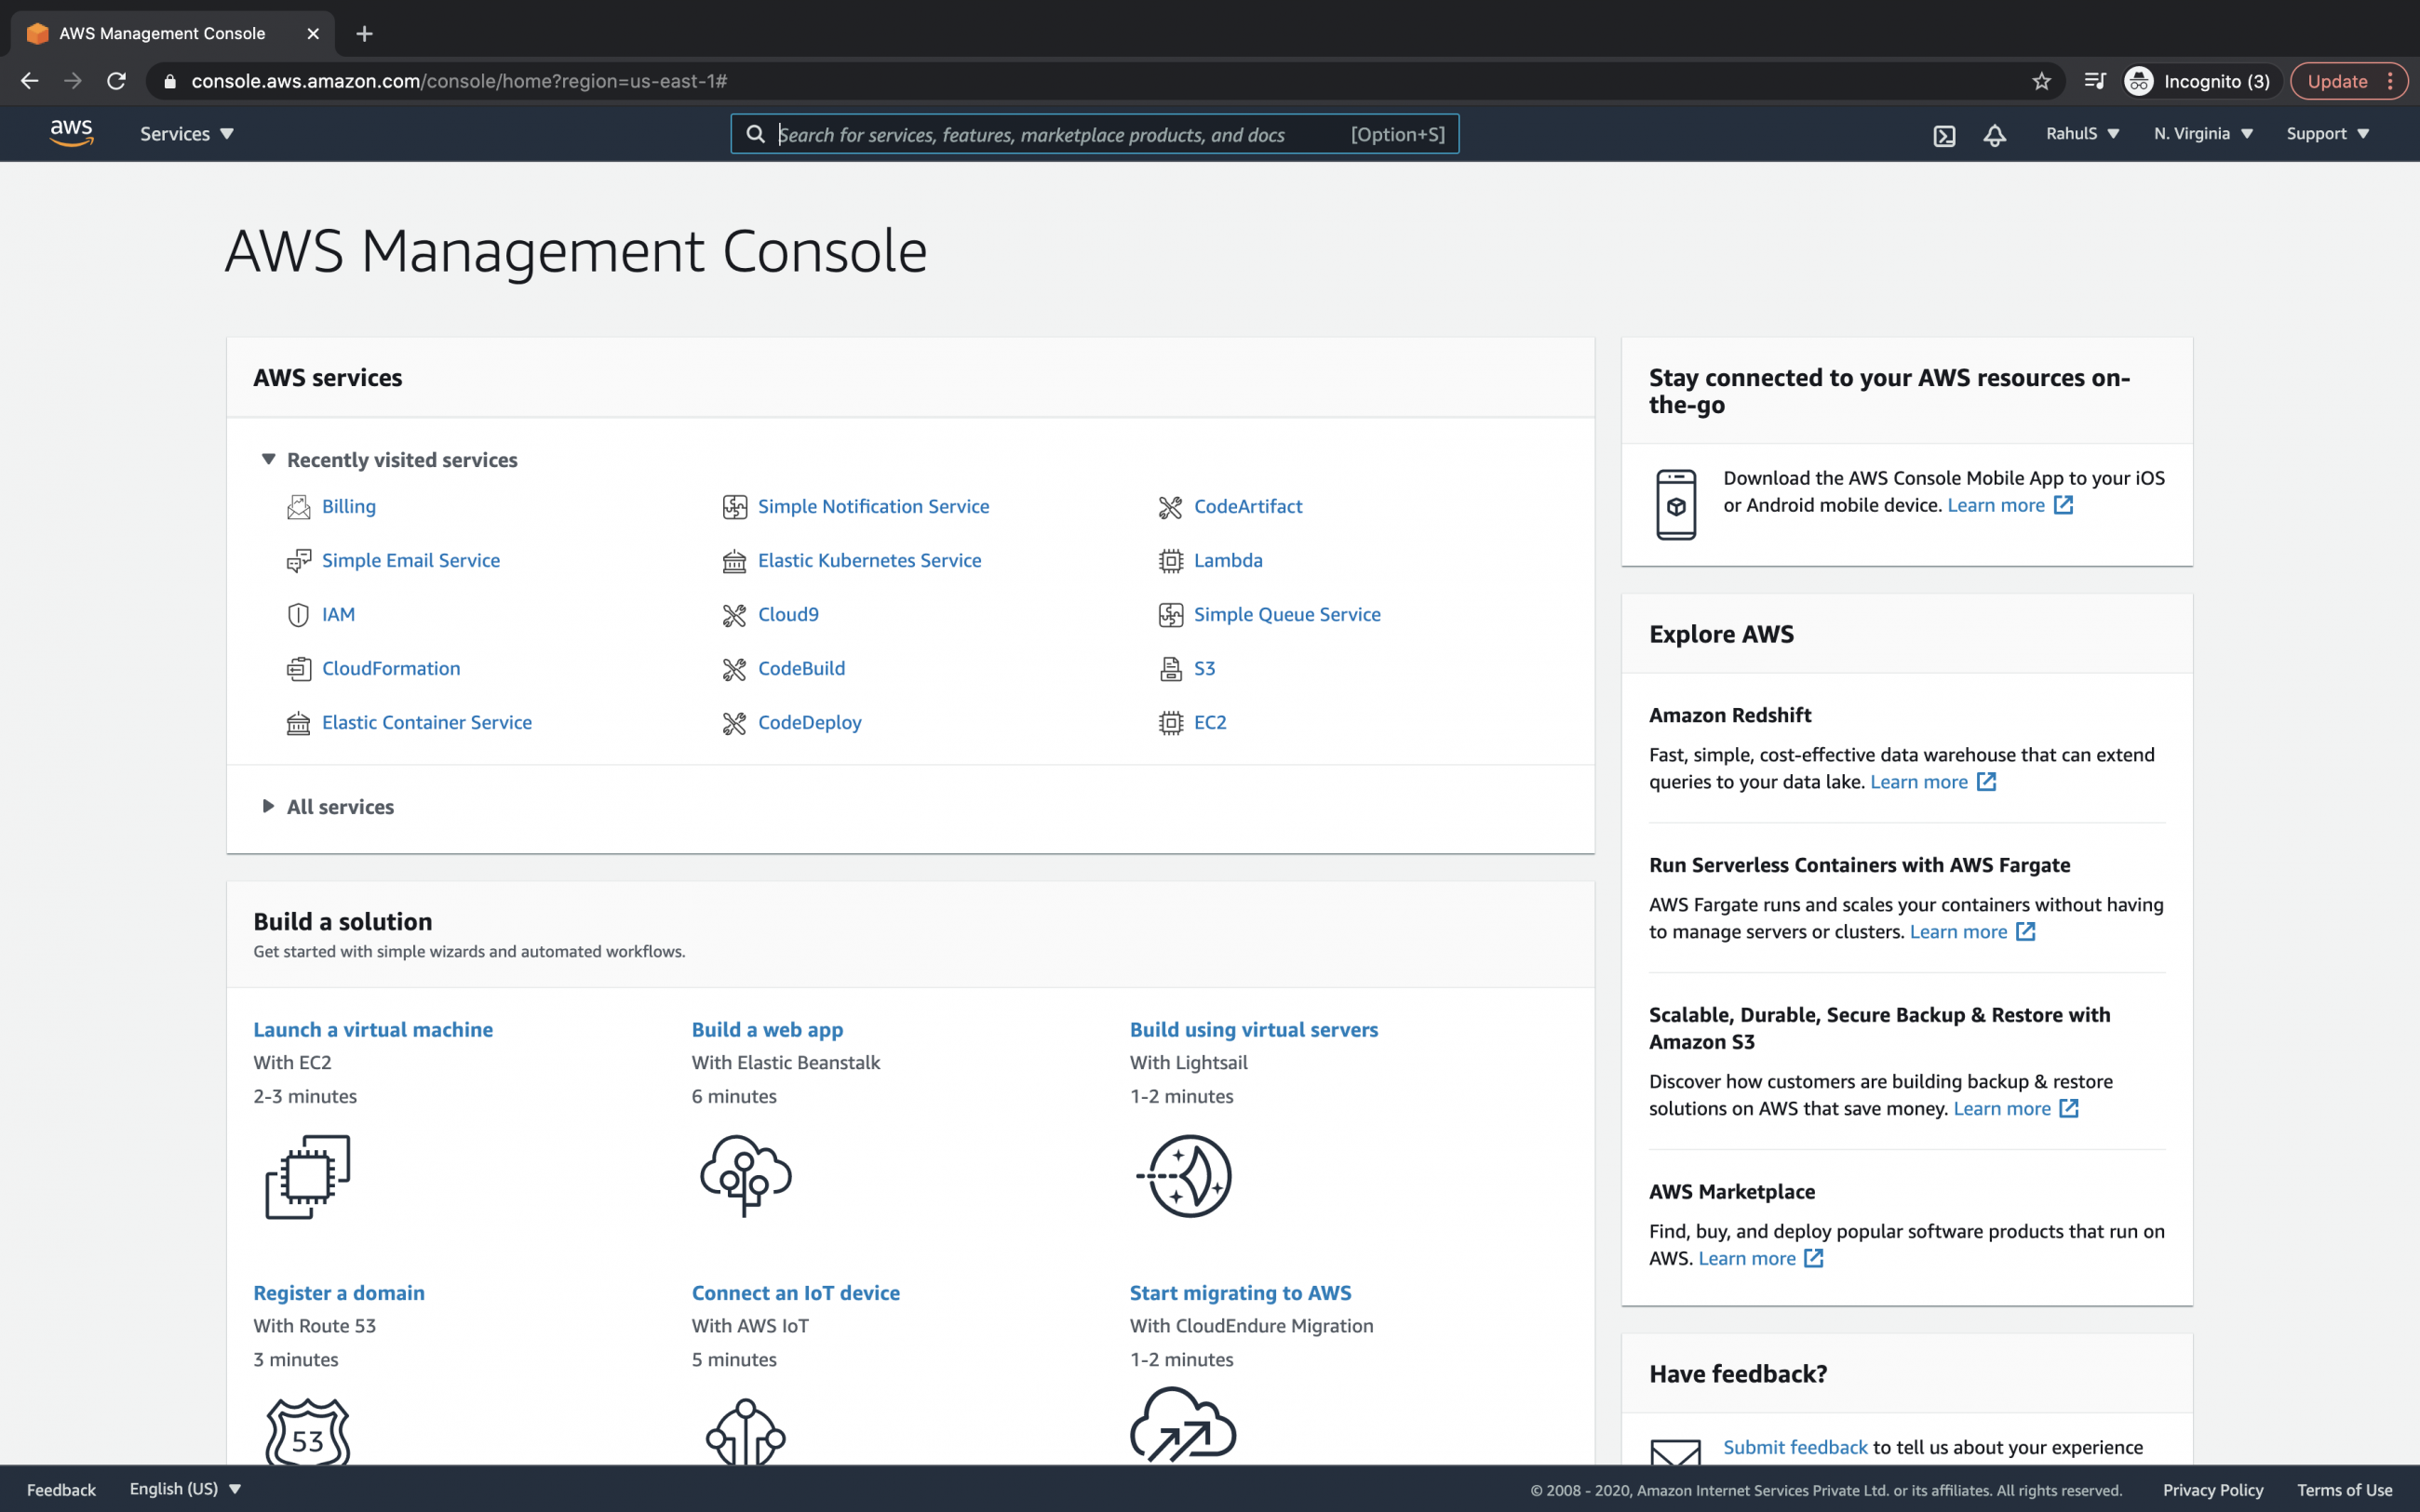
Once you successfully login into your account, you will see the AWS management console as follows.
Create a Template
Before we proceed with the creation of the stack, let's create a template "create-sns-topic.template" on your local machine with the following Cloudformation configuration.
You can also download the Cloudformation template from my Github repository, below is the link to the template.
---
AWSTemplateFormatVersion: '2010-09-09'
Description: The SNS Topic
Parameters:
  SubscriptionEndPoint:
    Type: String
    Description: The endpoint that receives notifications.
  SubscriptionProtocol:
    Type: String
    Description: The subscription protocol
    AllowedValues:
    - http
    - https
    - email
    - email-json
    - sms
    - sqs
    - application
    - lambda
    Default: email
Mappings: {}
Conditions: {}
Resources:
  SNSTopic:
    Type: AWS::SNS::Topic
    Properties: {}
  SNSSubscription:
    Type: AWS::SNS::Subscription
    Properties:
      Endpoint:
        Ref: SubscriptionEndPoint
      Protocol:
        Ref: SubscriptionProtocol
      TopicArn:
        Ref: SNSTopic
Outputs:
  QueueName:
    Description: Name of the SNS Topic we created
    Value:
      Fn::GetAtt:
      - SNSTopic
      - TopicName
  TopicARN:
    Description: ARN of the SNS Topic we created
    Value:
      Ref: SNSTopic
Create a Cloudformation Stack
Once you have the template on your local machine you are ready to create a Cloudformation stack.
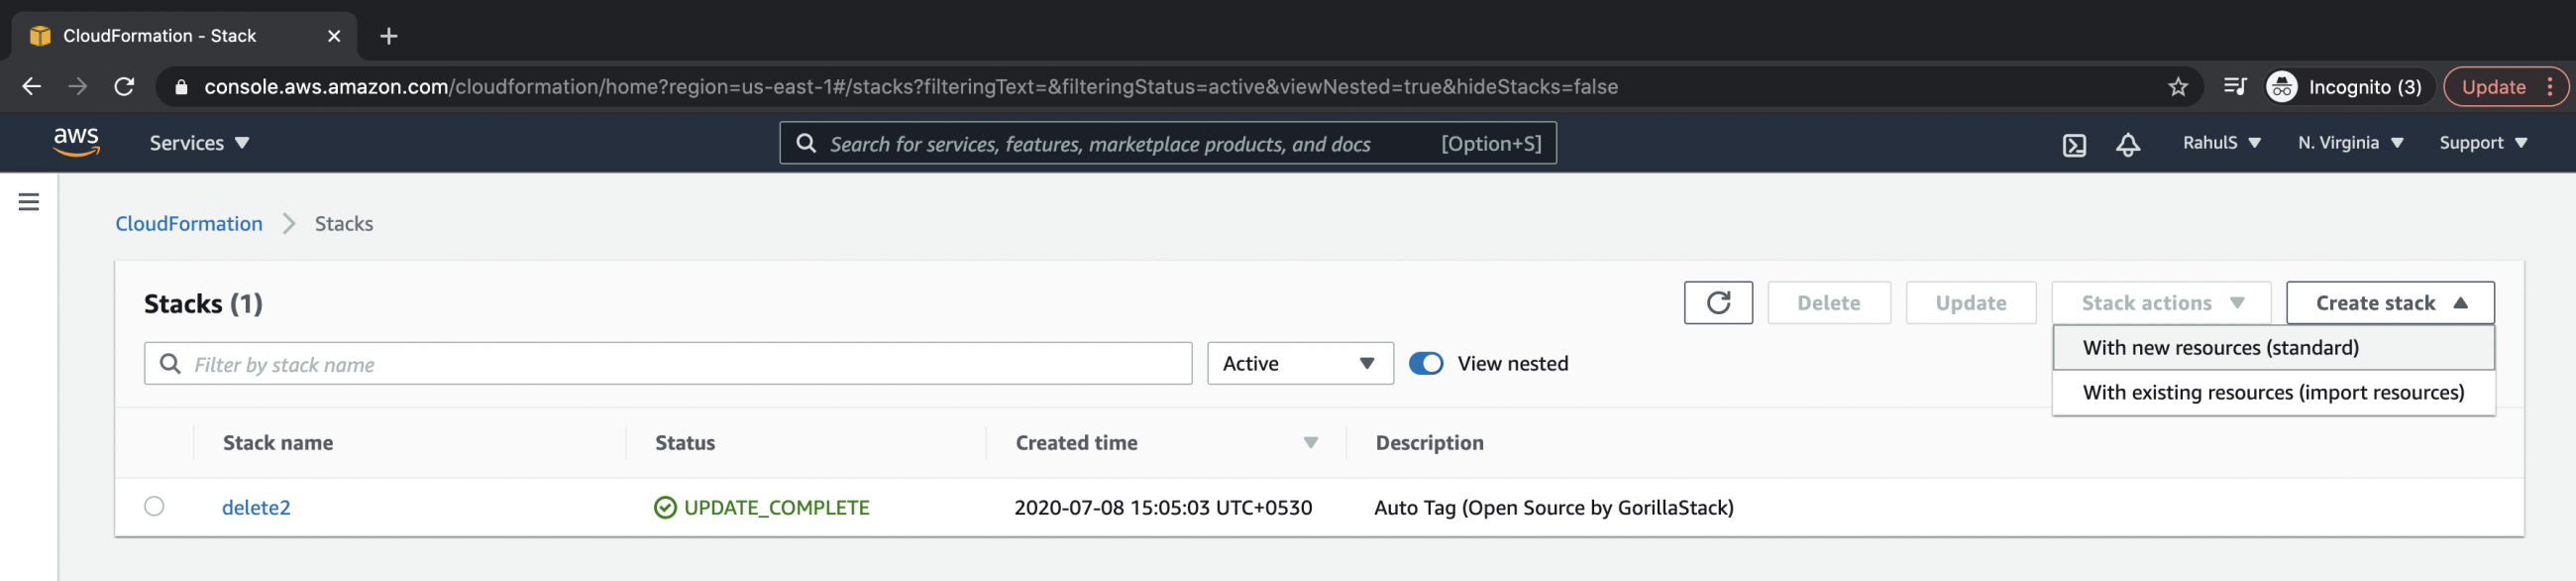
Click on "Services" in the top left of the screen and search for Cloudformation under management and governance.

To create a stack you will see an option "Create stack" at the right side of the screen, click on it. You will see 2 options, out of those 2 options click on "With new resources (standard). "delete2" is an existing stack in my account under the selected region, you won't see it in your account.
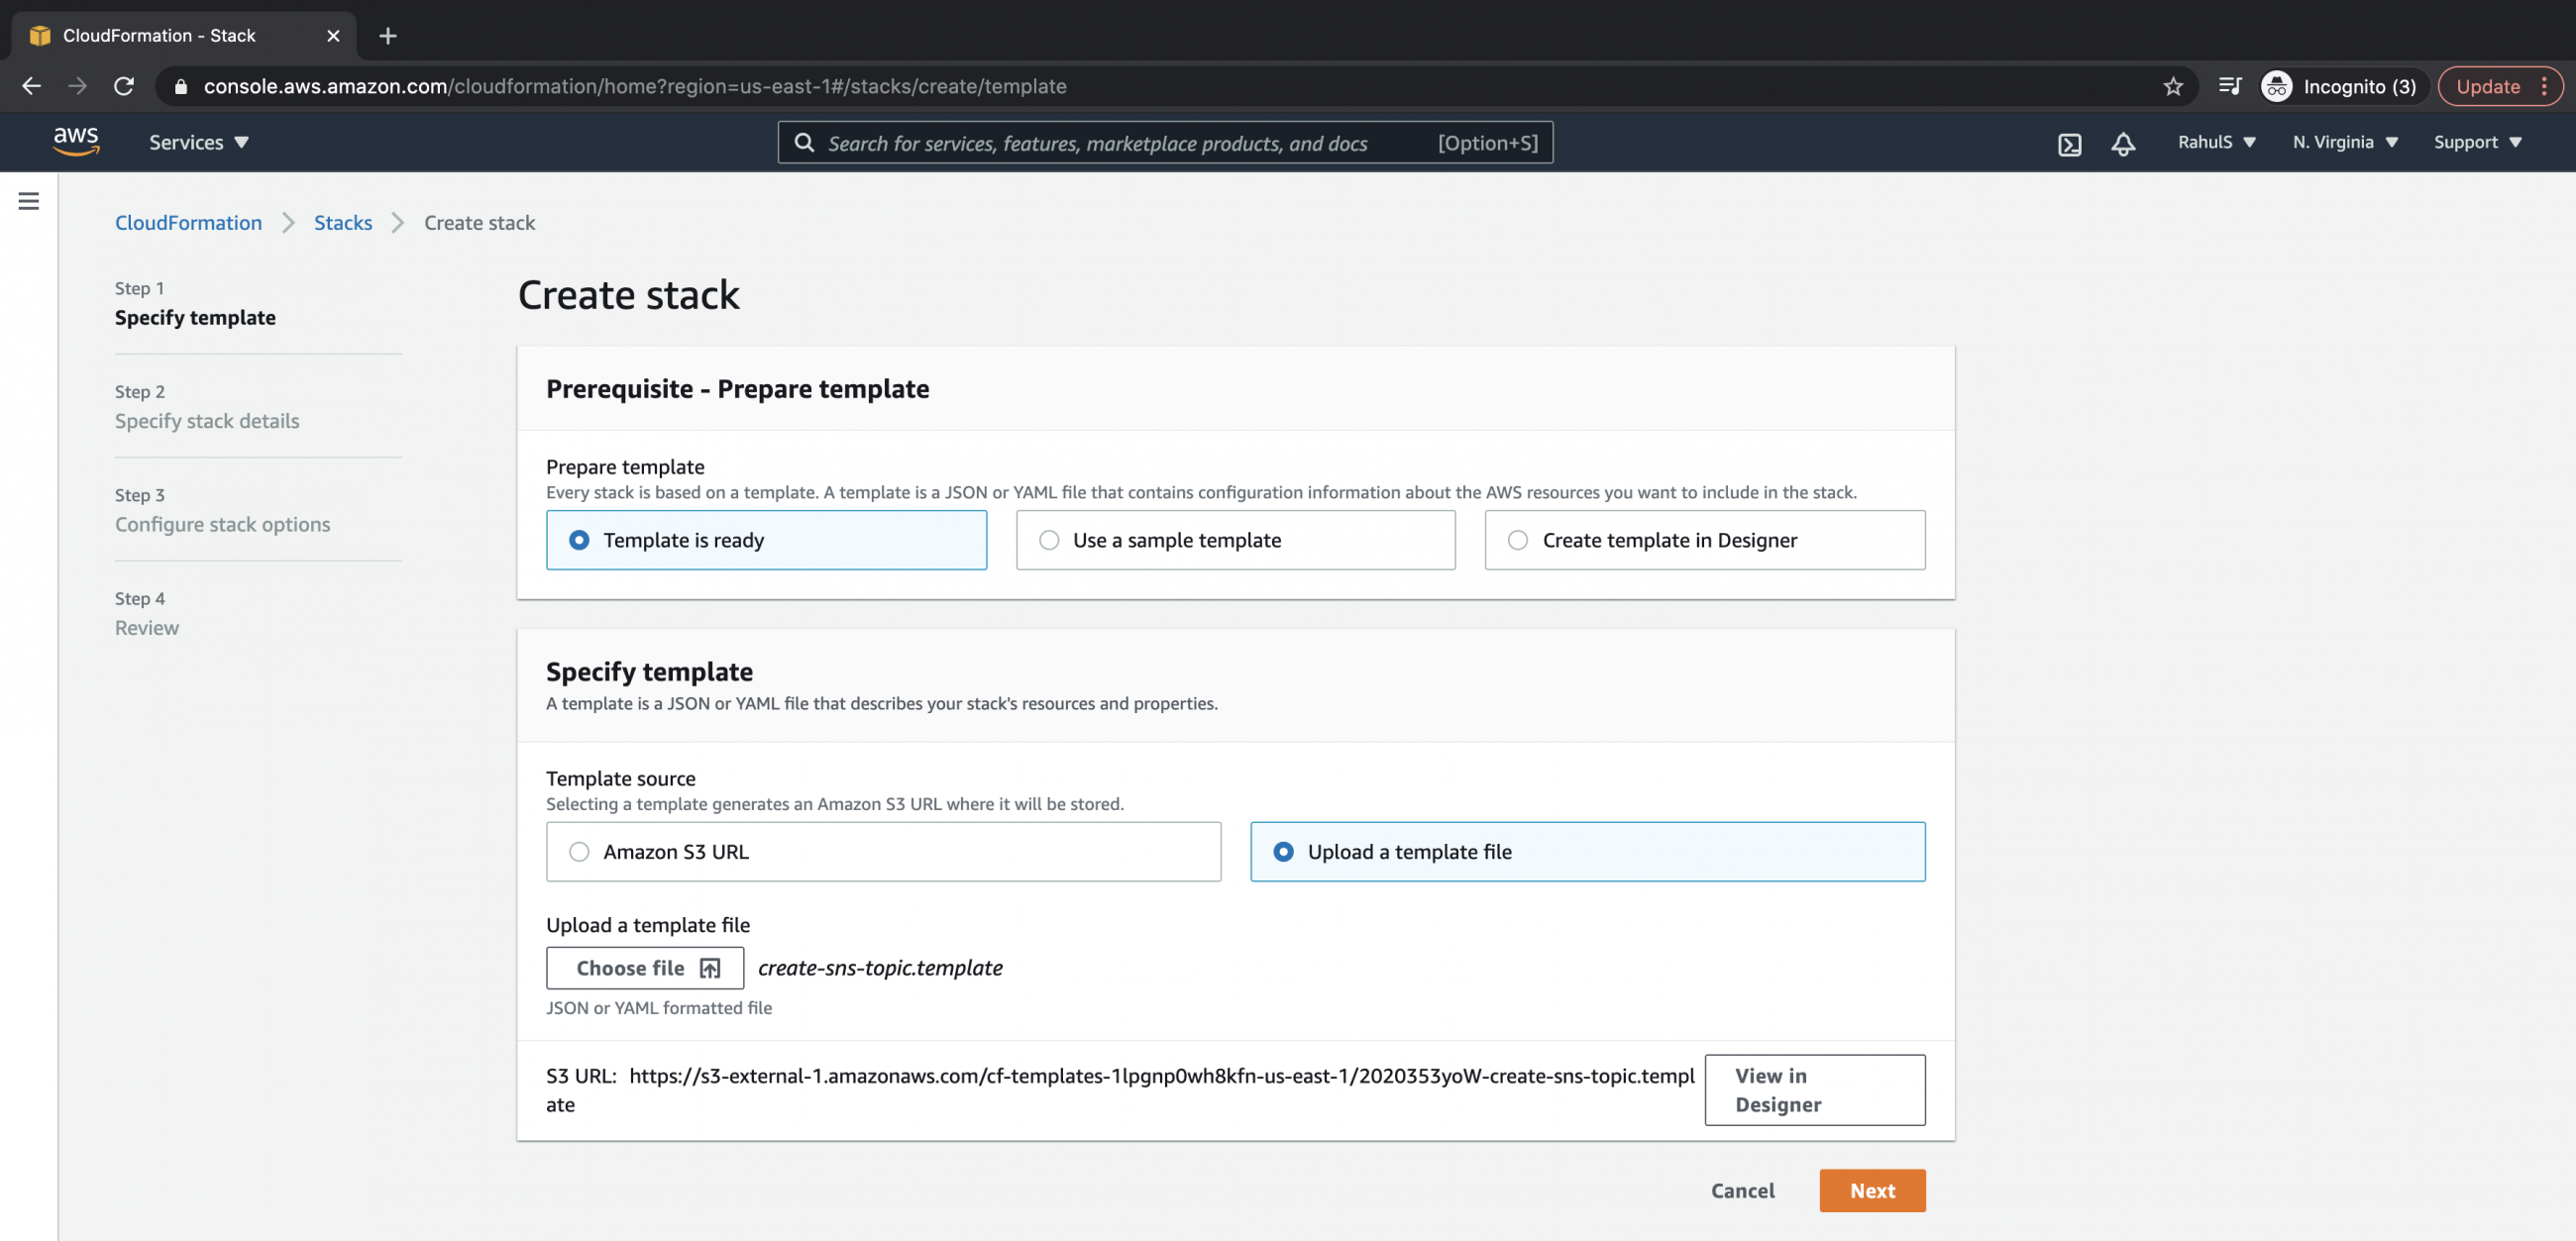
Click on "upload a template file" and choose the template from your local machine. Click on the "Next" button.
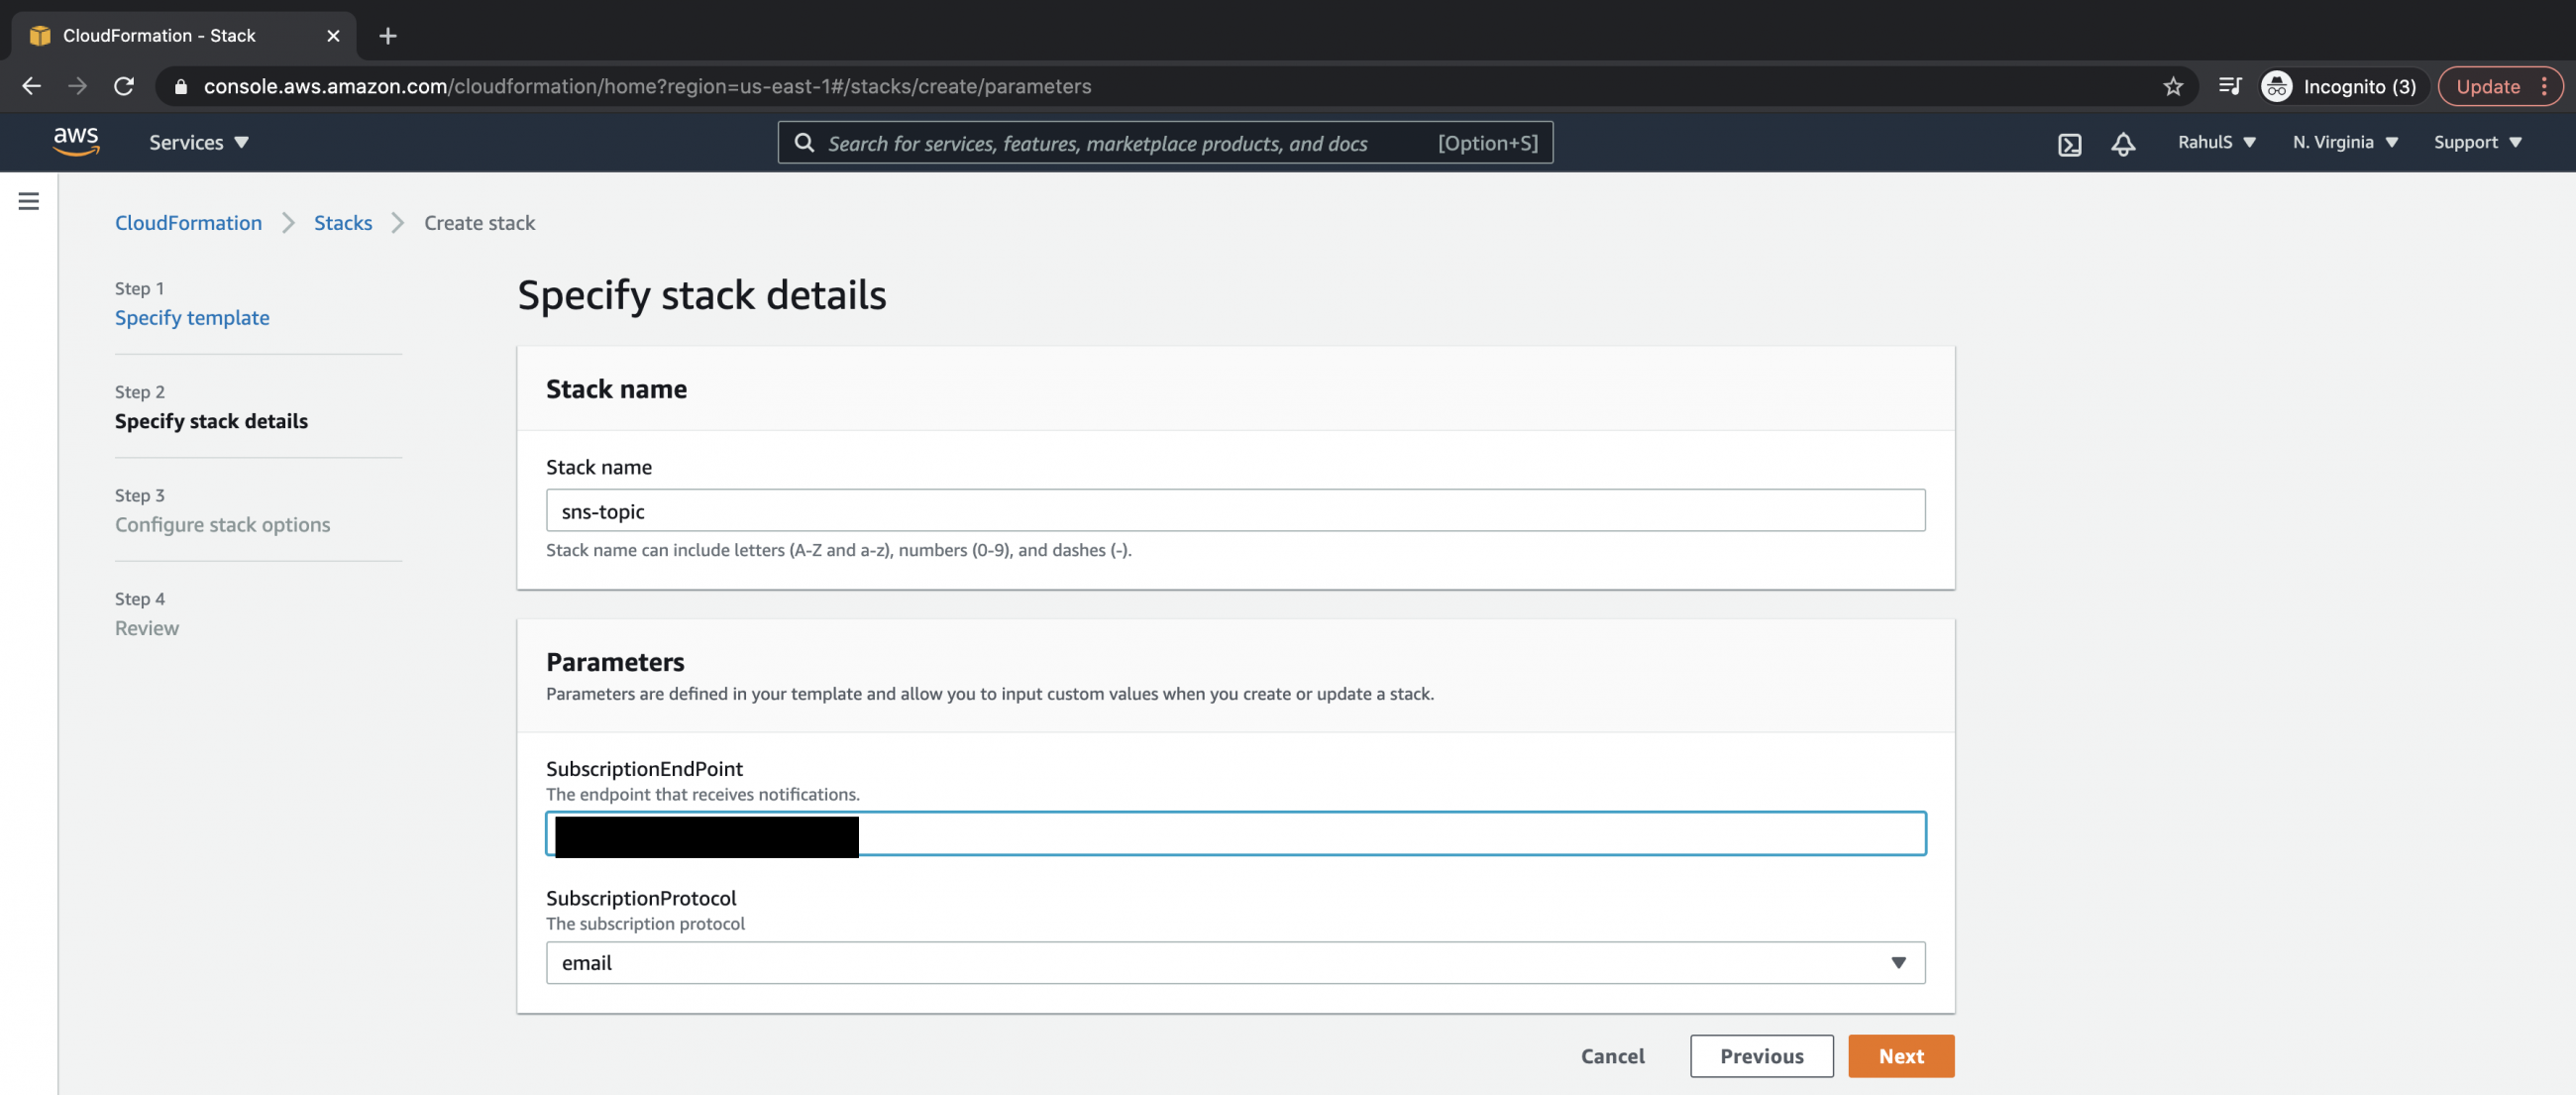
Specify stack details such as Stack name, Subscription Endpoint and Subscription Protocol. You can choose the protocol from the drop-down list under the SubscriptionProtocol option. I have chosen "email" as a SubscriptionProtocol, if the SubscriptionProtocol is "email" you would need to specify your email address as a SubscriptionEndpoint. Click on the "Next" button to proceed.
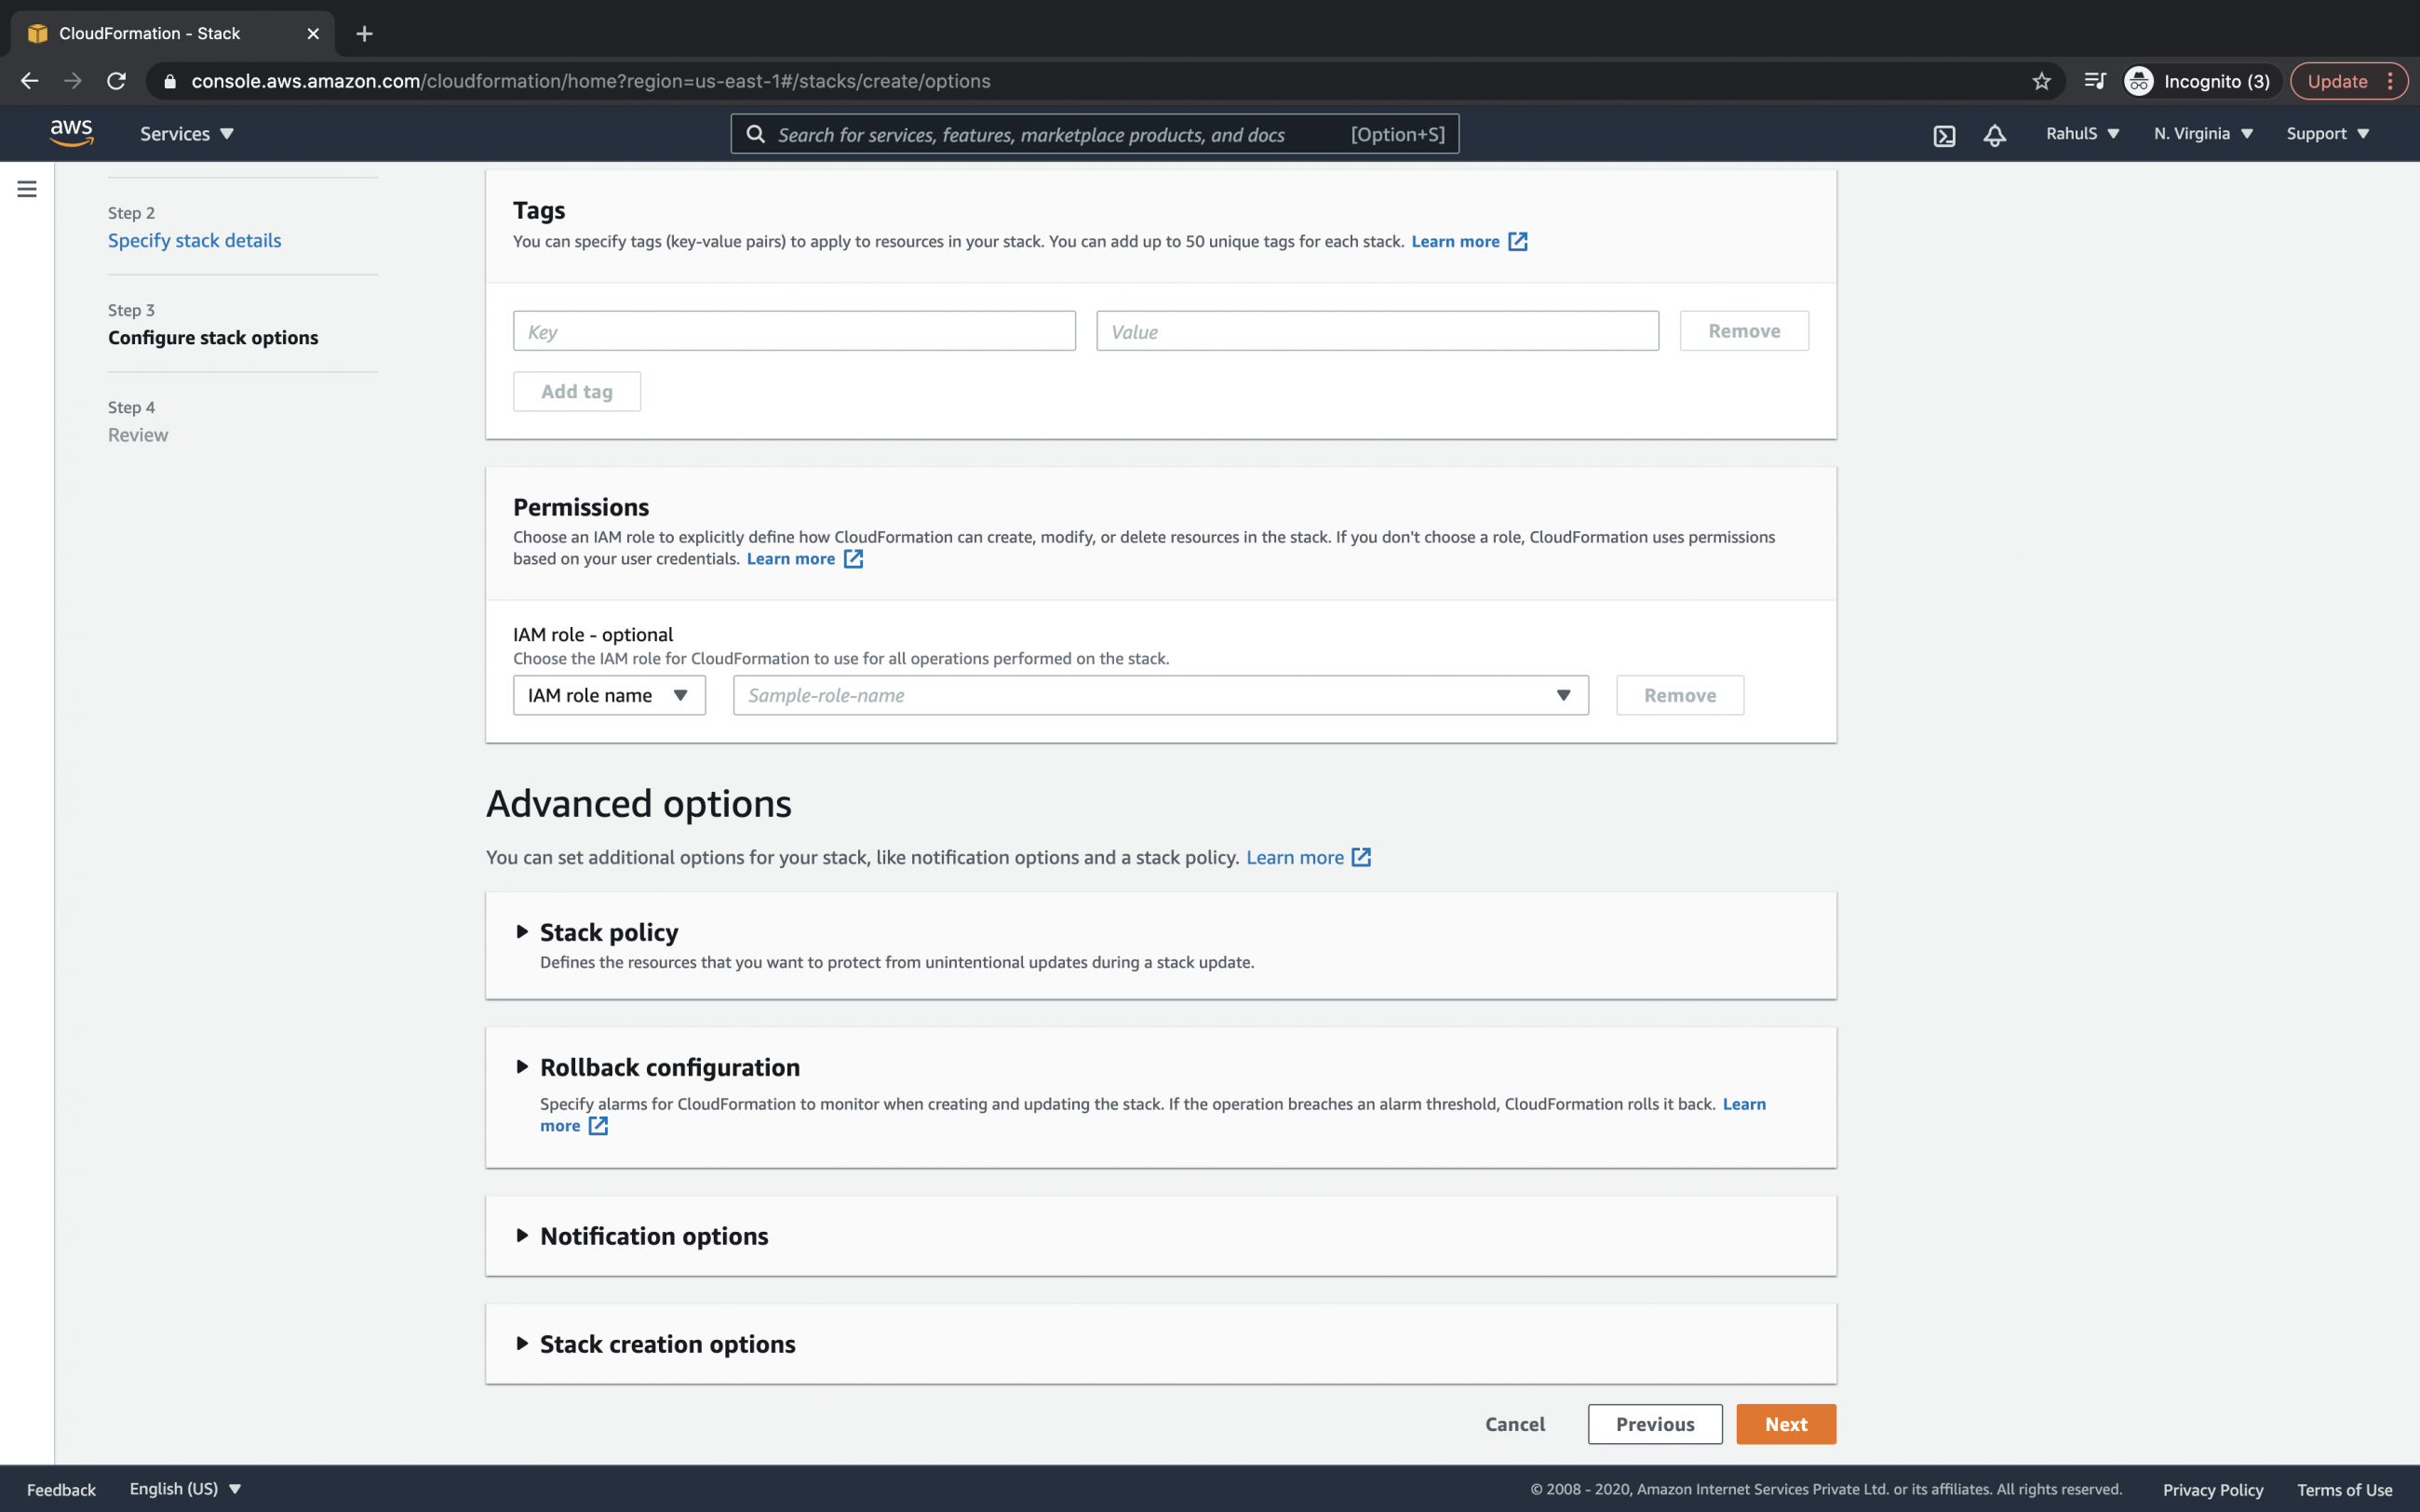
Tags are optional and it is not mandatory to specify tags on this page. Click on the "Next" button to proceed further.
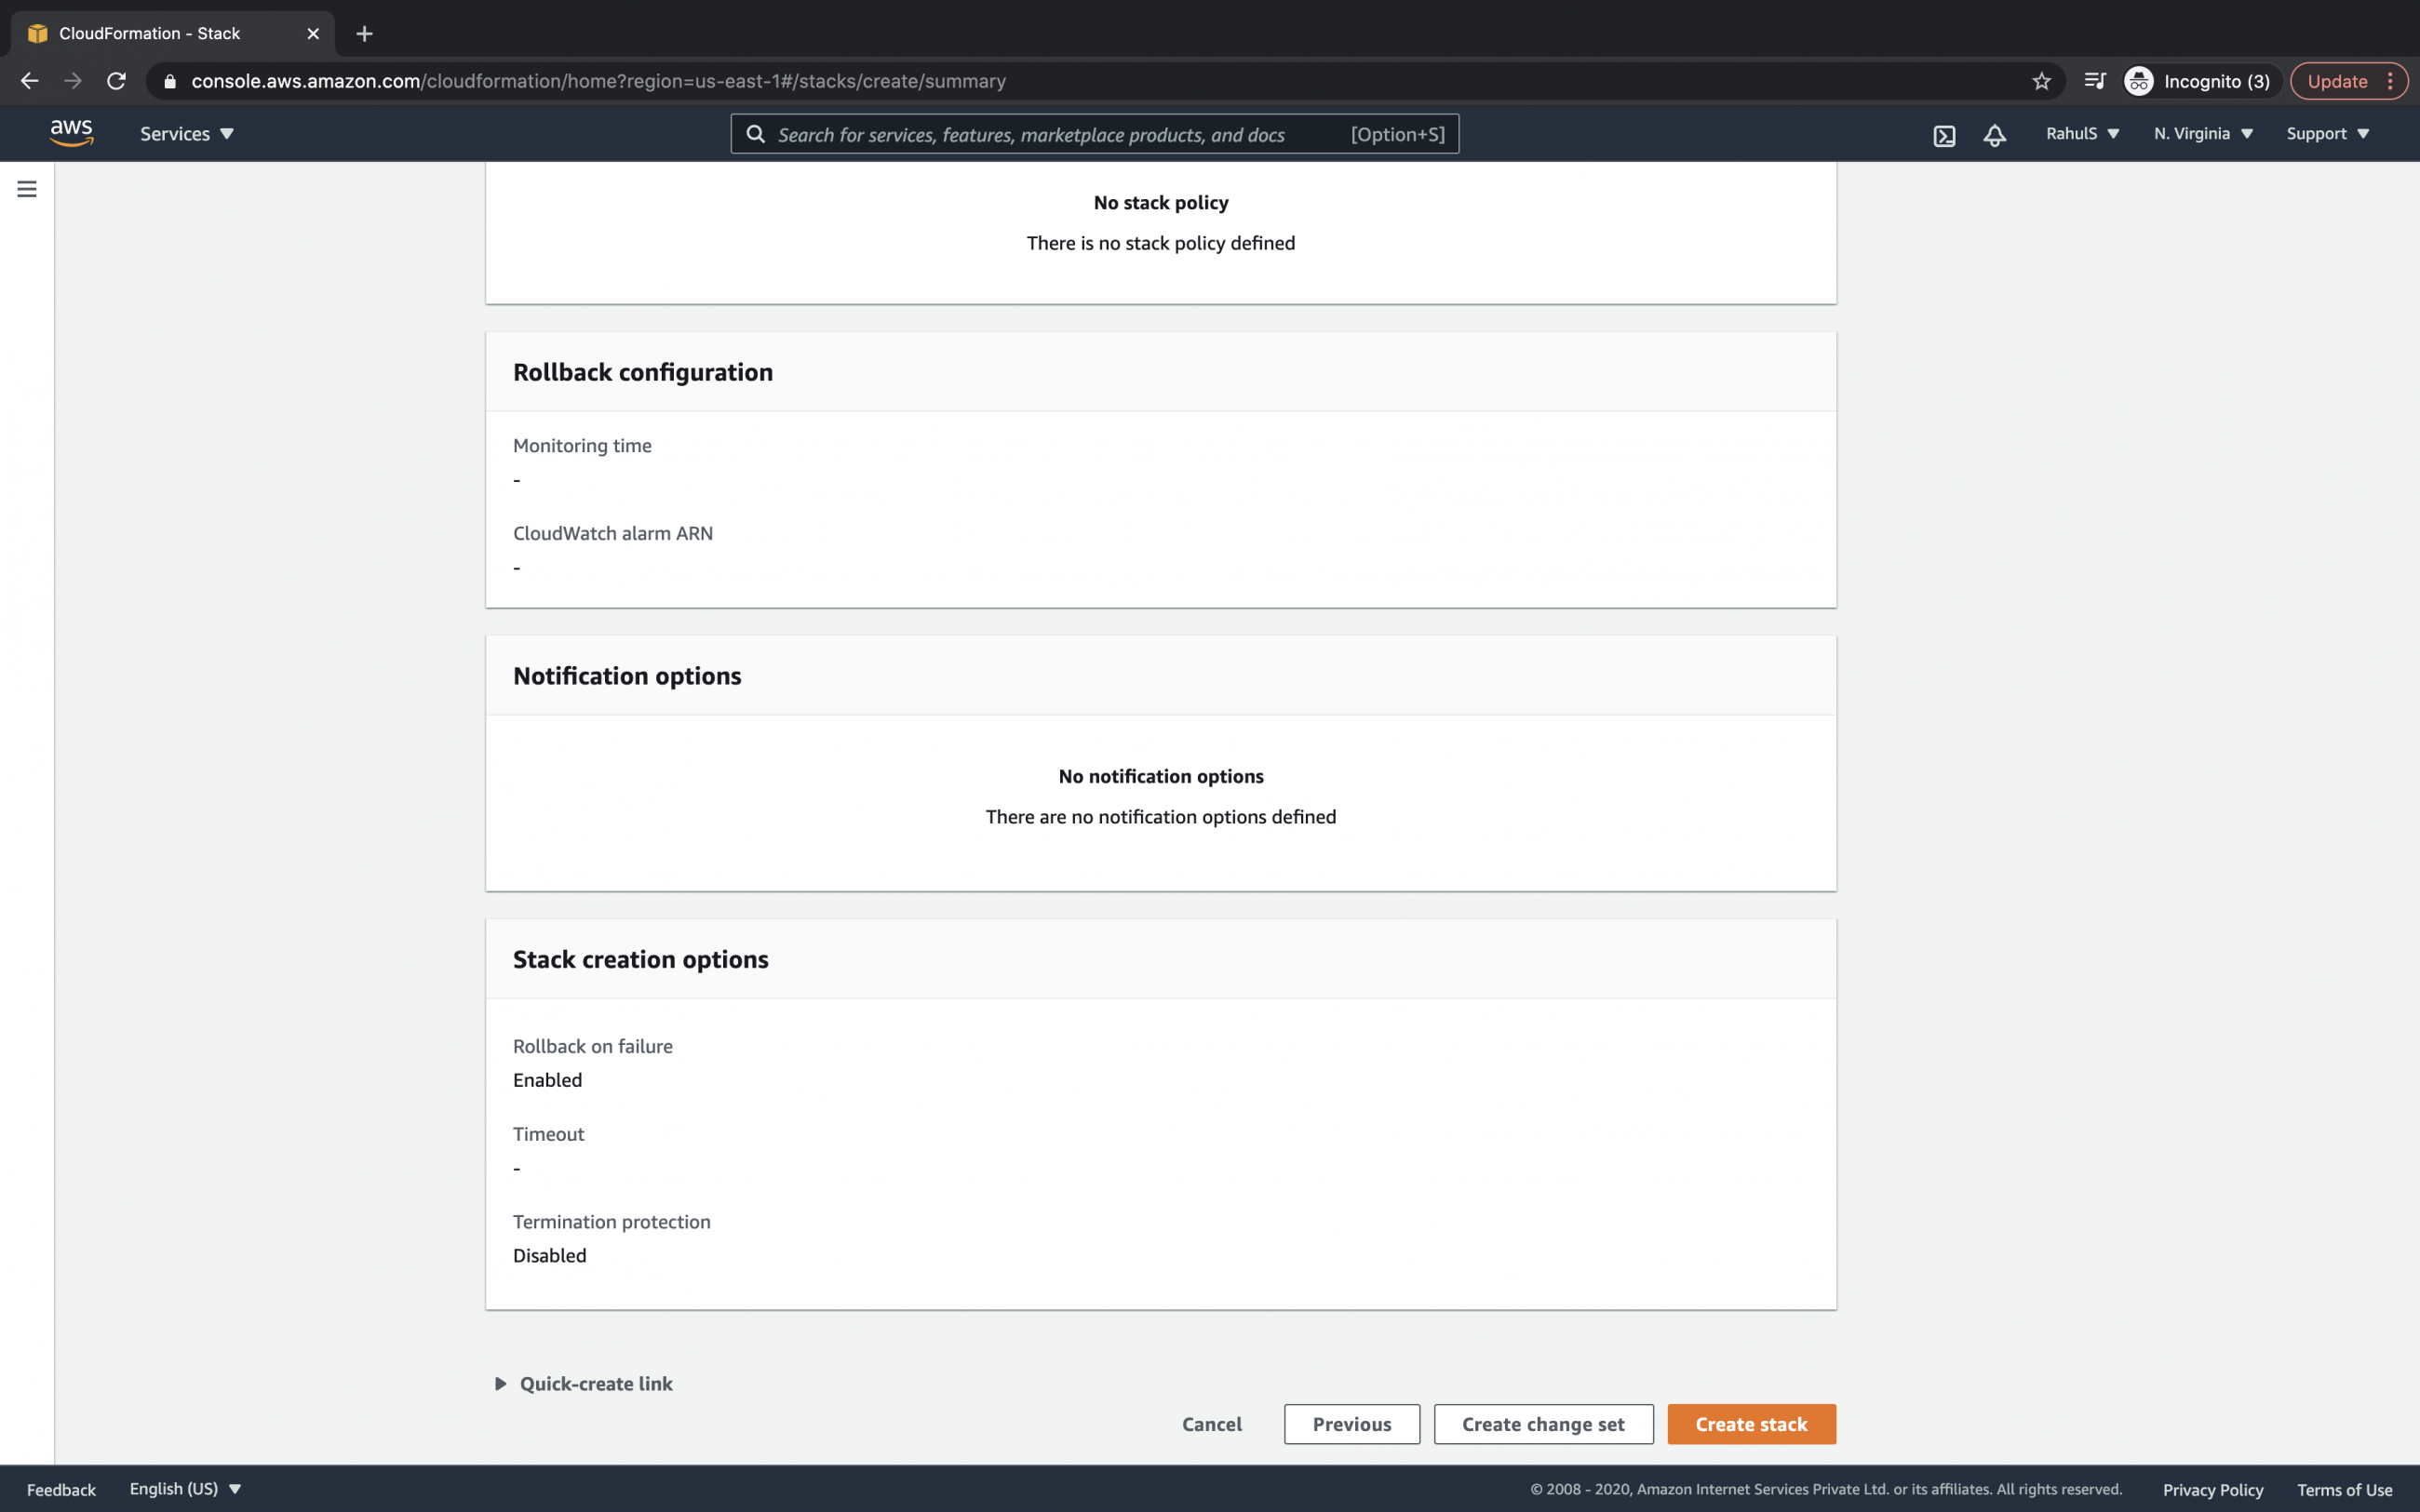
Scroll down at the end of the page and click on the "Create stack" button. This will create a stack which in turn will create an SNS topic with email as a subscription endpoint.
Creation of resources will take a few minutes and once the resources have been created you will see the status as "CREATE_COMPLETE" for the stack.

Verify SNS Topic
You can go to SNS and verify if the topic has been created. Search for SNS which will take you to the SNS console.

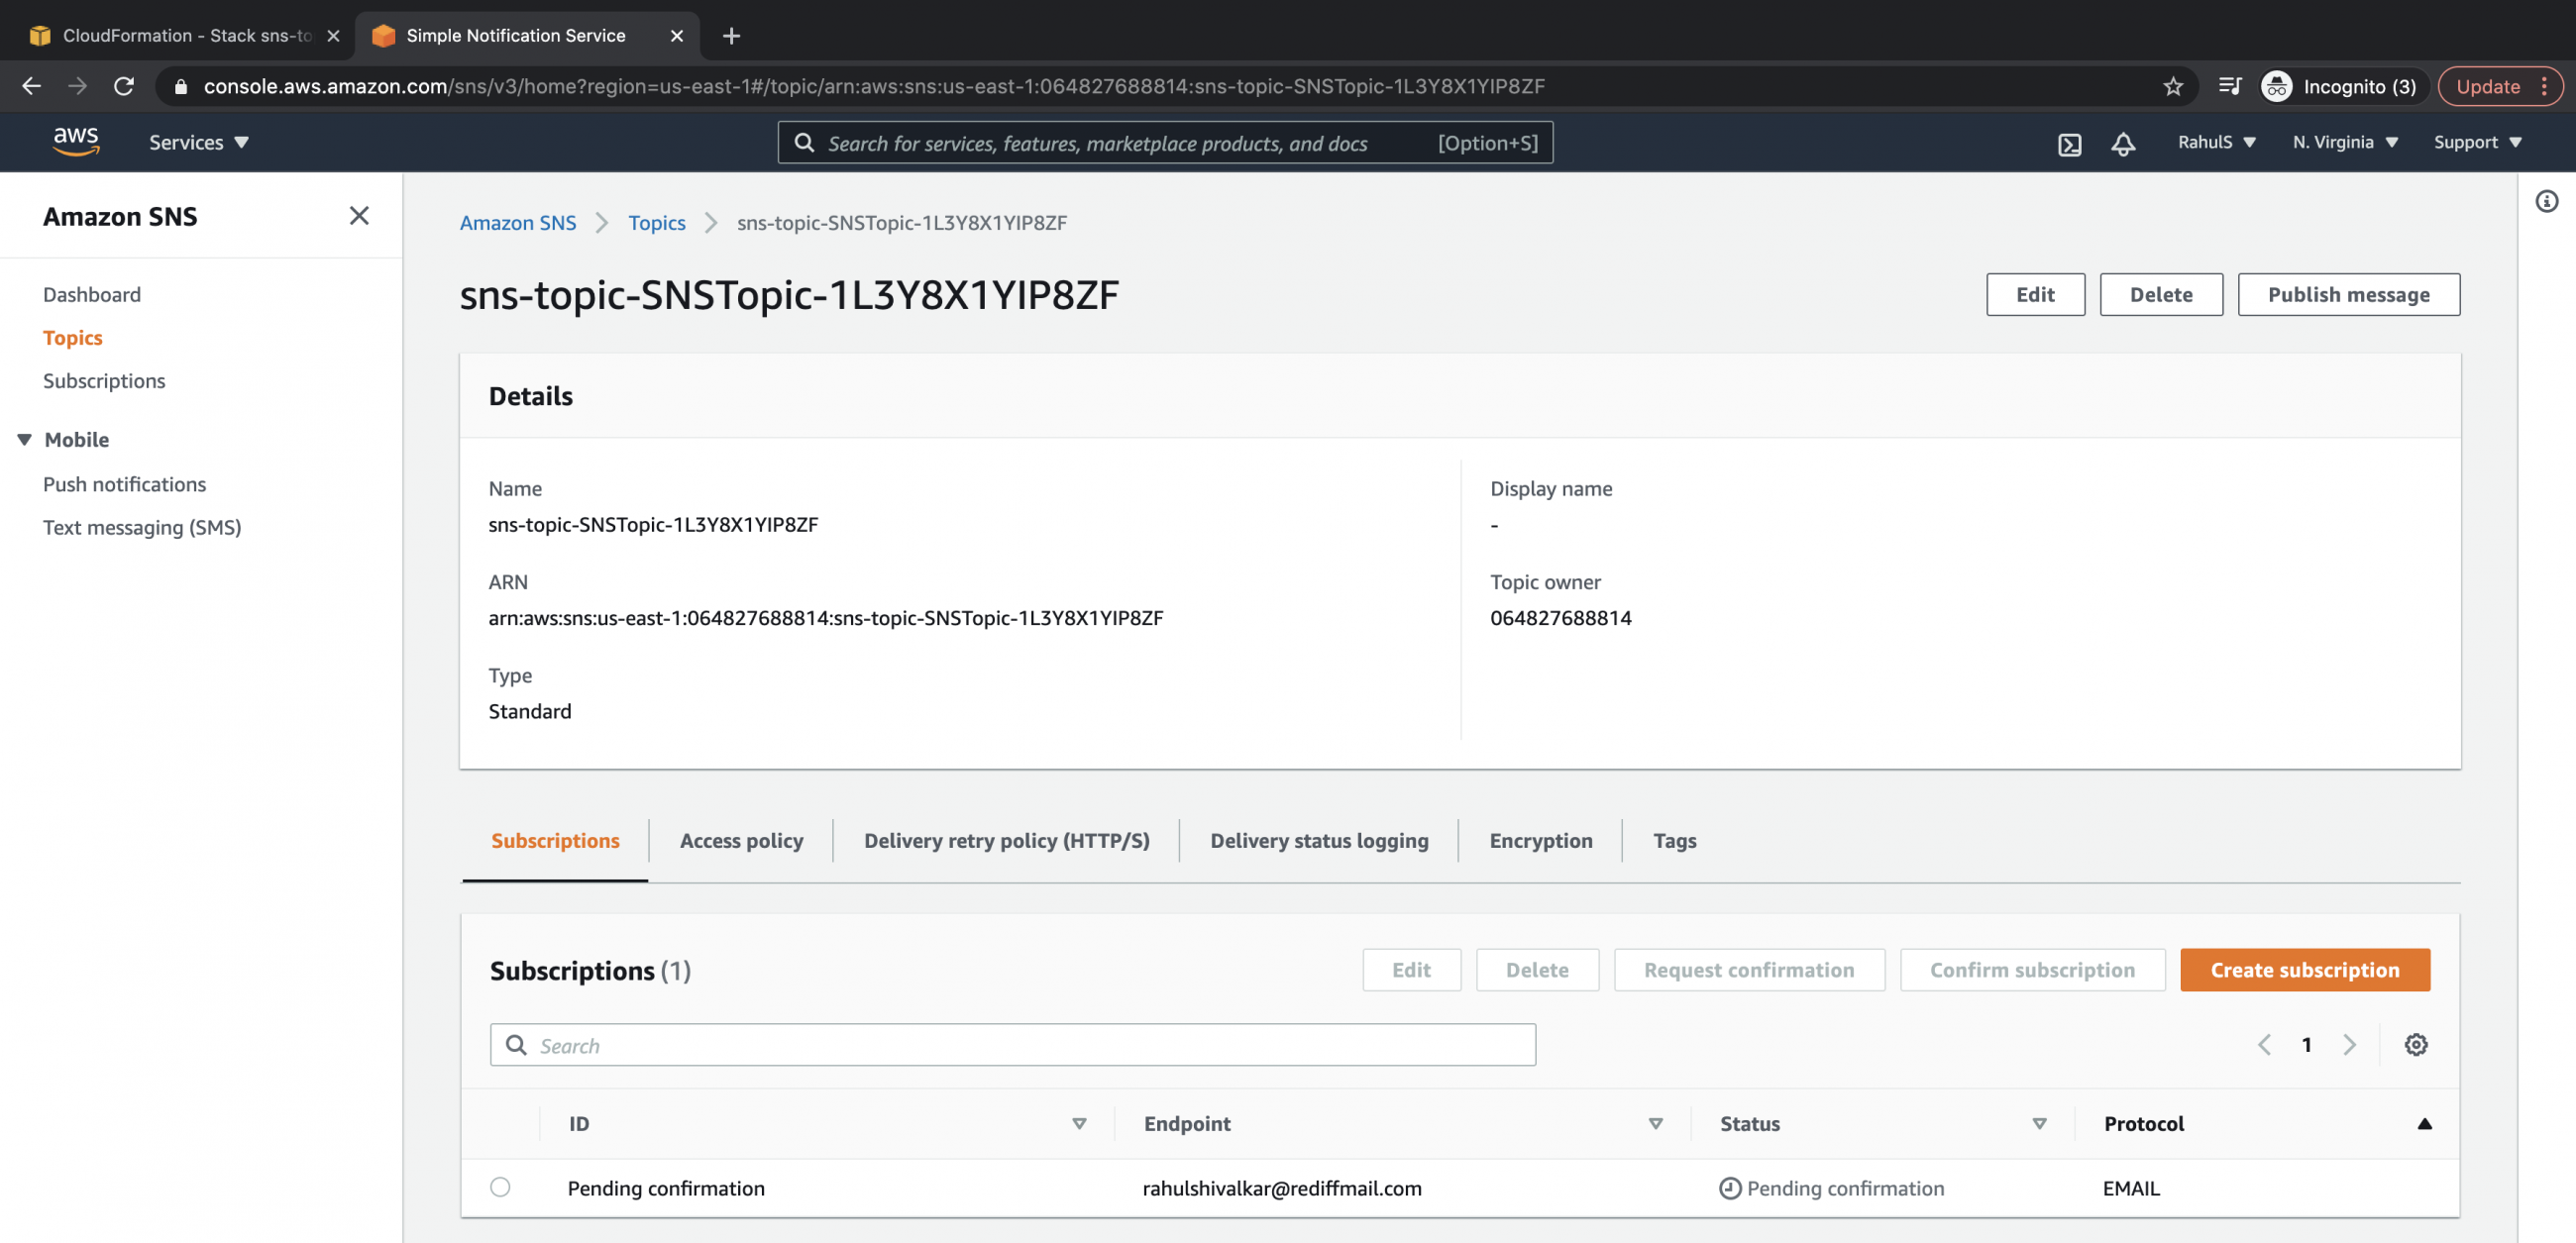
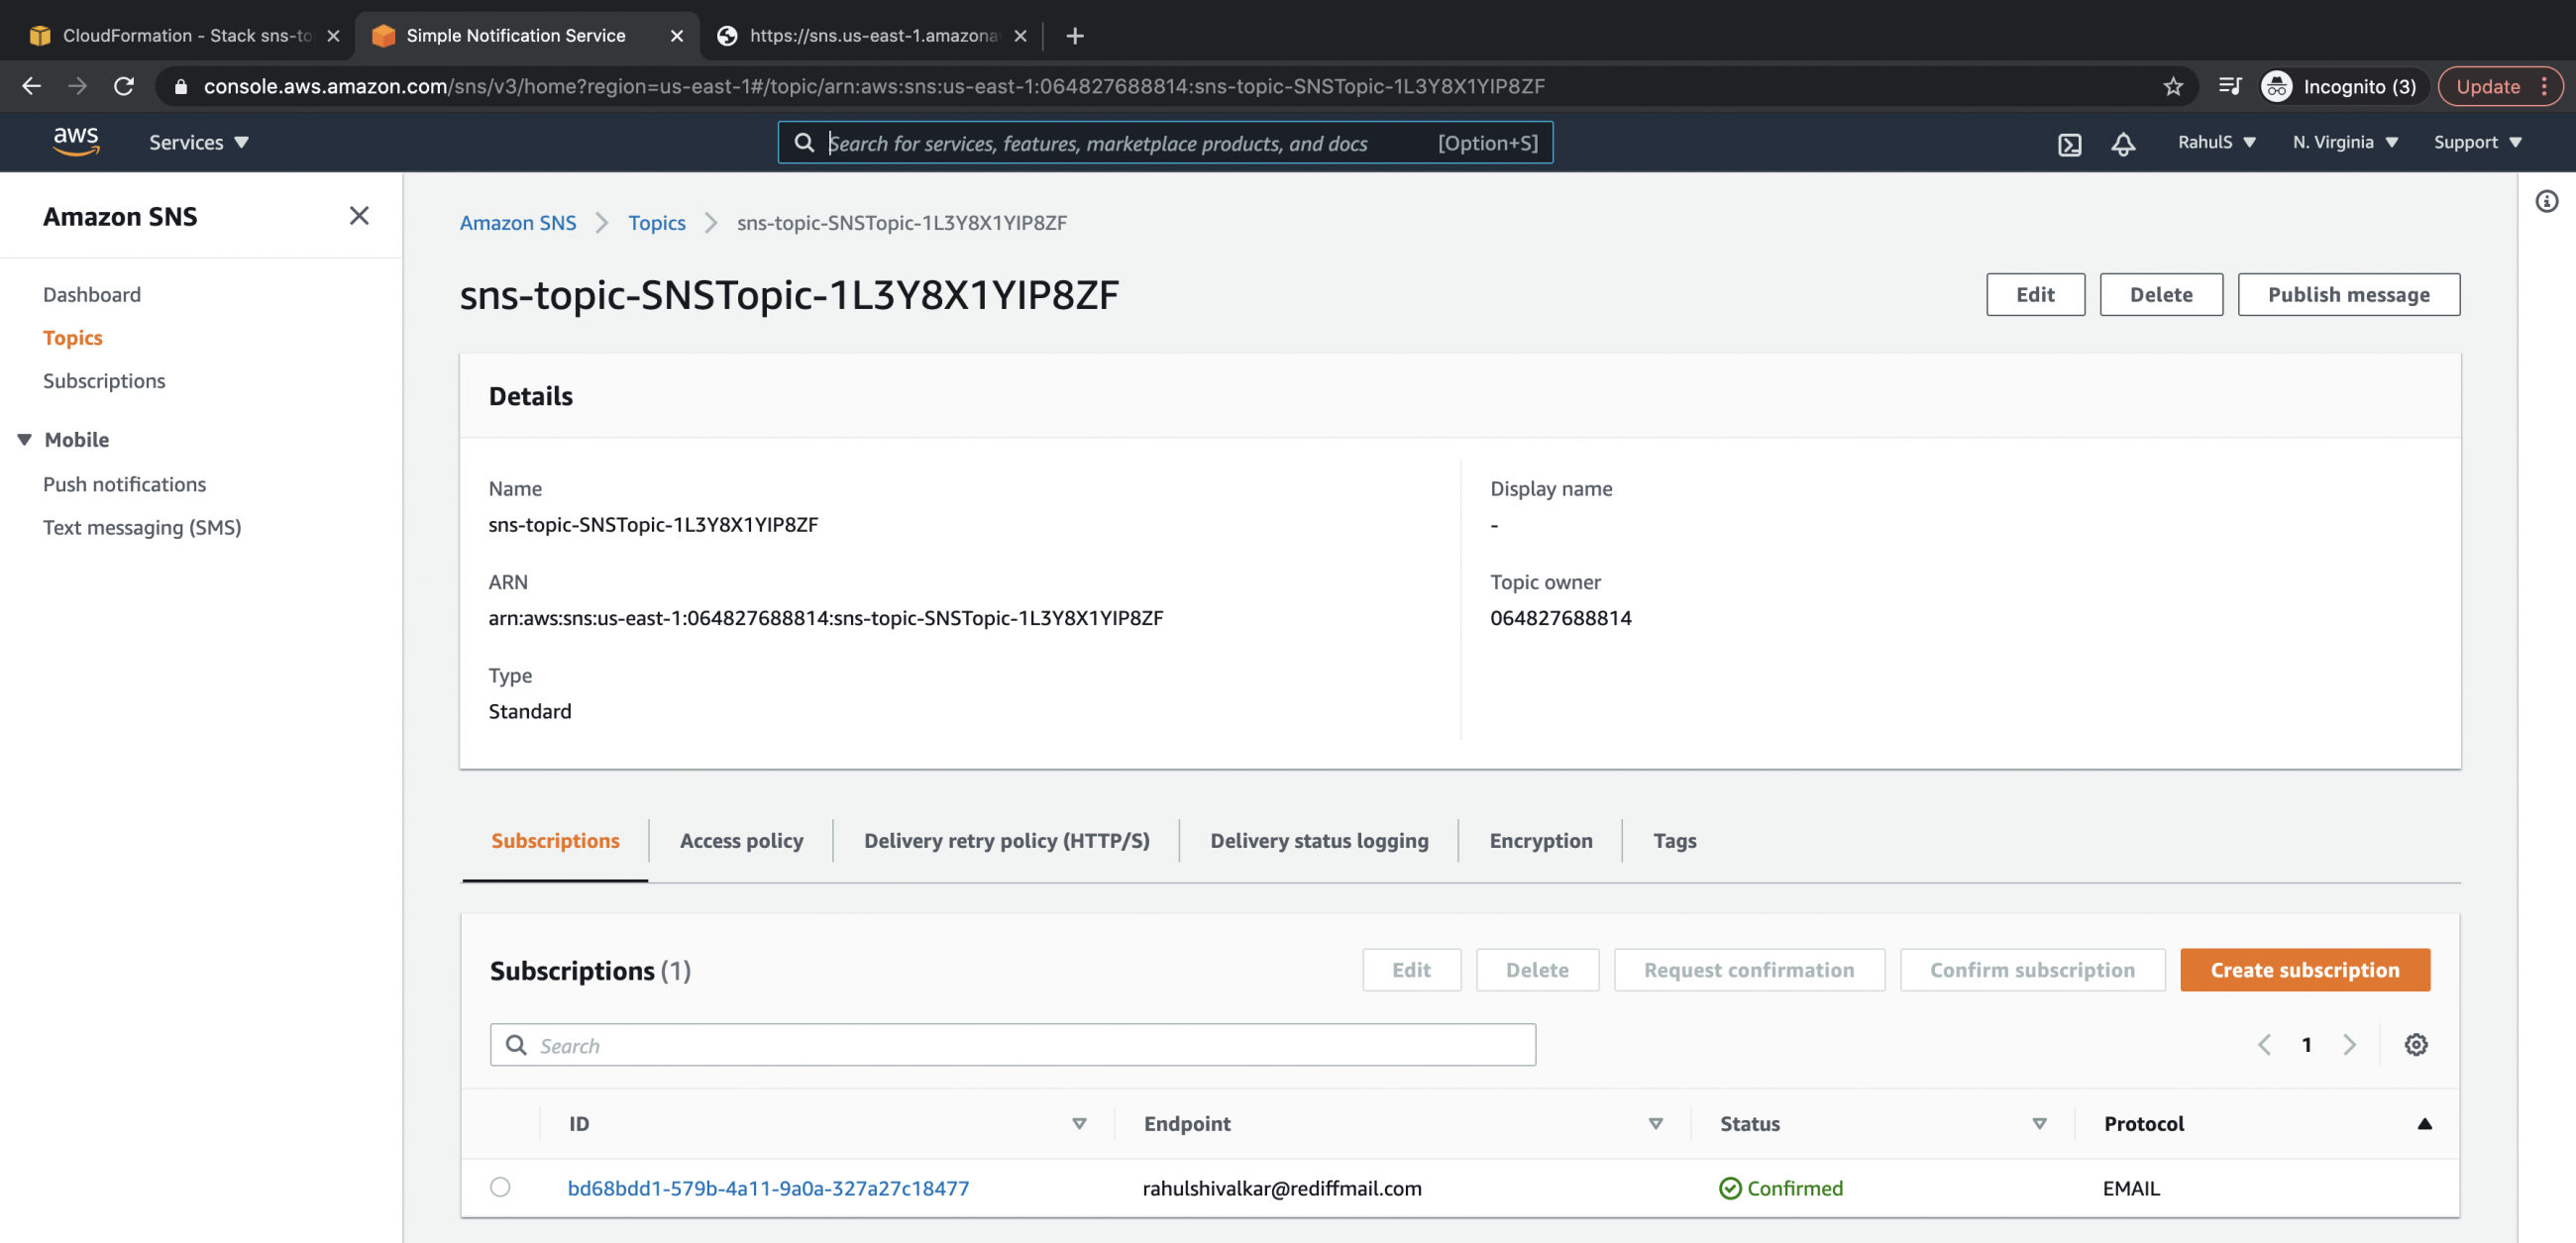
Here, click on "Topics" in the left panel and choose the topic which has been created. Your SNS topic will have the topic name prefixed with the Cloudformation stack name. Under the "Subscription" tab you will see that the endpoint has also been created but the status is "Pending confirmation".
When the Subscription is created it sends a confirmation link on the specified endpoint. Here, we had specified an email address as an endpoint so we must have received an email with the confirmation link.
Go to the inbox of the email you specified as an endpoint to the subscription. Open the email and you will see a "Confirm subscription" hyperlink, click on it.
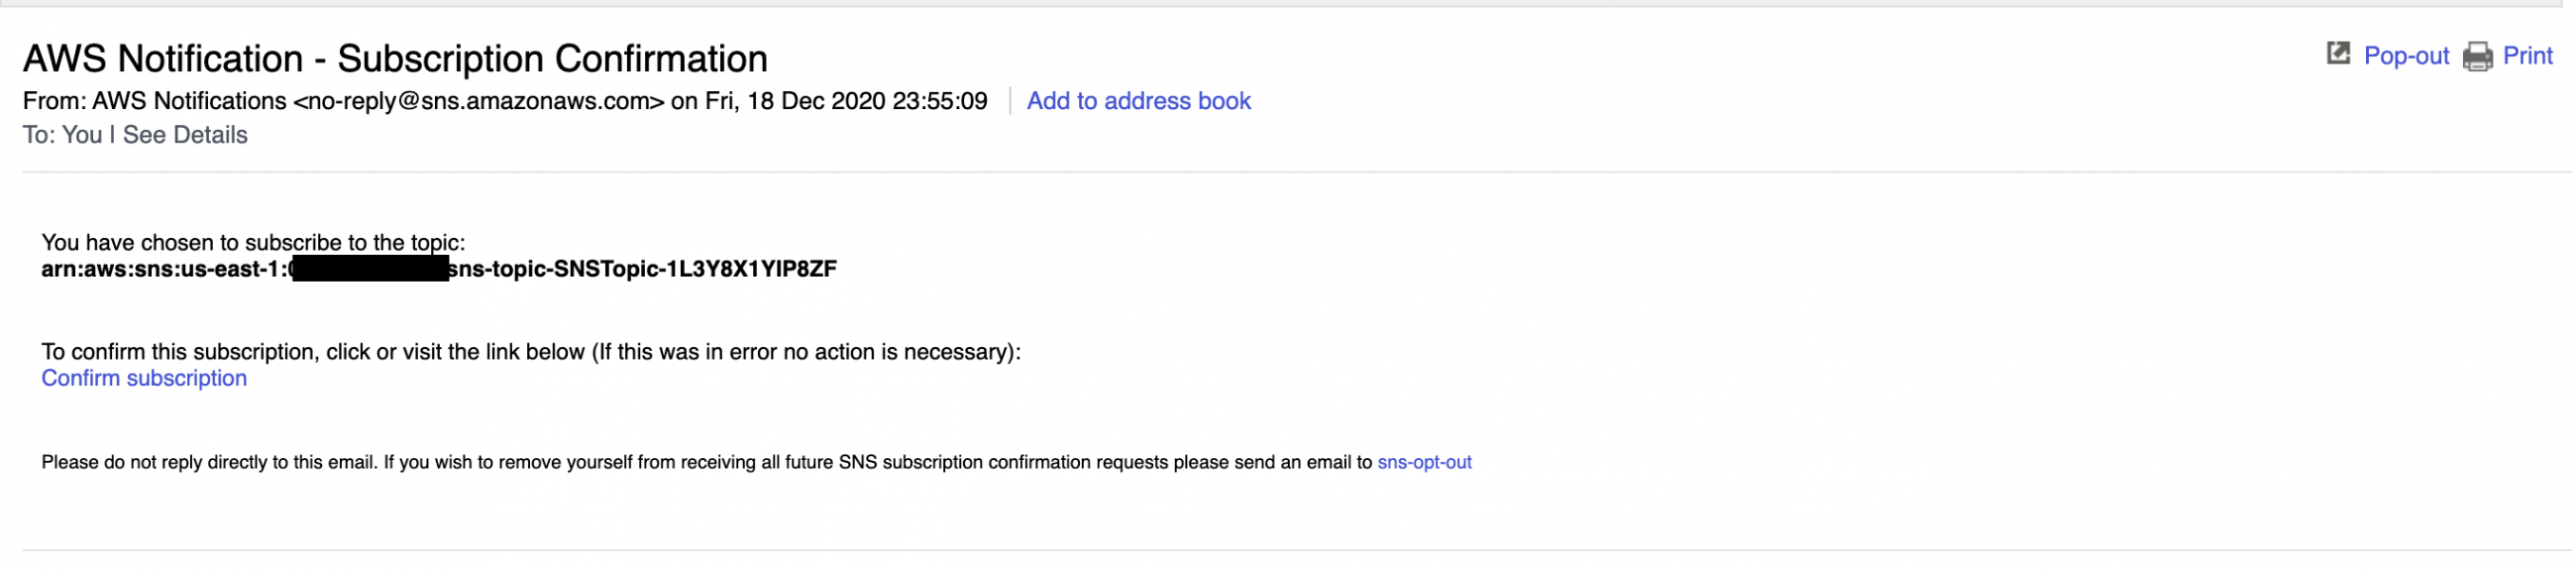
Once the subscription is confirmed you will see a message as follows.

Now, go back to the topic and under the "Subscriptions" tab check for the endpoint and you will see the status as "Confirmed". This completes the creation of an SNS topic along with an endpoint to it. You are now ready to publish messages on this SNS that will send those messages to the specified endpoint.
Delete the stack
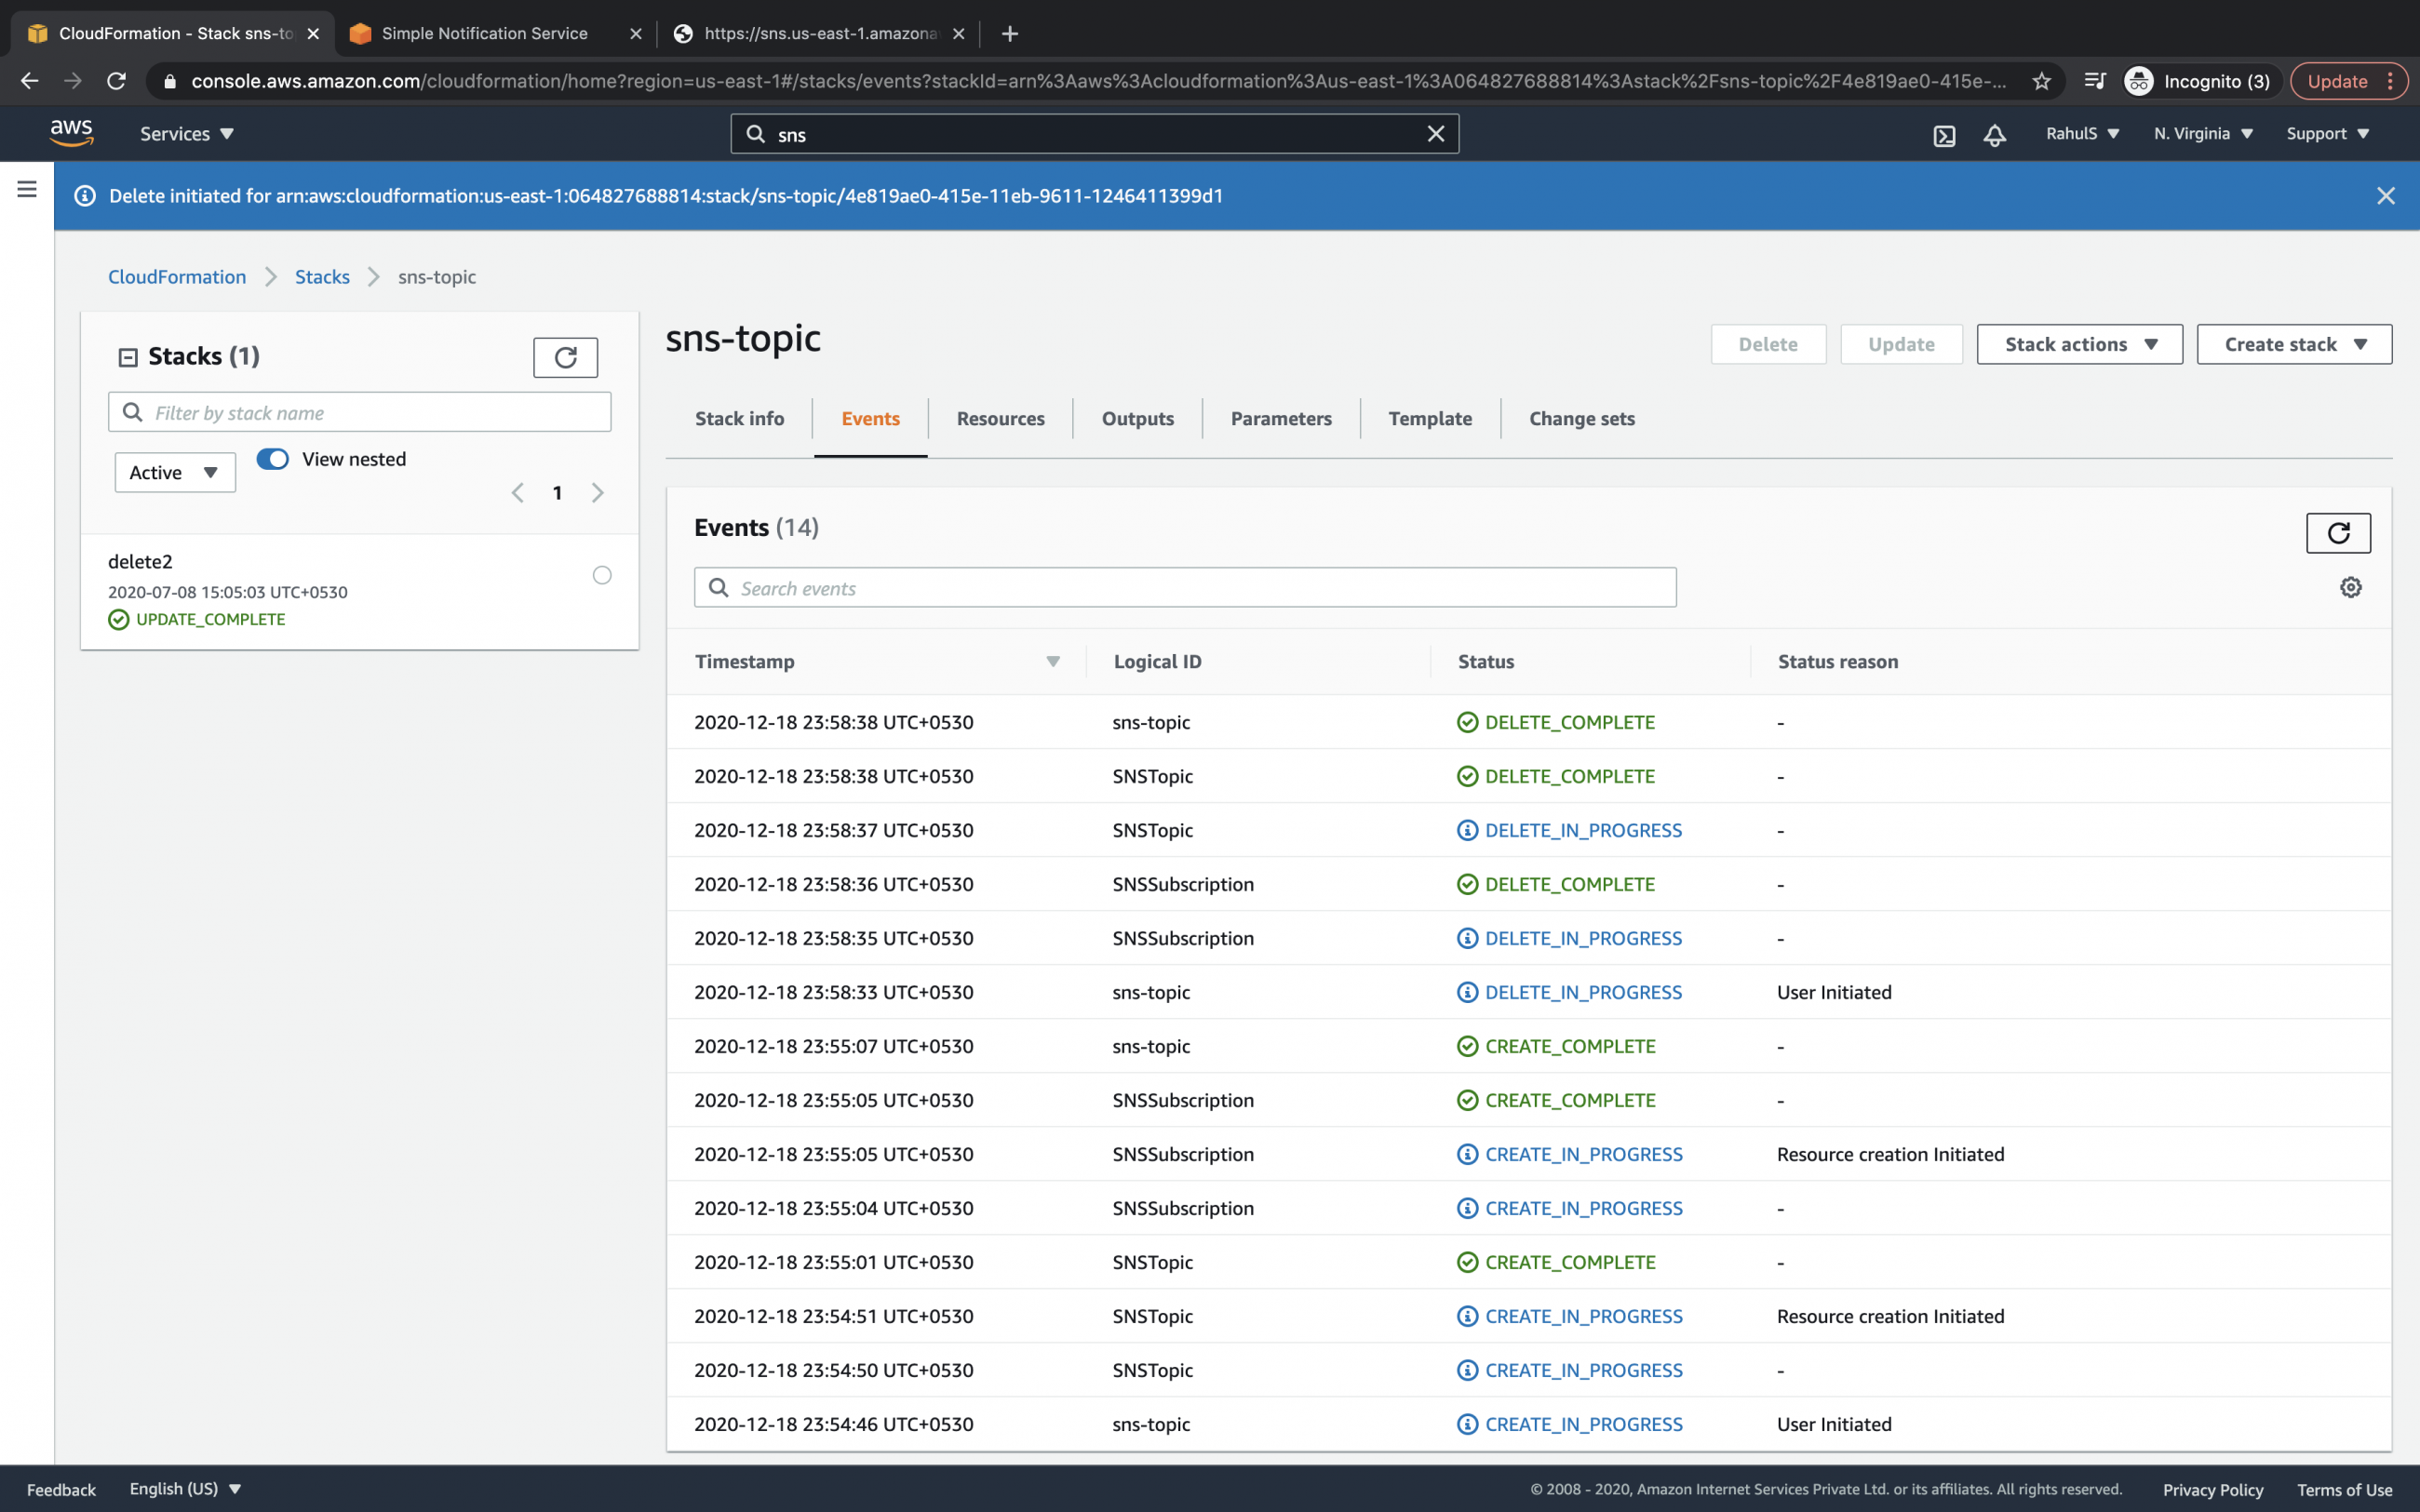
If you no longer need your SNS and Subscription in the account, you can delete the stack which in turn will delete the resources it created. Go to the stack and click on the "Delete" button.
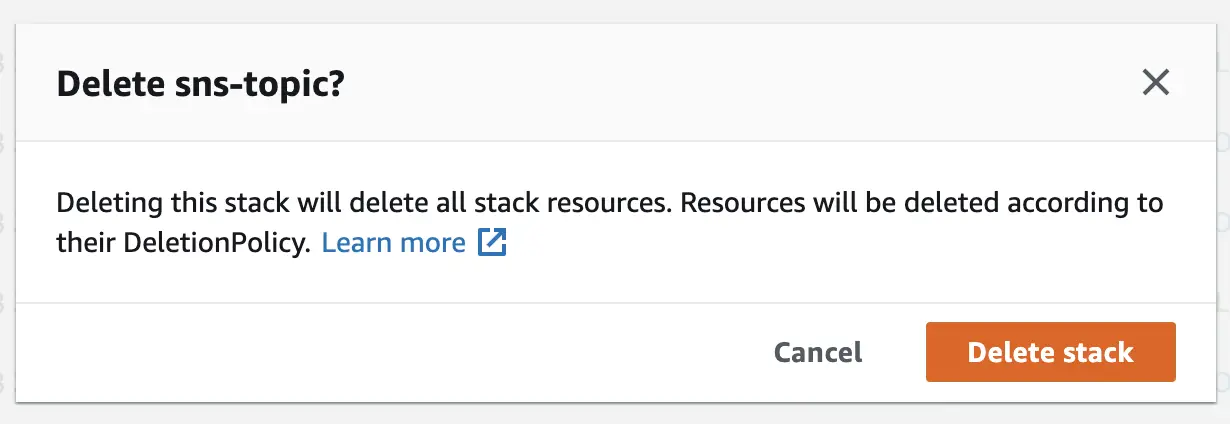
Confirm the deletion action by clicking on the "Delete stack" button. Once the stack is deleted, all the resources it has created will also get deleted and can not be recovered. Be careful while performing deletion operation if you are handling the AWS account of your organization or the client.
Deletion will take a few minutes, after the stack is deleted you will see the status as "DELETE_COMPLETE" and the stack will no longer be available.
Conclusion
In this article, we saw how easy it is to create an SNS topic and a subscription to the topic using Cloudformation stack. We used email as a subscription protocol. You can choose a protocol of your choice from the available list and specify its endpoint to the topic. We also saw how deletion of the stack deletes the resources which it has created.

