Ansible AWX Guide: Basic Usage and Configuration
AWX is an open source web application that provides a user interface, REST API, and task engine for Ansible. It's the open source version of the Ansible Tower. The AWX allows you to manage Ansible playbooks, inventories, and schedule jobs to run using the web interface.
In this tutorial, we will show you basic usage of the Ansible AWX. So, you need a server that already has been installed Ansible AWX. We cover some basic configurations of Ansible AWX that you must know, such as setup credentials, inventories, setup and run job templates etc. If you don't have Ansible installed yet, then please see this tutorial: https://www.howtoforge.com/how-to-install-ansible-awx-with-nginx-reverse-proxy-on-ubuntu-1804/.
Prerequisites
- 2 or 3 servers
- 10.5.5.20 ansible-awx
- 10.5.5.21 lemp
- Basic understanding about Ansible
- Root privileges
What we will do:
- Environment Setup and Configuration
- Setup Credentials
- Setup Inventories
- Setup Projects
- Setup Job Templates
- Run Jobs
Step 1 - Environment Setup and Configuration
In this tutorial, we're going to deploy and run the Ansible playbook for basic LEMP installation thought the Ansible AWX dashboard.
We've two servers for the awx itself and the target machine.
10.5.5.20   ansible-awx
10.5.5.21   lemp
Now we're going to deploy the playbook as the user called 'hakase' and using the key-based SSH authentication. So, ensure that you've already set up the user and key-based authentication on the target machine 'lemp'.
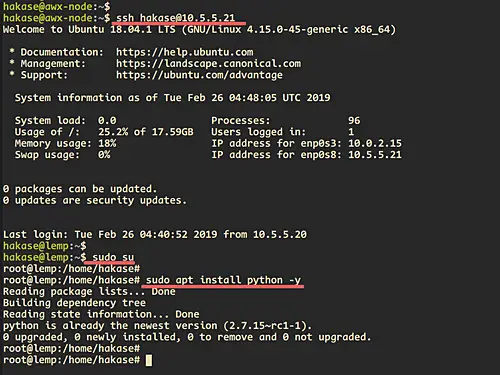
Test using the following command from the 'ansible-awx' server.
su - hakase
ssh [email protected]
Ensure you're logged in without any password.
Now the 'hakase' user must have the root passwordless for running tasks.
On the target machine 'lemp', run the sudo command as below.
su - hakase
sudo su
Ensure that you've entered the root privileges without the password.
Now you must install the python packages on all target machines managed by Ansible.
sudo apt install python -y
Step 2 - Setup Credentials
First of all, we need to configure the Ansible AWX Credentials. It's used for authentication when launching and running jobs against managed servers, synchronizing with inventory sources and importing projects.
By default, the Ansible AWX supports for many credentials, including the VM machine through SSH authentication, Amazon Web Services, Google Compute Engine, OpenStack, Vault password, Source Control etc.
In order to setup credentials, click the 'Credentials' menu on the left and click the '+' button on the right side of it.

Now type credentials 'NAME' and 'DESCRIPTION', then specify the 'CREDENTIAL TYPE' to 'Machine'.
Simply, the 'Machine' credential will allow you to use the SSH authentication for managing servers. Its support for both password and key-based authentications.
For this guide, we will be using the key-based authentication. So, type the username and paste the private keys for that user.
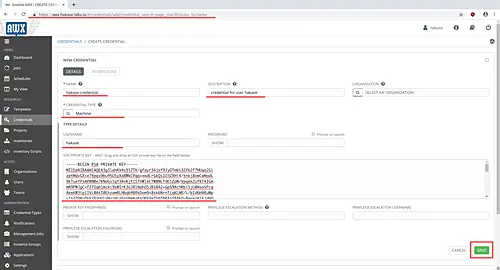
Then click the 'SAVE' button.
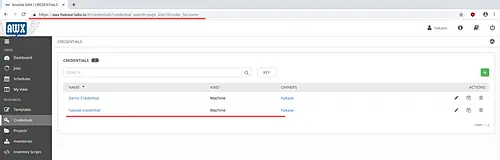
As a result, the new Ansible AWX credentials type 'Machine' has been created.
Step 3 - Setup Inventories
Inventories are groups of host servers that managed by Ansible AWX. The inventories allow you to create a group with several host server on it. And it makes easier to manage different servers with different environments.
In order to manage and provision of servers, we must create a new inventory group and then add server hosts into that inventory group.
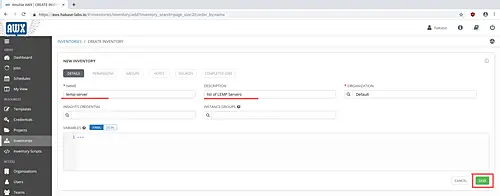
To add new inventory, click the 'Inventories' menu on the left, then click the '+' button and choose the 'Inventory'.
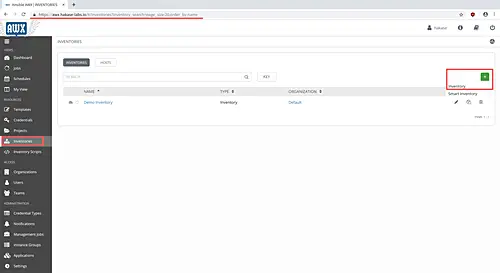
Type the 'NAME' and 'DESCRIPTION' of the inventory, then click the 'SAVE' button.
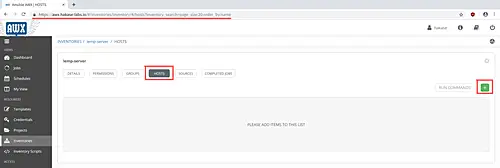
Now click on the 'HOSTS' tab, and click the '+' button to add new hosts.
Type the 'HOST NAME', 'DESCRIPTION', and the 'VARIABLES' with additional configuration for the target machine IP address 'ansible_host: 10.5.5.21'.
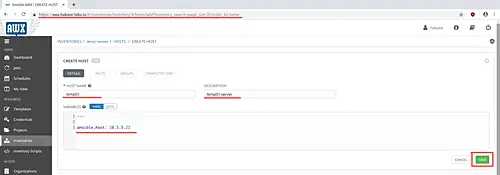
Now click the 'SAVE' button.
Next, we need to ensure hosts configuration by checking the hosts using the ping command.
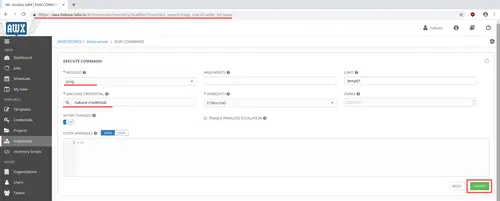
Back to the 'HOSTS' tab, tick your hosts' name server and click the 'RUN COMMANDS' button.
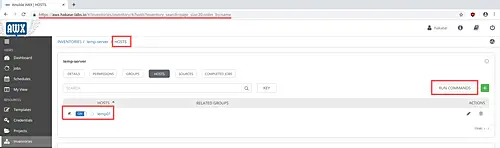
Now choose the 'MODULE' called 'ping', click the search button inside the 'MACHINE CREDENTIAL' and 'SELECT' your own, then click the 'LAUNCH' button.
And you will be redirected to the new page and below is the result.
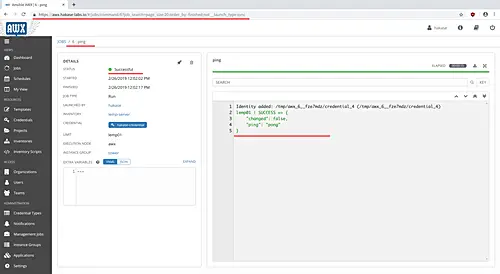
A new inventory has been created, and the target machine server has been added into it.
Step 4 - Setup Projects
Projects are represented as Ansible Playbooks on the AWX. Its collections of Ansible Playbooks that we can manage through local project directory or using the SCM system such as Git, Subversion, Mercurial, and RedHat Insights.
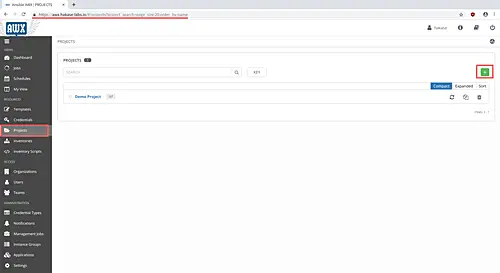
To create new projects, click the 'Projects' menu on the left and click the '+' button.
Type the 'NAME' of your project and the 'DESCRIPTION', then choose the 'SCM TYPE' to 'Git' and paste your playbook repository.
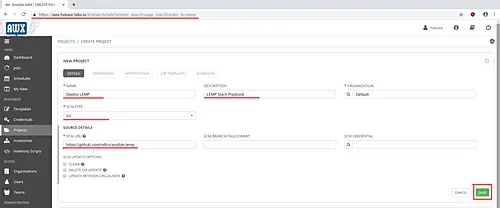
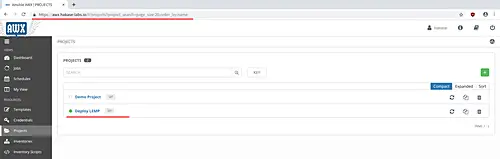
Now click the 'SAVE' button and as a result, a new project for the playbook has been created.
Additionally:
If you want to create a new project with the SCM type 'Manual', you can create a new playbooks directory located at under the '/var/lib/awx/projects' directory.
The '/var/lib/awx/projects' directory is the default project directory for your Ansible playbooks if you're using the AWX docker version with the 'project_data_dir' enabled.
Step 5 - Create New Job Templates
The job template is the definition of running Ansible playbooks itself. So, in order to create a new job template or run the job template, we need to add Ansible playbook from our 'Project', the 'Credentials' for authentication, and the target machines that stored on the 'Inventories'.
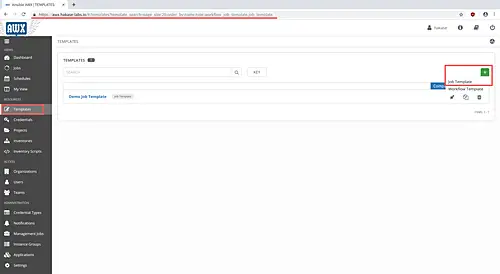
For this guide, we've already created a new Project, Credential, and Inventory. So, just click the 'Templates' menu on the left, then click the '+' button and choose the 'Job template' option.
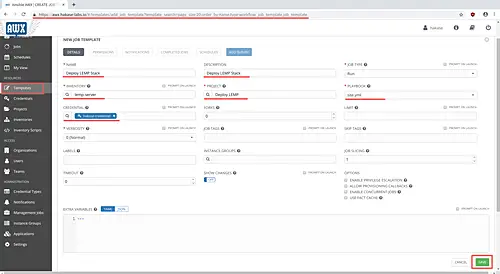
Now you need to type the 'NAME' and 'DESCRIPTION' of the job. Then choose the 'INVENTORY', 'CREDENTIAL', and the 'PROJECT'. And after that, specify the 'PLAYBOOK' that you want to run and deploy.
And as a result, the new job template Ansible AWX has been created.
Step 6 - Run the Job Template
After creating the new job template, we will run the job template and deploy the Playbooks 'Projects' to target hosts on the 'Inventory'.
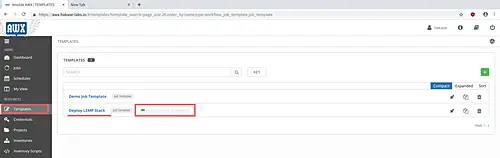
Click the 'Templates' menu on the left and you will get lists of available job templates.
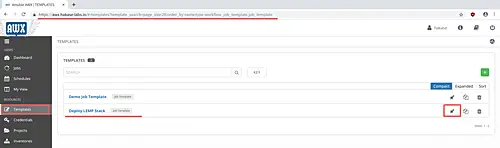
Once the job is finished, you will get the green sign inside the job template name.
Click on the green sign inside the job template name and you will be shown the actual result of that job.
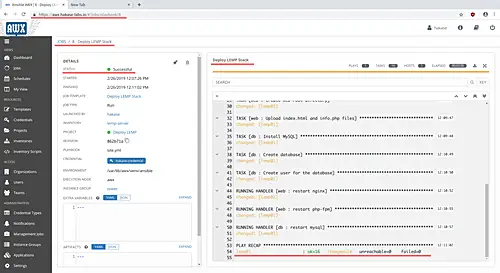
The job was completed successfully, and the target machine has been installed the LEMP Stack though the Ansible AWX.
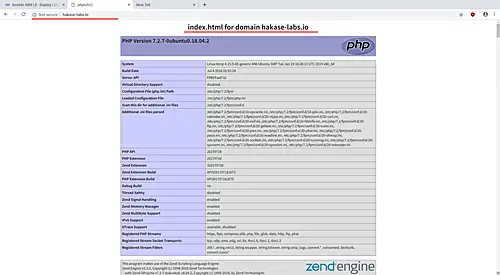
Step 7 - Testing Target Machine
Testing the domain name of the target machine. The domain name configuration stored at the 'roles/web/vars/main.yml' configuration.
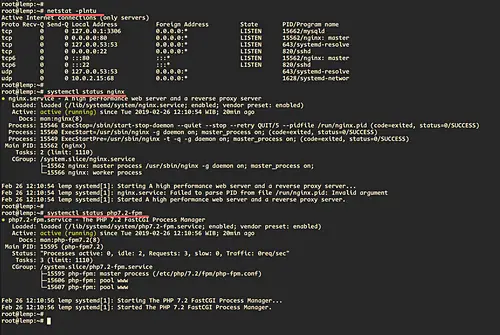
Checking the Nginx and PHP-FPM services using systemctl commands.
systemctl status nginx
systemctl status php7.2-fpm
Testing the MySQL database on the target machine. Detail configurations of MySQL database stored at the 'roles/db/vars/main.yml' configuration file.
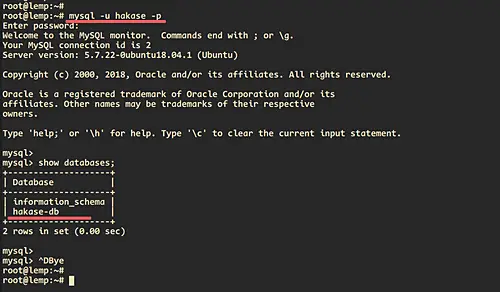
As a result, the LEMP Stack has been installed on the target machine through the Ansible AWX.

