The Perfect Desktop - Ubuntu 7.04 Feisty Fawn - Page 6
This tutorial exists for these OS versions
- Ubuntu 14.10 (Utopic Unicorn)
- Ubuntu 13.10 (Saucy Salamander)
- Ubuntu 14.04 LTS (Trusty Tahr)
- Ubuntu 13.04 (Raring Ringtail)
- Ubuntu 12.10 (Quantal Quetzal)
- Ubuntu 12.04 LTS (Precise Pangolin)
On this page
9 Install Automatix
Automatix2 comes with a graphical interface, but in order to install Automatix2 there are a few steps we have to do on the command line. Go to Applications > Accessories > Terminal to open a command line window.
In the command line window, type in the following commands to install Automatix:
echo "deb http://www.getautomatix.com/apt feisty main" | sudo tee -a /etc/apt/sources.list
You might have to provide your password. Afterwards, run
wget http://www.getautomatix.com/keys/automatix2.key
gpg --import automatix2.key
gpg --export --armor E23C5FC3 | sudo apt-key add -
and update the packages database:
sudo apt-get update
Finally, install Automatix:
sudo apt-get install automatix2
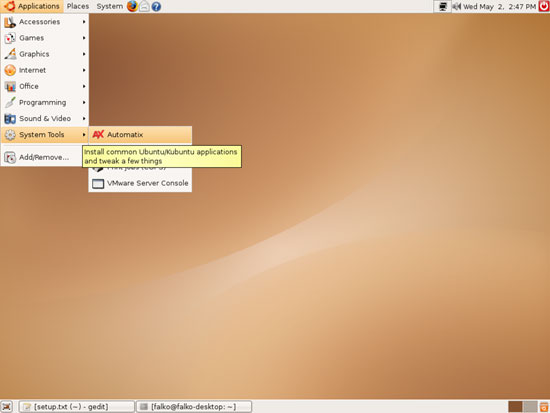
Then close the command line window. After Automatix has been installed, you can find it under Applications -> System Tools -> Automatix:
10 Install Further Packages With Automatix
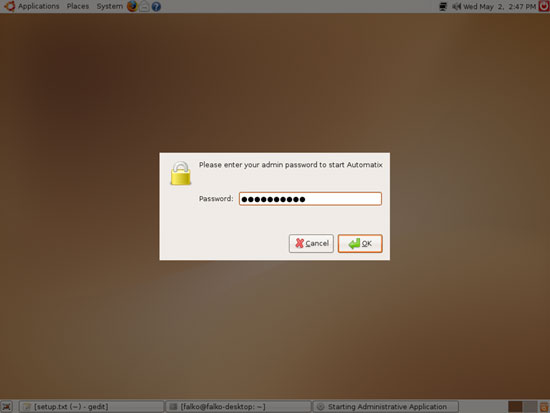
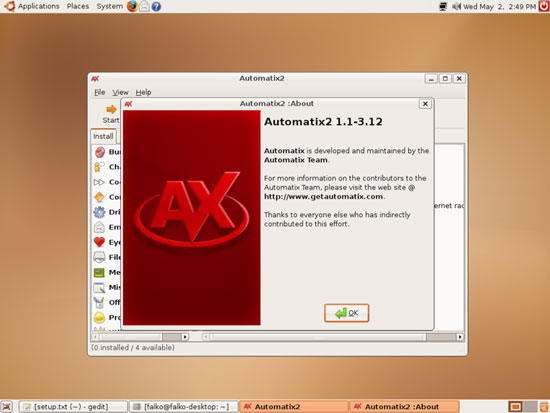
Now start Automatix. You will have to provide your password:
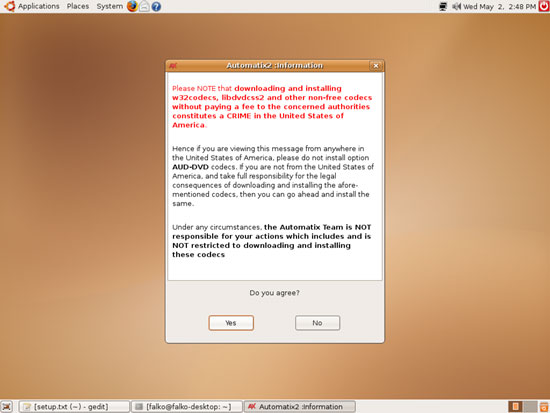
It comes up with a warning that you must not install the package AUD-DVD if you are from the USA because it is illegal there (so if you are from the USA, don't install that package).
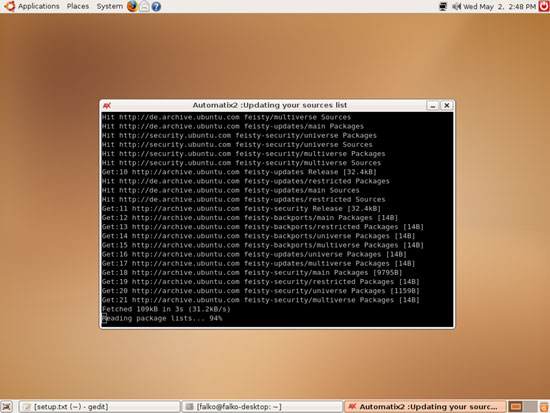
After accepting the warning, Automatix starts:
and adds some repositories to /etc/apt/sources.list:
Afterwards, click on OK:
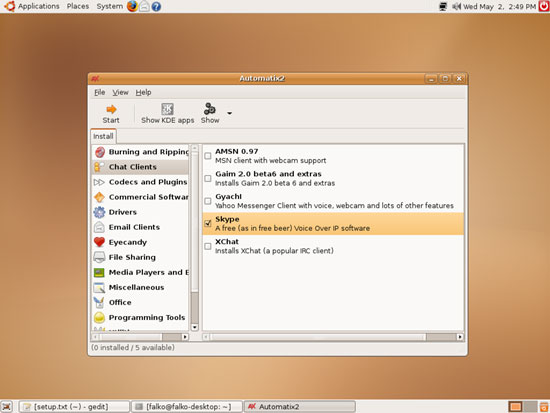
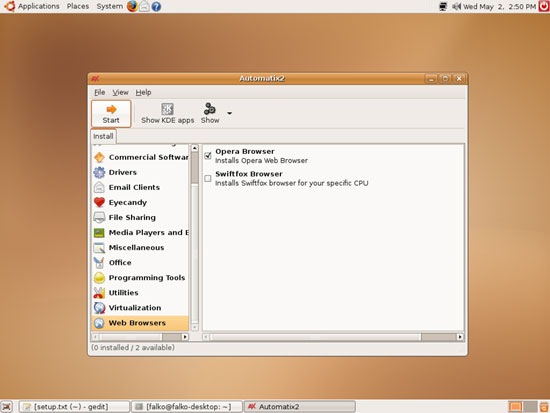
In the left window you see all available package groups (File Sharing, Web Browsers, etc.), and in the right window there are all packages that belong to the package group and that can be installed by Automatix. Select the following packages for installation:
- Skype
- AUD-DVD Codecs
- Flash Player
- MPlayer and FF Plugin
- Multimedia Codecs
- SUN JAVA 1.6 JRE
- RealPlayer
- Automatix read/write NTFS and FAT32 Mounter
- Extra Fonts
- Acrobat Reader
- Google Earth
- Google Picasa
- Opera Browser
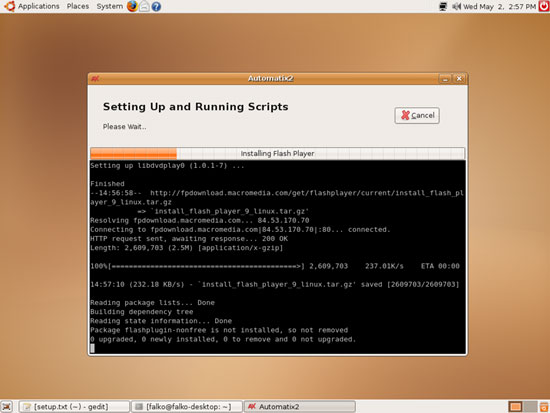
After you've made your selection, click on Start. The package installation begins, and it can take some time.
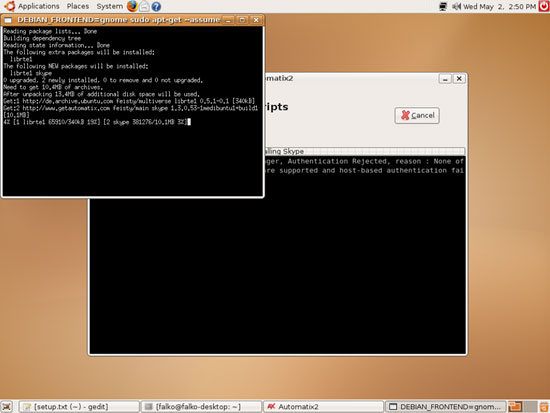
Accept the Skype license:

Automatix continues:
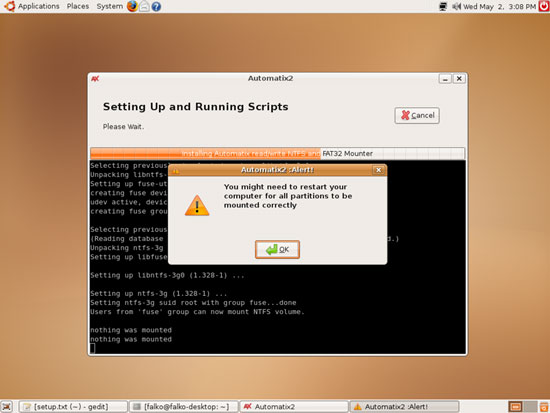
To install NTFS read/write support (ntfs-3g), click on Yes when the following message comes up:
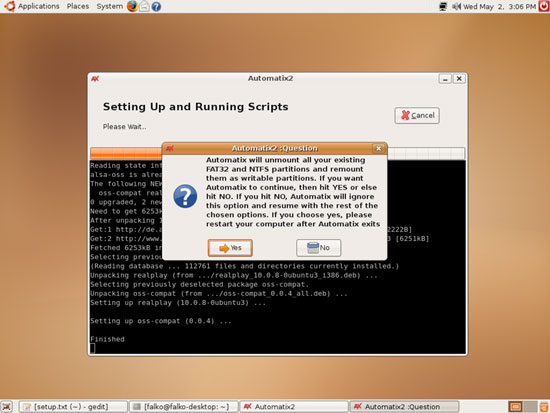
Then click on OK. If you are currently using NTFS partitions, you might have to reboot the system after Automatix has finished to get read/write support on the NTFS partitions.
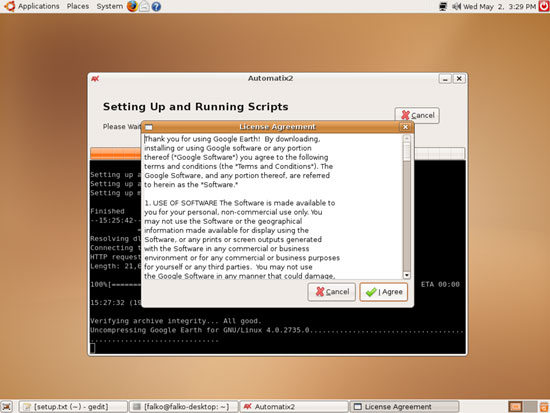
Google Earth will ask you to accept its license, so click on I Agree:
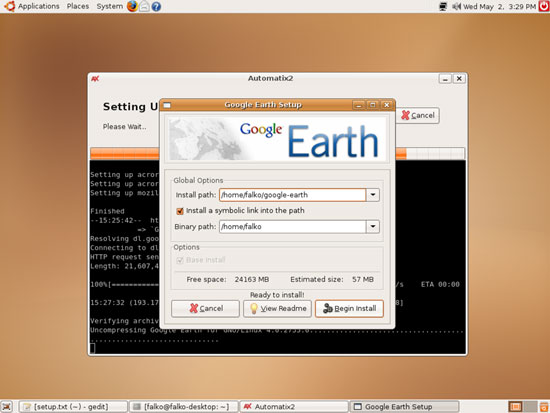
Google Earth's default settings are ok, so click on Begin Install:
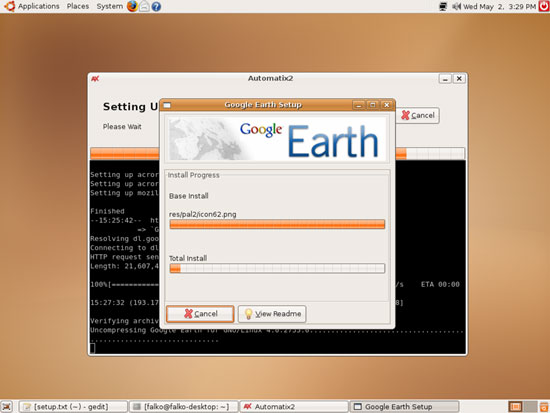
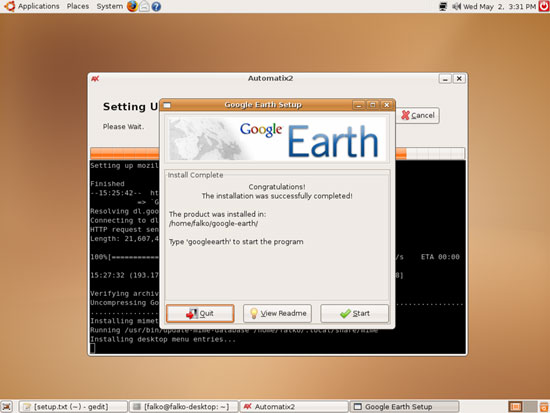
After the Google Earth installation, you can either select to start it immediately or to quit. I select Quit here (although it doesn't matter what you select):
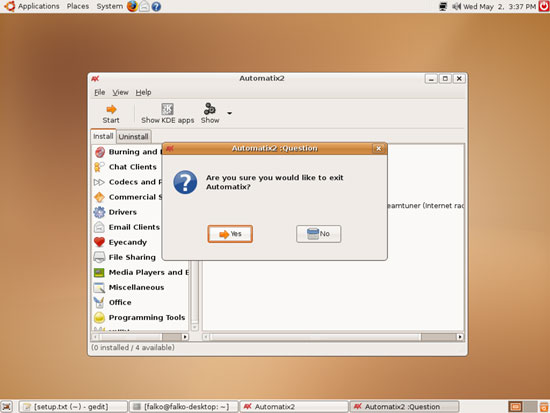
After the installation of all selected packages, we can leave Automatix by clicking on the cross in the upper right corner of the Automatix window. A new window pops up where we select Yes: